

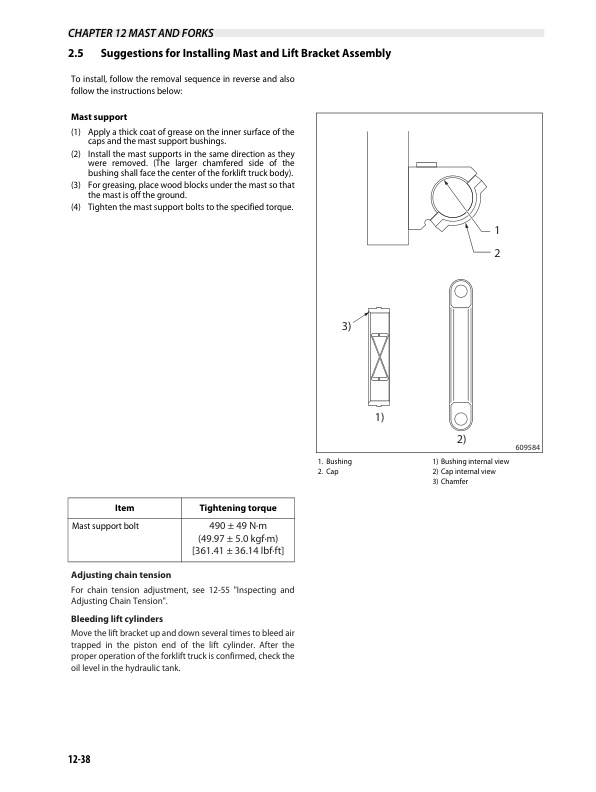
Mitsubishi FD70N Chassis and Mast Service Manual 99709-7A100
$50.00
- Type Of Manual: Service Manual
- Manual ID: 99709-7A100
- Number of Pages: 574
- Size: 55.6MB
- Format: PDF
Product details
-
Model List:
- FD70N Chassis and Mast
- 1. FOREWORD
- 2. Safety
- 3. General Hazard Information When Servicing the Engine
- 4. High Pressure Fuel Lines
- 5. Symbols and Abbreviations
- 6. Units
- 7. TABLE OF CONTENTS
- 8. Chapter 1 GENERAL INFORMATION
- 9. Model View
- 10. Applicable Truck Models
- 11. Serial Number Locations
- 12. Dimensions
- 13. Specifications
- 14. Performance
- 15. Chapter 2 COOLING SYSTEM
- 16. Specifications
- 17. Structure
- 18. Removing Fan Belt
- 19. Preparation
- 20. Removal Sequence
- 21. Suggestions for Removal
- 22. Inspecting Fan Belt
- 23. Removing Intercooler, Oil Cooler, and Radiator
- 24. Preparation
- 25. Removal Sequence
- 26. Installation
- 27. Installing Fan Belt
- 28. Suggestions for Installation
- 29. Inspecting Radiator
- 30. Radiator
- 31. Expansion Tank
- 32. Radiator Rubber Mount (Rubber Cushion)
- 33. Pressure Cap
- 34. Connecting Hoses
- 35. Coolant
- 36. Intercooler
- 37. Oil Cooler for Transmission
- 38. Troubleshooting
- 39. Chapter 3 ELECTRICAL SYSTEM
- 40. Electrical Components and Wiring Outline
- 41. Electrical Components and Wiring Diagram of Each Component
- 42. Console Box
- 43. Outline of Console Box
- 44. Removing Meter Panel
- 45. Installing Meter Panel
- 46. Main Electrical Components
- 47. Meter Panel
- 48. Key Switch (Anti-Restart Switch)
- 49. Light Switch and Turn Signal Switch
- 50. Direction (FNR) Switch
- 51. Horn
- 52. Tank Unit
- 53. Stop Light Switch
- 54. Thermoswitch (T/C Oil)
- 55. Fuse Box
- 56. Relay Box
- 57. List of Lights
- 58. Battery and Maintenance
- 59. Battery Specific Gravity Condition and Adjustment
- 60. Relationship Between Electrolyte Specific Gravity and State of Charge
- 61. Precautions for Battery Charging
- 62. Meter Panel
- 63. Meter Panel Layout
- 64. Basic Display
- 65. Basic Operation
- 66. When a Warning Occurs
- 67. When Several Warnings Occur Simultaneously
- 68. Warning Symbols
- 69. Warning Icons
- 70. Optional Features
- 71. Hour Meter
- 72. Troubleshooting
- 73. Wire Color
- 74. List of Wire Color Codes
- 75. Troubleshooting
- 76. Engine Startup Problem
- 77. Gauge-Related Problem
- 78. Light Related Problems
- 79. Warning Device Problem
- 80. Battery-Related Problem
- 81. Chapter 4 CONTROLLER
- 82. Outline
- 83. Main Functions of Controllers
- 84. Meter Panel
- 85. VCM-6 (Vehicle Control Module)
- 86. ECM (Engine Control Module)
- 87. Input and Output Units
- 88. Gateway
- 89. GSE Connector
- 90. Service Tool
- 91. Service Tool Menus
- 92. Outline of Toolbox
- 93. Mast Interlock System
- 94. Function
- 95. Checking the Operation of Mast Interlock System of VCM-6 Controller
- 96. Active Test Inspection Procedure
- 97. Driving Interlock System
- 98. Controller Function
- 99. Checking the Operation of Driving Interlock Function
- 100. Active Test Inspection Procedure
- 101. Seat Belt Warning Icon
- 102. Function of Seat Belt Warning Icon
- 103. Checking the Operation of Seat Belt Warning Icon
- 104. Parking Brake Warning Alarm and Warning Icon
- 105. Checking the Operation of Parking Brake Warning Alarm/Warning Icon
- 106. Parking Brake Warning Alarm
- 107. Checking the Operation of Parking Brake Warning Alarm/Warning Icon With Key in OFF Position
- 108. Harness Codes
- 109. VCM-6
- 110. Input Unit and Output Unit (FC model)
- 111. Input Unit and Output Unit
- 112. ECM
- 113. Meter Panel
- 114. Seat Switch
- 115. Parking Brake Switch
- 116. Direction Lever Switch
- 117. Travel Speed Sensor
- 118. T/M Solenoid
- 119. Unload Solenoid
- 120. Warning Alarm
- 121. Warning Alarm Relay
- 122. Warning Alarm Circuit
- 123. Truck Status Display and Troubleshooting
- 124. Truck Status Display
- 125. Diagnosis Table (F Code)
- 126. LED Blink Pattern
- 127. Diagnostic Codes and Troubleshooting
- 128. Chapter 5 POWER TRAIN
- 129. Removal and Installation
- 130. Overhead Guard, Covers, and Air Cleaner Element
- 131. Removing Harness
- 132. Removing Driving Control Related Parts
- 133. Removing Pipes, Hoses, and Radiator
- 134. Removing Engine and Transmission Unit
- 135. Installation
- 136. Removal and Installation
- 137. Suggestions for Removing Engine Cover and Seat
- 138. Suggestions for Removing Harnesses and Cables (Between Transmission and Frame)
- 139. Service Data
- 140. Chapter 6 POWERSHIFT TRANSMISSION
- 141. Specifications
- 142. Structure
- 143. Torque Converter
- 144. Transmission
- 145. Power Flow
- 146. Control Valve
- 147. Main Regulator Valve
- 148. Hydraulic Lines Diagram of Powershift Transmission
- 149. Automatic Gear Shifting Mechanism
- 150. Torque Converter Drive Control
- 151. Removal and Installation
- 152. Removal
- 153. Installation
- 154. Disassembling Torque Converter
- 155. Disassembly Sequence
- 156. Suggestions for Disassembly
- 157. Inspection and Repair of Torque Converter
- 158. Assembling Torque Converter
- 159. Assembly Sequence
- 160. Suggestions for Assembly
- 161. Transmission (2nd Gear)
- 162. Disassembling Control Valve and External Parts
- 163. Disassembling Transmission Cover and Input/Counter/Output Shafts
- 164. Suggestions for Disassembly
- 165. Disassembling Stator Shaft and Oil Pump
- 166. Suggestions for Disassembly
- 167. Disassembling Input Shaft Subassembly
- 168. Suggestions for Disassembly
- 169. Disassembling Countershaft Subassembly
- 170. Suggestions for Disassembly
- 171. Inspection and Repair
- 172. Oil Pump
- 173. Stator Shaft
- 174. Friction Plate and Mating Plate
- 175. Input Shaft and Countershaft Clutch Drum
- 176. Input Shaft and Countershaft
- 177. Gears
- 178. Magnetic Strainer Assembly
- 179. Oil Seals of Transmission Cover and Torque Converter Case
- 180. Assembly
- 181. Input Shaft Subassembly (Countershaft Subassembly)
- 182. Suggestions for Assembly
- 183. Stator Shaft and Oil Pump
- 184. Suggestions for Assembly
- 185. Input Shaft, Countershaft, Output Shaft, and Transmission Cover
- 186. Suggestions for Assembly
- 187. Control Valve and External Parts
- 188. Disassembling Control Valve
- 189. Suggestions for Disassembly
- 190. Inspection and Repair
- 191. Assembly
- 192. Disassembling Main Regulator Valve
- 193. Inspecting and Correcting of Main Regulator Valve
- 194. Assembling Main Regulator Valve
- 195. Adjustment
- 196. Measuring Oil Pressure
- 197. Testing Clutch Valve
- 198. Measuring Stall Speed
- 199. Meter Start Acceleration Test
- 200. Testing Automatic 2-Gear Transmission Functions
- 201. Adjusting Inching Pedal
- 202. Troubleshooting
- 203. Service Data
- 204. Stall Speed
- 205. Pump Boss
- 206. Pilot Boss
- 207. Oil Pump
- 208. Stator
- 209. Flexible Plate
- 210. Clutches
- 211. Input Shaft, Countershaft, and Transmission Cover
- 212. Backlash of Gears
- 213. Control Valve
- 214. Main Regulator Valve
- 215. Inching Pedal Control
- 216. Chapter 7 FRONT AXLE AND REDUCTION DIFFERENTIAL
- 217. Specifications
- 218. Structure
- 219. Removing Front Wheels
- 220. Preparation
- 221. Removal Sequence
- 222. Suggestions for Removal
- 223. Installing Front Wheels
- 224. Suggestions for Installation
- 225. Removing Front Axle and Reduction Differential Assembly
- 226. Preparation
- 227. Removal Sequence
- 228. Suggestions for Removal
- 229. Installing Front Axle and Reduction Differential Assembly
- 230. Suggestions for Installation
- 231. Disassembling and Assembling Front Axle
- 232. Preparation
- 233. Disassembly Sequence
- 234. Suggestions for Disassembly
- 235. Inspecting and Repairing Front Axle
- 236. Assembling Front Axle
- 237. Preparation
- 238. Assembly Sequence
- 239. Suggestions for Assembly
- 240. Disassembling Reduction Differential
- 241. Preparation
- 242. Disassembly Sequence
- 243. Suggestions for Disassembly
- 244. Inspecting and Repairing Reduction Differential
- 245. Assembling Reduction Differential
- 246. Assembly Sequence
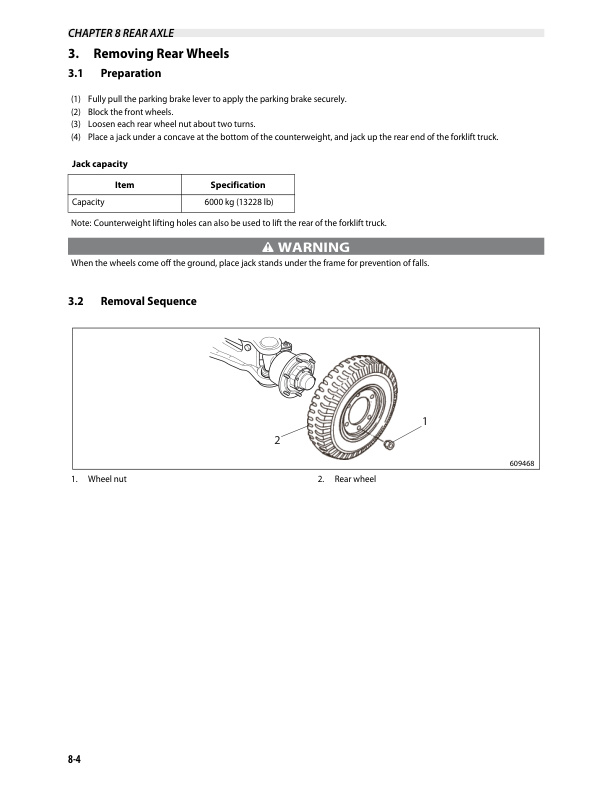
- 247. Suggestions for Assembly
- 248. Troubleshooting
- 249. Service Data
- 250. Front Axle
- 251. Reduction Differential
- 252. Chapter 8 REAR AXLE
- 253. Specifications
- 254. Structure
- 255. Rear Axle
- 256. Power Steering Cylinder
- 257. Removing Rear Wheels
- 258. Preparation
- 259. Removal Sequence
- 260. Suggestions for Removal
- 261. Installing Rear Wheels
- 262. Suggestions for Installation
- 263. Removing Rear Axle
- 264. Preparation
- 265. Removal Sequence
- 266. Installing Rear Axle
- 267. Suggestions for Installation
- 268. Disassembling Rear Axle Assembly
- 269. Disassembly Sequence
- 270. Suggestions for Removal
- 271. Assembling Rear Axle
- 272. Assembly Sequence
- 273. Disassembling Power Steering Cylinder
- 274. Disassembly Sequence
- 275. Suggestions for Disassembly
- 276. Inspecting and Adjusting Power Steering Cylinder
- 277. Assembling Power Steering Cylinder
- 278. Assembly Sequence
- 279. Suggestions for Assembly
- 280. Adjustment
- 281. Measuring Minimum Turning Radius
- 282. Troubleshooting
- 283. Service Data
- 284. Rear Axle
- 285. Power Steering Cylinder
- 286. Chapter 9 BRAKE SYSTEM
- 287. Specifications
- 288. Structure
- 289. Brake System
- 290. Wheel Brake
- 291. Brake Booster
- 292. Master Cylinder
- 293. Parking Brake
- 294. Disassembly and Assembly
- 295. Disassembling Wheel Brake
- 296. Inspecting and Repairing Wheel Brake
- 297. Assembling Wheel Brake
- 298. Disassembling Wheel Cylinder
- 299. Inspecting and Repairing Wheel Cylinder
- 300. Assembling Wheel Cylinder
- 301. Disassembling Master Cylinder
- 302. Inspecting and Repairing Master Cylinder
- 303. Assembling Master Cylinder
- 304. Inspecting and Repairing Master Cylinder
- 305. Disassembling Parking Brake
- 306. Inspecting and Repairing Parking Brake
- 307. Assembling Parking Brake
- 308. Adjusting Parking Brake Lever
- 309. Inspecting and Repairing Parking Brake Lever
- 310. Checking Parking Brake Lever Operating force
- 311. Adjustment and Actuation Test
- 312. Wheel Brake
- 313. Testing Brake Booster Actuation
- 314. Vacuum Pump and Vacuum Pump Controller Actuation Test
- 315. Parking Brake
- 316. Troubleshooting
- 317. Service Data
- 318. Brake System
- 319. Master Cylinder
- 320. Wheel Cylinder
- 321. Wheel Brake
- 322. Parking Brake Lever
- 323. Parking Brake
- 324. Chapter 10 STEERING SYSTEM
- 325. Structure and Functions
- 326. General
- 327. Steering Valve
- 328. Steering Column
- 329. Disassembling and Assembling Pipes and Hoses
- 330. Suggestions for Disassembly and Assembly
- 331. Disassembling Steering Wheel and Steering Valve
- 332. Disassembly Sequence
- 333. Suggestions for Disassembly
- 334. Installing Steering Wheel and Steering Valve
- 335. Suggestions for Installation
- 336. Inspection After Installation
- 337. Removing Steering Valve
- 338. Installing Steering Valve
- 339. Disassembling Tilt Lock Lever
- 340. Assembling Tilt Lock Lever
- 341. Disassembling Steering Valve
- 342. Disassembly Sequence
- 343. Suggestions for Steering Valve Disassembly
- 344. Inspection After Disassembly
- 345. Assembling Steering Valve
- 346. Preparation
- 347. Assembly Sequence of Steering Valve
- 348. Suggestions for Assembly
- 349. Troubleshooting
- 350. Service Data
- 351. Chapter 11 HYDRAULIC SYSTEM
- 352. Specifications
- 353. Structure
- 354. Hydraulic Line
- 355. Hydraulic Tank
- 356. Gear Pump
- 357. FC (LC) Control Valve
- 358. Lift Cylinder
- 359. Tilt Cylinder
- 360. Flow Regulator Valve
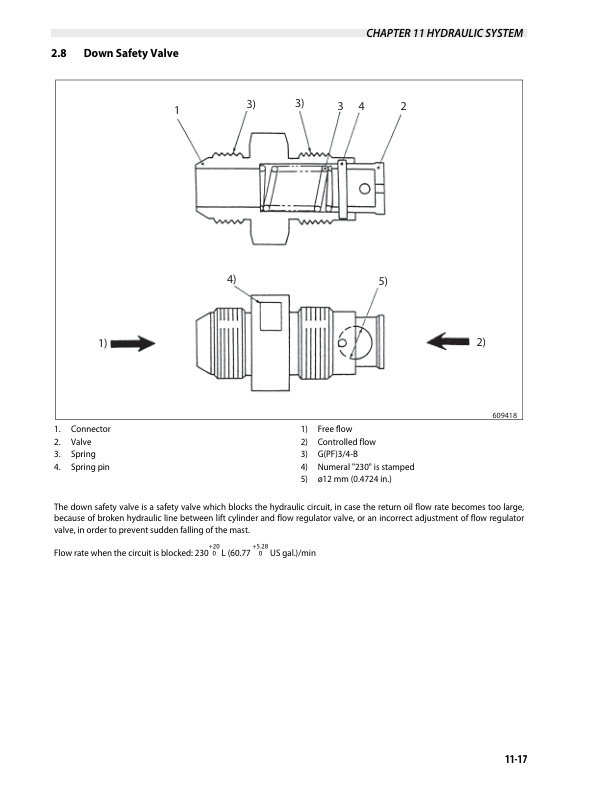
- 361. Down Safety Valve
- 362. Hydraulic System Diagram
- 363. Removing Gear Pump
- 364. Preparation (1)
- 365. Removal Sequence
- 366. Suggestions for Removal
- 367. Removing Control Valve
- 368. Removal Sequence
- 369. Removing Lift Cylinders
- 370. Preparation (2)
- 371. Removal Sequence
- 372. Removing Tilt Cylinders
- 373. Preparation (3)
- 374. Removal Sequence
- 375. Disassembling Gear Pump
- 376. Disassembly Sequence
- 377. Suggestions for Disassembly
- 378. Inspecting and Repairing Gear Pump
- 379. Assembling Gear Pump
- 380. Assembly Sequence
- 381. Suggestions for Assembly
- 382. Disassembling Lift Cylinder
- 383. Disassembly Sequence
- 384. Suggestions for Disassembly
- 385. Inspecting and Repairing Lift Cylinder
- 386. Assembling Lift Cylinders
- 387. Assembly Sequence
- 388. Suggestions for Assembly
- 389. Disassembling Tilt Cylinder
- 390. Disassembly Sequence
- 391. Suggestions for Disassembly
- 392. Inspecting and Repairing Tilt Cylinder
- 393. Assembling Tilt Cylinder
- 394. Assembly Sequence
- 395. Suggestions for Assembly
- 396. Disassembling Flow Regulator Valve
Related products
-
Mitsubishi 4G33, 4G52, 4G54 Service Manual 99719-41111
$50.00 Add to cart -
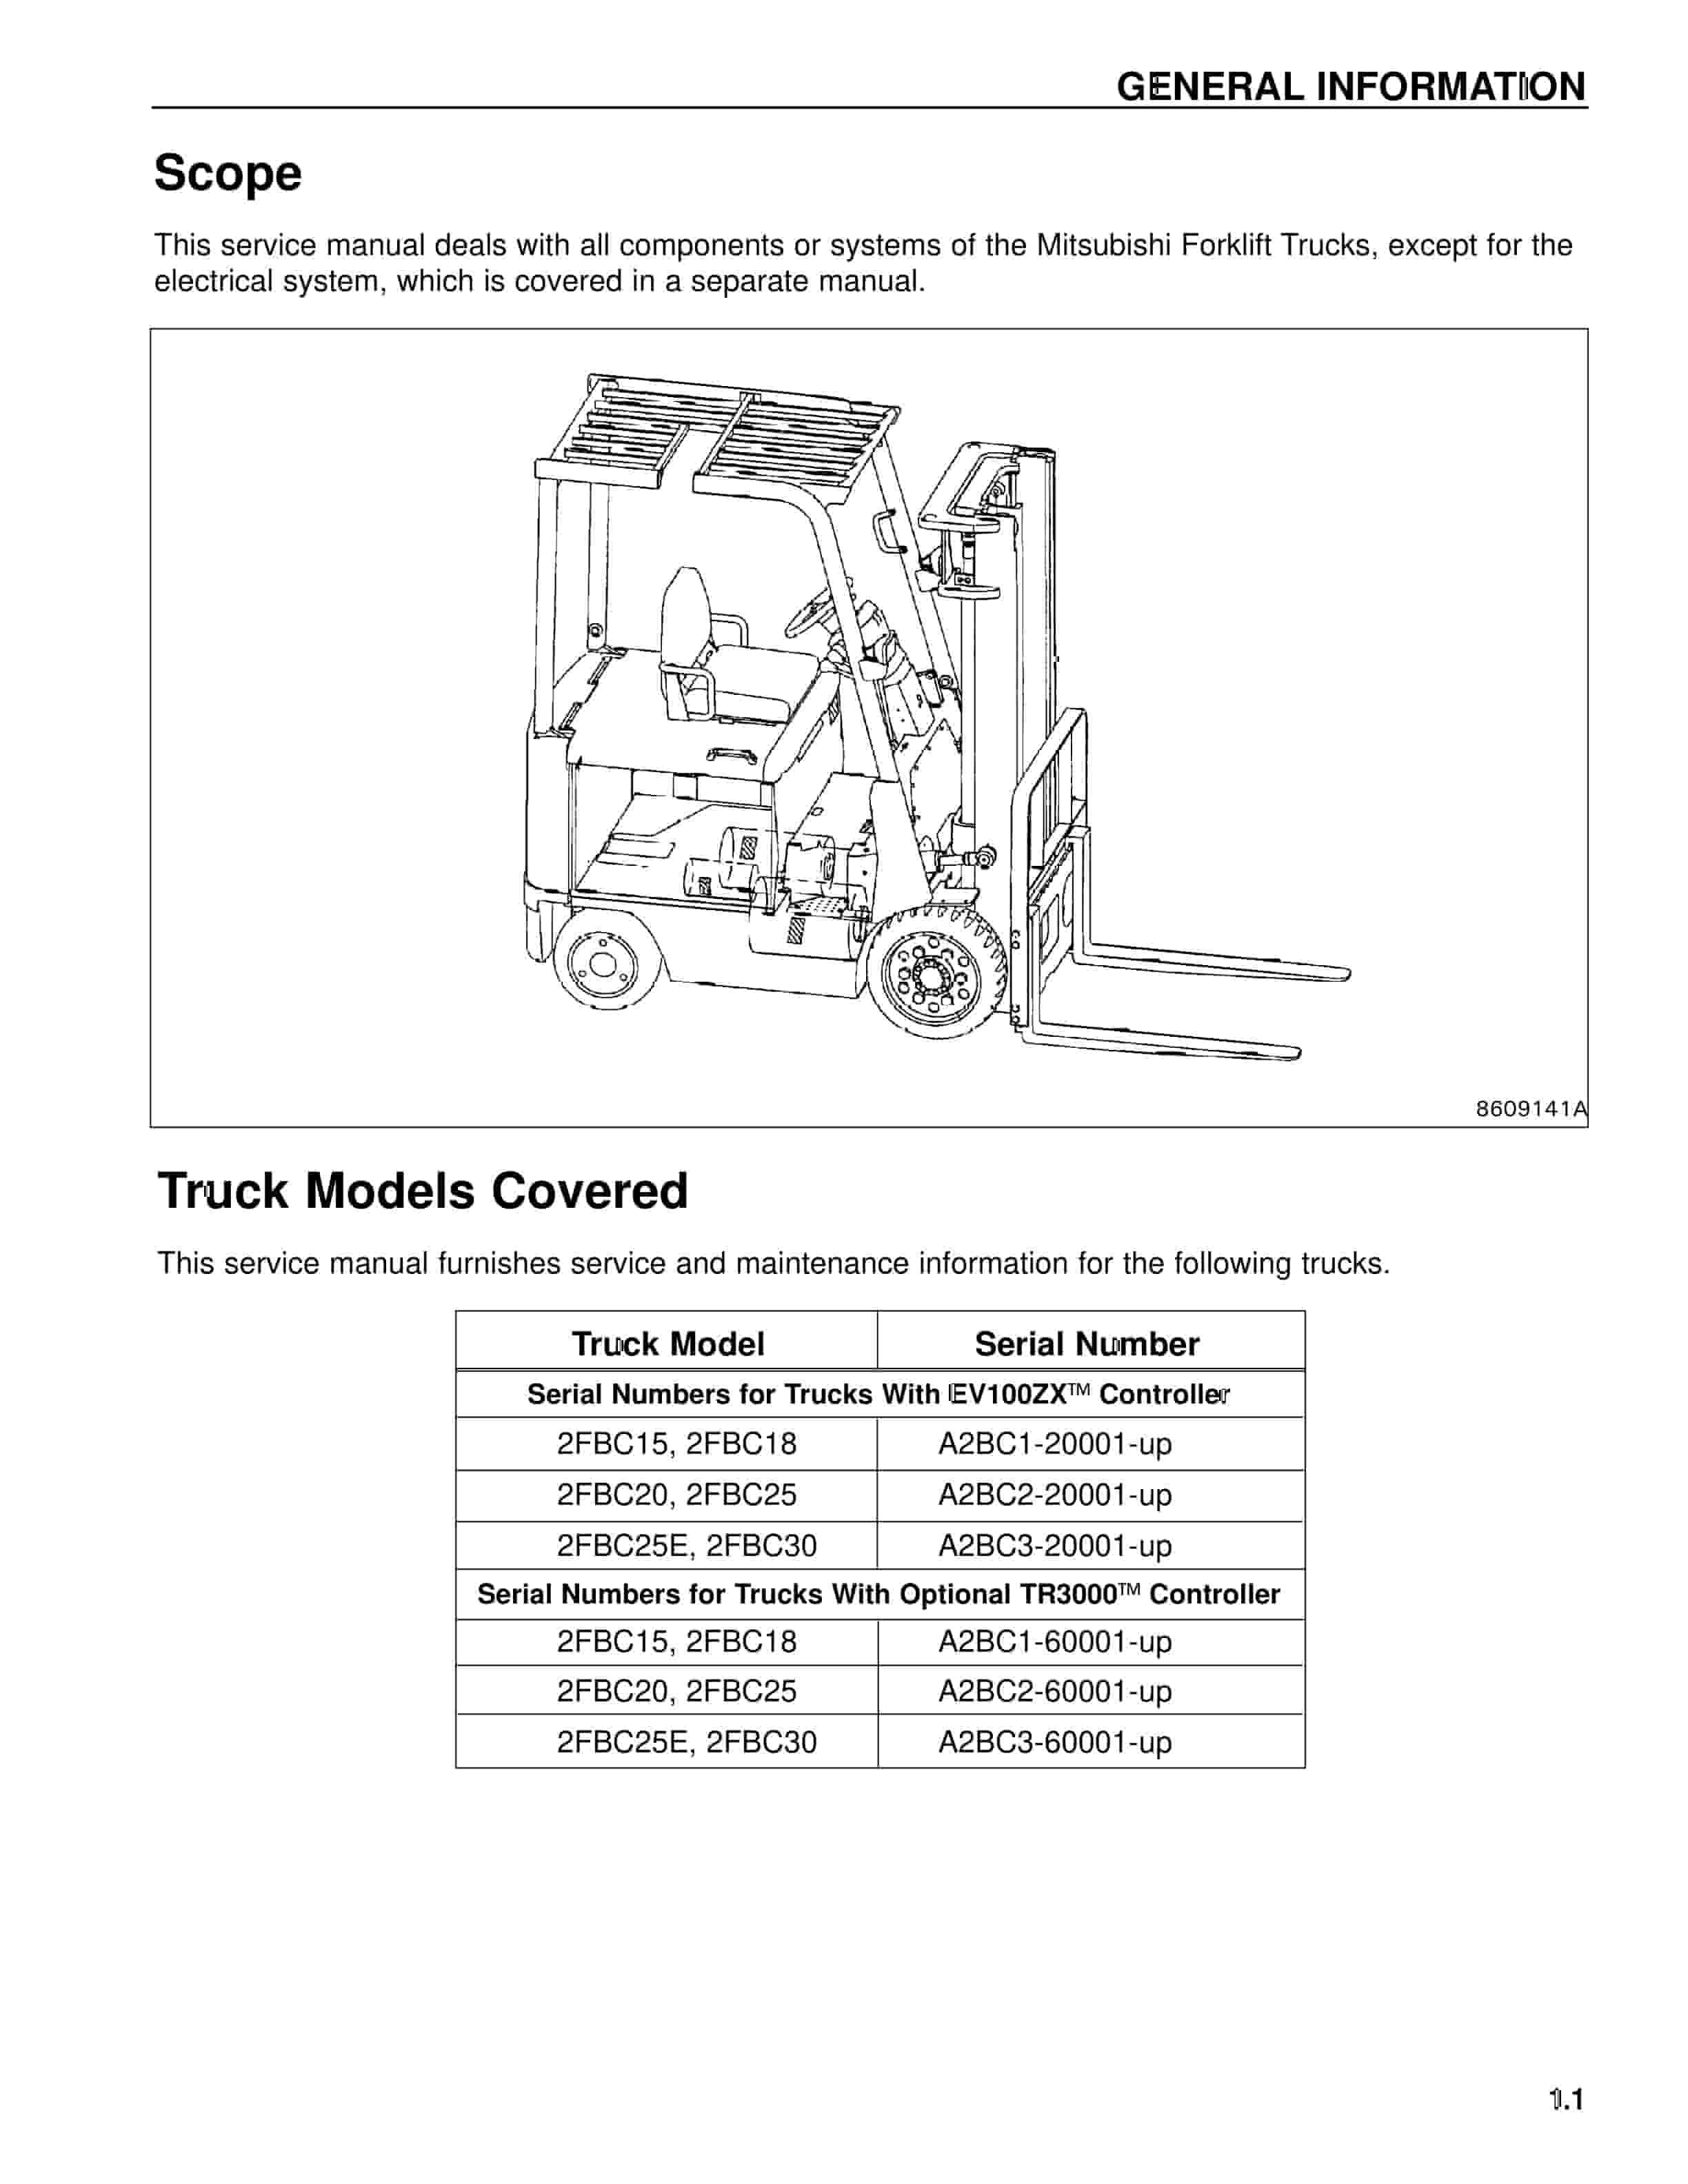
Mitsubishi 2FBC20 Forklift Service Manual
$50.00 Add to cart -
Mitsubishi GM 4.3L (G6) Fuel System Supplement Service Manual 99789-74111
$50.00 Add to cart -
Mitsubishi 4DQ5, S4E, S6E, S6E2 Service Manual 99719-52120
$50.00 Add to cart -
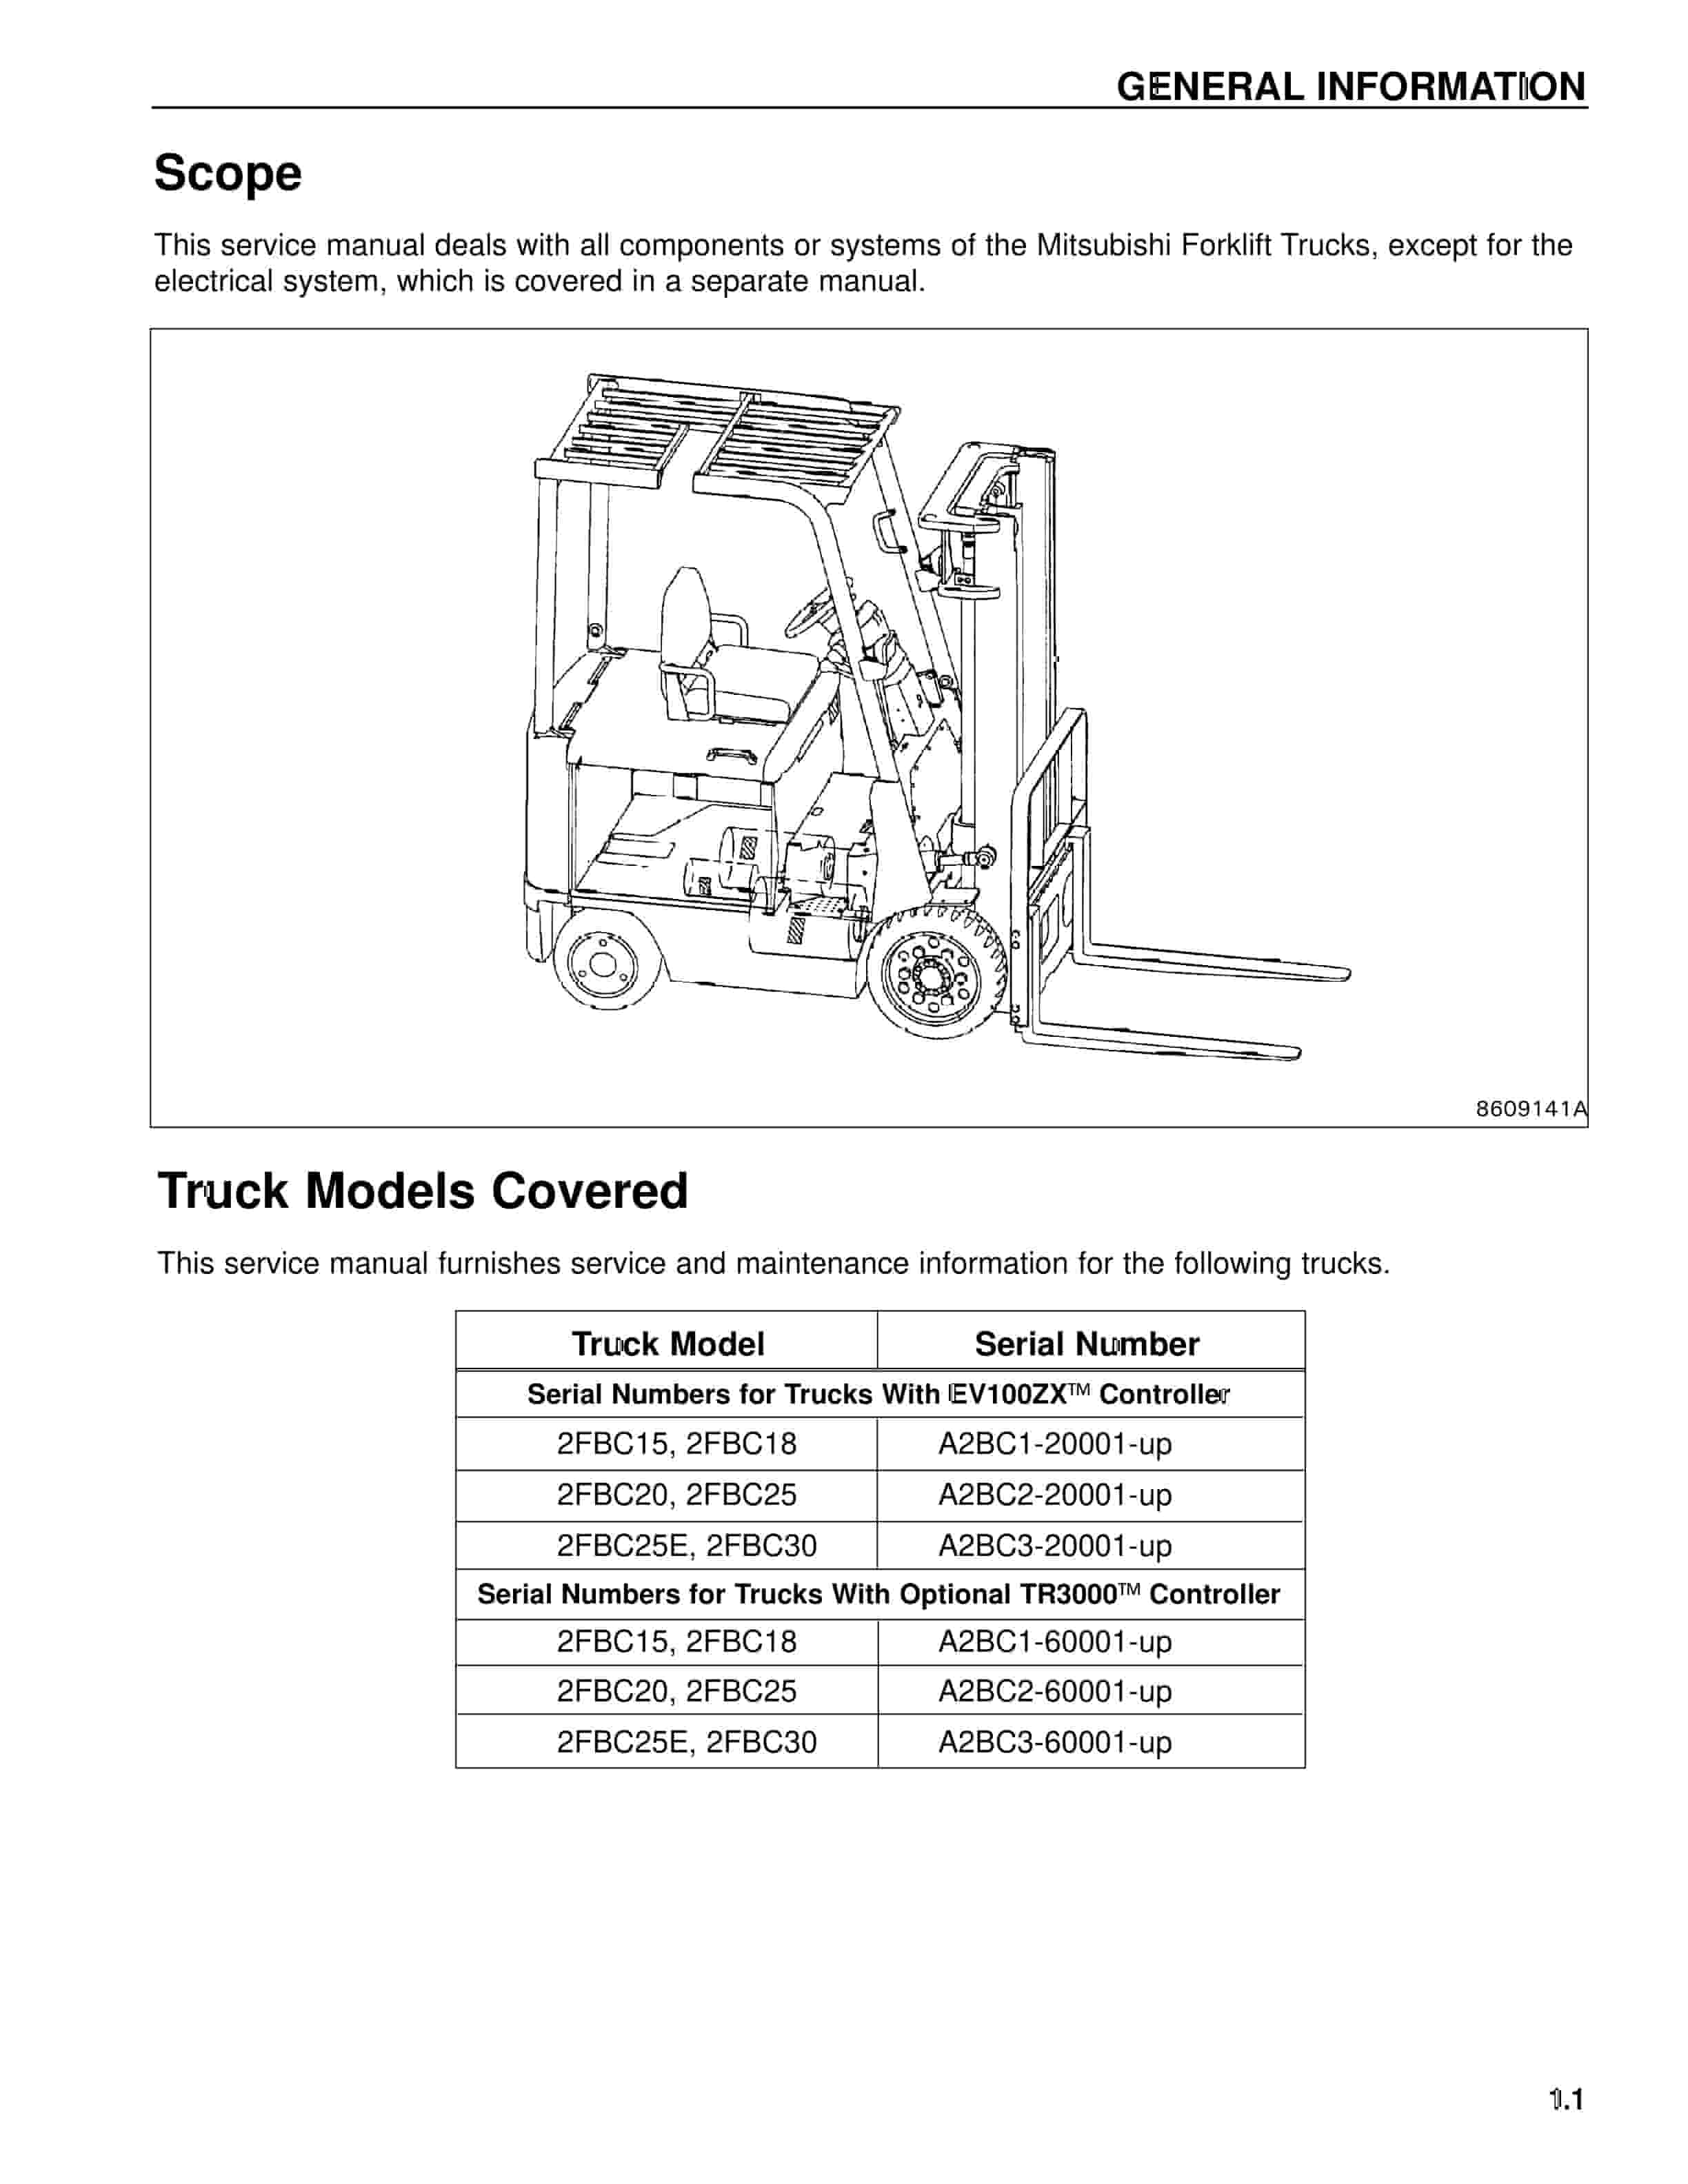
Mitsubishi 2FBC15 Forklift Service Manual
$50.00 Add to cart


%20Fuel%20System%20Supplement%20Service%20Manual%2099789-74111&url=https://ownersmanualpdf.net/docs/mitsubishi-gm-4-3l-g6-fuel-system-supplement-service-manual-99789-74111/&media=https://ownersmanualpdf.net/wp-content/uploads/2025/10/mitsubishi-gm-43l-g6-fuel-system-supplement-service-manual-99789-74111-1.jpg)

