

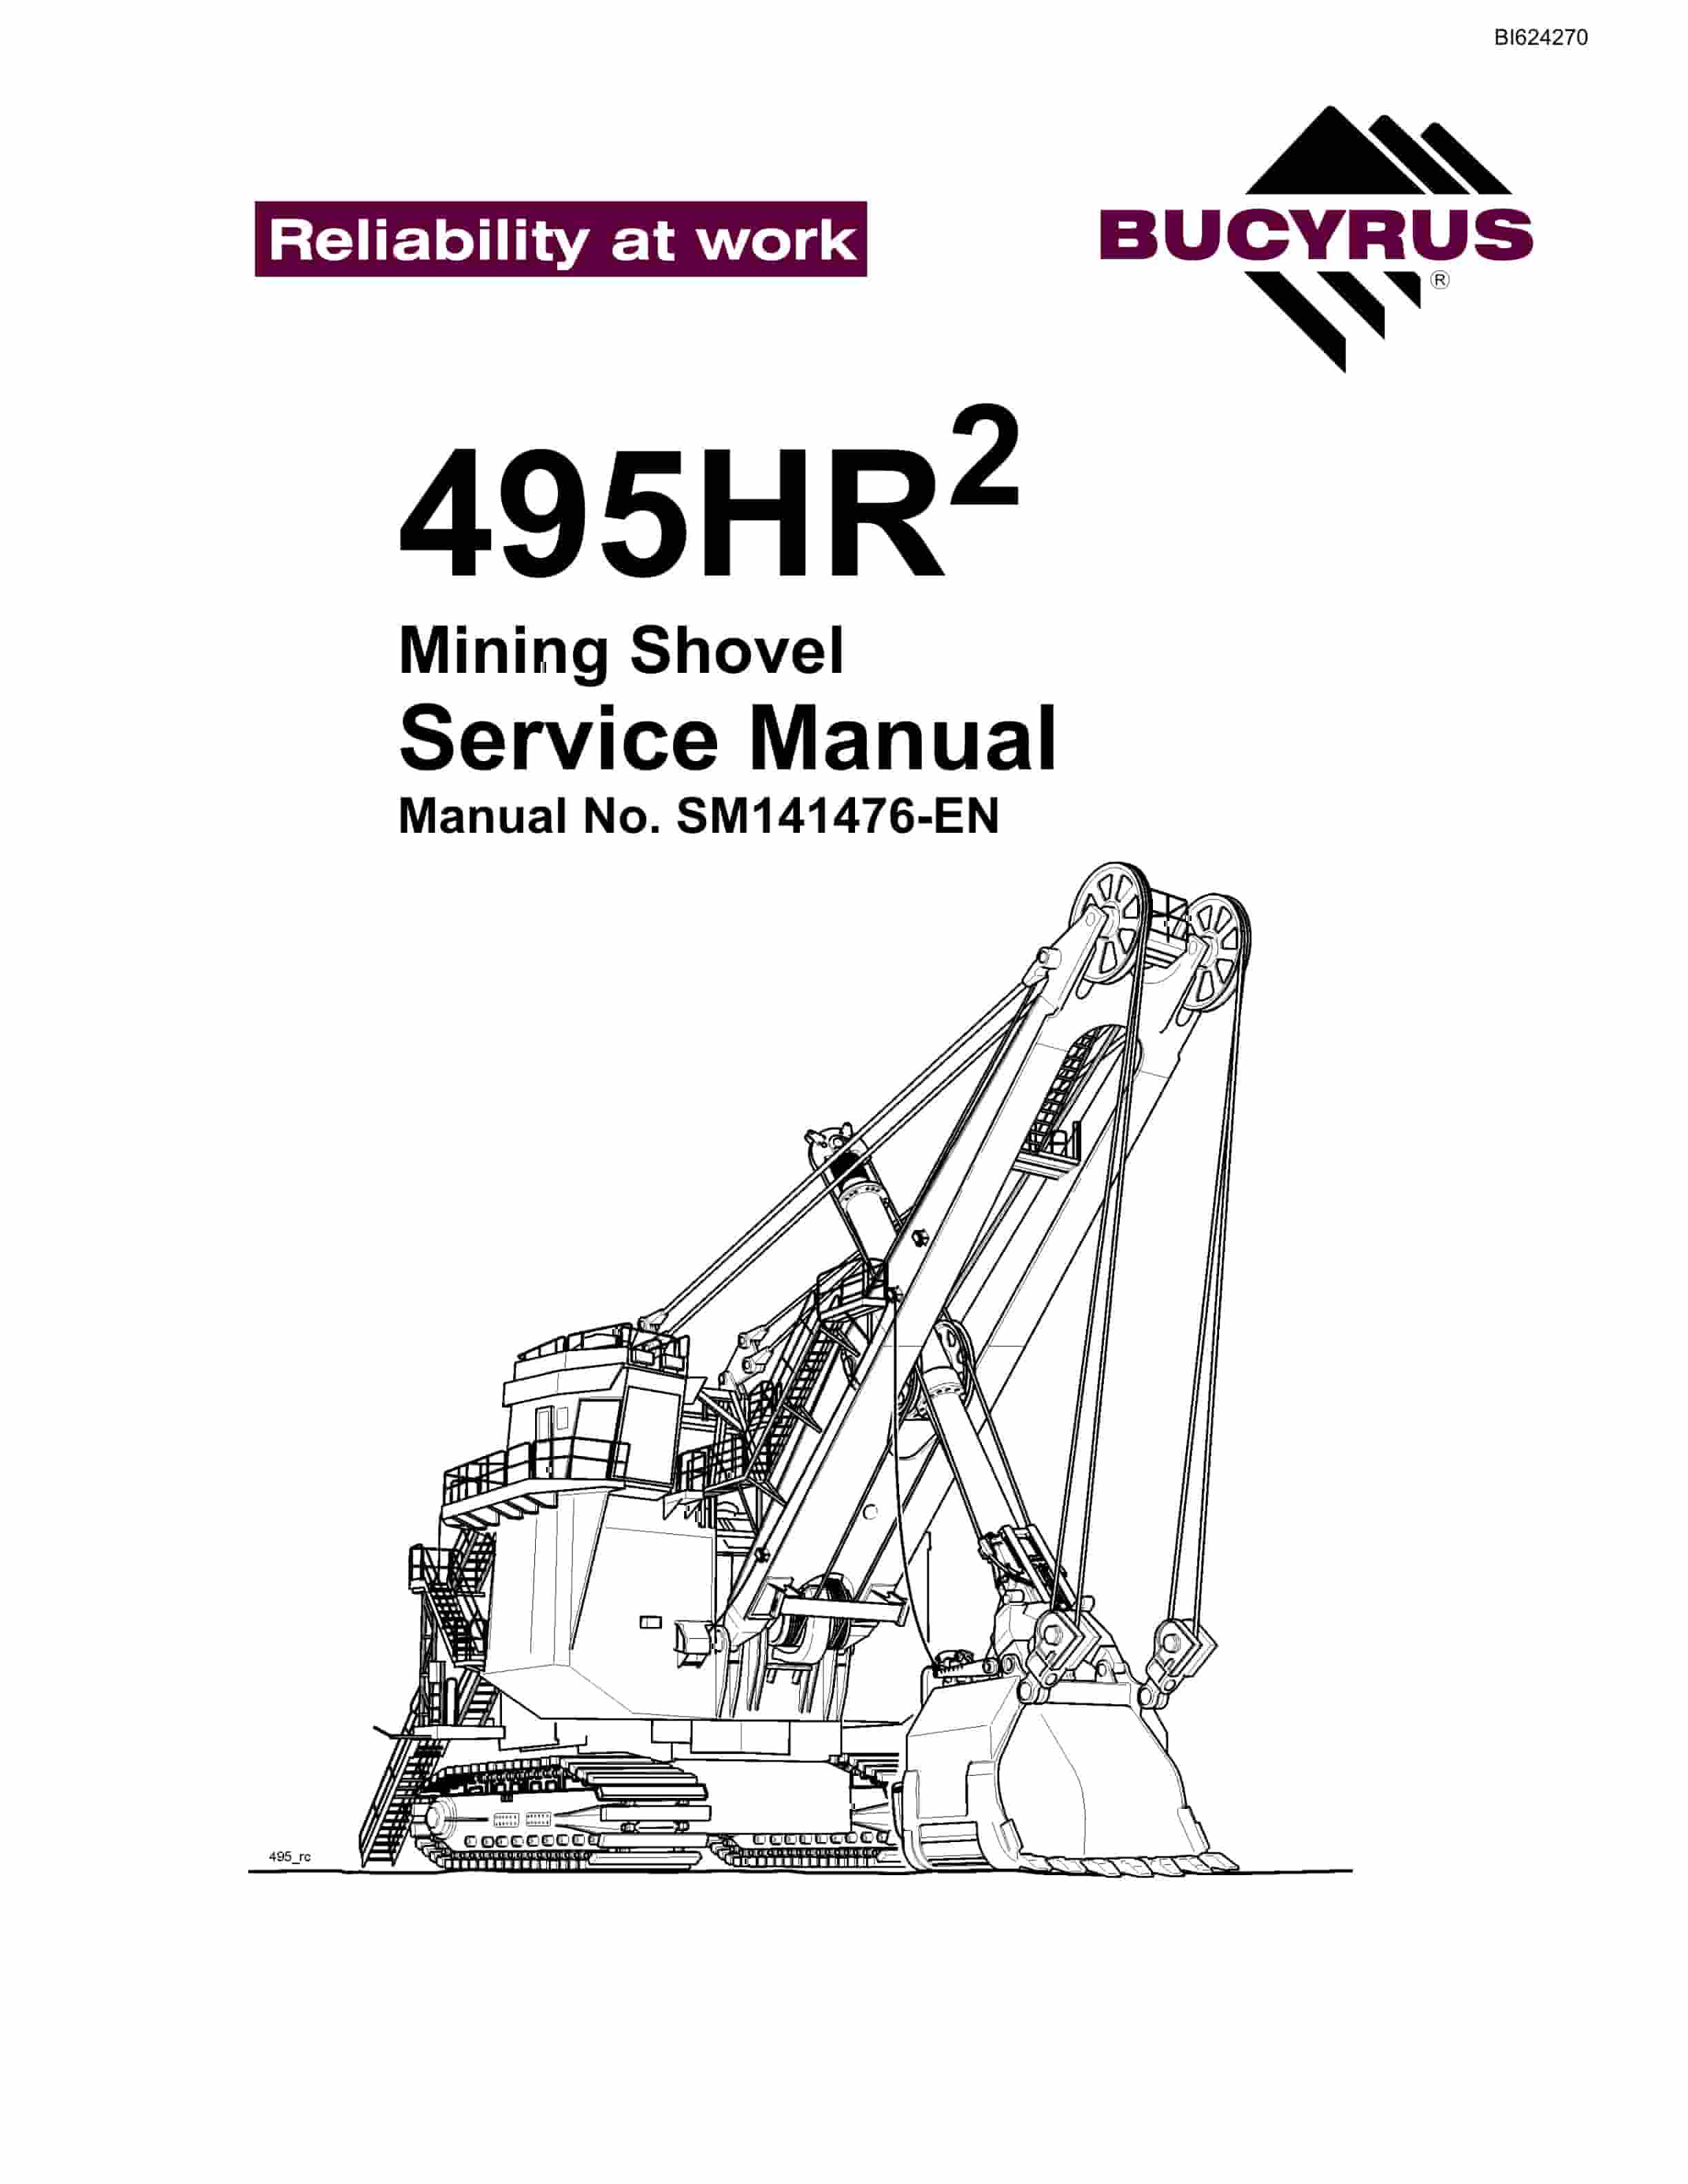
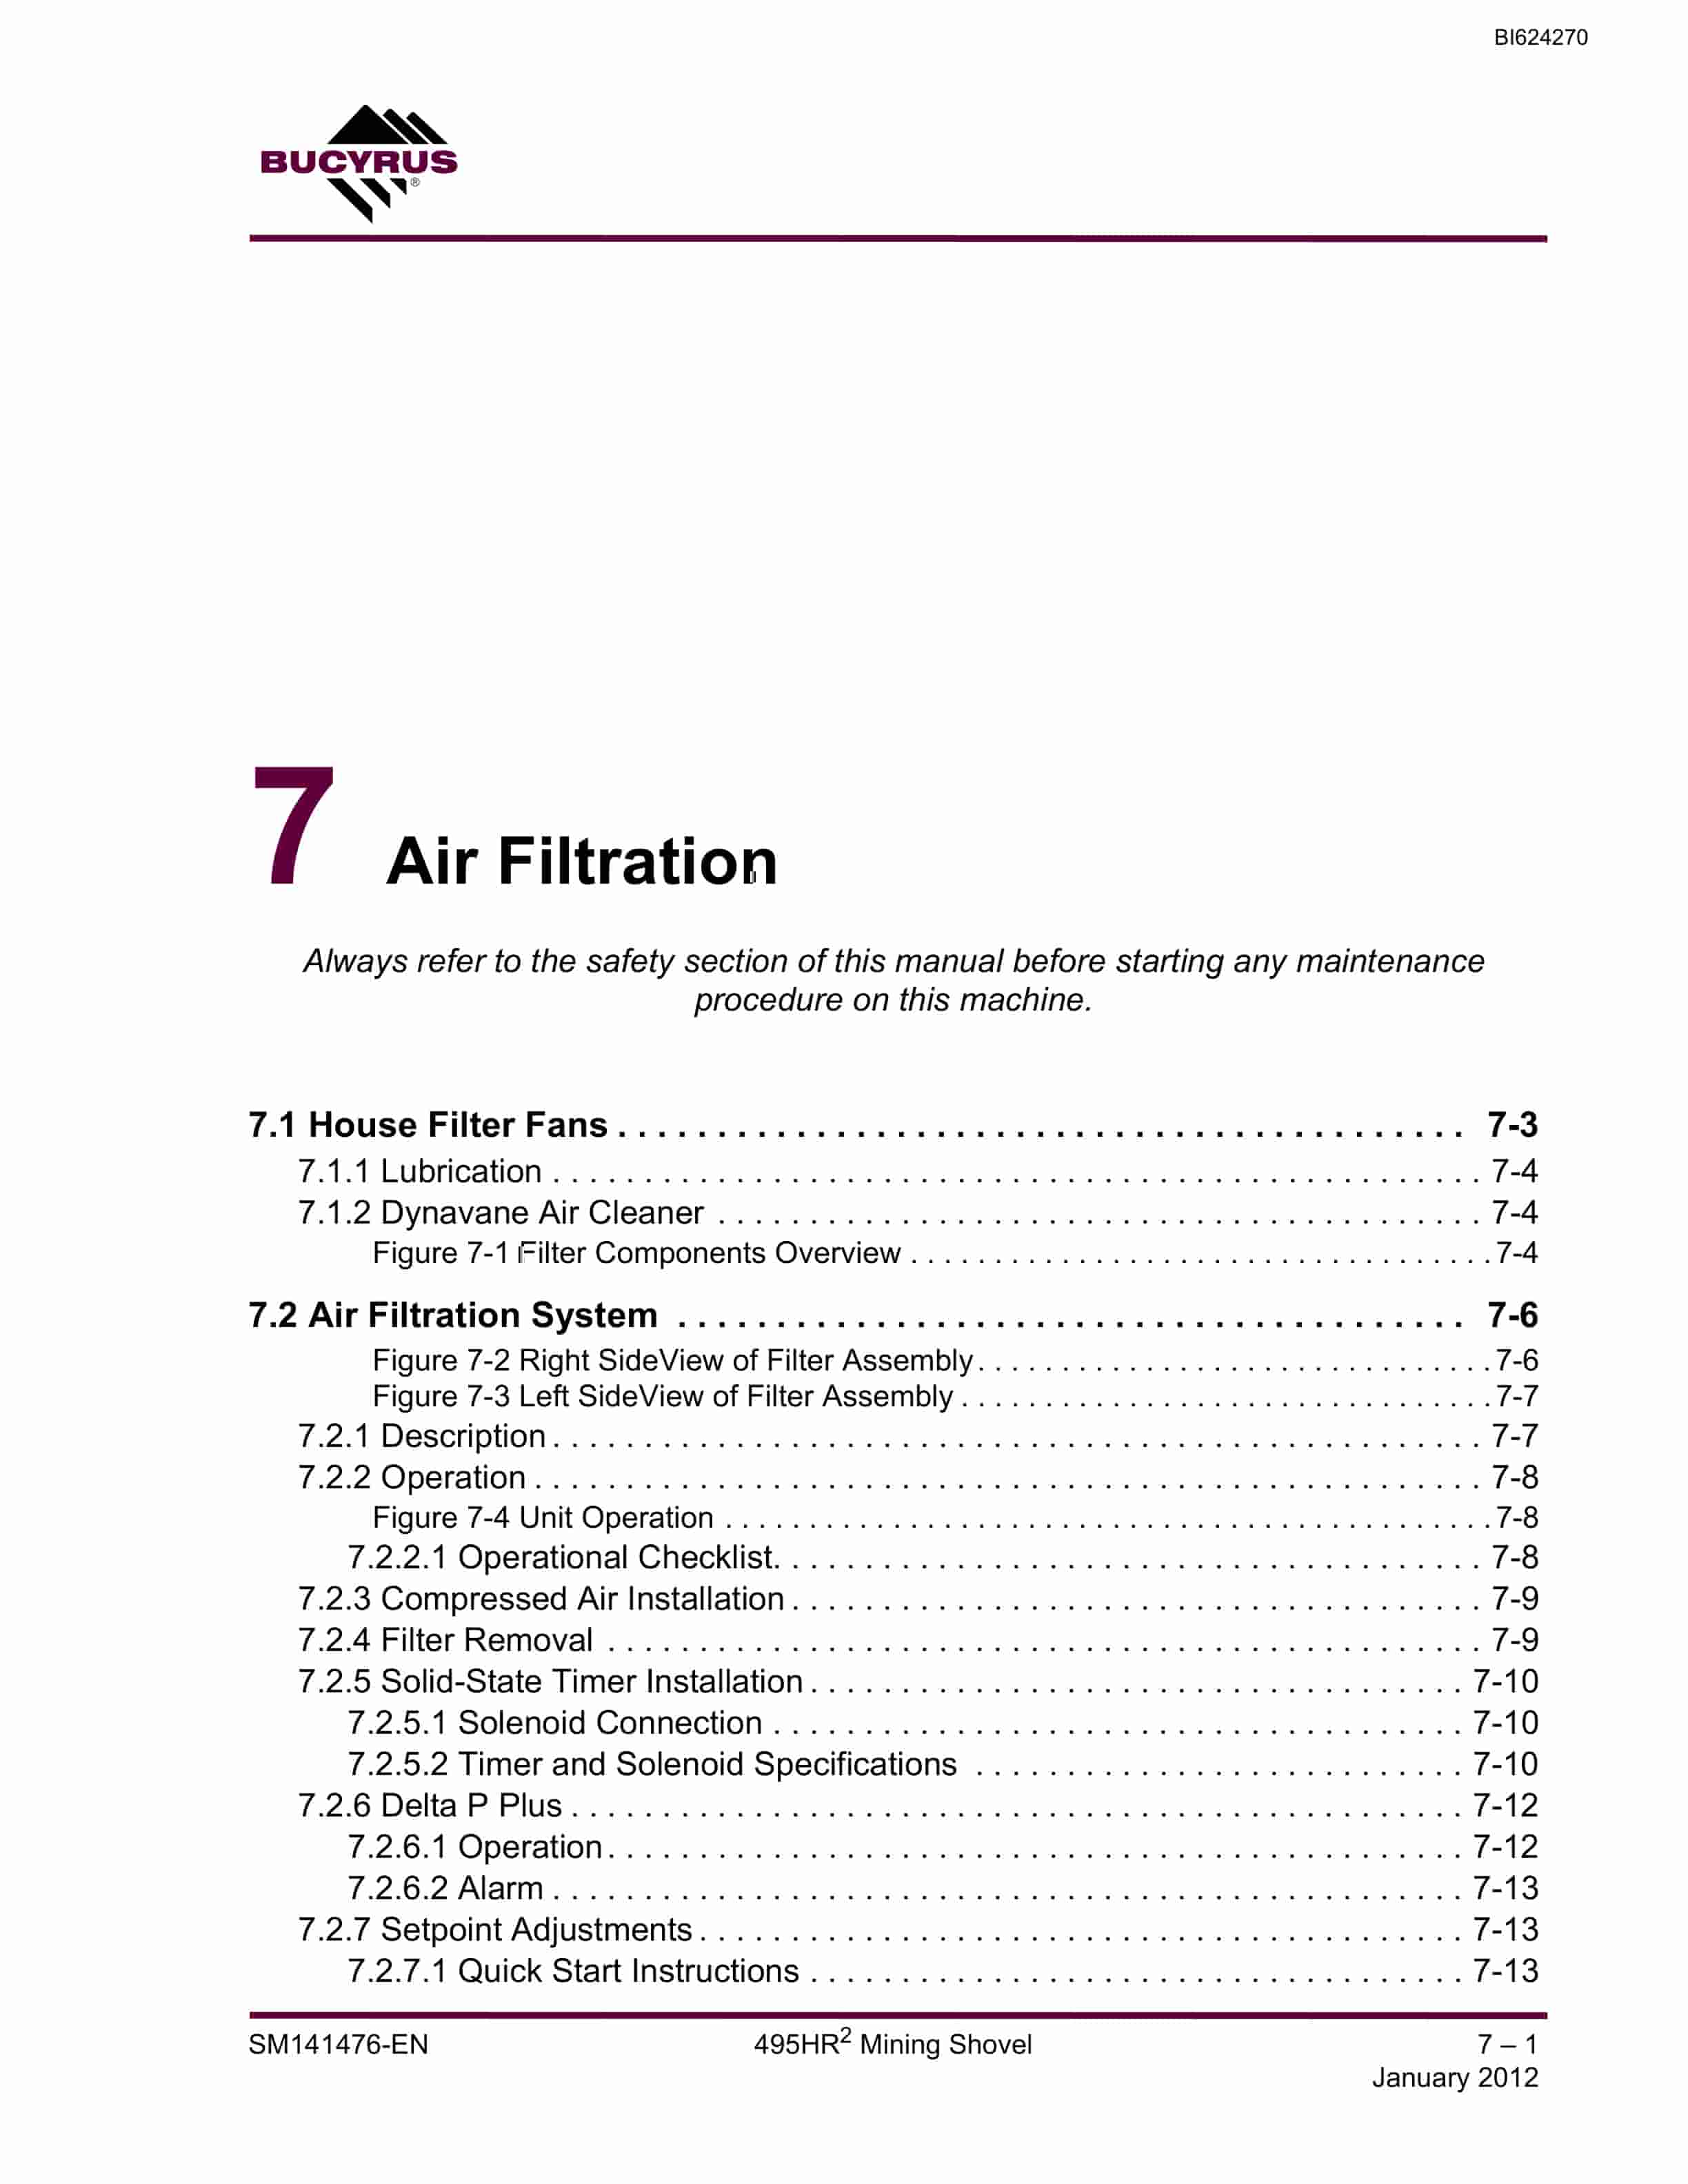
Bucyrus 495HR2 Mining Shovel Service Manual BI624270
$30.00
- Type Of Manual: Service Manual
- Manual ID: BI624270
- Number of Pages: 556
- Size: 22.6MB
- Format: PDF
Product details
-
Model List:
- 495HR2 Mining Shovel
- 1. Safety Symbols
- 2. Safety Precautions
- 2.1. General Precautions
- 2.2. Maintenance Precautions
- 2.3. Operating Precautions
- 2.4. Fire Prevention
- 2.5. Warning Signs And Decals
- 3. Introduction
- 4. About This Manual
- 4.1. Purpose
- 4.2. Organization
- 4.3. Terminology
- 4.4. Revisions
- 4.5. Precautions and Disclaimers
- 4.6. Contact
- 5. Swinging Restraint Ballast Box Support
- 5.1. Ballast Box Support
- 5.2. Swinging Restraint
- 6. Machine Overview
- 7. Lower Works
- 7.1. Crawlers
- 7.2. Truck Frame
- 7.3. Swing Rack
- 7.4. Roller Circle
- 7.5. Propel Machinery
- 7.6. Collector Rings
- 8. Rotating Deck
- 8.1. Revolving Frame
- 8.2. Center Pintle
- 8.3. Deck Extensions
- 8.4. Ballast Box
- 8.5. Machinery House
- 8.5.1. Boarding Stairs
- 8.6. A-Frame
- 8.7. Hoist Machinery
- 8.8. Swing Machinery
- 8.9. Crowd Machinery
- 8.10. Operators Cab
- 8.11. Compressed Air System
- 8.12. Automatic Lubrication System
- 8.13. Lube Reservoir Fill / Overflow Plumbing
- 9. Front End Equipment
- 9.1. Suspension Strands
- 9.2. Boom
- 9.3. Running Ropes
- 9.4. Saddle Block
- 9.5. Dipper Handle
- 9.6. Dipper
- 9.7. Padlocks
- 9.8. Dipper Trip
- 10. Typical Machine Specifications
- 11. General Estimated Component Weights
- 11.1. Lower Works
- 11.2. Upper Works
- 11.3. Front End
- 12. Lubrication
- 13. Lubrication Principles
- 14. Greasing Main A.C. Drive Motors
- 14.1. Type of Grease
- 14.2. Initial Commissioning
- 14.3. Maintenance
- 14.4. Regreasing Intervals
- 15. Lubricant Selection
- 16. Oil Fill Capacities
- 16.1. Types Of Lubricants And Capacities
- 16.1.1. Quantities for First Fill of Lubricants
- 17. Gearcase Lubricant Replacement/Sampling
- 17.1. Lubricant Change Cycle
- 18. Automatic Lubrication System
- 18.1. Lube Room
- 18.2. Lube Reservoir Fill / Overflow Plumbing
- 18.3. Auto Lube Control Panel
- 18.4. Lower Works Lubrication
- 18.5. Revolving Frame Lubrication
- 18.6. Hoist Rope Rollers Lubrication
- 18.7. Front End Lubrication
- 18.8. Lubricant Injectors
- 18.8.1. Lincoln Type SL-1 Lubricant Injectors
- 18.8.2. Lincoln Type SL-V Lubricant Injectors
- 18.8.3. Injector Advantages
- 19. Propel Machinery Lubrication
- 20. Hoist Machinery Lubrication
- 20.1. Hoist OGL Reservoir
- 20.2. Hoist Oil Cooler
- 20.3. Filter Element Cleaning
- 21. Swing Machinery Lubrication
- 22. Crowd Rope Take-up Mechanism Lubrication
- 23. Crowd Machinery Lubrication
- 24. Air Compressor Lubrication
- 24.1. ACSL – Air Compressor (Screw-Type) Lubricant
- 25. Lubrication Specifications
- 25.1. EGL – Enclosed Gearcase Lubricant
- 25.2. MPG – Multipurpose Grease
- 25.3. OGL – Open Gear Lubricant
- 26. Preventive Maintenance
- 27. Introduction
- 27.1. Preventive Maintenance Program
- 27.2. Elements of an Effective Maintenance Program
- 27.3. Scheduled Preventive Maintenance Program
- 27.4. General Safety Considerations
- 28. Maintenance During Machine Operation
- 28.1. Maintenance Precautions
- 29. Preventive Maintenance for Lubrication
- 29.1. Lubricant Cleanliness
- 30. Frequency of Inspection and Maintenance
- 31. Maintenance Schedules
- 31.1. Maintenance Inspection Check Points
- 31.1.1. Daily
- 31.1.2. Every 100 Hours or Weekly
- 31.1.3. Every 500 Hours or Monthly
- 31.1.4. Every 1250 Hours or Quarterly
- 31.1.5. Every 2500 Hours or Semi-Annually
- 31.1.6. Every 5000 Hours or Annually
- 32. Major Component Locations
- 33. Service Procedures
- 34. Lower Works
- 34.1. Truck Frame Assembly
- 34.2. Swing Rack Assembly
- 34.2.1. Roller Circle Rail Replacement – Lower
- 34.2.2. Roller Circle Rail Replacement – Upper
- 34.3. Roller Circle Assembly
- 34.3.1. Roller Circle Adjustment
- 34.3.2. Adjustment Procedure
- 34.3.3. Run-in Procedure for the Roller Circle
- 34.3.4. Roller Circle Segment Removal
- 34.3.5. Roller Circle – Roller Replacement
- 34.4. Crawler Belts
- 34.4.1. Crawler Belt Maintenance
- 34.5. Crawler Side Frame Assembly
- 34.5.1. Crawler Side Frame Maintenance
- 34.5.2. Load Rollers and Rear Idler Rollers
- 34.6. Propel Shaft Assembly
- 34.6.1. Installation Notes
- 34.6.2. Main Propel Drive Shaft Removal
- 34.6.3. Main Propel Shaft – Disassembly
- 34.6.4. Tumbler Rebuild Procedure
- 34.7. Propel Machinery
- 34.7.1. Propel Planetary Gearcase
- 34.7.2. Propel Motors
- 35. Rotating Deck
- 35.1. Revolving Frame
- 35.2. Center Pintle
- 35.2.1. Center Pintle Adjustment
- 35.2.2. Center Pintle Sleeve Removal
- 35.3. Collector Rings
- 35.3.1. Collector Ring Inspection
- 35.3.2. Collector Ring Repair
- 35.4. Swing Machinery
- 35.4.1. Swing Support Mounting Bolts
- 35.4.2. Swing Motor
- 35.4.3. Swing Planetary Gearcase
- 35.4.4. Swing Pinion Shafts
- 35.5. Hoist Machinery
- 35.5.1. Hoist Motor Removal
- 35.5.2. Motor Coupling Shaft
- 35.5.3. Hoist Gearcase Assembly
- 35.5.4. Hoist Drum Assembly
- 35.5.5. Hoist Gear Start-Up Inspections
- 35.5.6. Hoist Gear Replacement
- 35.6. Hoist Oil Cooler
- 35.6.1. Hoist Mounting Bolts
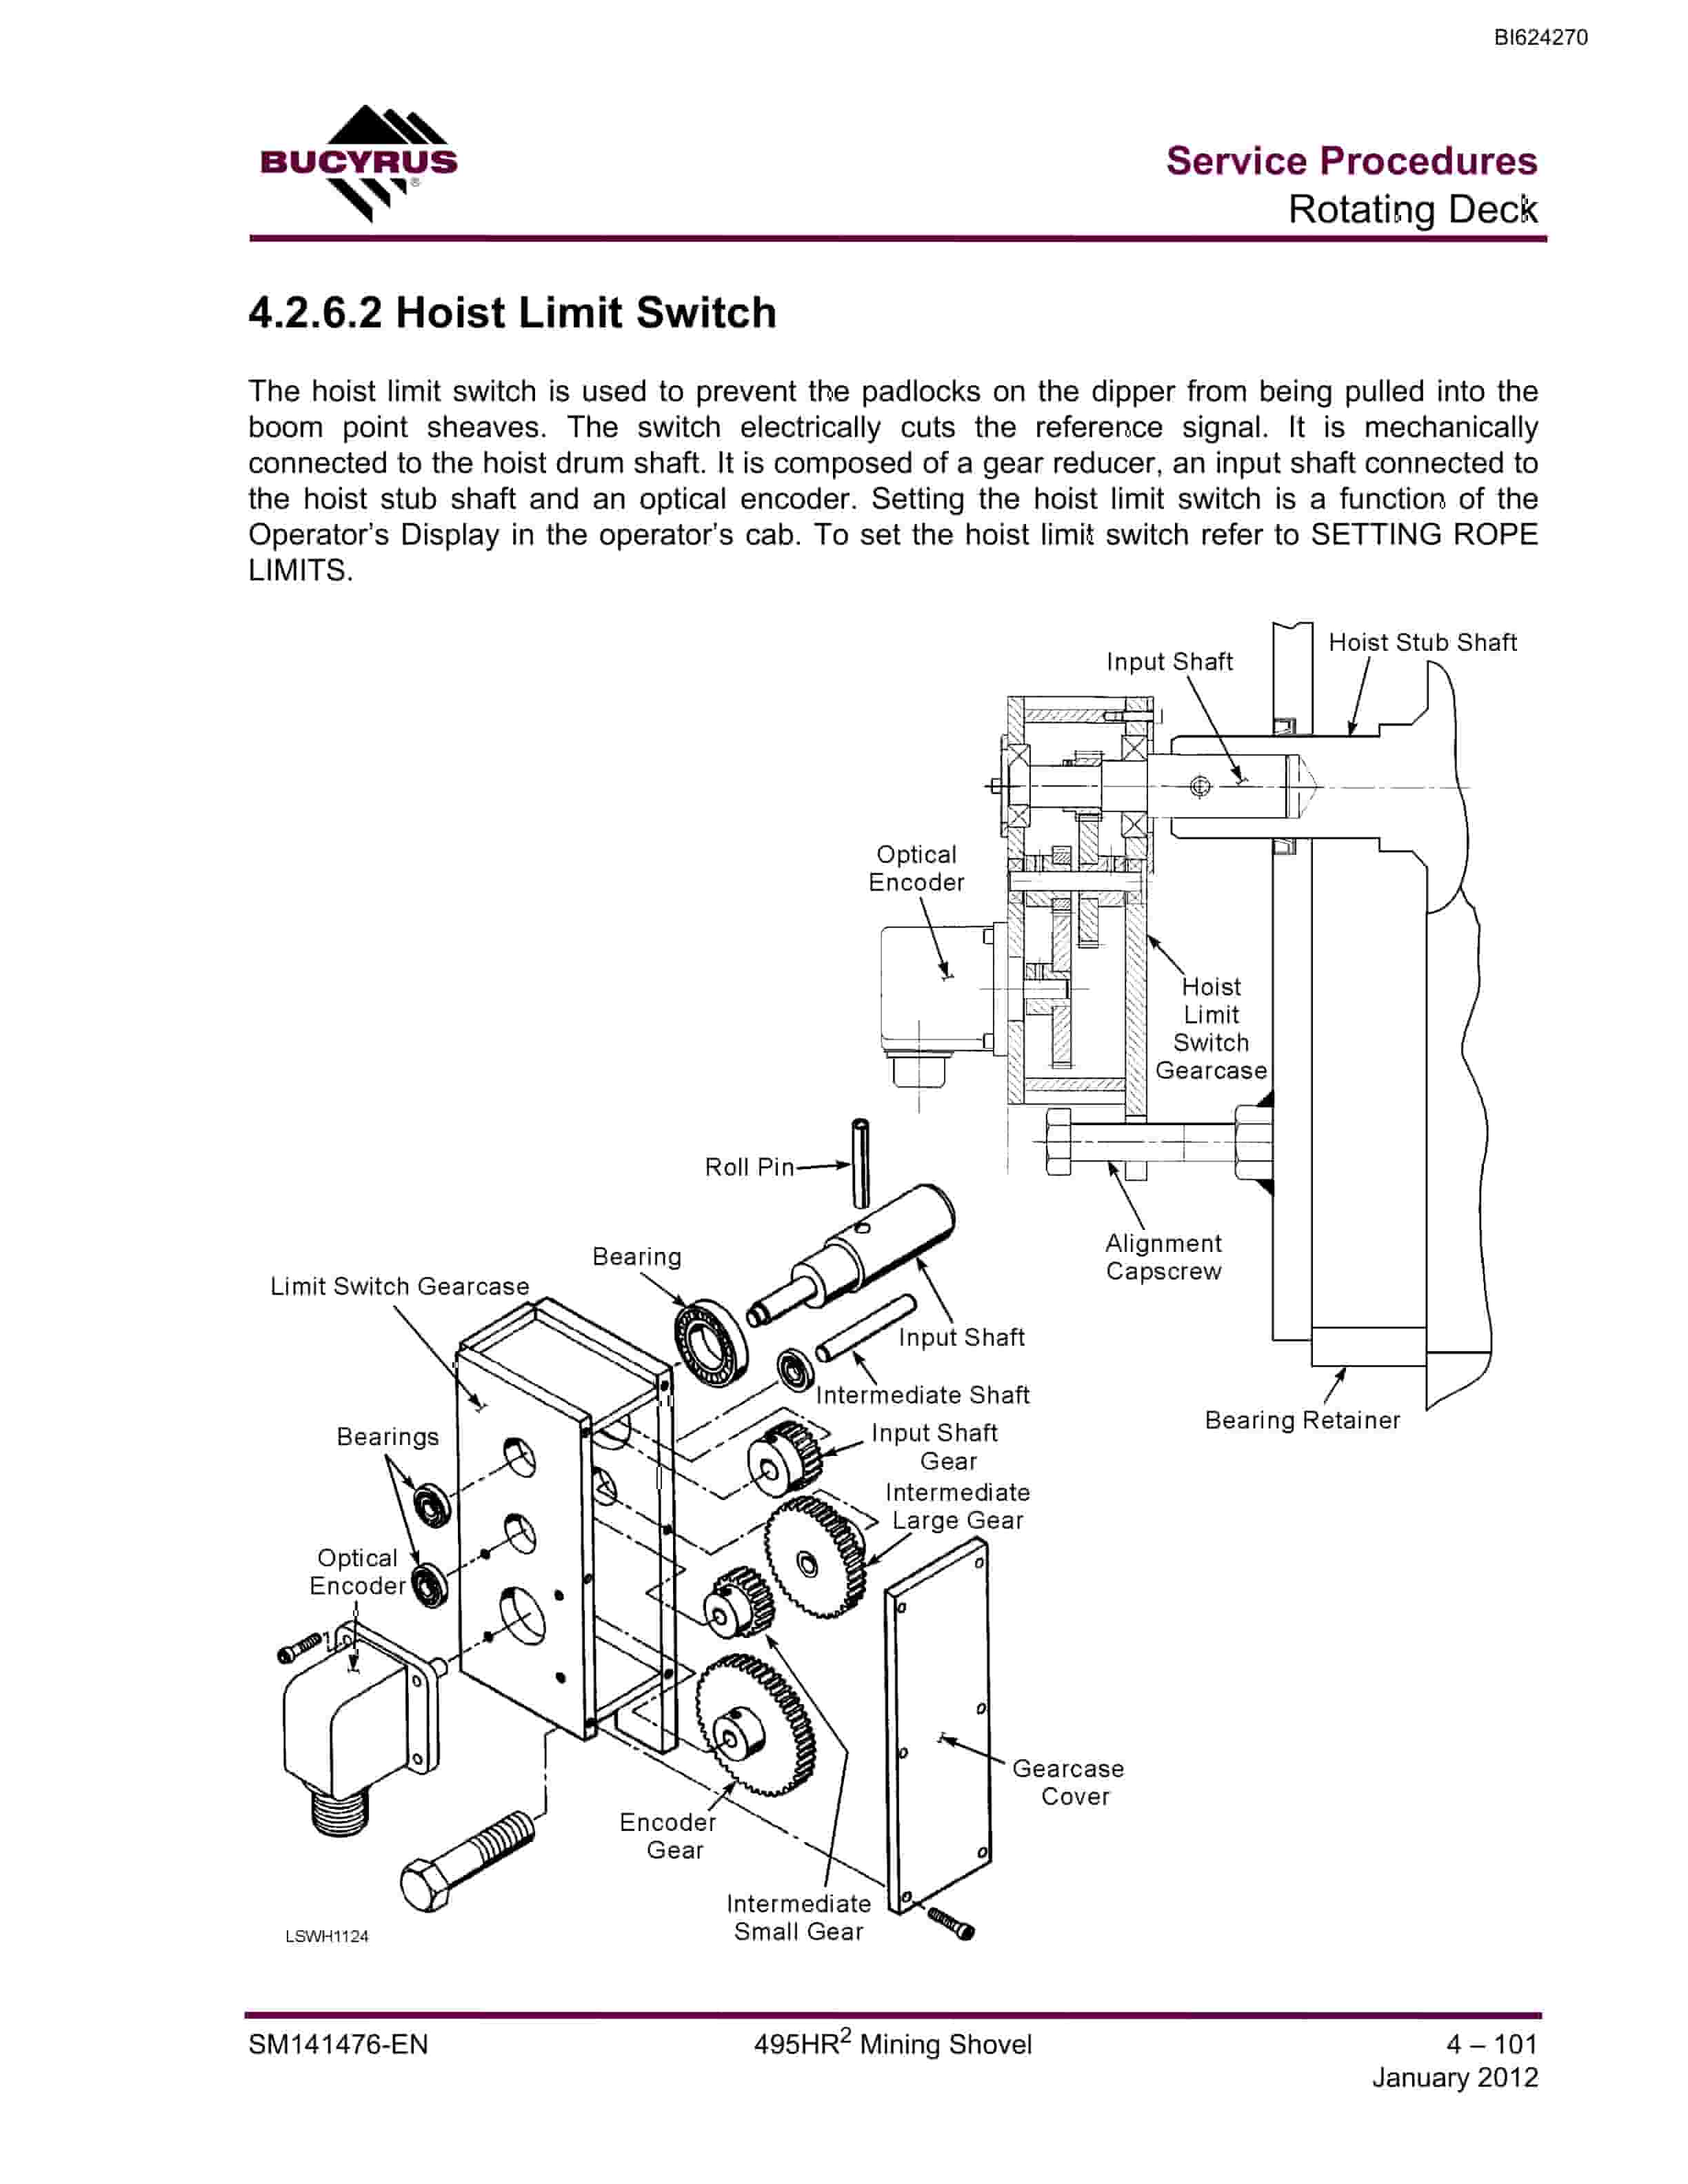
- 35.6.2. Hoist Limit Switch
- 35.7. Crowd Machinery
- 35.7.1. Crowd Gearcase Disassembly
- 35.7.2. Crowd Gearcase Assembly
- 35.7.3. Crowd Motor
- 35.7.4. Crowd Gear and Drum
- 35.8. Operators Cab Mounting
- 35.8.1. Operators Cab Isolator Mount Replacement
- 35.9. Operators Seat Replacement
- 35.10. Joystick Replacement
- 35.10.1. Joystick Calibration
- 35.11. Wiper Arm Replacement
- 35.12. Wiper Blade Replacement
- 35.13. Wiper Motor Replacement
- 36. Machinery House
- 36.1. Walkways, Stairways, and Handrails
- 36.1.1. Boarding Stairs
- 37. Front End Equipment
- 37.1. Boom Assembly
- 37.1.1. Boom Repair
- 37.2. Boom Limit Switch Installation
- 37.3. Boom Point Sheaves
- 37.3.1. Boom Point Sheave Removal and Disassembly
- 37.3.2. Boom Point Sheave Reassembly and Installation
- 37.4. Boom Bumper
- 37.5. Saddle Block
- 37.5.1. Saddle Block Repair
- 37.5.2. Saddle Block Removal
- 37.6. Dipper Handle Assembly
- 37.6.1. Dipper Handle Removal
- 37.6.2. Crowd Rope Take-Up Mechanism
- 37.7. Dipper Assembly
- 37.7.1. Dipper Door
- 37.7.2. Latch Bar Adjusting
- 37.7.3. Dipper Door Bumpers
- 37.7.4. Dipper Door Snubbers
- 37.7.5. Dipper Pitch Brace
- 37.7.6. Dipper Padlock
- 37.8. Dipper Removal Installation
- 37.9. Dipper Trip Assembly
- 37.10. Crowd Rope Take-up Hydraulic Unit
- 37.11. A-Frame
- 37.12. Auxiliary Winch
- 37.13. Hoist Rope Support Roller
- 37.14. Boom Support Ropes
- 37.15. Wire Ropes
- 37.15.1. Wire Rope Inspection
- 37.16. Hoist Rope Reeving Replacement
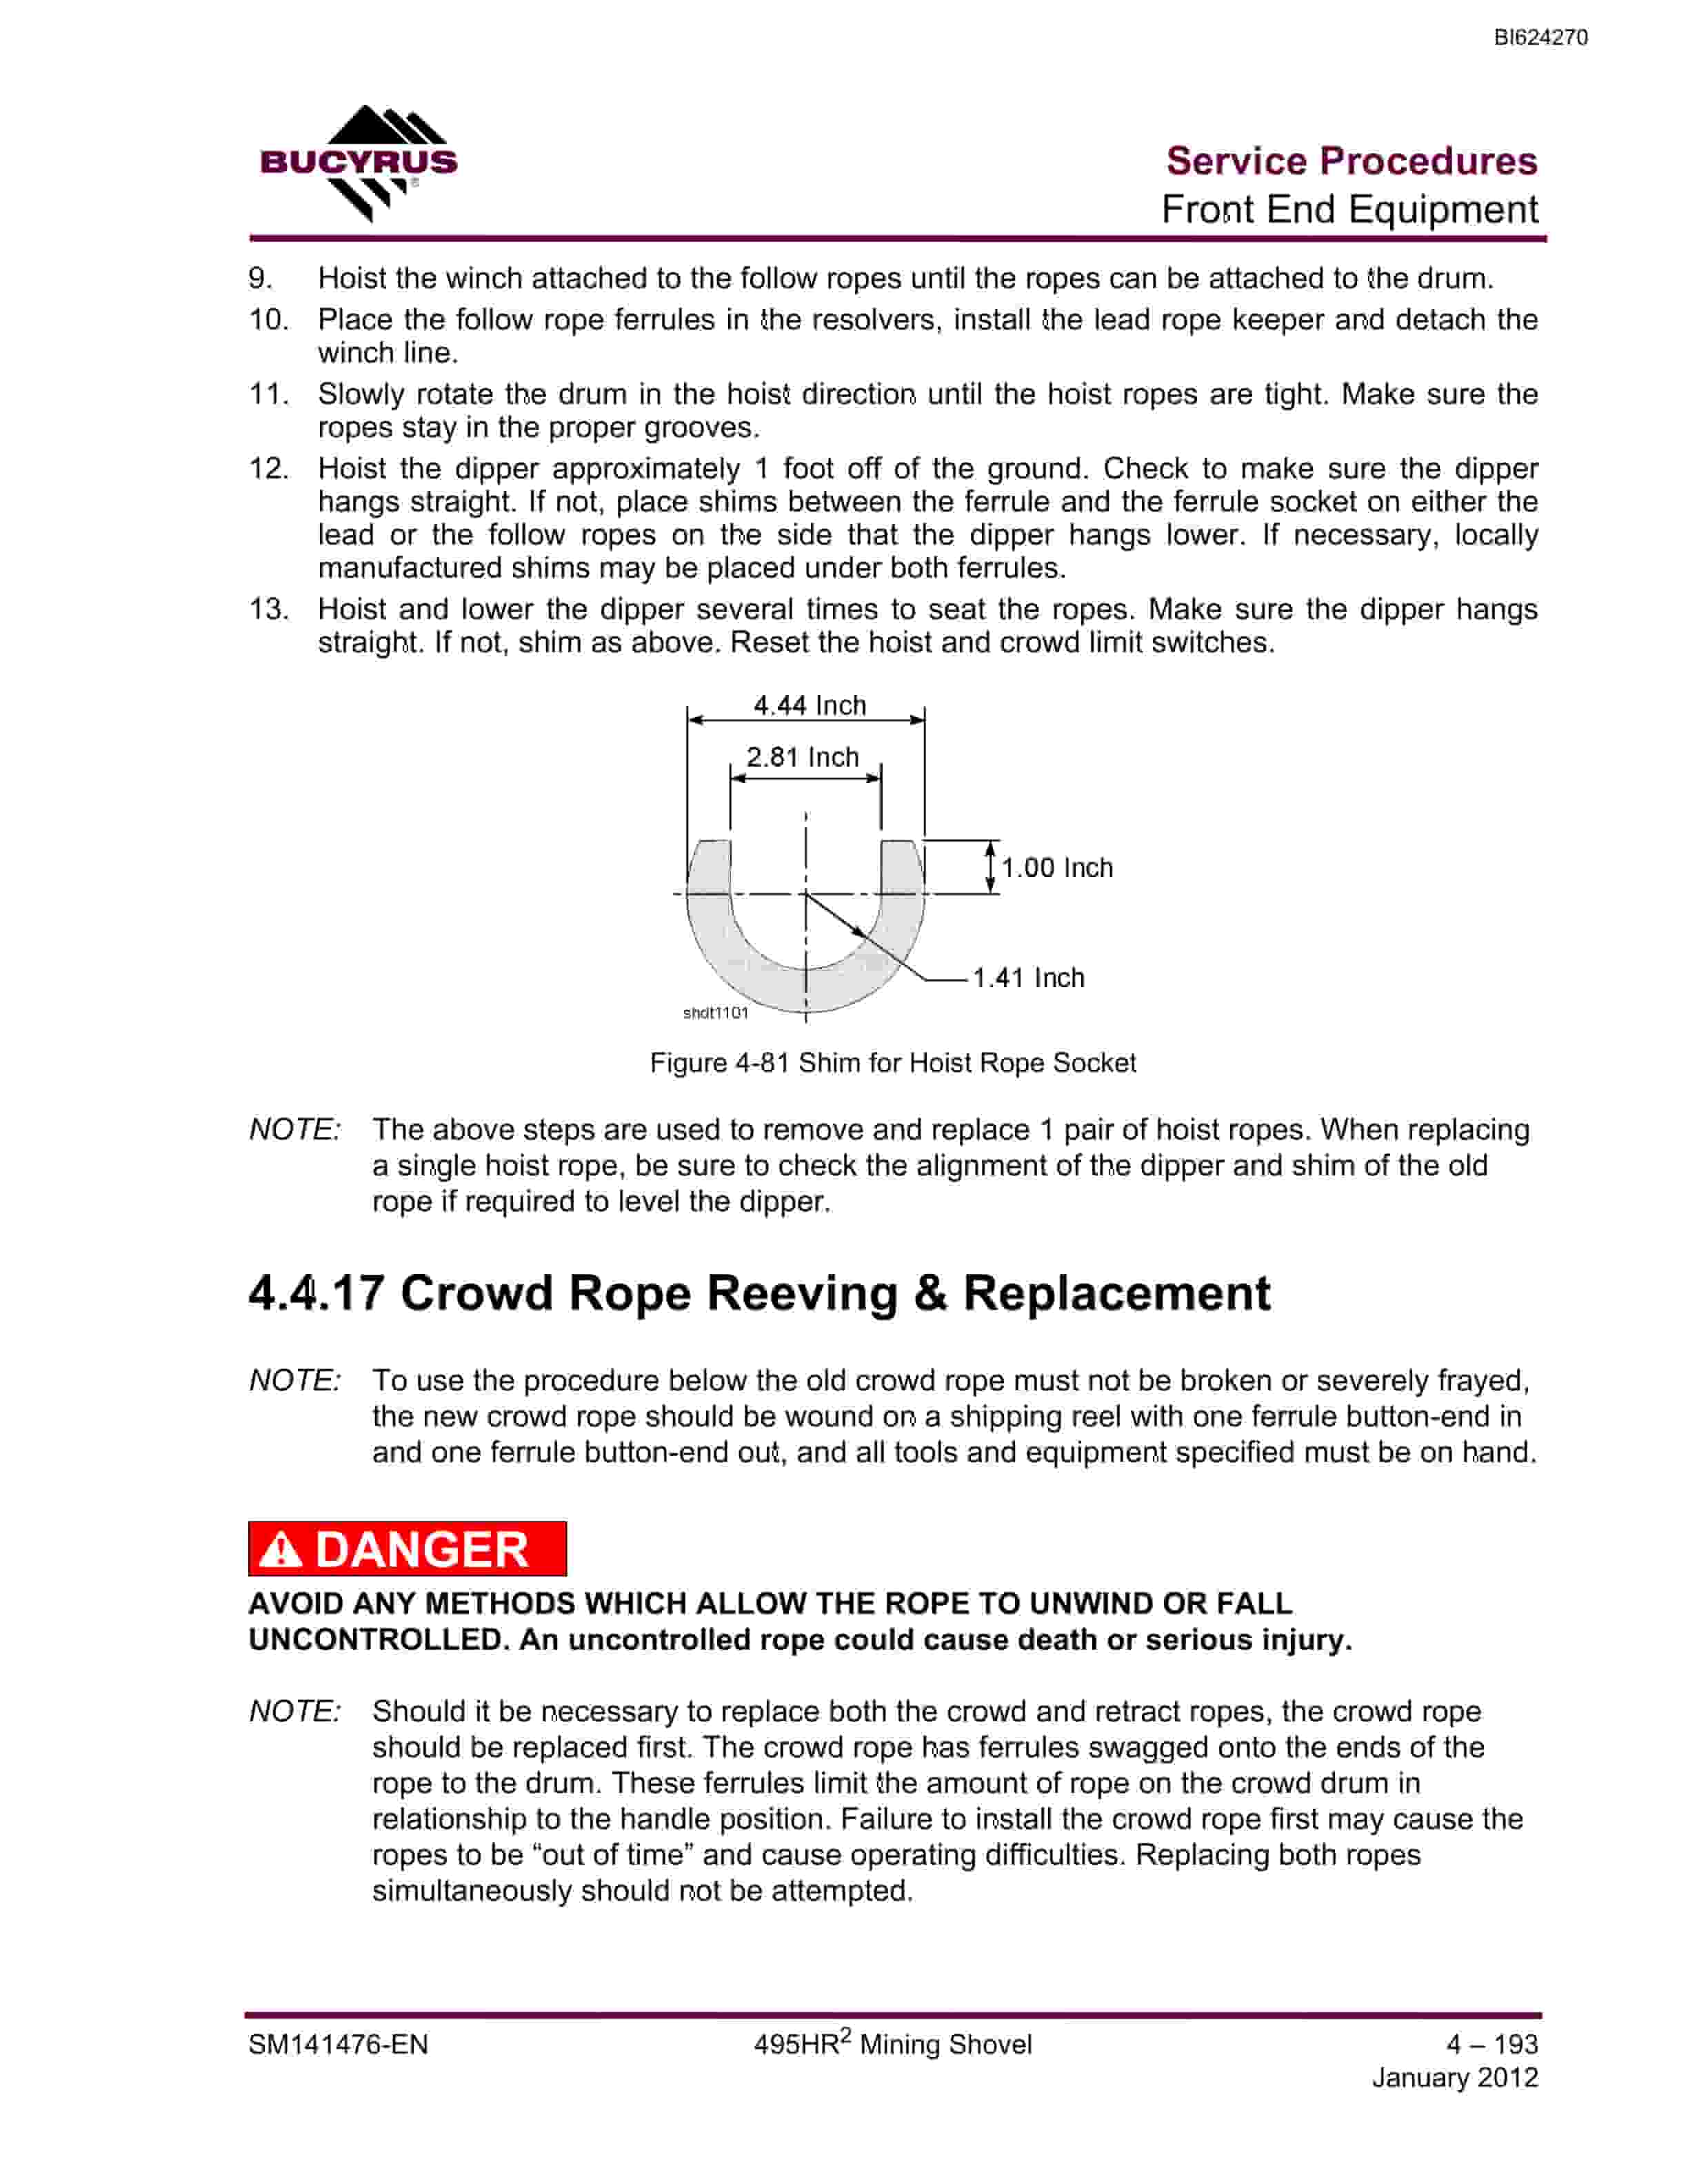
- 37.17. Crowd Rope Reeving Replacement
- 37.18. Retract Rope Reeving Replacement
- 37.19. Crowd and Retract Rope Tightening
- 37.20. Dipper Trip Rope Reeving Replacement
- 37.21. Hoist and Crowd Limit Systems
- 37.21.1. Setting Limits In The Hoist Crowd System
- 38. Brakes and Couplings
- 39. Brakes
- 39.1. Disc Brake Operation
- 39.2. Maintenance
- 39.3. Brake Adjustment Specifications
- 39.4. Hoist Brake
- 39.4.1. Hoist Brake Adjustment
- 39.4.2. Hoist Brake Installation
- 39.4.3. Hoist Brake Wear Release Switches
- 39.5. Crowd Brake
- 39.5.1. Crowd Brake Installation
- 39.5.2. Crowd Brake Wear Release Switches
- 39.6. Propel Brake
- 39.6.1. Propel Brake Adjustment
- 39.6.2. Propel Brake Installation
- 39.6.3. Tachometer Mounting Alignment
- 39.7. Swing Brake
- 39.7.1. Swing Brake Installation
- 39.7.2. Swing Brake Wear Release Switches
- 39.7.3. Swing Brake Burnishing
- 39.8. Spring Replacement All Brakes
- 39.9. Friction Disc Replacement All Brakes
- 39.10. O-Ring Replacement All Brakes
- 39.11. Brake Wear Release Switches Single Disc Brakes
- 39.12. Brake Wear Release Switches Multiple Disc Brakes
- 40. Couplings
- 40.1. Grid Couplings
- 40.1.1. Lubrication
- 40.1.2. Coupling Disassembly and Grid Removal
- 40.1.3. Grid Coupling Installation
- 40.1.4. Seal Replacement without Hub Removal
- 40.1.5. Grid Coupling Alignment
- 40.2. Gear Couplings
- 40.2.1. Coupling Installation
- 40.2.2. Gear Coupling Alignment
- 40.2.3. Hoist Coupling Shaft Alignment
- 41. Compressed Air System
- 42. Air Compressor
- 43. Lockout Valves
- 44. Safety Warnings
- 45. Air Filtration
- 46. House Filter Fans
- 46.1. Lubrication
- 46.2. Dynavane Air Cleaner
- 47. Air Filtration System
- 47.1. Description
- 47.2. Operation
- 47.2.1. Operational Checklist
- 47.3. Compressed Air Installation
- 47.4. Filter Removal
- 47.5. Solid-State Timer Installation
- 47.5.1. Solenoid Connection
- 47.5.2. Timer and Solenoid Specifications
- 47.6. Delta P Plus
- 47.6.1. Operation
- 47.6.2. Alarm
- 47.7. Setpoint Adjustments
- 47.7.1. Quick Start Instructions
- 47.7.2. Adjustments
- 47.7.3. Password Protected Settings
- 47.7.4. Delta P Plus Control Calibration
- 47.7.5. Preliminary Start-Up Check
- 47.7.6. Maintenance Information
- 48. Air Conditioner/Heater
- 48.1. Evaporator
- 48.2. Condenser
- 48.3. Pressurizer
- 48.3.1. Cleaning The Washable Filter
- 48.4. Specifications
- 49. Engineering Data
- 50. Capscrew (Bolt) Grade
- 50.1. Bolt Tightening
- 50.1.1. Torque Wrench Method
- 50.1.2. Turn-of-Nut Method
- 51. Measurement Systems
- 51.1. Linear Measurements
- 51.2. Area Measurements
- 51.3. Volume Measurements
- 51.4. Torque Measurements
- 51.5. Weight Measurements – Conventional
- 52. Split Flange Assembly Procedure
- 53. Wire Locking Capscrews
- 54. Torque Nut Installation
- 55. Expansion Bolt Installation
- 55.1. Tightening Procedure for 1.25-Inch Torque Nut
- 55.2. Tightening Procedure for 2-Inch Torque Nut
- 55.3. Tightening Procedure for 2-Inch Torque Nut
- 55.4. Tightening Procedure for 2-Inch Torque Nut
- 55.5. Tightening Procedure for 2.5-Inch Torque Nut
- 55.6. Tightening Procedure for 3-Inch Torque Nut
- 55.7. Tightening Procedure for 3.5-Inch Torque Nut
- 55.8. Procedure For Use Of Mechanical Tensioner On 3.5 Inch Crawler Rods
- 55.8.1. Initial Tensioning
- 55.8.2. Final Tensioning
- 55.9. Tightening Procedures – Expansion Bolts
- 55.9.1. Rack Roller Torque Rod, Tapered Sleeve 1.0 Inch Torque Nut
- 55.9.2. Hoist Torque Rod, Tapered Sleeve 1.62 Inch Torque Nut
- 55.9.3. Swing Torque Rod Tapered Sleeve 3.25 Inch Torque Nut
- 56. Torque Nut Removal Procedure
- 56.1. Thread Lubrication
- 57. Torque Nut Helpful Hints
- 58. Locking Assemblies
- 58.1. Locking Assembly Removal
- 59. Pinion and Hub Installation
- 59.1. Removal from a Shaft
- 59.2. Mounting a Pinion or Hub on a Shaft
- 59.3. Pre-heat Advance Requirements – Pinions and Hubs
- 59.4. Motor Coupling Pre-Heat Advance Requirements
- 60. Open Gear Contact Check
- 61. Open Gear Break-In
- 62. Maintenance Welding
- 62.1. Welding Electrodes
- 62.2. Repair Welding of Cracks
- 62.2.1. Preheat
- 62.2.2. Welding Technique
- 62.3. Repair Welding of Broken Parts
- 62.4. Repair Welding Swing Rack Teeth
- 62.4.1. Preparation
- 62.4.2. Swing Rack Welding Electrodes
- 62.4.3. Preheat
- 62.4.4. Welding Procedure
- 62.5. Welding and Cutting Equipment
- 62.6. Stress Relieving Temperature Measuring Equipment
- 63. Wire Rope Care and Maintenance
- 63.1. Storage
- 63.2. Checking Diameter
- 63.3. Handling Wire Rope
- 63.4. Seizing Wire Rope
- 63.5. End Preparations/Terminations
- 63.6. Wire Rope Clips
- 63.6.1. Wire Rope Clip Application
- 63.6.2. Wedge Sockets
- 63.7. Inspection of Sheaves and Drums
- 63.8. Breaking In a New Wire Rope
- 63.9. Inspection Data
- 63.10. Guideline to Inspections and Reports
- 63.10.1. Wire Rope Inspection Criteria
- 64. Seals
- 64.1. Seal Installation
- 64.2. Gearcase Sealing
- 65. Schematics
- 66. Schematics
- 67. Side View
- 68. Deck Plan
- 69. OGL System A B Schematic
- 70. Grease System C Schematic
- 71. HVAC Schematic
- 72. Air Schematic
Related products
-
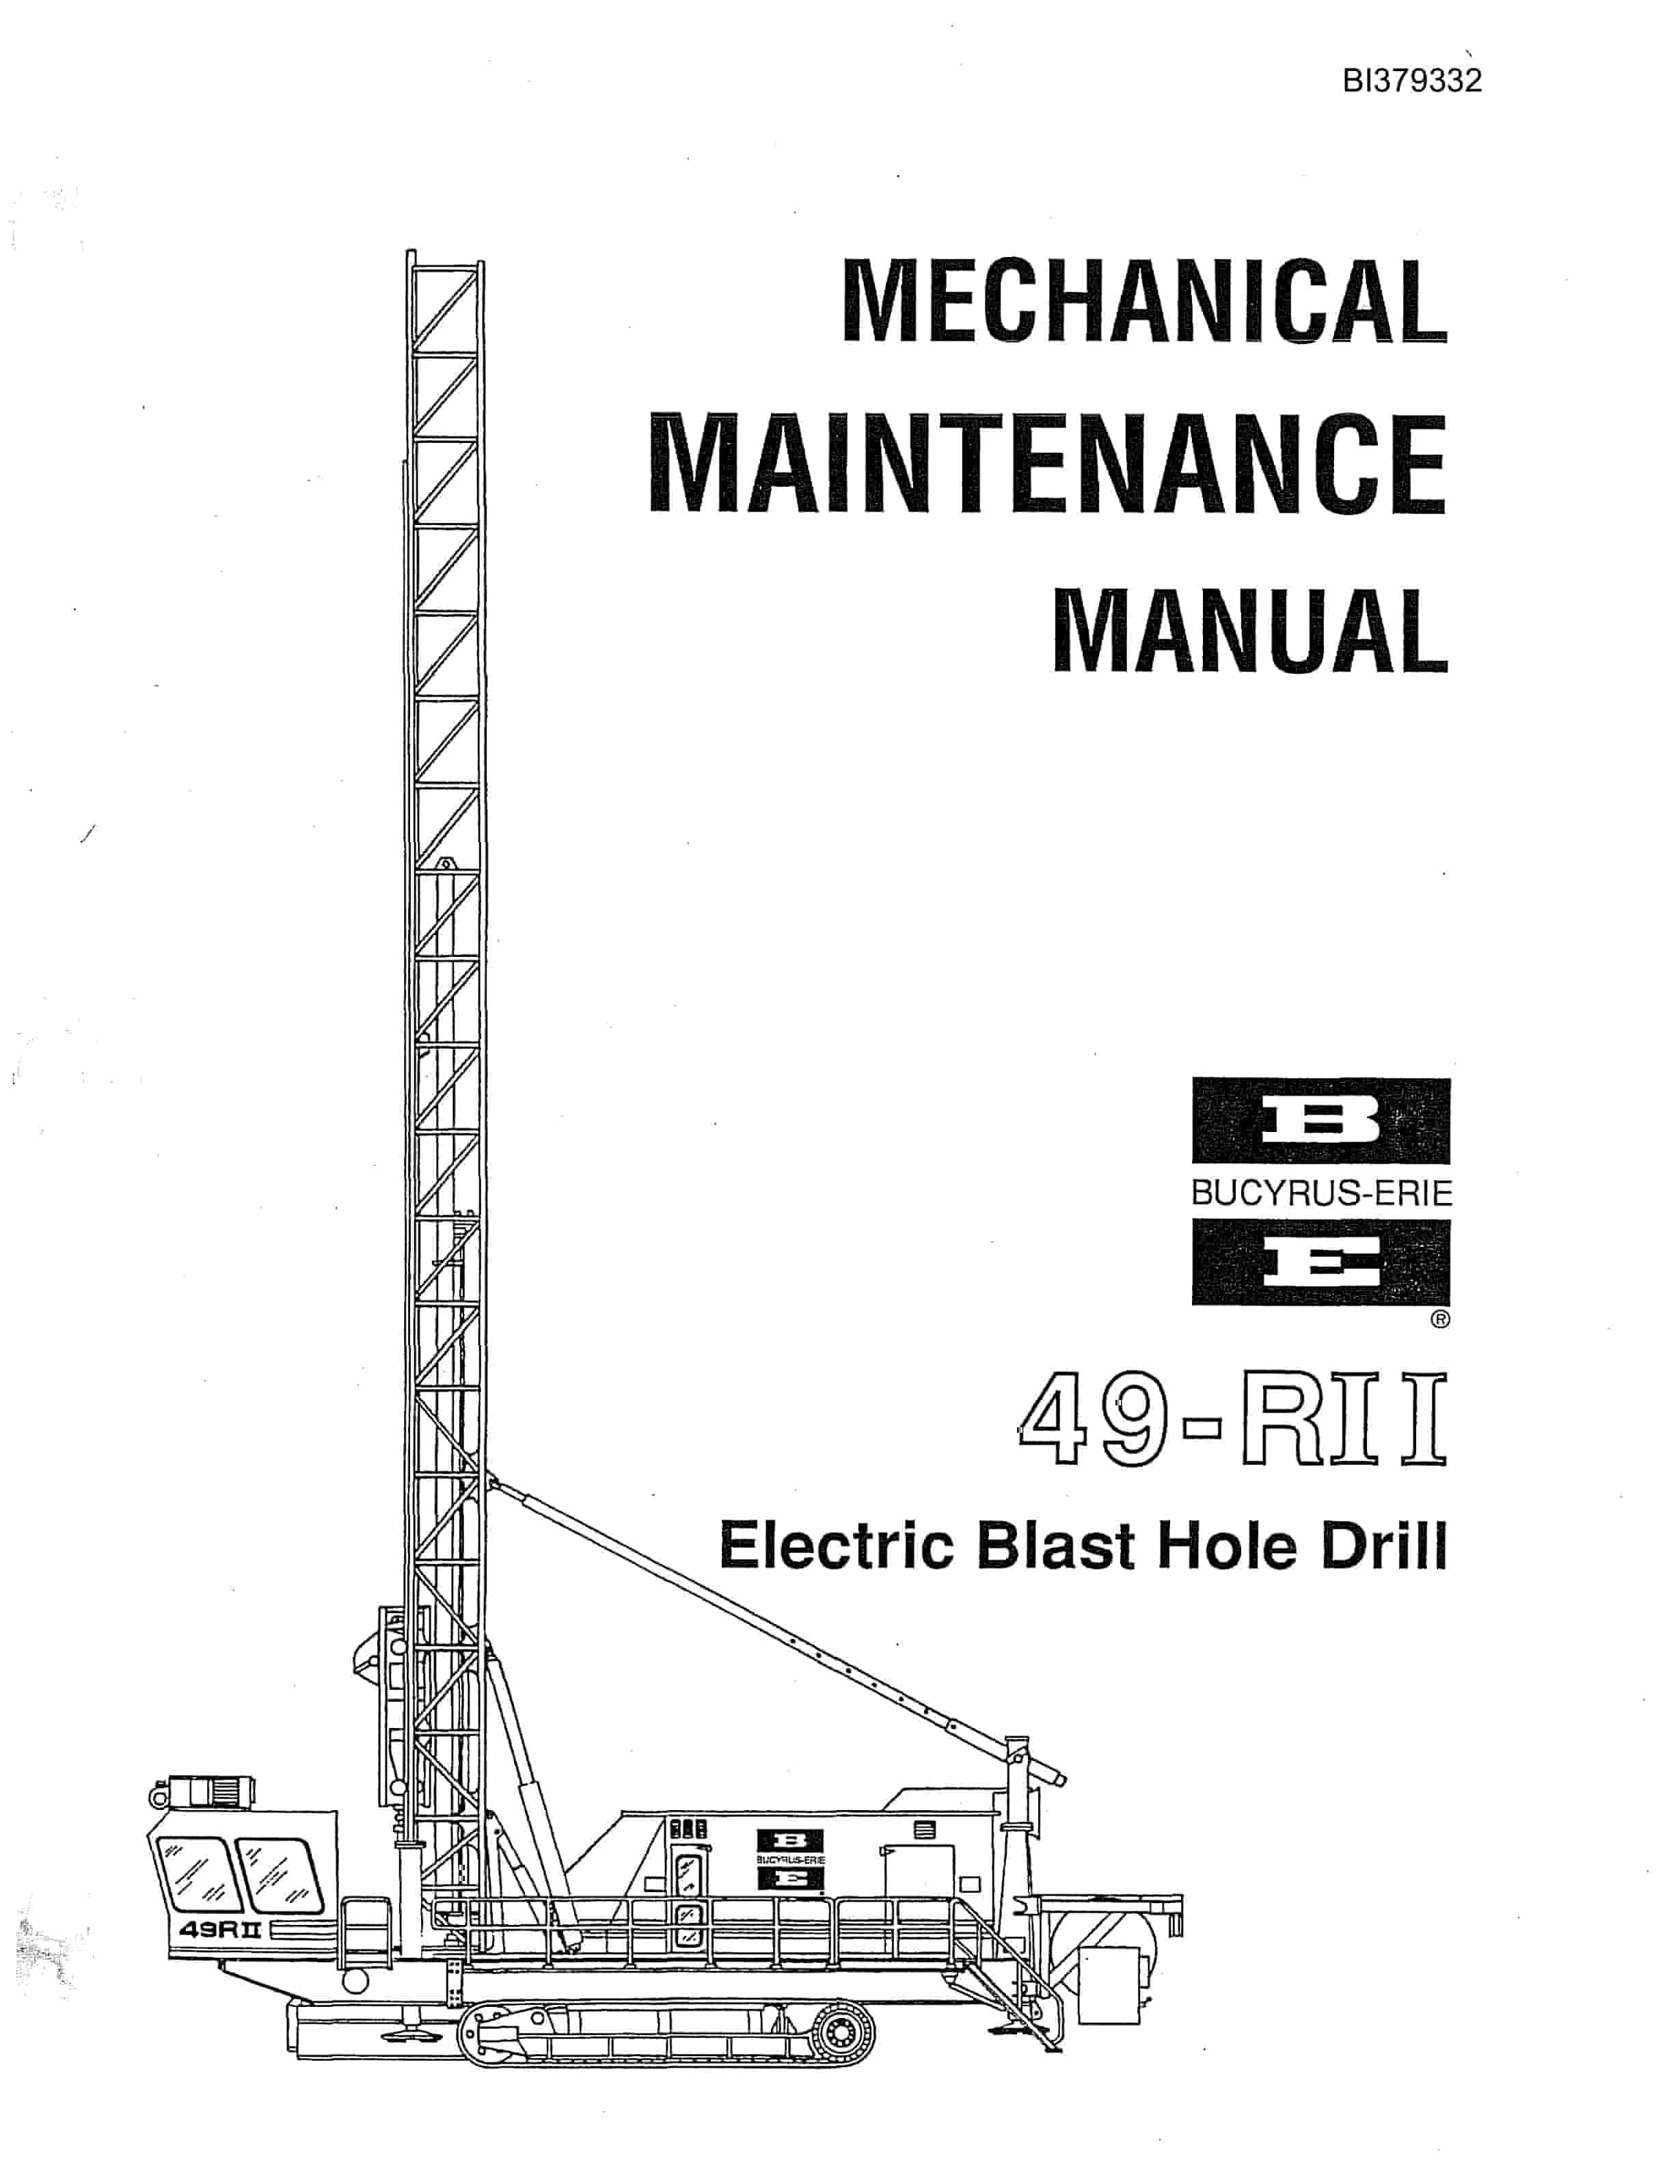
Bucyrus 49RII Electric Blast Hole Drill Mechanical Maintenance Manual BI379332
$30.00 Add to cart -
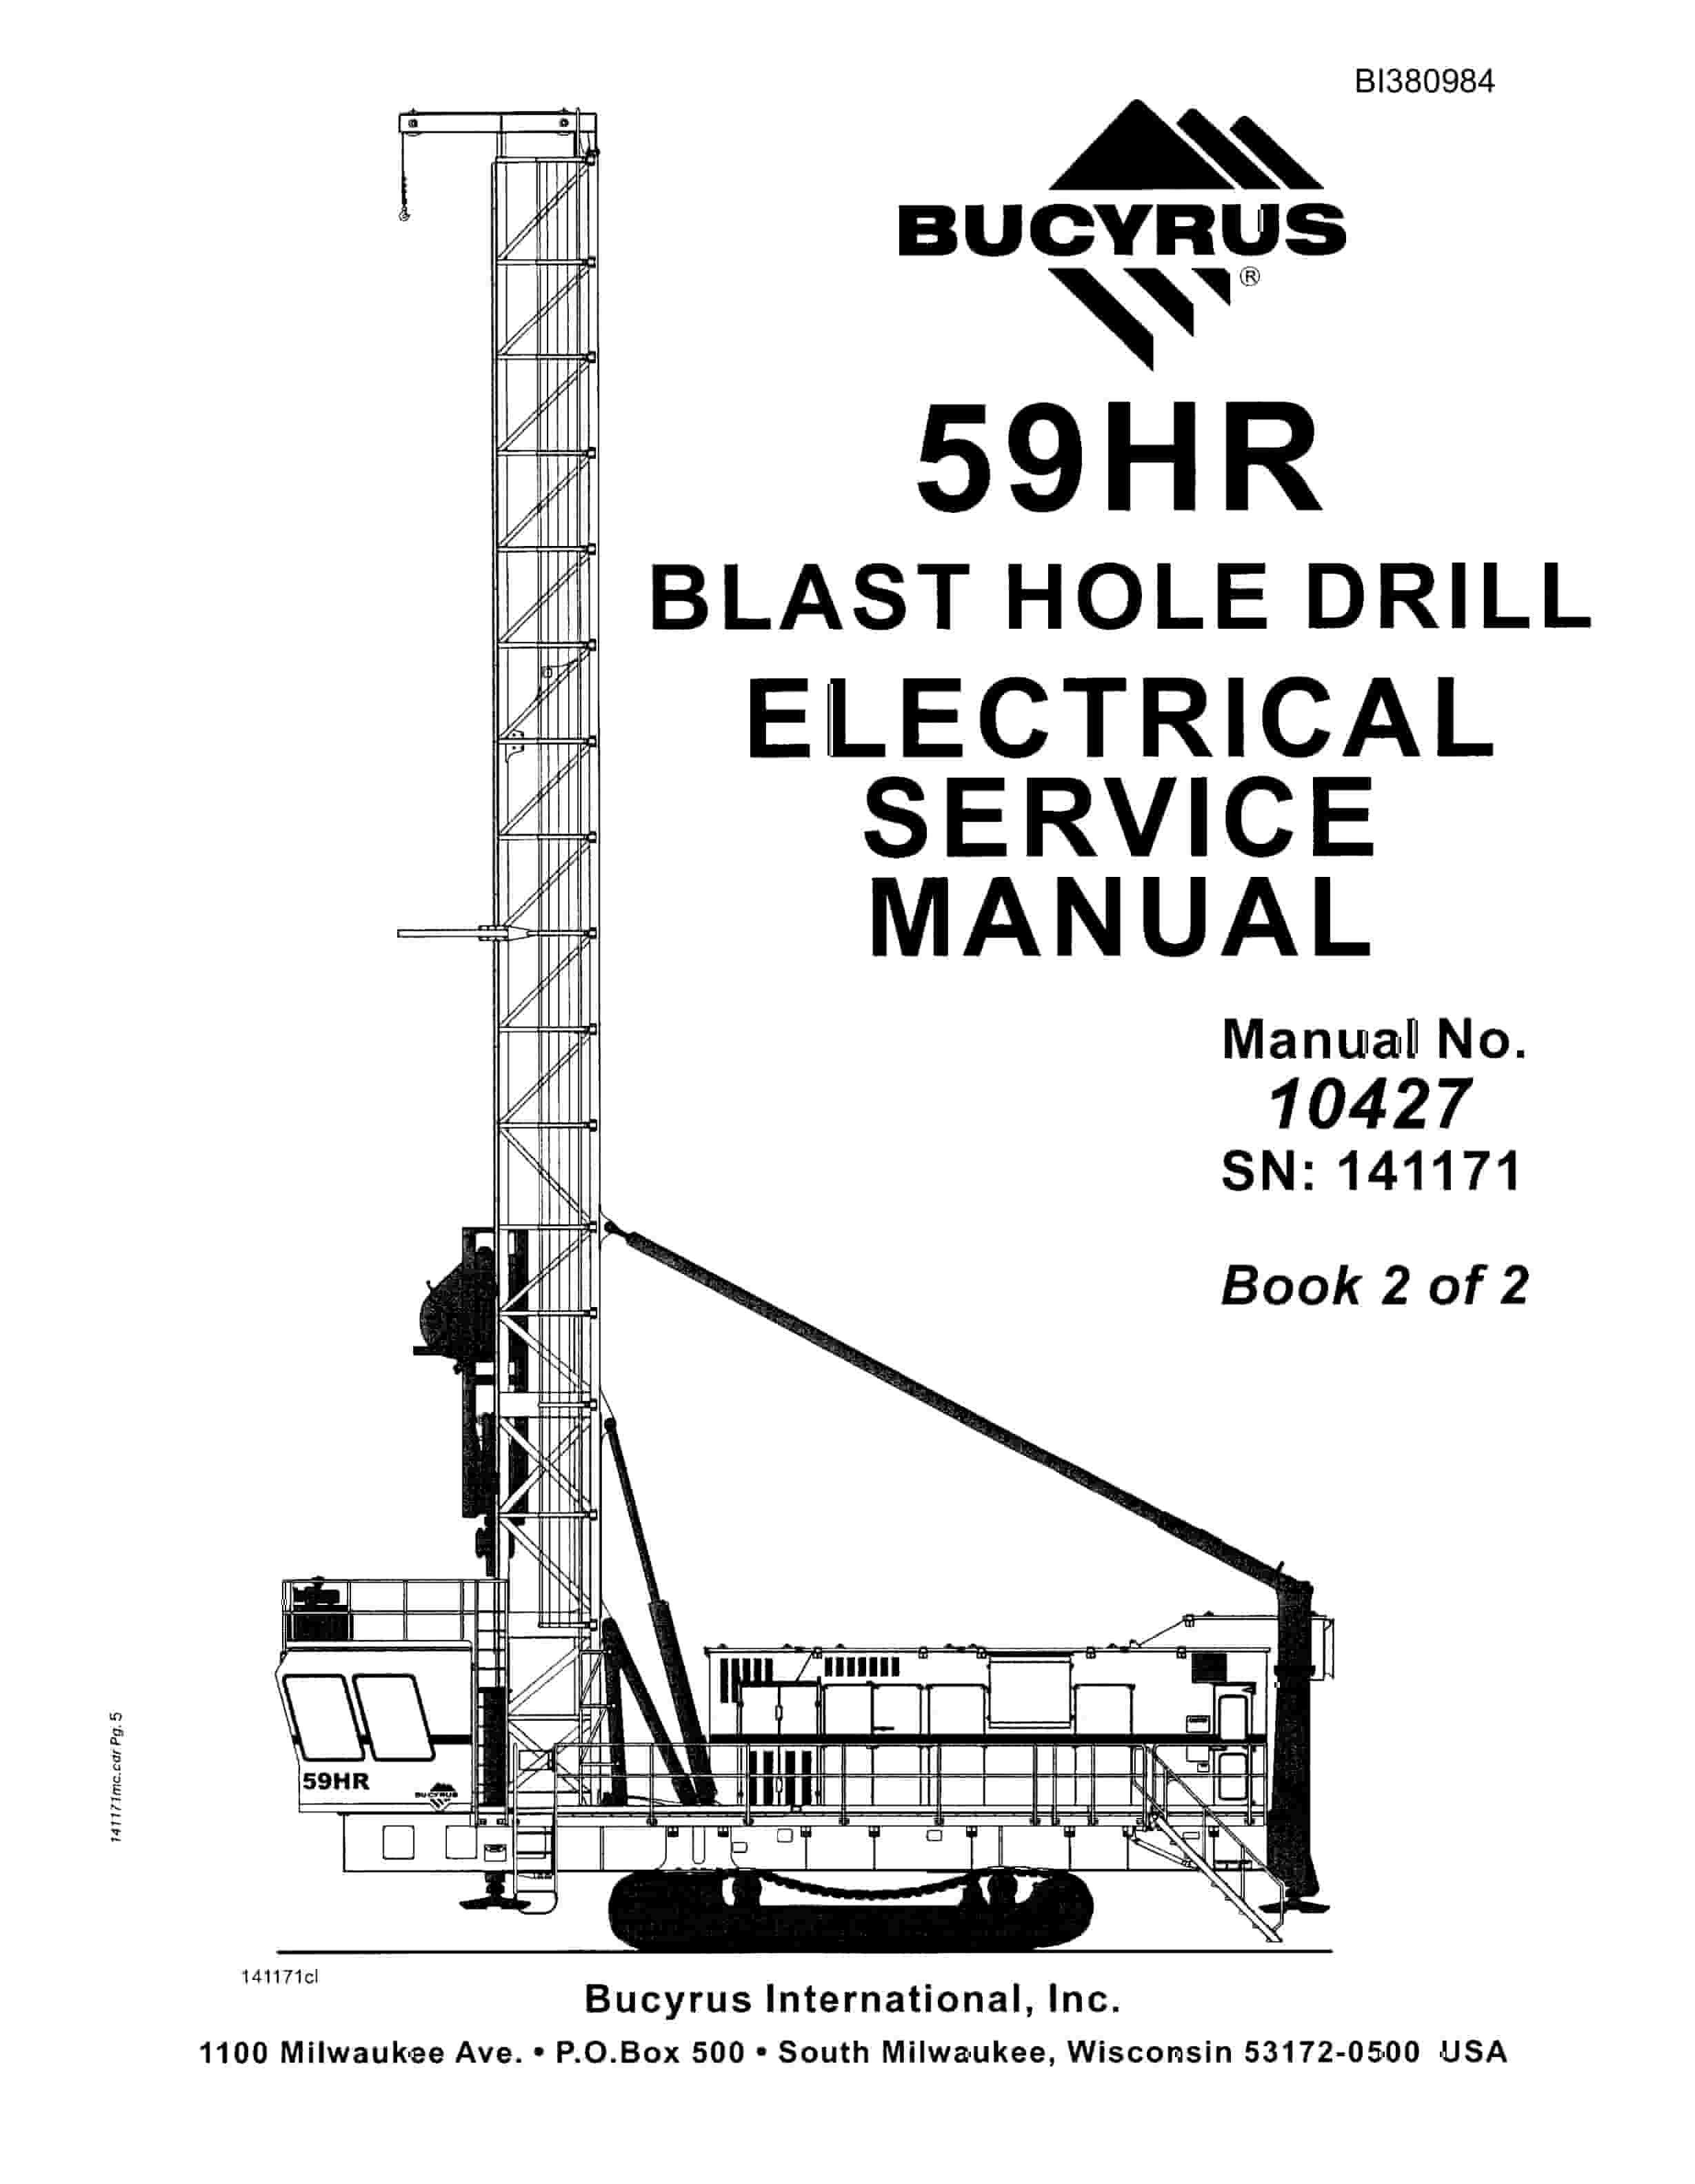
Bucyrus 59HR Blast Hole Drill Electrical Service Manual BI380984 Vol 2
$30.00 Add to cart -
Bucyrus 60R, 61R Electric Blast Hole Drill Mechanical Maintenance Manual BI615839
$30.00 Add to cart -
Bucyrus 30M4-NP Continuous Miner Maintenance Manual BI000740
$30.00 Add to cart -
Bucyrus 59HR Blast Hole Drill Electrical Service Manual BI380983 Vol 2
$30.00 Add to cart


