

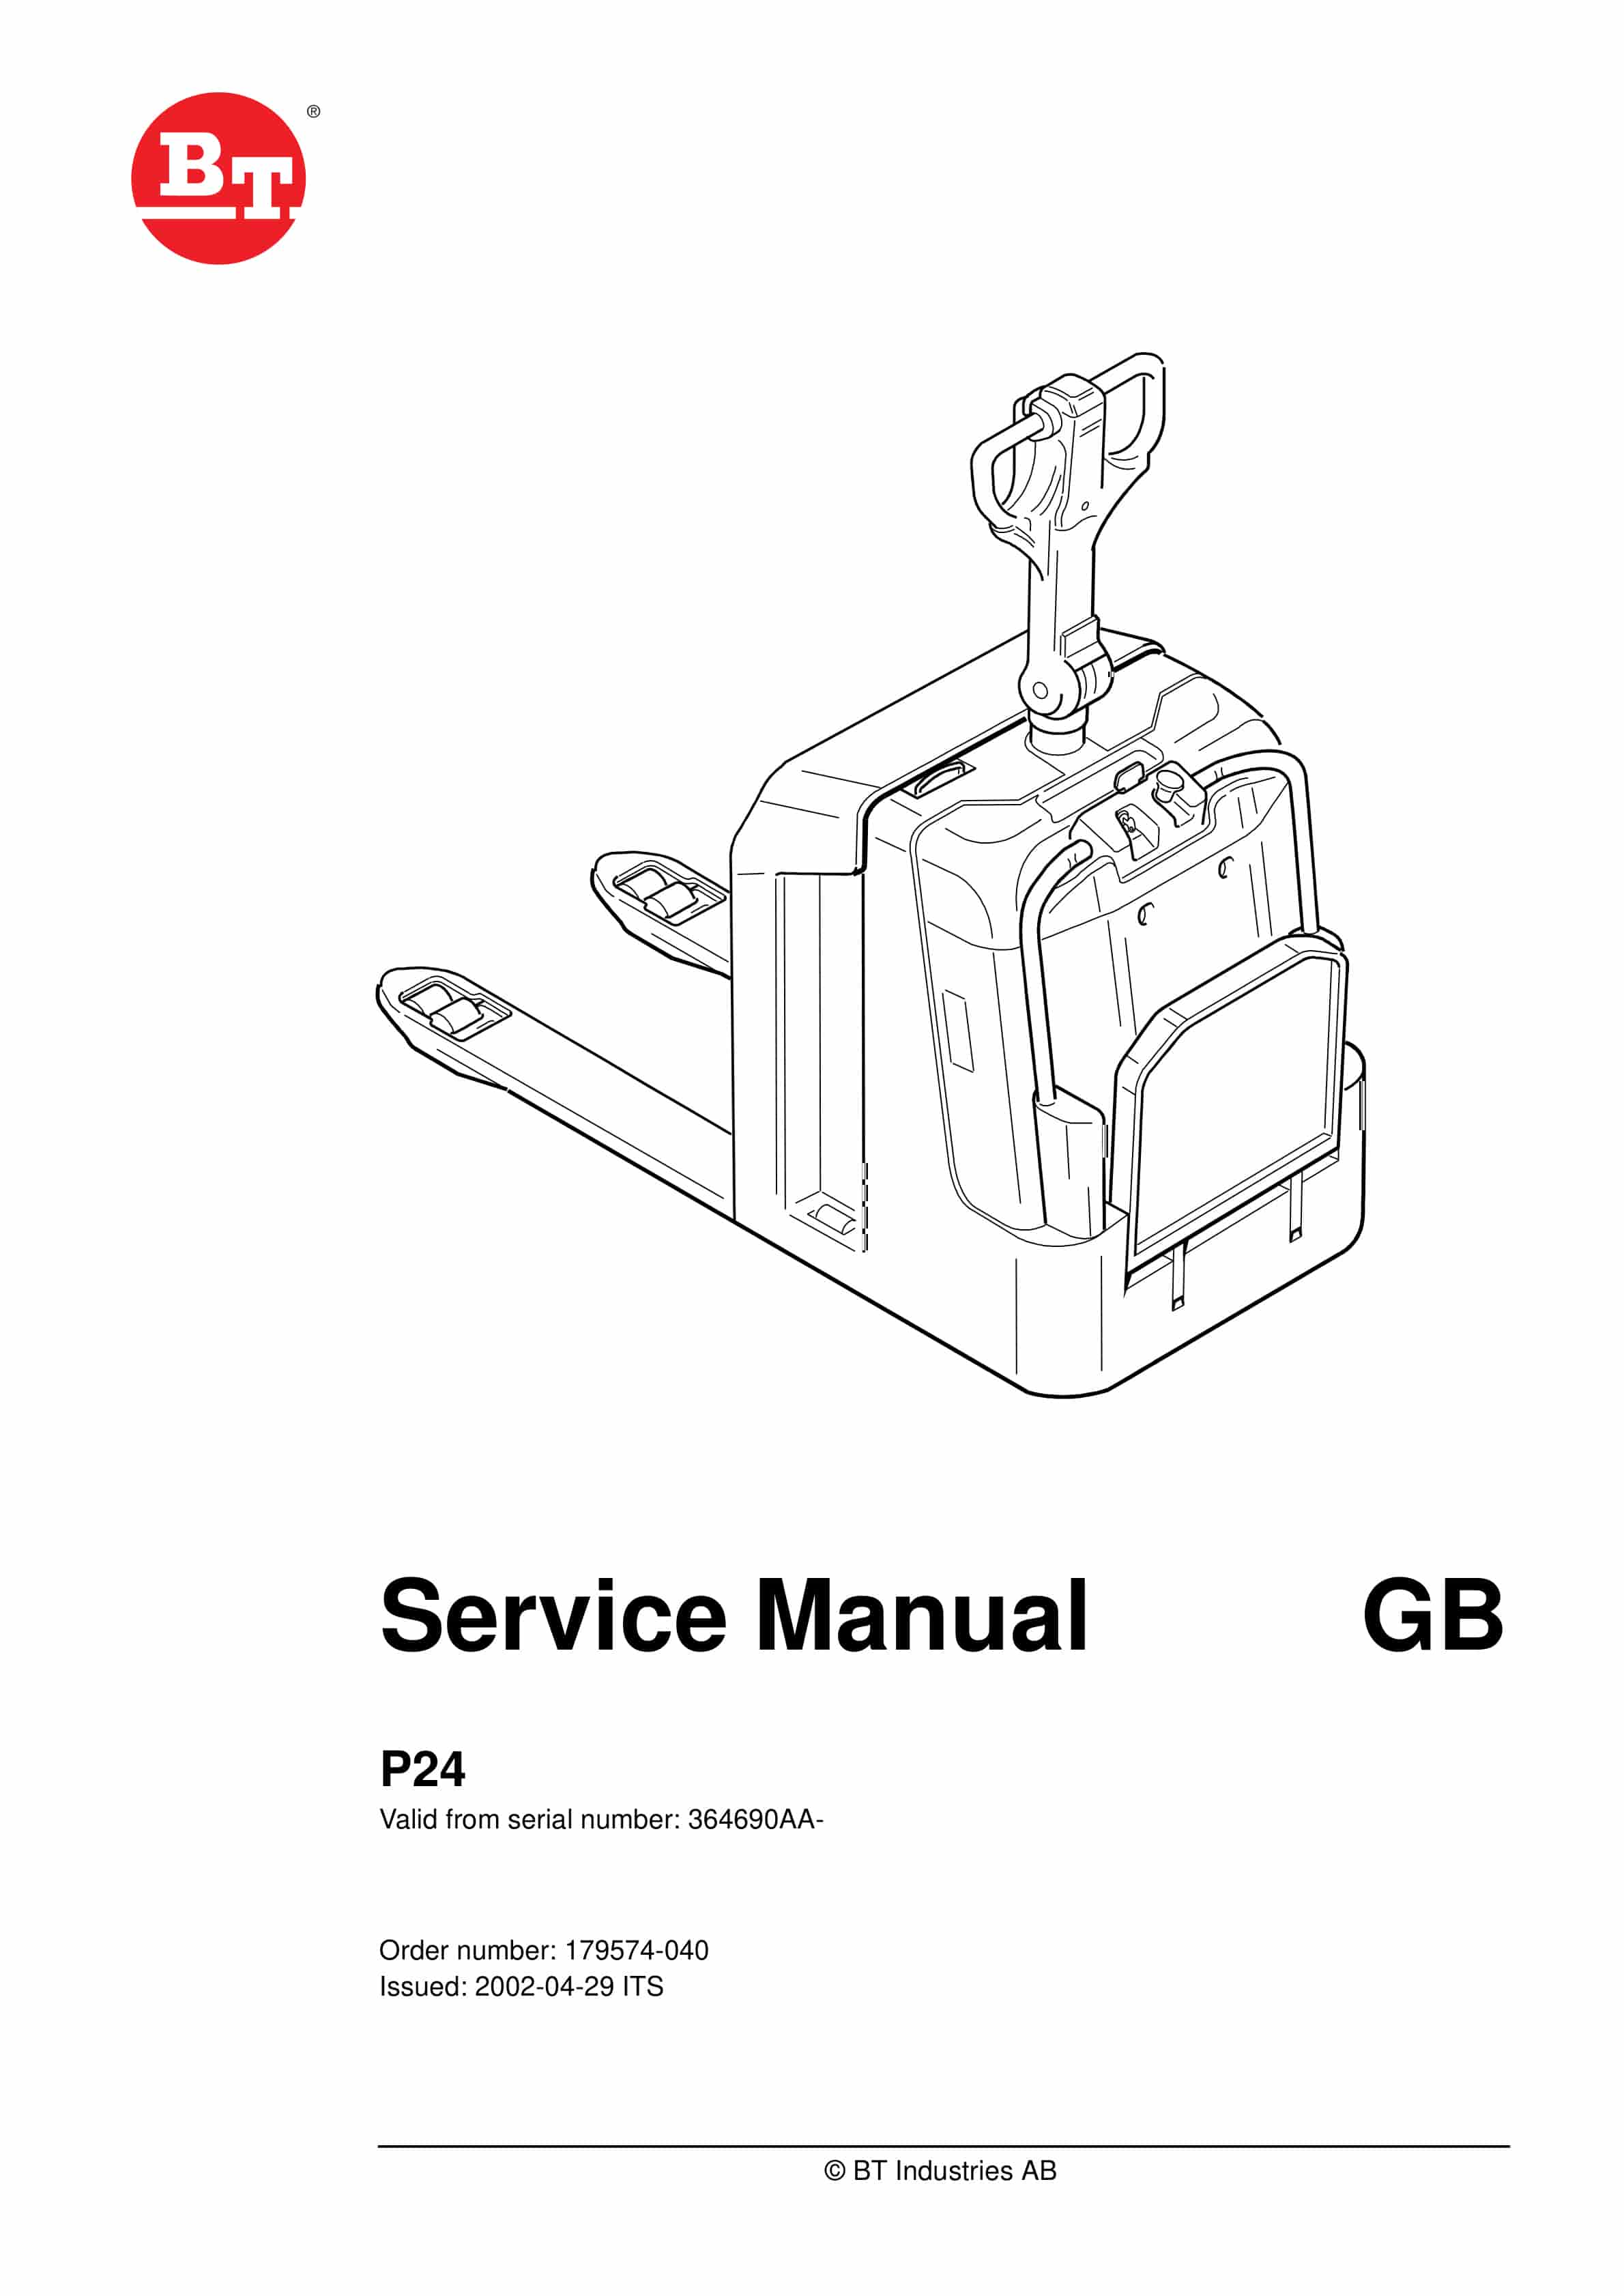
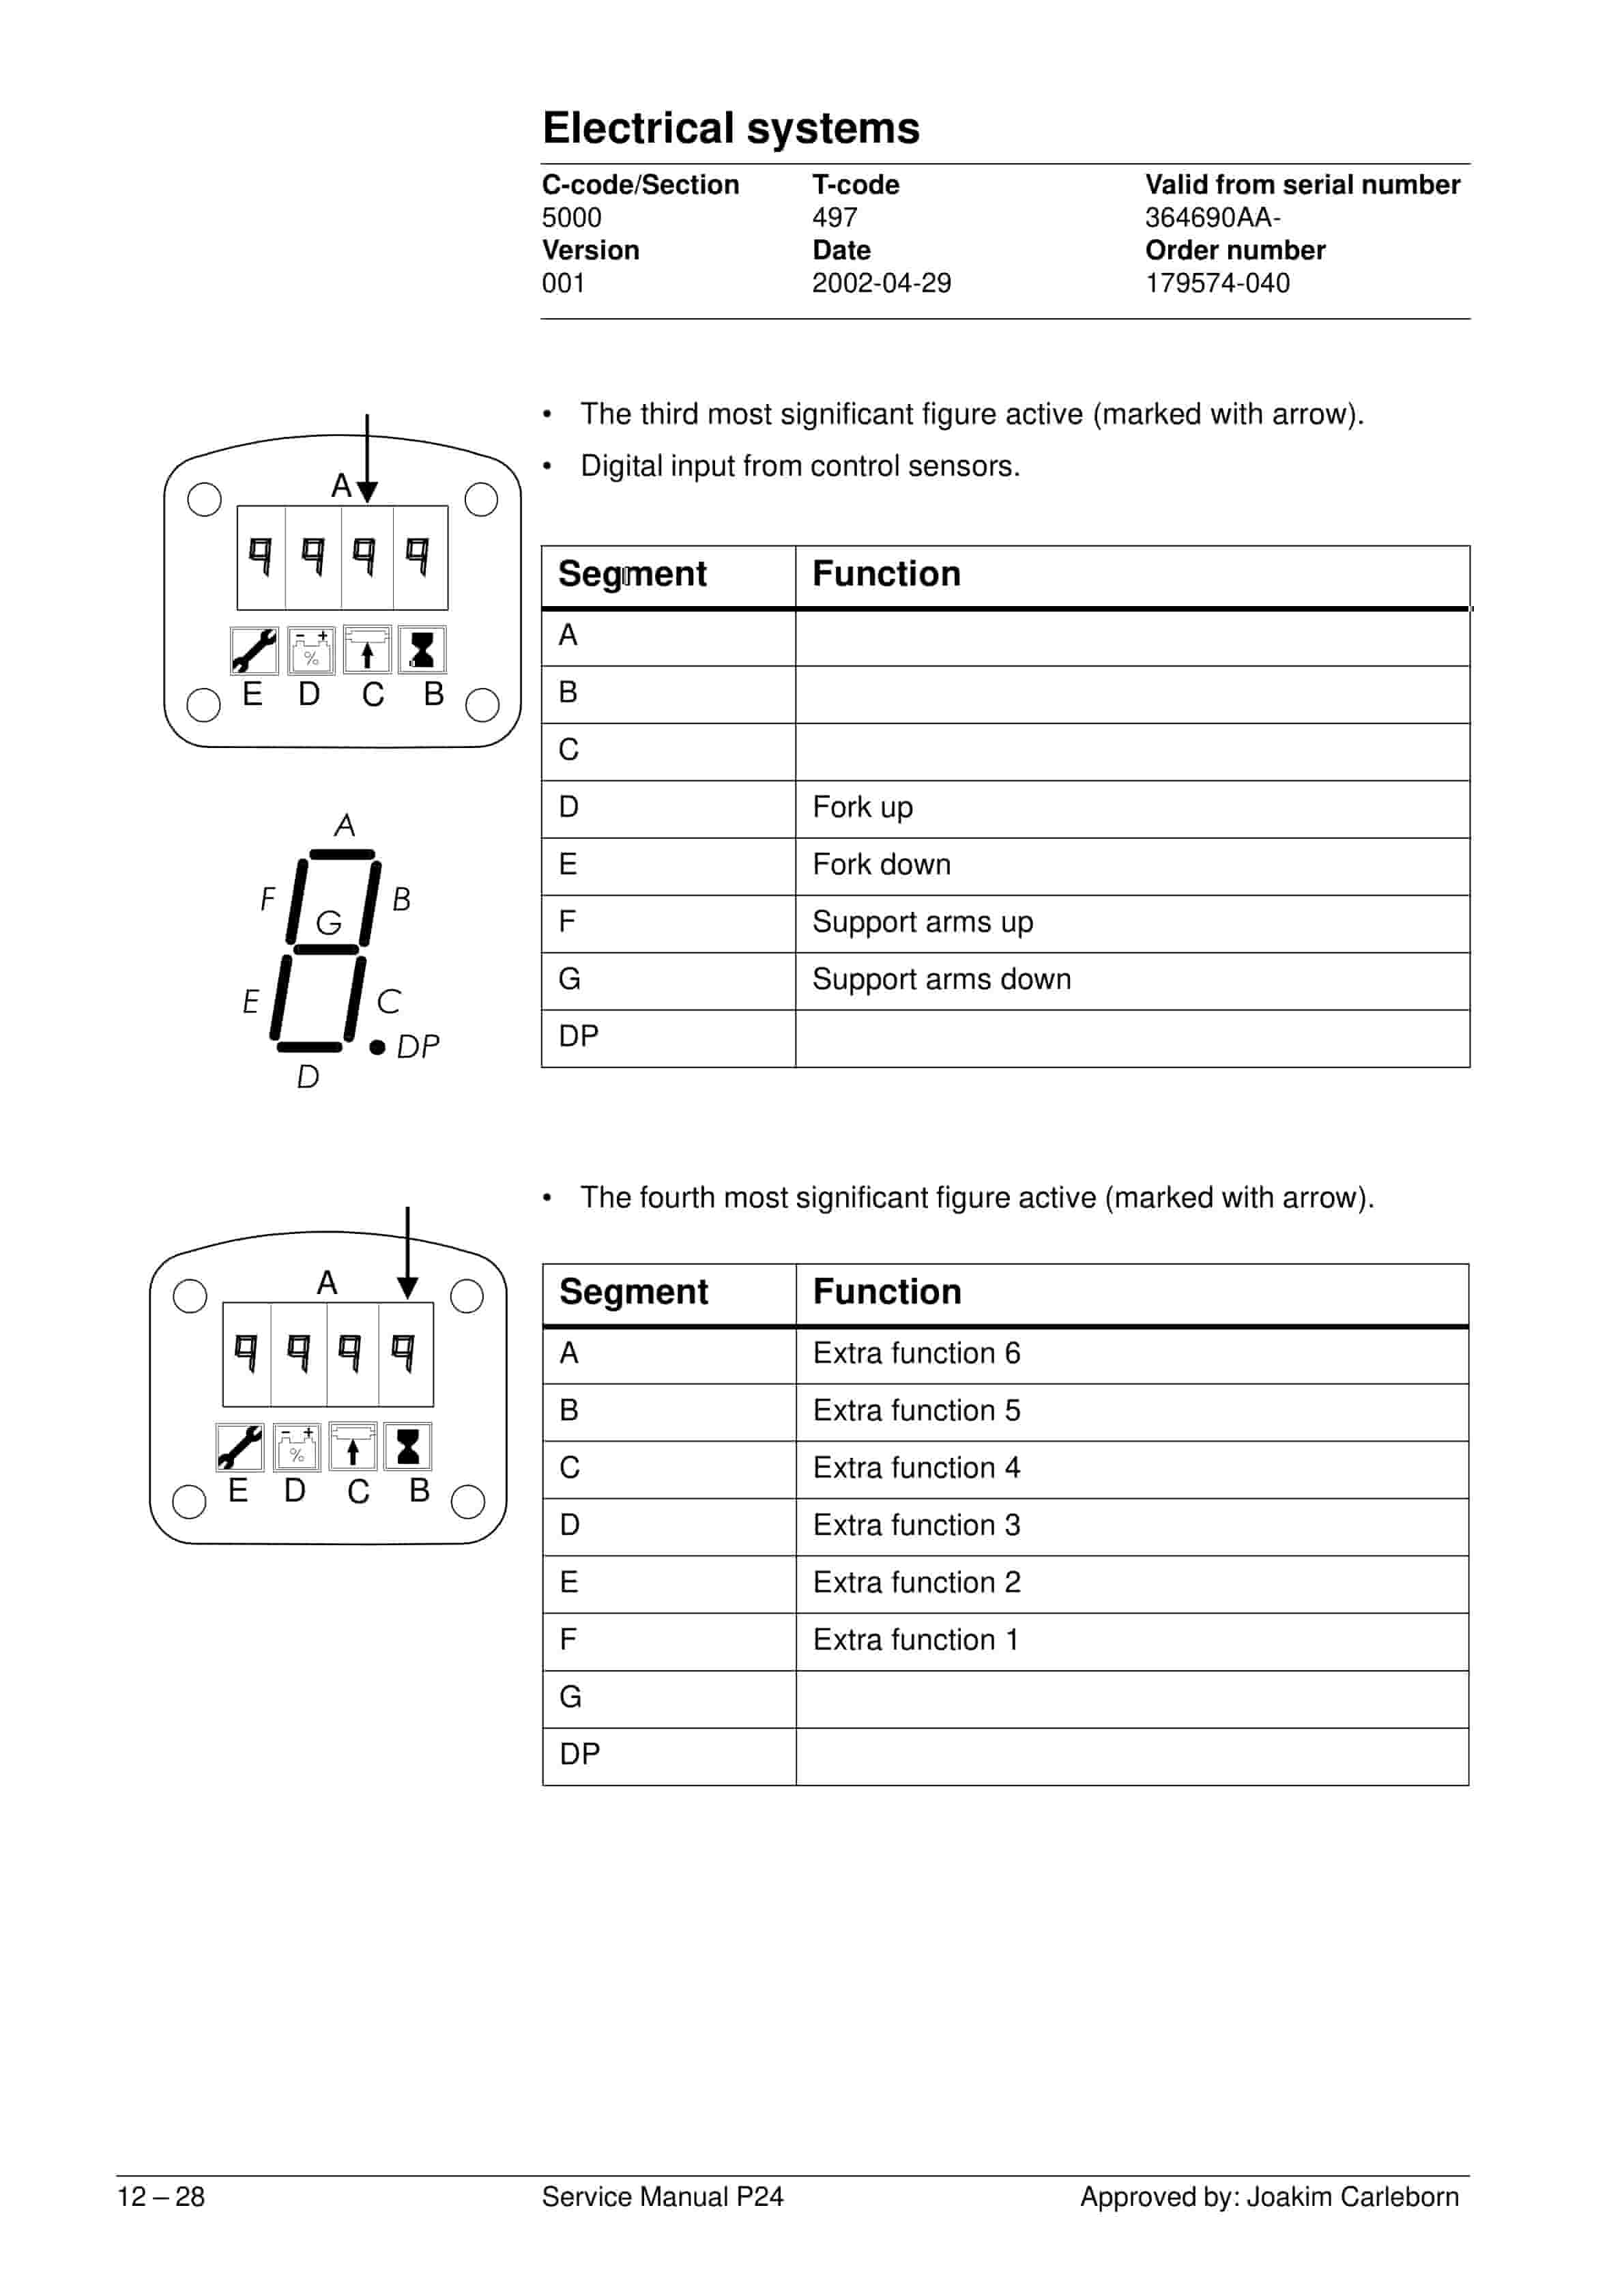
BT P24 Service Manual 179574-040
$30.00
- Type Of Manual: Service Manual
- Manual ID: 179574-040
- : Service Manual PDF
- Number of Pages: 132
- Size: 11.5MB
- Format: PDF
Product details
-
Model List:
- P24
- 1. Contents 1
- 1.1. Technical data 2 – 1
- 1.2. Set up and maintenance instructions 3 – 1
- 1.2.1. Setting up the new truck 1
- 1.2.2. Introduction, maintenance 5
- 1.2.3. Safe lifting 8
- 1.3. Maintenance, lubrication chart 4 – 1
- 1.3.1. Lubrication chart 7
- 1.4. Oil and grease specification 5 – 1
- 1.5. Tools 6 – 1
- 1.5.1. Super Seal connector 1
- 1.6. Fork carriage 7 – 1
- 1.6.1. Component parts 1
- 1.6.2. Dismantling the fork carriage 3
- 1.6.3. Replacing the rollers 5
- 1.7. Electric drive motor 8 – 1
- 1.7.1. Component parts 1
- 1.7.2. Removing the motor from the truck 3
- 1.7.3. Refitting the motor in the truck 4
- 1.7.4. Service and repairs 5
- 1.7.5. Technical data 8
- 1.8. Drive/Transmission assembly 9 – 1
- 1.8.1. Component parts 2
- 1.8.2. Dismantling/Assembly Leakage from the upper cover 3
- 1.8.3. Replacing the drive shaft gasket 4
- 1.8.4. Replacing wheel bolts 6
- 1.9. Electromagnetic brake 10 – 1
- 1.9.1. Component parts 2
- 1.9.2. Dismantling 3
- 1.9.3. Assembling 3
- 1.9.4. Manual release of the brake 3
- 1.9.5. Adjustment 4
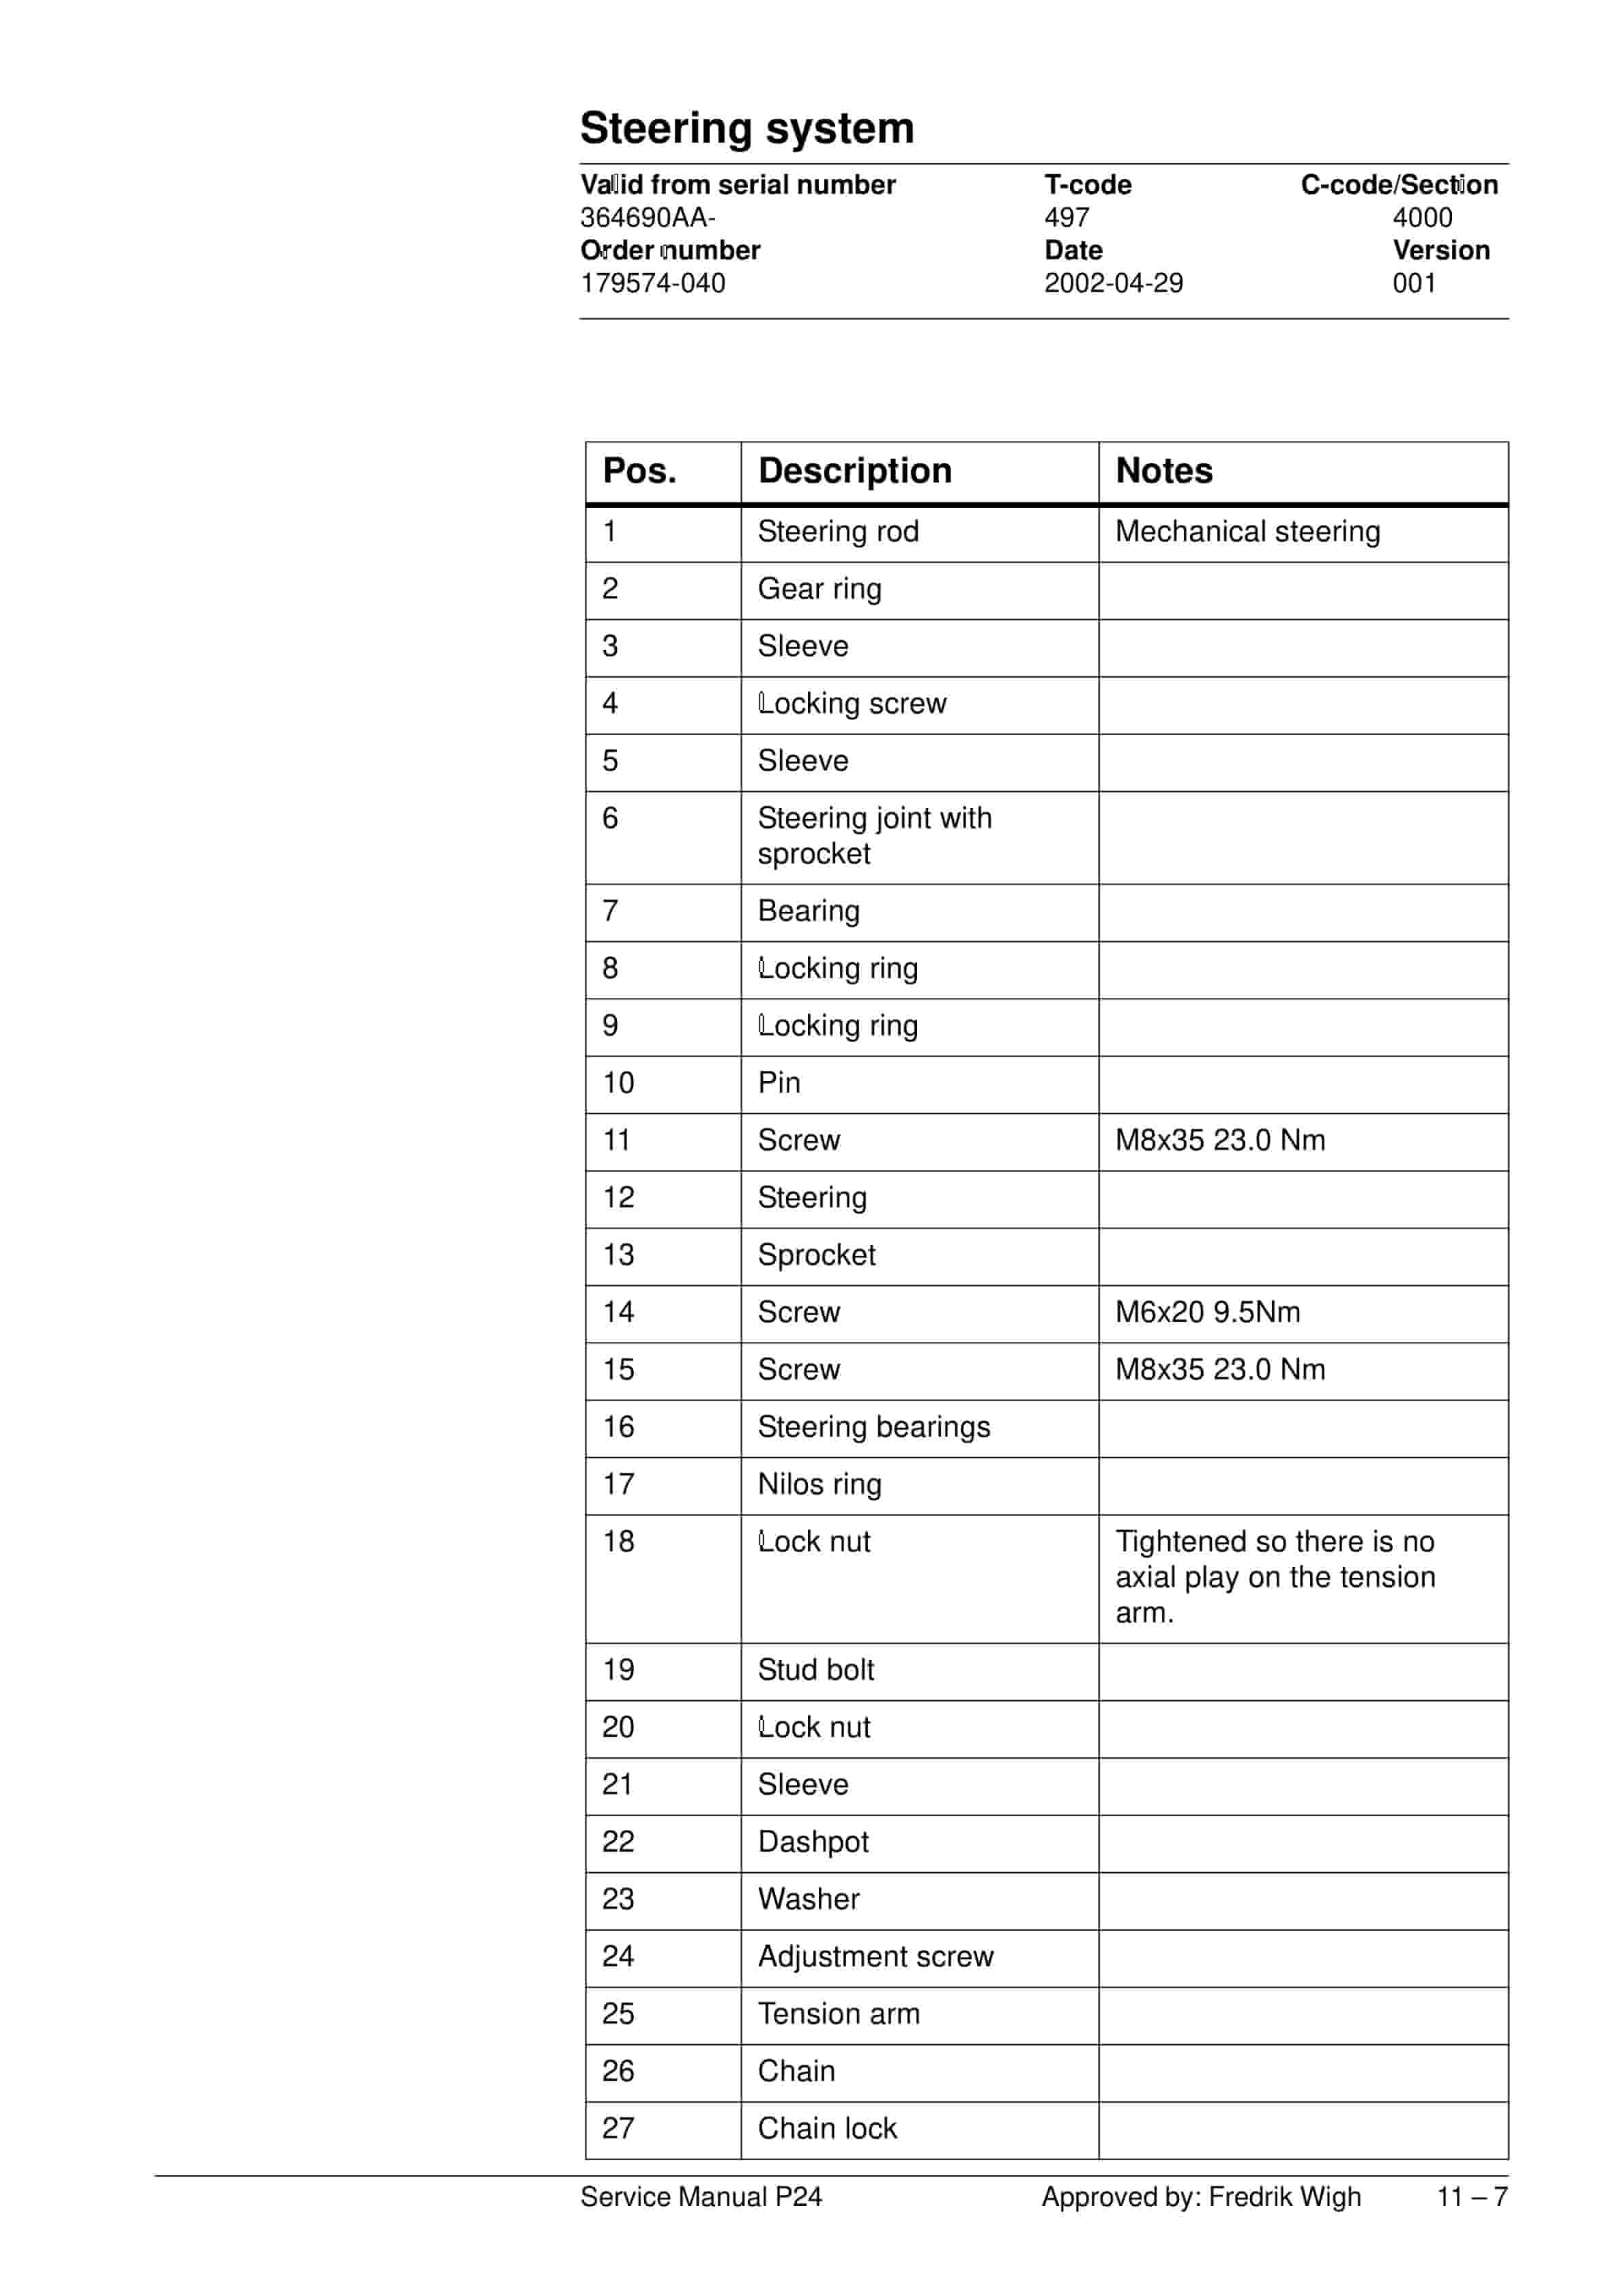
- 1.10. Steering system 11 – 1
- 1.10.1. Component parts, mechanical steering 1
- 1.10.2. Components parts, servo steering 4
- 1.10.3. Adjustment, steering 9
- 1.10.4. Components parts, tiller arm 10
- 1.10.5. Adjustment, tiller arm 13
- 1.10.6. Tiller arm handle 14
- 1.10.7. Dismantling/Assembly, buttons 16
- 1.11. Electrical systems 12 – 1
- 1.11.1. Electrical parts 1
- 1.11.2. Symbol list and electrical diagram 3
- 1.11.3. Functional description 12
- 1.11.4. Hour meter 14
- 1.11.5. Fault codes 15
- 1.11.6. Parameters 20
- 1.11.7. Part numbers 29
- 1.11.8. Transistor panel 29
- 1.11.9. Diagnostic and troubleshooting 30
- 1.11.10. Technical specifications Curtis 1243 32
- 1.12. Hydraulic, pneumatic system 13 – 1
- 1.12.1. Hydraulic diagram 1
- 1.12.2. Adjustments 3
- 1.12.3. Cleaning the filter 4
- 1.13. PowerTrak cylinder 14 – 1
- 1.13.1. Component parts 1
- 1.13.2. Dismantling the PowerTrak cylinder 2
- 1.13.3. Dismantling/assembling the ground pressure springs 4
- 1.14. Control/computer equipment 15 – 1
- 1.14.1. General 1
- 1.14.2. Connection 1
- 1.14.3. Layout 2
- 1.14.4. Function 4
- 1.14.5. Specifications 12
- 2. Technical data 2
- 3. Set up and maintenance instructions 3
- 3.1. Setting up the new truck
- 3.1.1. Lifting the truck
- 3.1.2. Fitting the battery
- 3.1.3. Start up
- 3.2. Introduction, maintenance
- 3.2.1. Safety regulations during maintenance work
- 3.2.2. Cleaning and washing
- 3.2.3. Cleaning the exterior
- 3.2.4. Cleaning the motor compartment
- 3.2.5. Electrical components
- 3.3. Safe lifting
- 3.3.1. WARNING
- 4. Maintenance, lubrication chart 4
- 4.1. Pos. no.
- 4.2. Lubrication chart
- 4.2.1. Pos. no.
- 4.2.2. Service point
- 4.2.3. Interval/Operating hours
- 4.2.4. Lubrication type
- 5. Oil and grease specification 5
- 5.1. Lubrication type
- 5.2. Specification
- 6. Tools 6
- 6.1. Super Seal connector
- 6.1.1. AMP connector
- 6.1.2. Other tools
- 7. Fork carriage 7
- 7.1. Component parts
- 7.1.1. Description
- 7.2. Dismantling the fork carriage
- 7.3. Replacing the rollers
- 8. Electric drive motor 8
- 8.1. Component parts
- 8.1.1. Description
- 8.2. Removing the motor from the truck
- 8.3. Refitting the motor in the truck
- 8.4. Service and repairs
- 8.4.1. Dismantling the motor
- 8.4.2. Dismantling N-side
- 8.4.3. Dismantling D-side
- 8.4.4. Cleaning
- 8.5. Technical data
- 9. Drive/Transmission assembly 9
- 9.1. Component parts
- 9.1.1. Description
- 9.1.2. Technical data
- 9.2. Dismantling/Assembly Leakage from the upper cover
- 9.2.1. Assembly takes place in the reverse order.
- 9.3. Replacing the drive shaft gasket
- 9.3.1. Dismantling
- 9.3.2. Assembling
- 9.4. Replacing wheel bolts
- 10. Electromagnetic brake 10
- 10.1. Component parts
- 10.1.1. Description
- 10.2. Dismantling
- 10.2.1. Inspection
- 10.3. Assembling
- 10.4. Manual release of the brake
- 10.4.1. WARNING
- 10.5. Adjustment
- 10.5.1. Adjusting the play
- 11. Steering system 11
- 11.1. Component parts, mechanical steering
- 11.2. Components parts, servo steering
- 11.2.1. Steering axle, servo steering
- 11.3. Adjustment, steering
- 11.3.1. Adjusting the steering servo
- 11.3.2. Adjusting the steering chain
- 11.4. Components parts, tiller arm
- 11.4.1. Description
- 11.4.2. Benämning
- 11.5. Adjustment, tiller arm
- 11.5.1. Adjusting the brake microswitch
- 11.6. Tiller arm handle
- 11.6.1. Description
- 11.7. Dismantling/Assembly, buttons
- 11.7.1. Change from ignition key to keyboard (2)
- 11.7.2. Change from keyboard to ignition key (2)
- 11.7.3. Replacing the signal button/switch (9, 10)
- 11.7.4. Replacing the lift/lower button (13)
- 11.7.5. Replace the pushbutton (16)
- 12. Electrical systems 12
- 12.1. Electrical parts
- 12.2. Symbol list and electrical diagram
- 12.2.1. Description
- 12.2.2. Function
- 12.2.3. Electrical wiring diagram Serial number 364690AA-432677AA
- 12.2.4. Electrical wiring diagram Servo (Option) Serial number 364690AA-432677AA
- 12.2.5. Electrical wiring diagram 1(5) Serial number 432678AA-
- 12.2.6. Electrical wiring diagram 2(5) Serial number 432678AA-
- 12.2.7. Electrical wiring diagram 3(5) Serial number 432678AA-
- 12.2.8. Electrical wiring diagram 4(5) Serial number 432678AA-
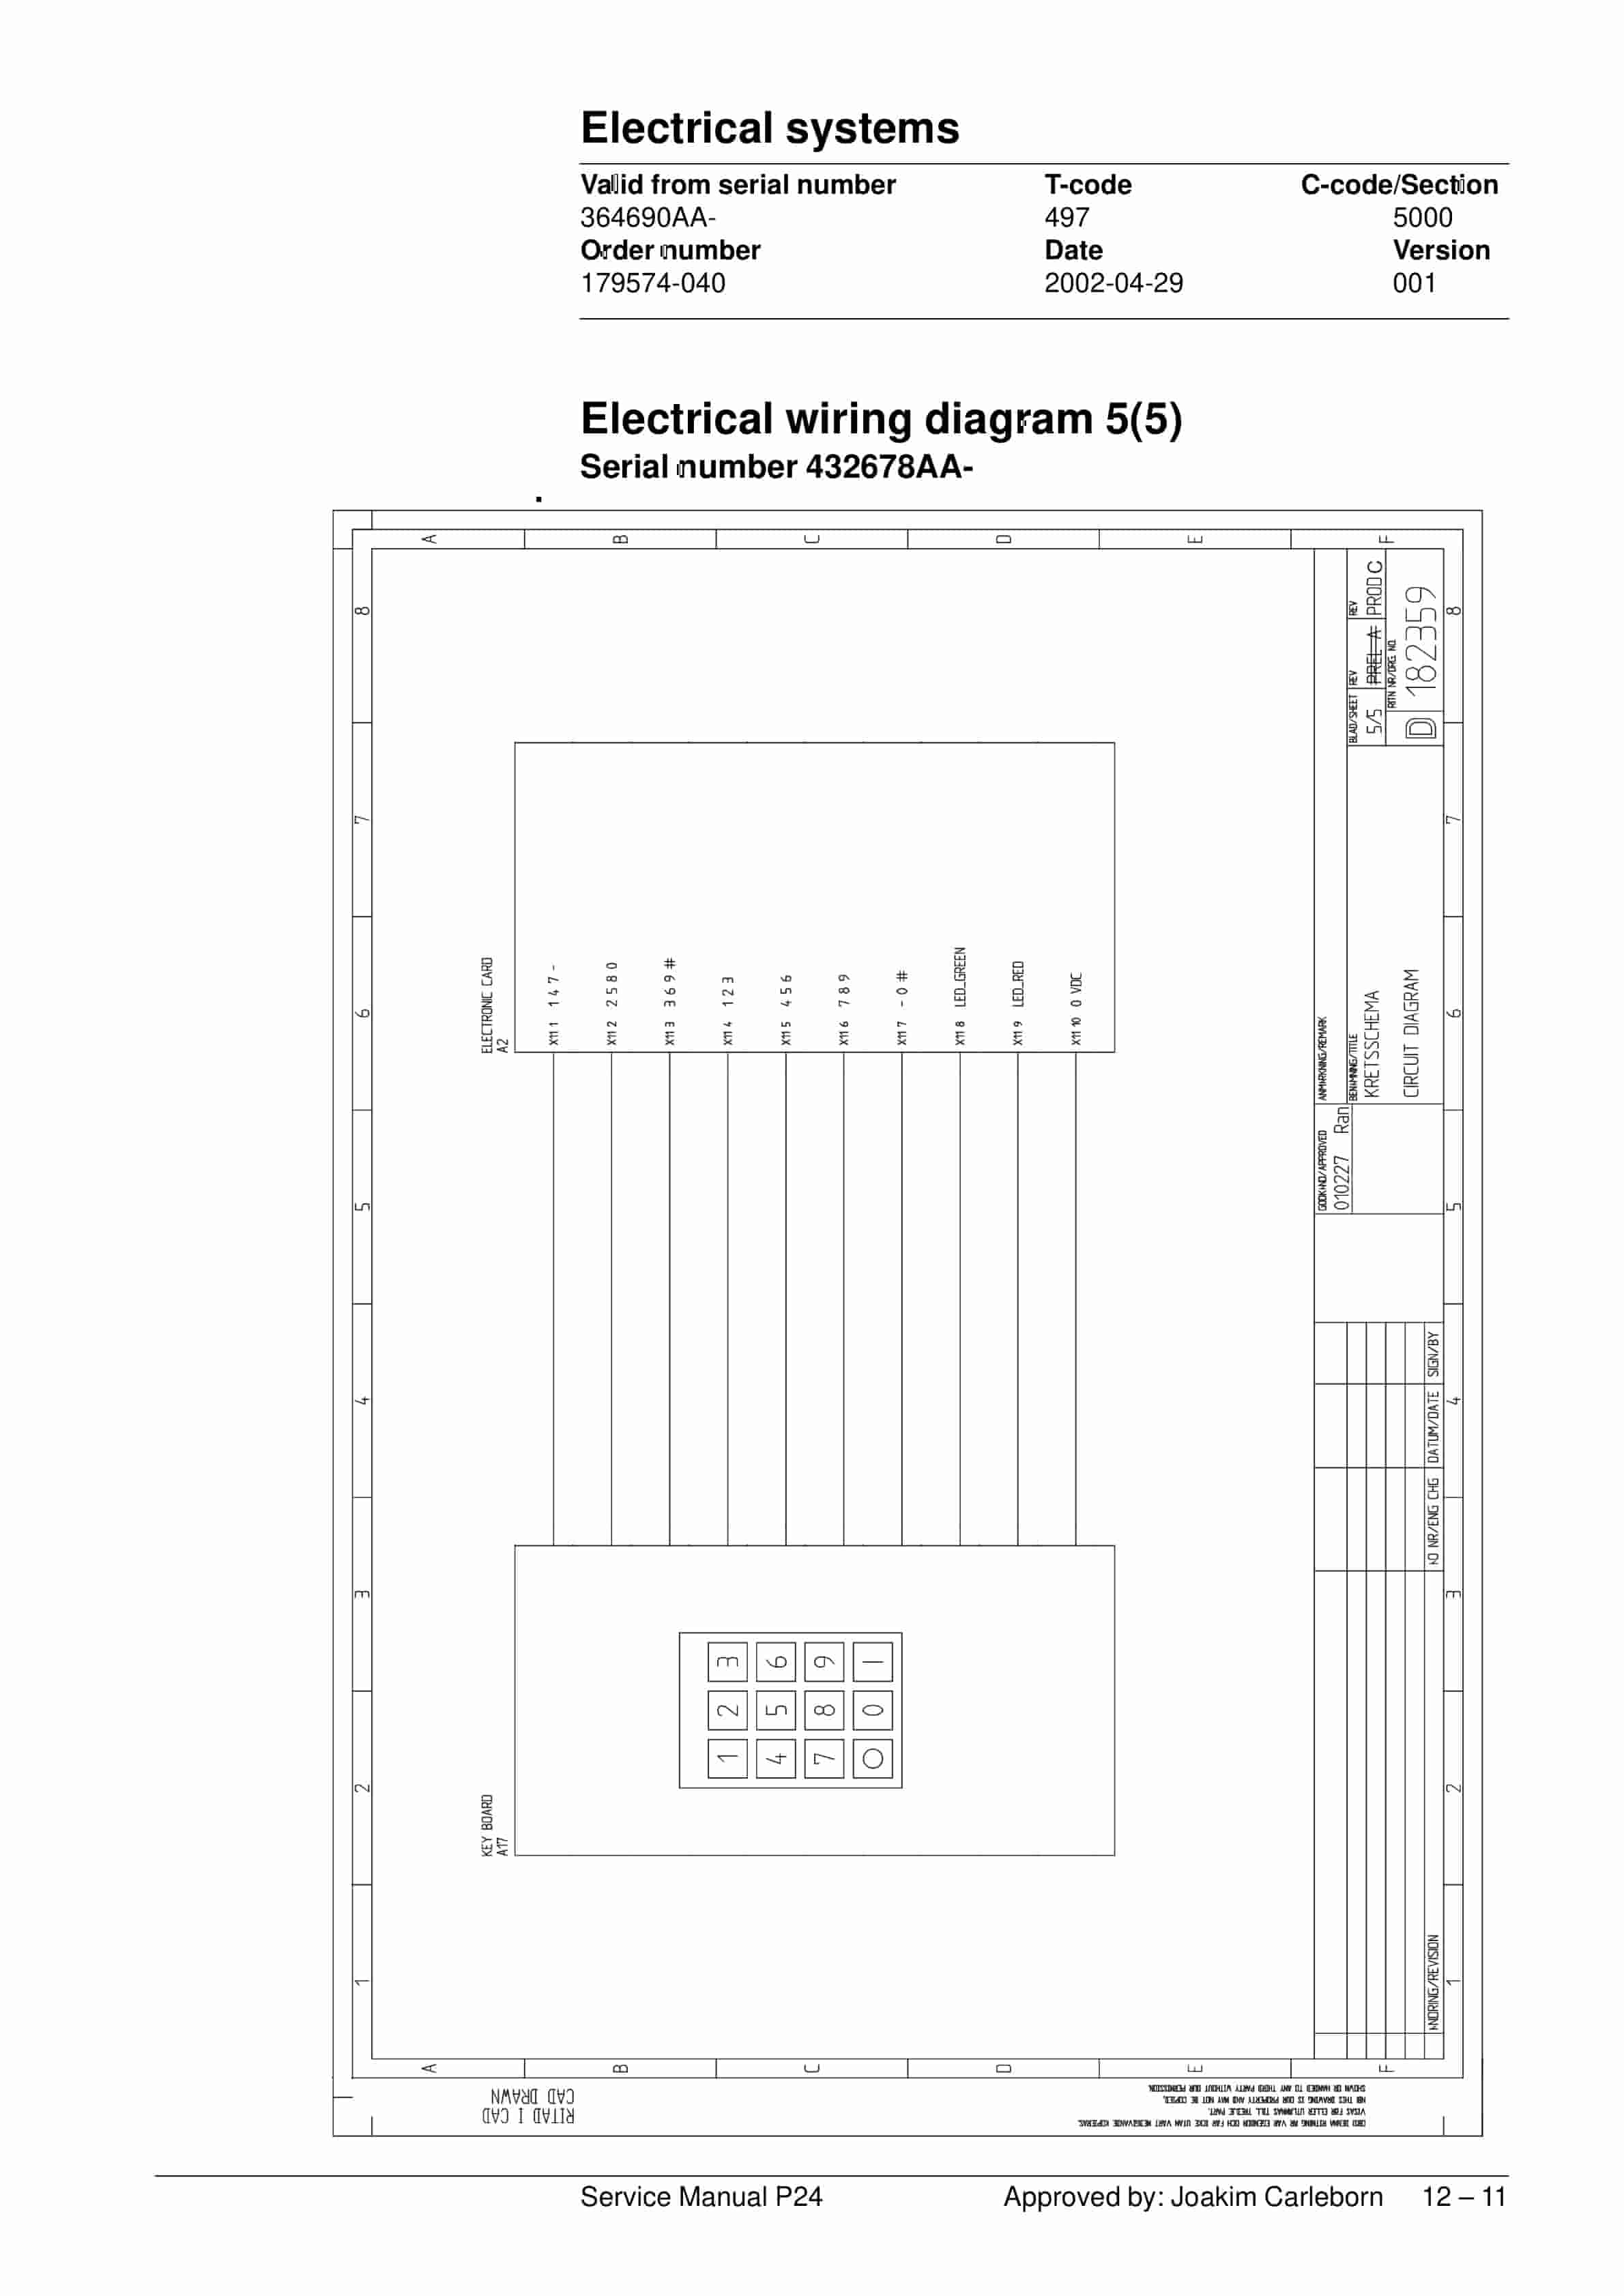
- 12.2.9. Electrical wiring diagram 5(5) Serial number 432678AA-
- 12.3. Functional description
- 12.3.1. Starting the truck
- 12.3.2. Driving without using platform and gates, speed 6 km/h
- 12.3.3. Driving from platform without using gates,speed 6 km/h
- 12.3.4. Driving from platform and using gates, speed ³ 8 km/h
- 12.3.5. Neutral speed reduction
- 12.3.6. Picture 3
- 12.3.7. Neutral speed reduction on slopes
- 12.3.8. Braking
- 12.3.9. Lifting the forks
- 12.3.10. Lowering the forks
- 12.4. Hour meter
- 12.5. Fault codes
- 12.5.1. Driver parameters Serial number 364690AA-432677AA
- 12.5.2. Parameter description
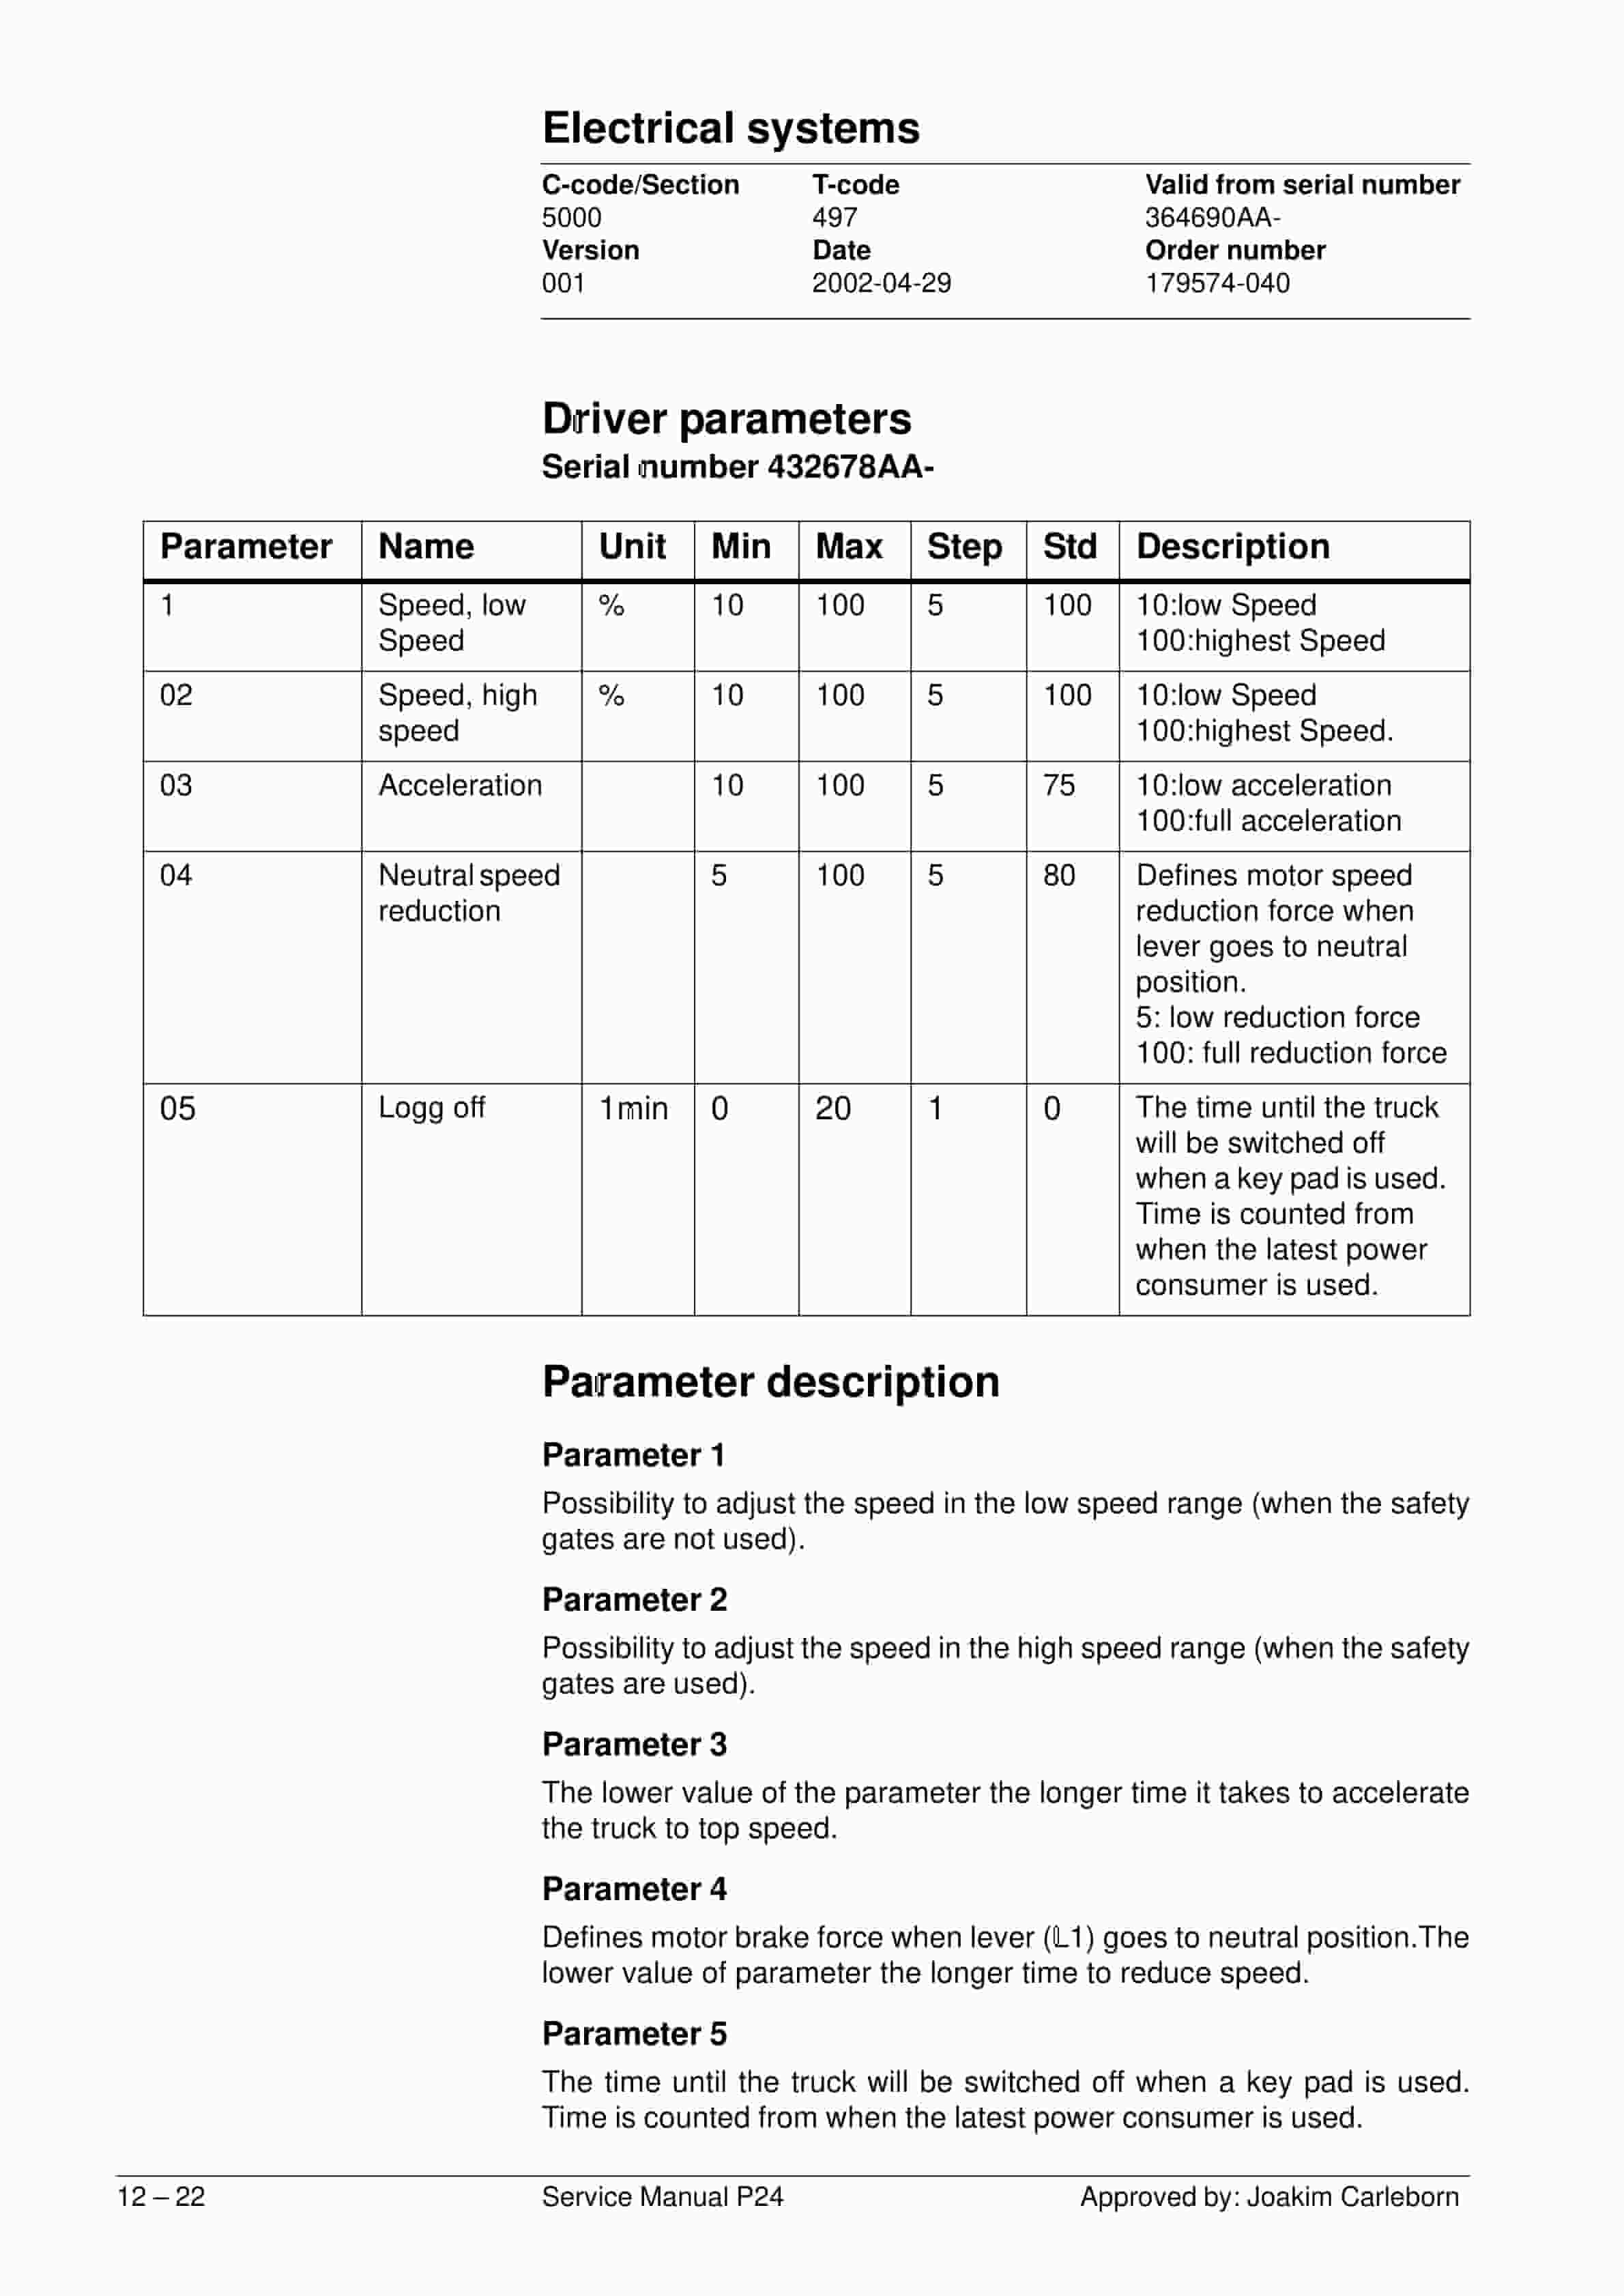
- 12.5.3. Driver parameters Serial number 432678AA-
- 12.5.4. Parameter description
- 12.5.5. Service parameters
- 12.5.6. Parameter description
- 12.6. Part numbers
- 12.7. Transistor panel
- 12.7.1. General
- 12.8. Diagnostic and troubleshooting
- 12.8.1. Error codes and troubleshooting
- 12.8.2. Resetting errors
- 12.9. Technical specifications Curtis 1243
- 12.9.1. Explanation
- 13. Hydraulic, pneumatic system 13
- 13.1. Hydraulic diagram
- 13.1.1. Symbol list
- 13.2. Adjustments
- 13.2.1. Adjustment of the pressure limit valve
- 13.3. Cleaning the filter
- 14. PowerTrak cylinder Component parts 14
- 14.1. Description
- 14.2. Dismantling the PowerTrak cylinder
- 14.2.1. WARNING
- 14.2.2. Replacing the gaskets in the PowerTrak cylinder
- 14.3. Dismantling/assembling the ground pressure springs
- 14.3.1. Component parts
- 14.3.2. Dismantling
- 14.3.3. Assembling
- 14.3.4. Setting and sealing Serial number 437329AA-
- 14.3.5. Sealing
- 15. Control/computer equipment 15
- 15.1. General
- 15.2. Connection
- 15.2.1. Main window
- 15.2.2. Tool buttons
- 15.2.3. Information window
- 15.2.4. Status bar
- 15.3. Function
- 15.3.1. Connection
- 15.3.2. Disconnection
- 15.3.3. Downloading program
- 15.3.4. Truck report
- 15.3.5. Parameters
- 15.3.6. Diagnostics
- 15.3.7. Other functions
- 15.4. Specifications
- 15.4.1. CAN interface
- 15.4.2. Installation
- 15.4.3. To uninstall
Related products
-
BT C3E150 to C4E200 Repair Manual 036-0437-00
$30.00 Add to cart -
BT C3E130R, C3E150R, C3E100R Service Manual 036-0424-01
$30.00 Add to cart -
BT C3E120 to C4E200 Service Manual 036-0410-07
$30.00 Add to cart -
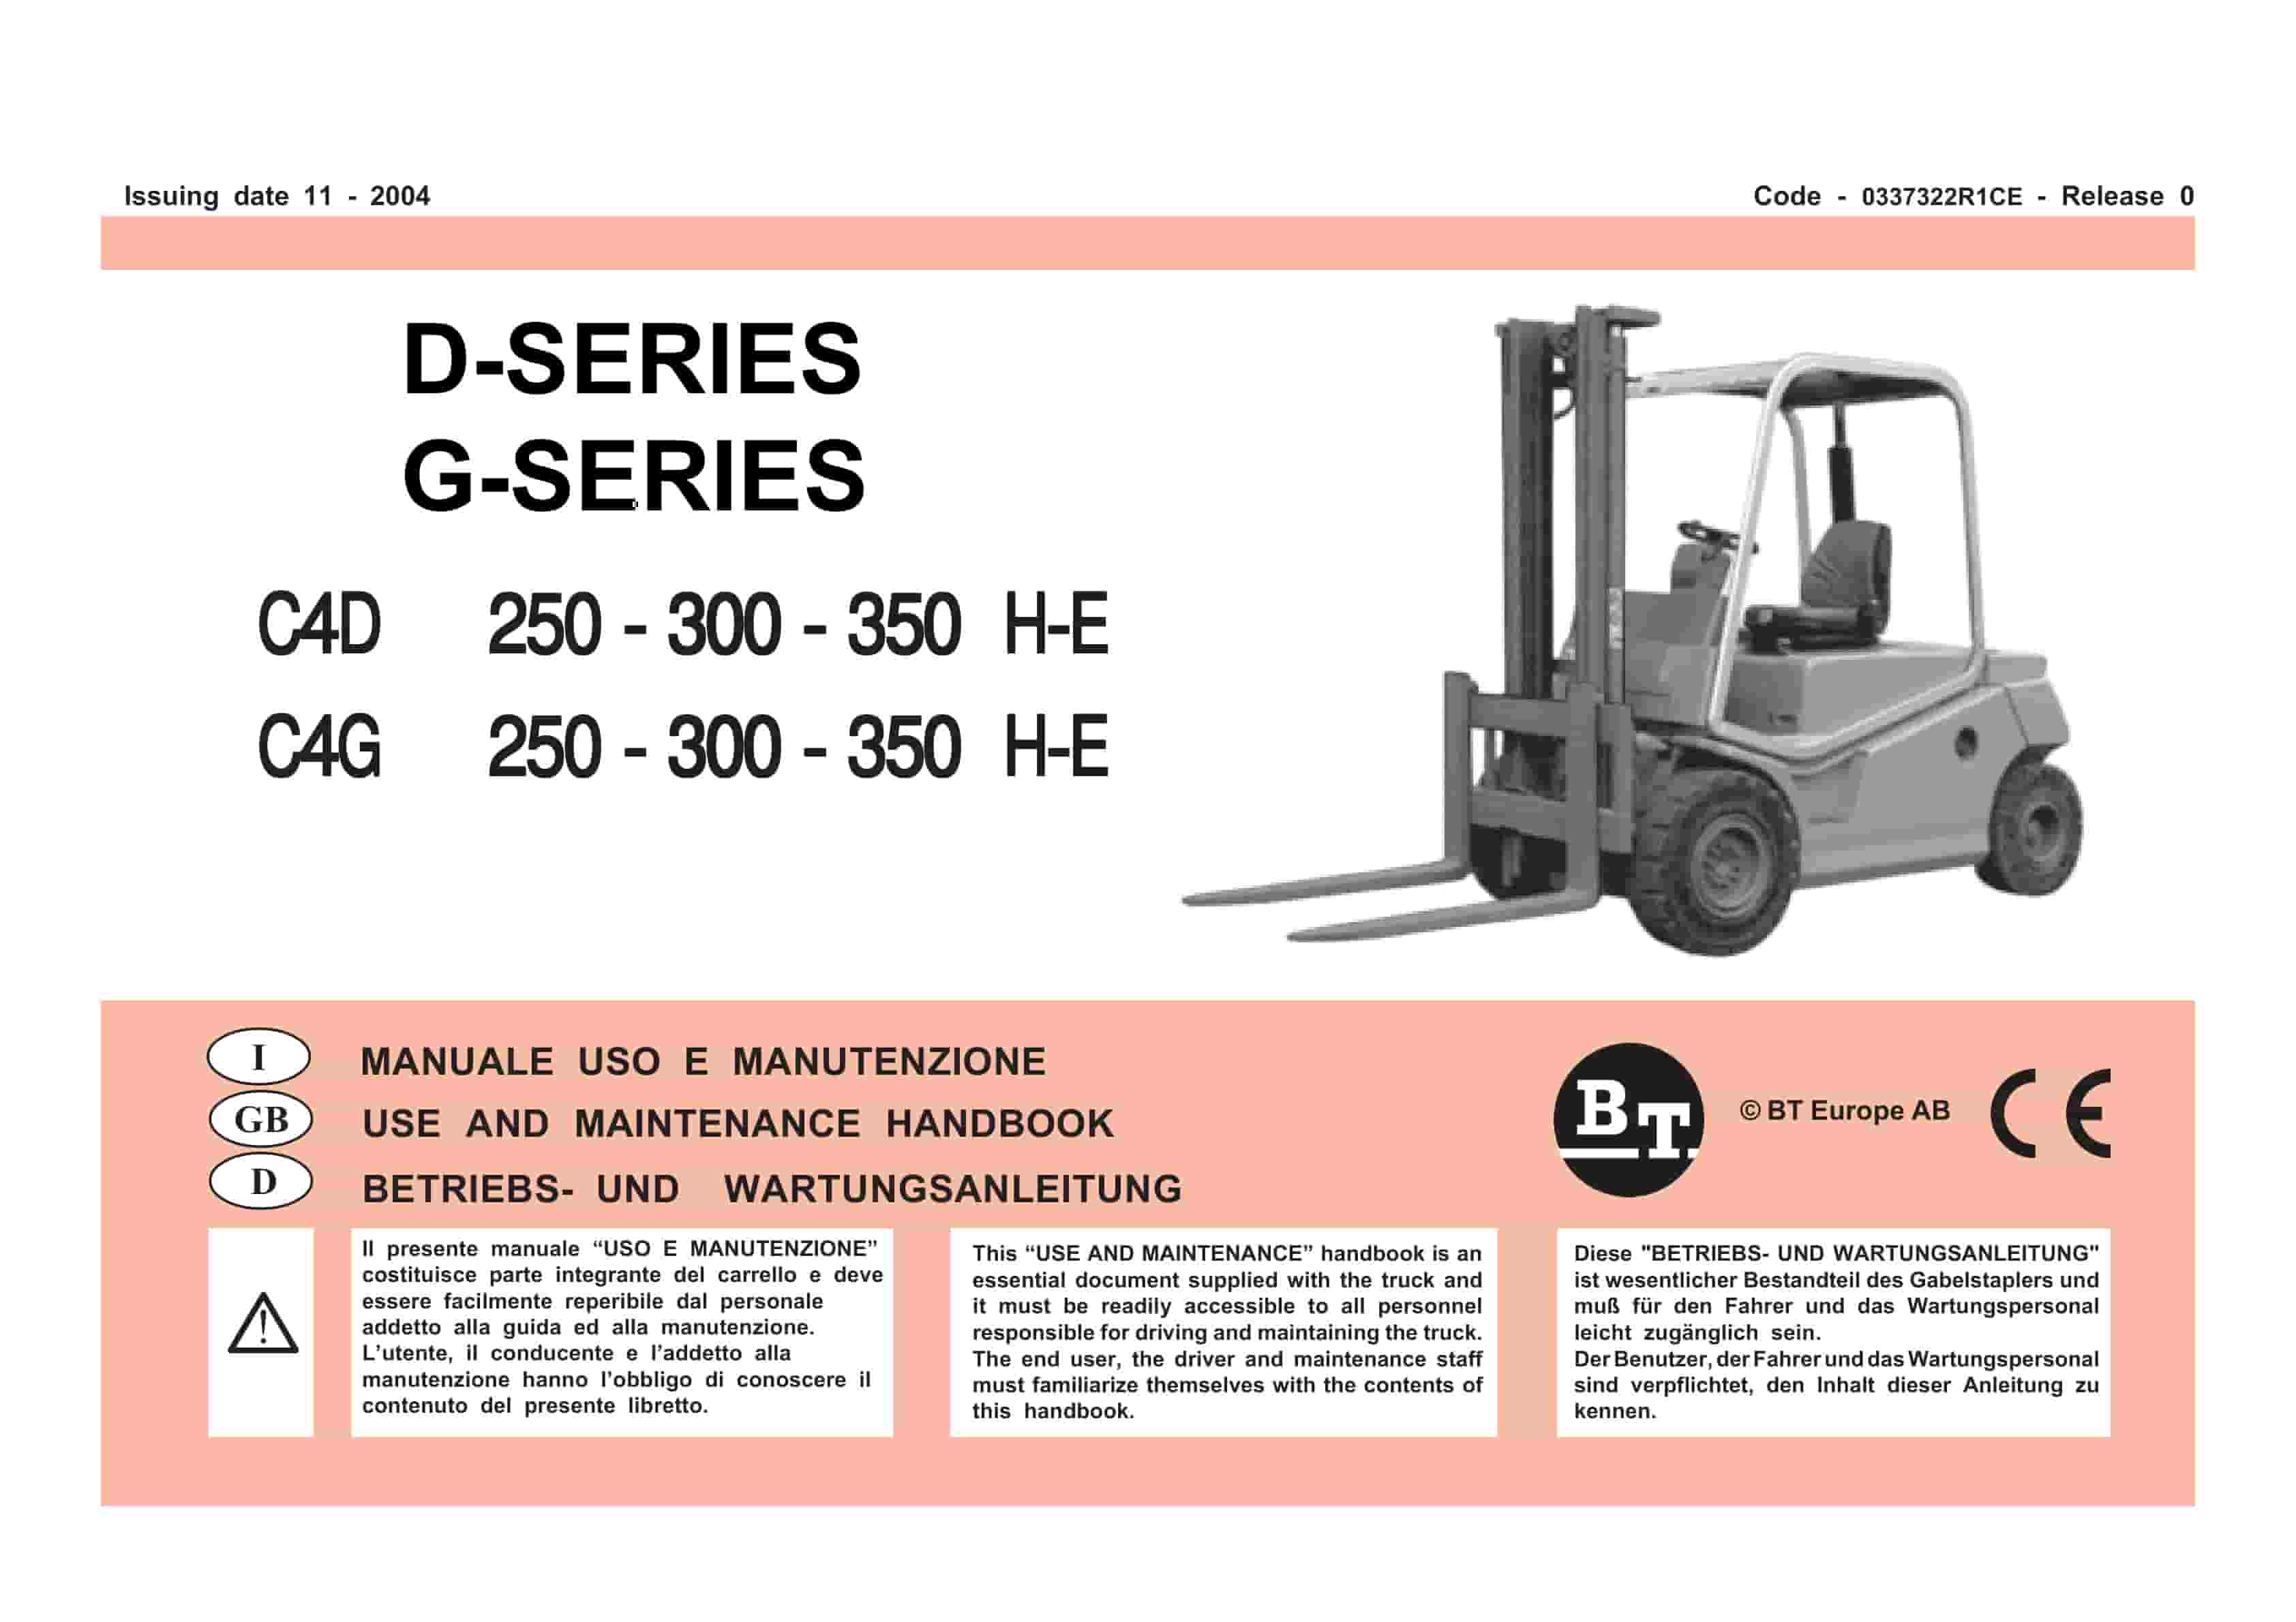
BT D-G-Series C4D250H-E, C4D300H-E, C4D350H-E, C4G250H-E, C4G300H-E, C4G350H-E Use And Maintenance Handbook 0337322R1CE
$30.00 Add to cart -
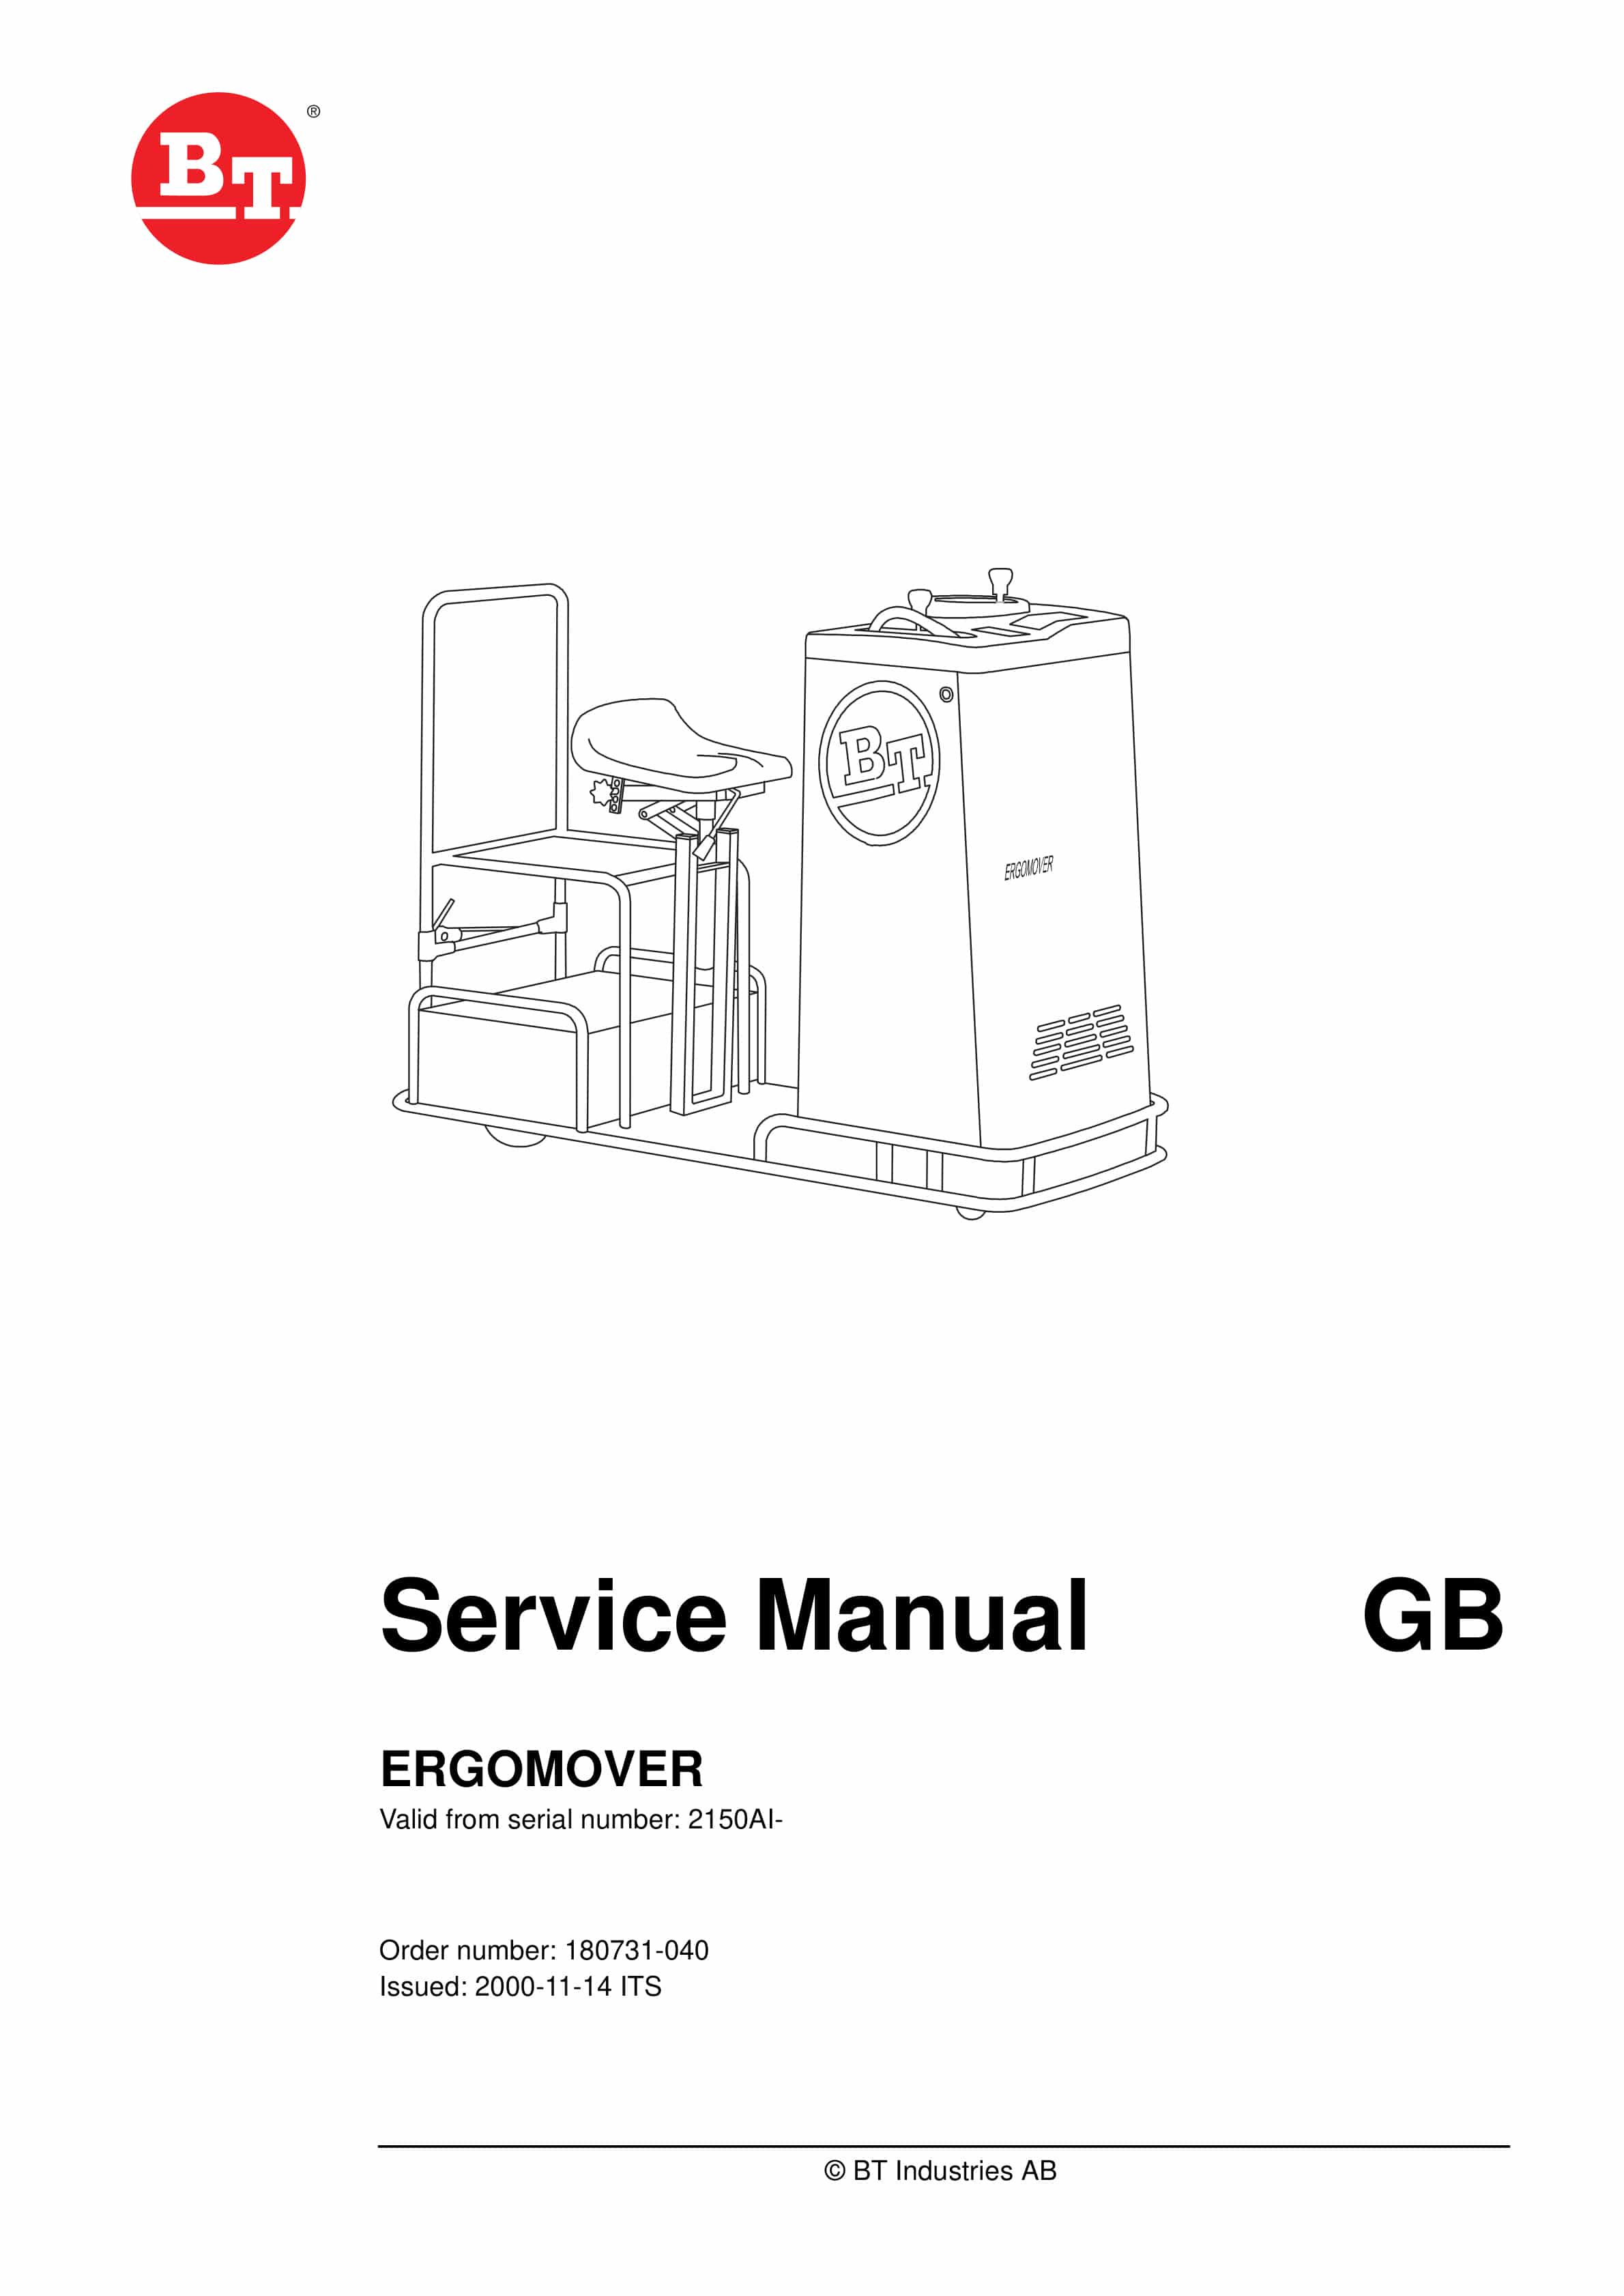
BT ERGOMOVER Service Manual 180731-040
$30.00 Add to cart


