

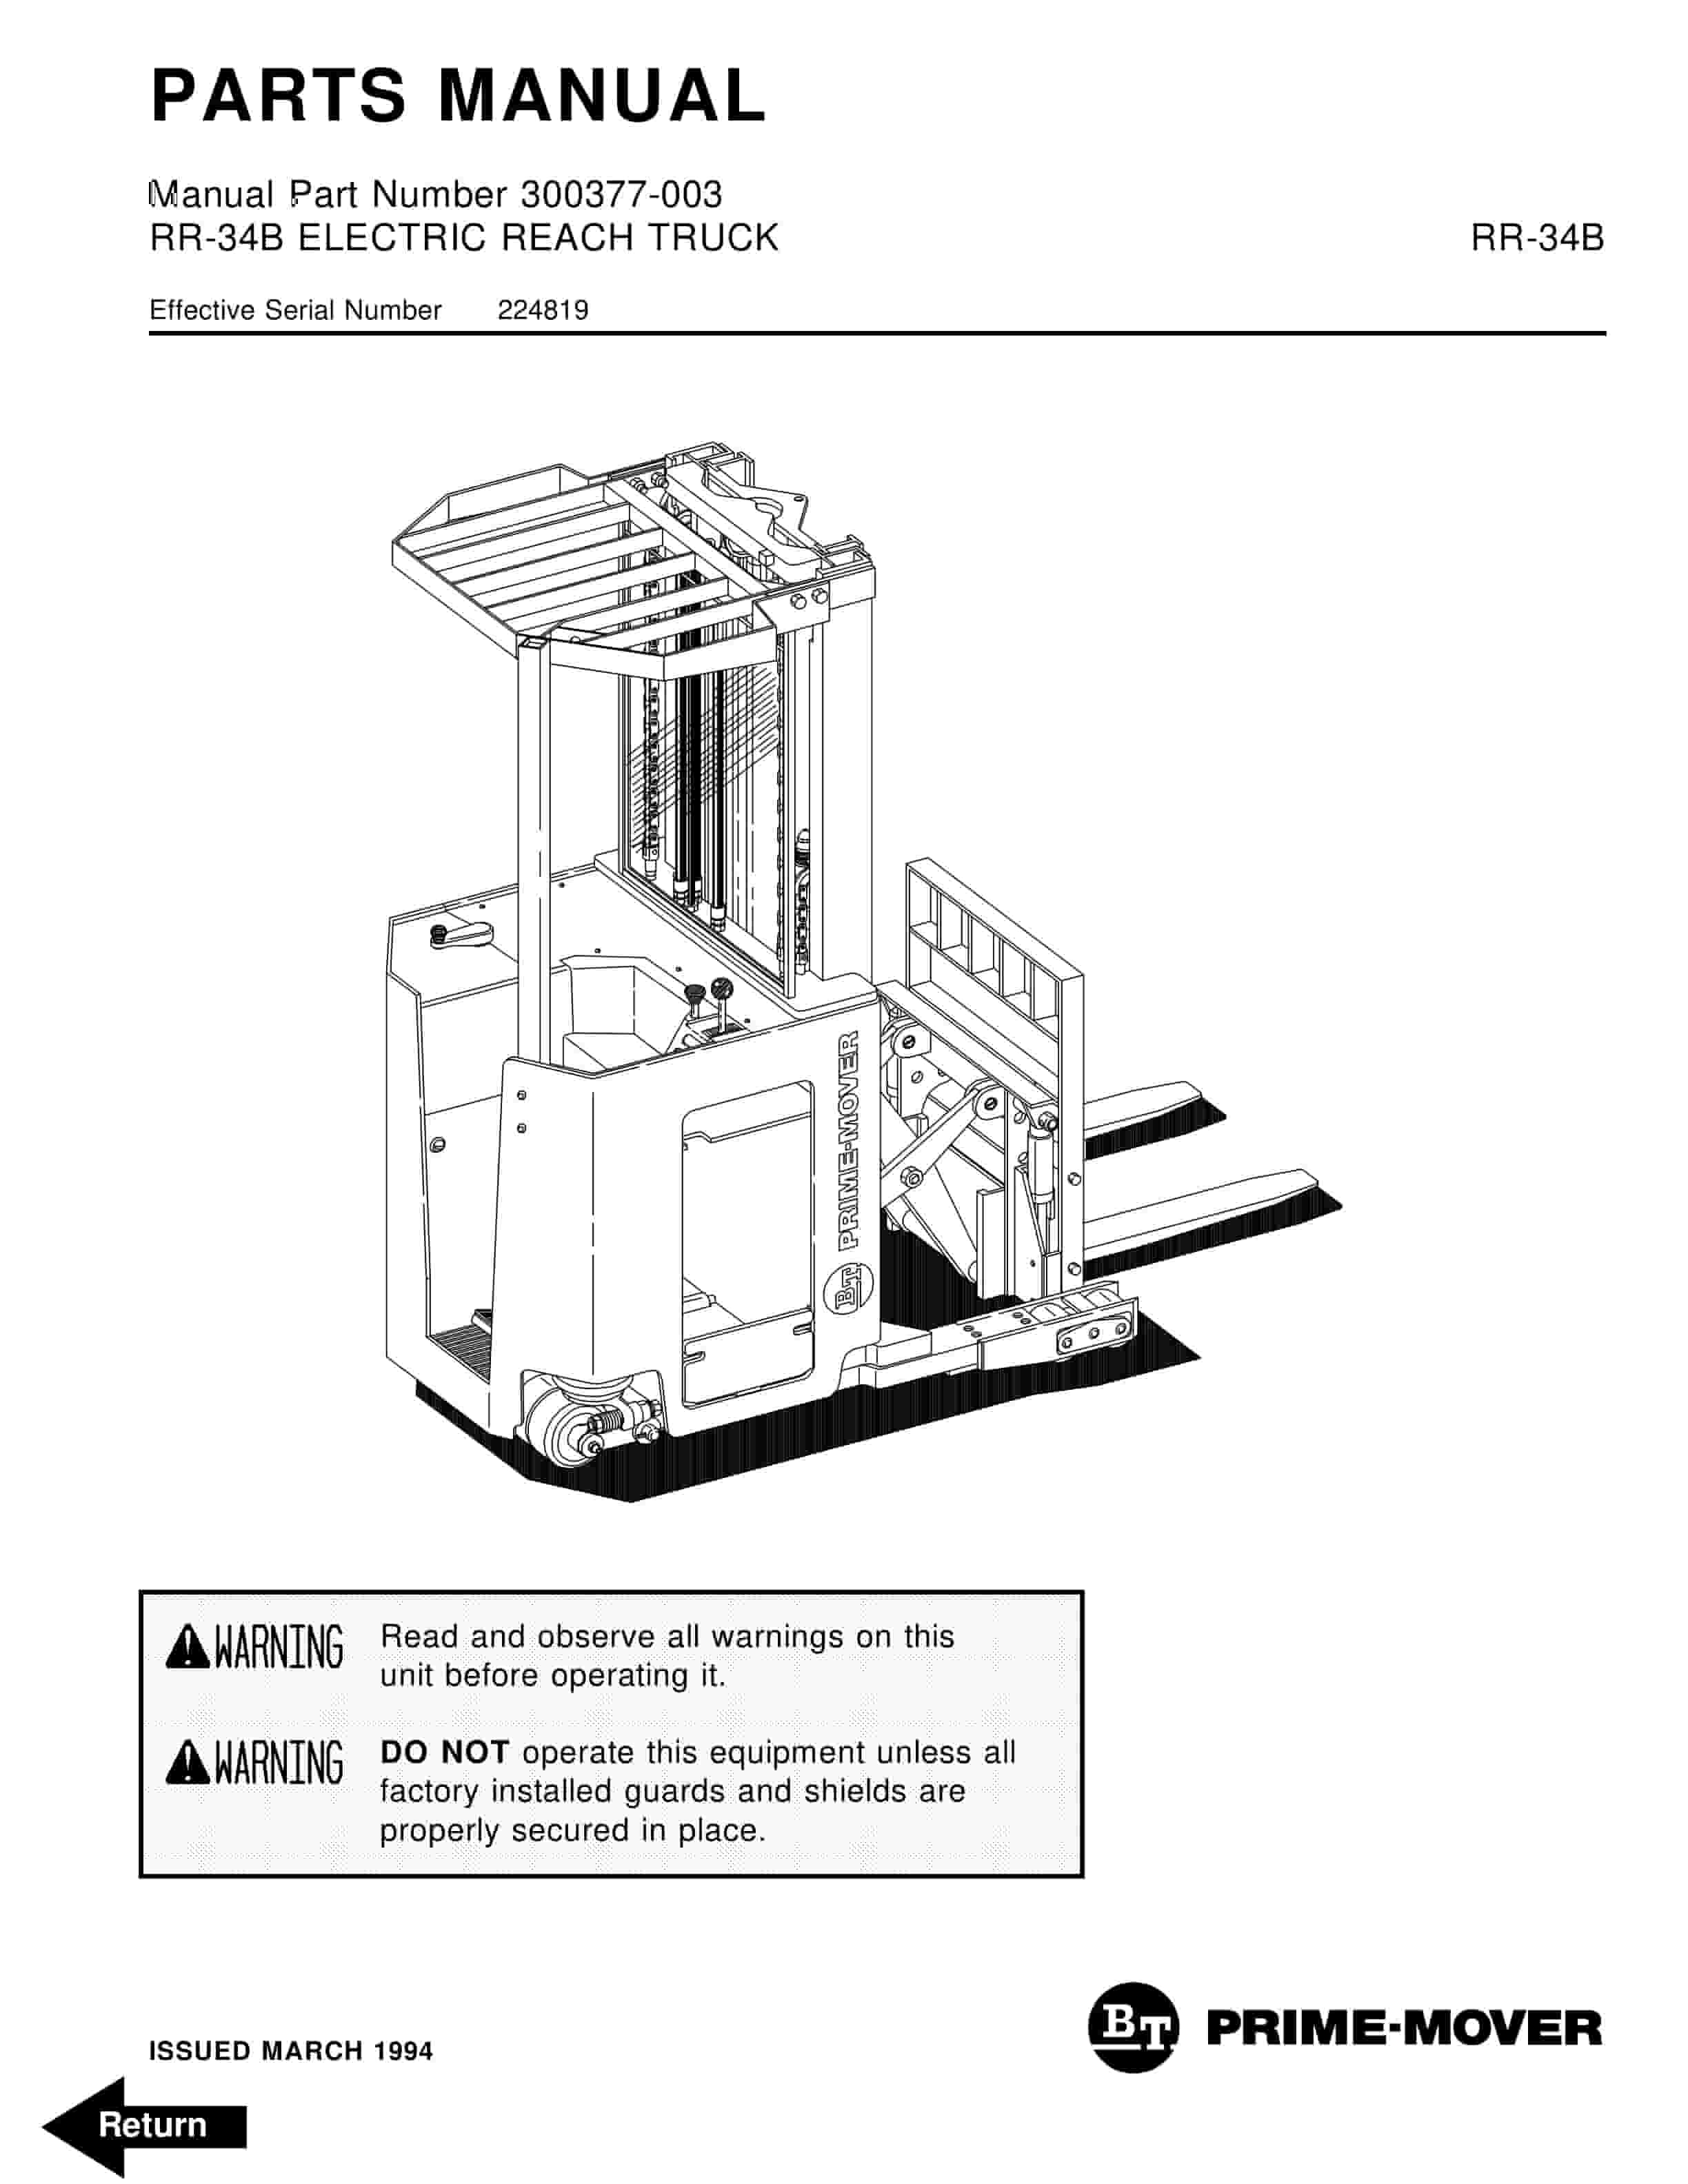
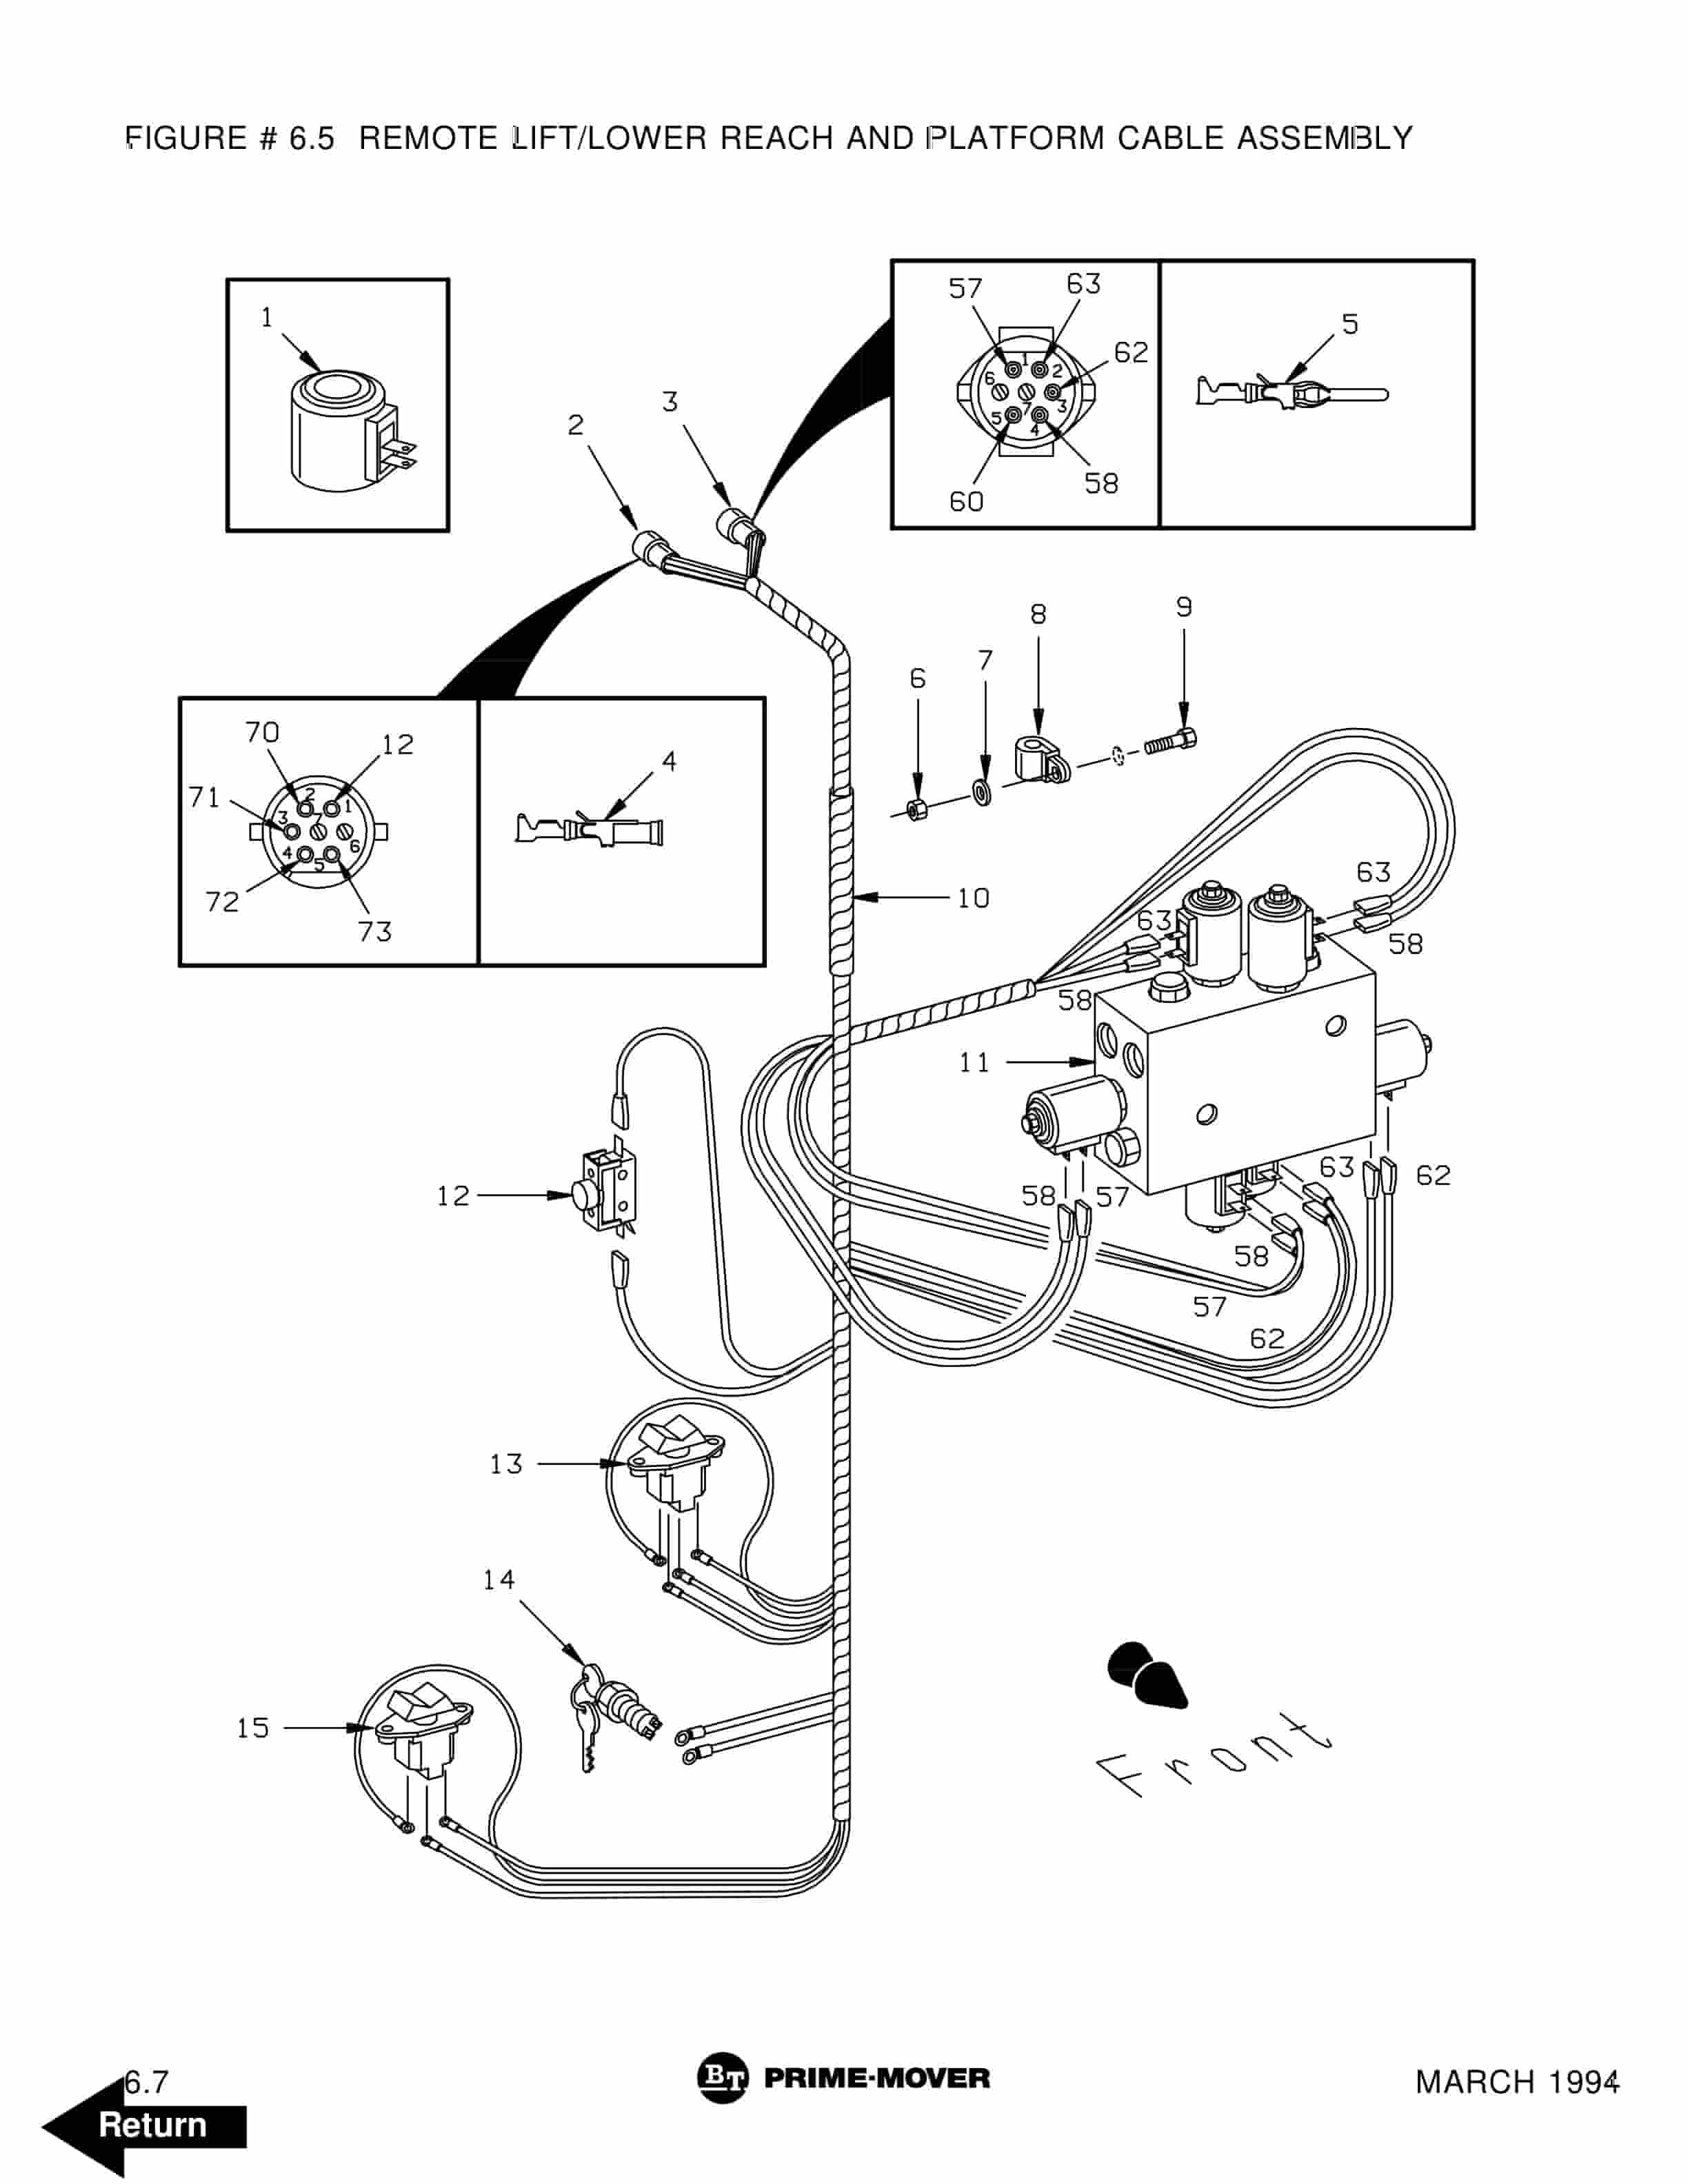
BT RR-34B Electric Reach Truck Parts Manual 300377-003
$30.00
- Type Of Manual: Parts Manual
- Manual ID: 300377-003
- : Parts Manual PDF
- Number of Pages: 254
- Size: 5.1MB
- Format: PDF
Product details
-
Model List:
- RR-34B Electric Reach Truck
- 1. Front Cover
- 2. Parts Ordering Instructions
- 3. General Information
- 4. Alphabetical Index
- 5. Figure 0.1 Decals and Parts Assembly
- 6. Figure 1.1 Transmission and Drive Motor Installation
- 7. Figure 1.2 Drive Motor and Brake Assembly
- 8. Figure 1.3 Transmission Assembly
- 9. Figure 1.4 Transmission Assembly
- 10. Figure 2.1 E EV-100LX SCR Electrical Schematic
- 11. Figure 2.2 E EV-100LX SCR Electrical Schematic Symbols
- 12. Figure 2.3 EE EV-100LX SCR Electrical Schematic
- 13. Figure 2.4 EE EV-100LX SCR Electrical Schematic Symbols
- 14. Figure 2.5 Wiring Assembly for Cold Storage
- 15. Figure 2.6 Wiring Harness Assembly
- 16. Figure 2.7 Limit Switch Wiring Assembly
- 17. Figure 2.8 Two Stage Mast Cable Assembly
- 18. Figure 2.9 Three Stage Mast Cable Assembly
- 19. Figure 2.10 Reach Cable Assembly
- 20. Figure 2.11 EV-100LX Power Component Wiring
- 21. Figure 2.12 EV-100LX TX TT SCR Control Panel Assembly
- 22. Figure 2.13 EV-100LX Contactor Panel Assembly Related Parts for E and EE
- 23. Figure 2.14 EV-100LX Contactor Panel Assembly, 24 36 Volt
- 24. Figure 2.15 EV-100LX SCR Forward Rearward Contactor Assembly
- 25. Figure 2.16 EV-100LX SCR 1A Contactor Assembly
- 26. Figure 2.17 Lift Pump Contactor Assembly, 24 36 Volt
- 27. Figure 2.18 EV-100LX SCR Auxiliary Pump Contactor Assembly
- 28. Figure 2.19 Power Connector Assembly, 24 36 Volt
- 29. Figure 2.20 Lift Pump Motor Assembly, 24 36 Volt
- 30. Figure 2.20A Lift Pump Motor Assembly, 36 Volt
- 31. Figure 2.21 Drive Motor Assembly, 24 36 Volt
- 32. Figure 2.22 Auxiliary Pump Motor Assembly, 24 36 Volt
- 33. Figure 2.23 Warning Light Assembly, 24 36 Volt
- 34. Figure 2.24 E EV-100LX TT SCR Electrical Schematic
- 35. Figure 2.25 E EV-100LX TT SCR Electrical Schematic Symbols
- 36. Figure 2.26 EE EV-100LX TT SCR Electrical Schematic
- 37. Figure 2.27 EE EV-100LX TT SCR Electrical Schematic Symbols
- 38. Figure 2.28 EV-100LX Dash Display Installation
- 39. Figure 2.29A TX EV-100LX Electrical Schematic – 3 Function Control Handle
- 40. Figure 2.30A EV-100LX SCR Electrical Schematic Symbols
- 41. Figure 2.29B TT EV-100LX Electrical Schematic – 3 Function Control Handle
- 42. Figure 2.30B EV-100LX SCR Electrical Schematic Symbols
- 43. Figure 2.31 Wiring Harness Assembly for 3 Function Control Valve
- 44. Figure 3.1 Hydraulic Schematic
- 45. Figure 3.2 Hydraulic Schematic Symbols
- 46. Figure 3.3 Auxiliary Pump and Reservoir Assembly
- 47. Figure 3.4 Auxiliary Control Valve Assembly
- 48. Figure 3.5 Auxiliary Pump and Motor Assembly, 24 36 Volt
- 49. Figure 3.6 Auxiliary Pump Assembly
- 50. Figure 3.7 Hydraulic Reservoir Assembly
- 51. Figure 3.8 Torque Generator Assembly
- 52. Figure 3.9 Two Stage Mast Hydraulic Assembly
- 53. Figure 3.10 Three Stage Mast Hydraulic Assembly
- 54. Figure 3.11 Single Reach, Reach Cylinder Hose Installation
- 55. Figure 3.12 Reach Diverter Valve Assembly
- 56. Figure 3.13 Reach Cylinder Assembly
- 57. Figure 3.14 Tilt and Sideshift Hose Installation
- 58. Figure 3.15 Tilt Cylinder Assembly
- 59. Figure 3.16 Lift Pump and Reservoir Assembly
- 60. Figure 3.17 Lift Pump Motor Assembly
- 61. Figure 3.18 Lift Pump Assembly
- 62. Figure 3.19 Lift Pump Motor Assembly, 36 Volt
- 63. Figure 3.20 Lift Control Valve Assembly
- 64. Figure 3.21 Two Stage Cylinder and Reservoir Assembly
- 65. Figure 3.22 Two Stage Cylinder Assembly
- 66. Figure 3.23 Three Stage Cylinder and Reservoir Assembly
- 67. Figure 3.24 Three Stage Staging Cylinder Assembly
- 68. Figure 3.25 Three Stage Freelift Cylinder Assembly
- 69. Figure 3.26 Hydraulic Schematic for 3 Function Control Handle
- 70. Figure 3.27 Hydraulic Schematic Symbols
- 71. Figure 3.28 Auxiliary Pump Reservoir Assy for 3 Function Control Handle
- 72. Figure 3.29 Valve Assembly
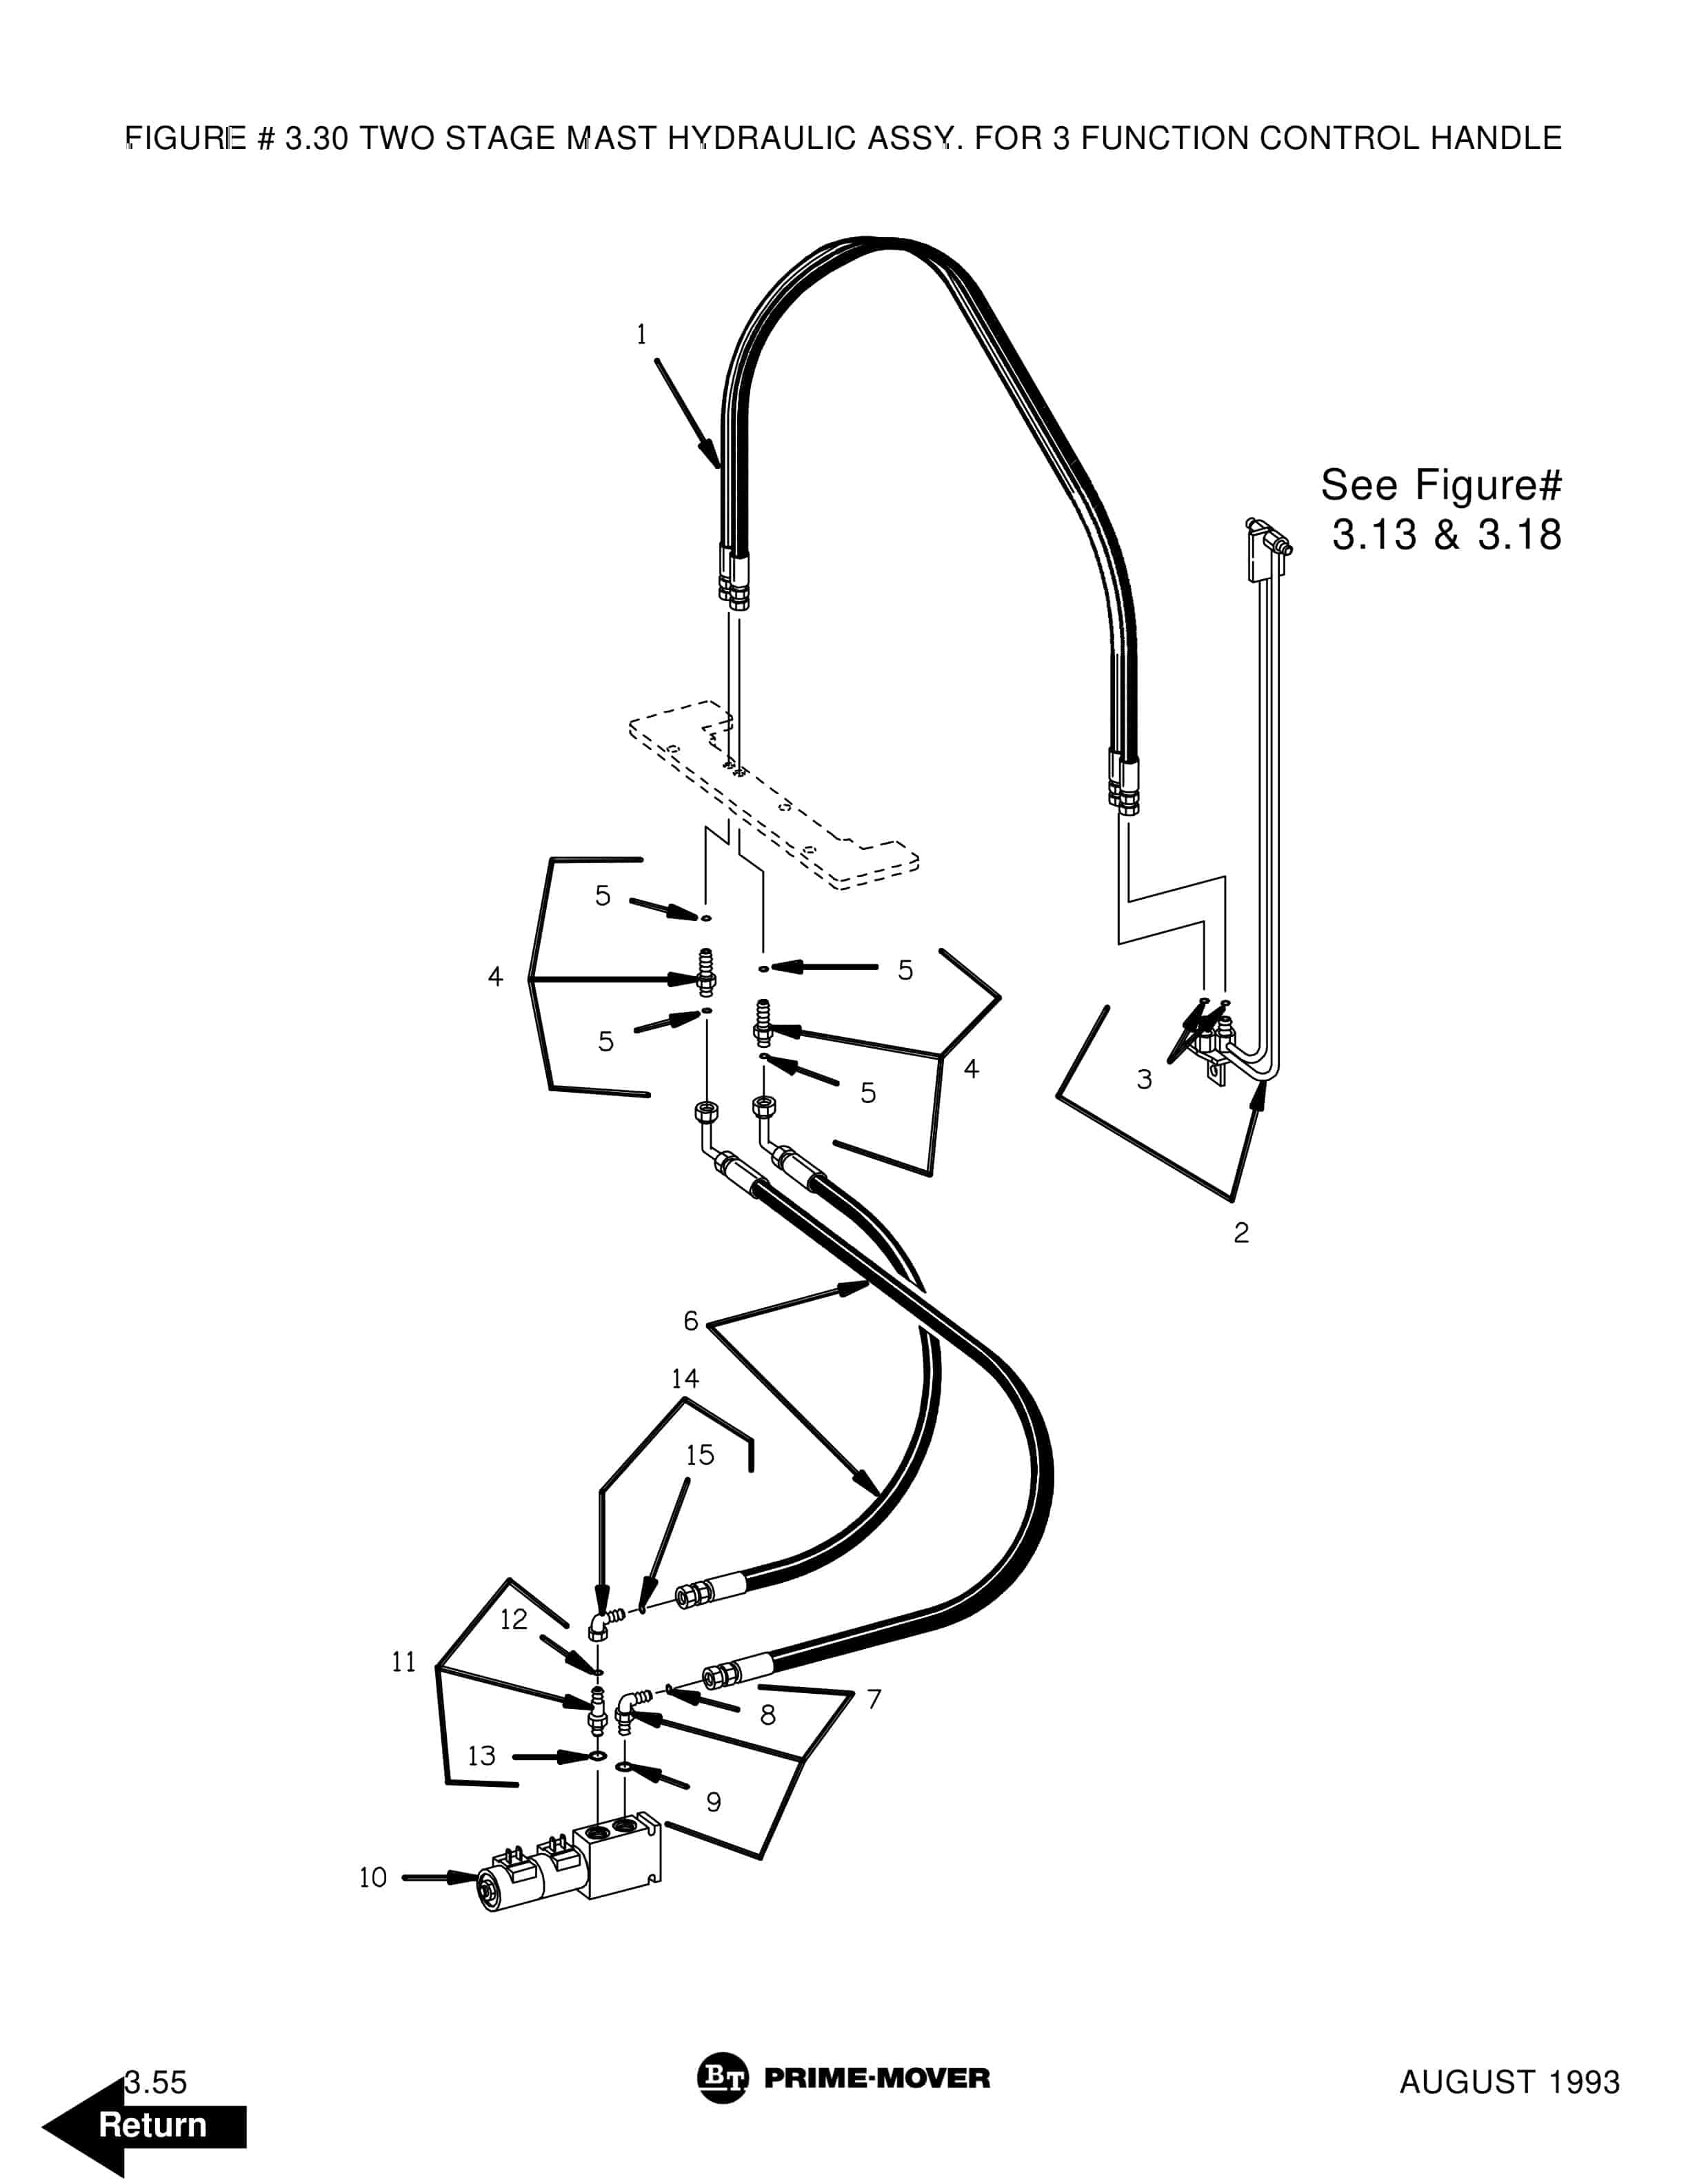
- 73. Figure 3.30 Two Stage Mast Hydraulic Assy for 3 Function Control Handle
- 74. Figure 3.31 Three Stage Mast Hydraulic Assy for 3 Function Control Handle
- 75. Figure 4.1 Shielding Assembly
- 76. Figure 4.2 Emergency Disconnect Assembly
- 77. Figure 4.3 Auxiliary Control Assembly
- 78. Figure 4.4 Hand Lift/Lower and Speed Control
- 79. Figure 4.5 Forward Steering Control Assembly
- 80. Figure 4.6 Rearward Steering Control Assembly
- 81. Figure 4.7 Auxiliary Pump and Motor Installation
- 82. Figure 4.8 Main Frame and Load Wheel Assembly
- 83. Figure 4.9 Single Load Wheel Assembly
- 84. Figure 4.9A Single Load Wheel Assembly
- 85. Figure 4.10 5 High Articulating Load Wheel Assembly
- 86. Figure 4.10A 5 High Articulating Load Wheel Assembly
- 87. Figure 4.11 4 High Articulating Load Wheel Assembly
- 88. Figure 4.11A 4 High Articulating Load Wheel Assembly
- 89. Figure 4.12 Caster Assembly
- 90. Figure 4.13 Hand Lift/Lower and Speed Control for 3 Function Control
- 91. Figure 5.1 Two Stage Mast Installation
- 92. Figure 5.2 Two Stage Inner Column Assembly
- 93. Figure 5.3 Two Stage Outer Column Assembly
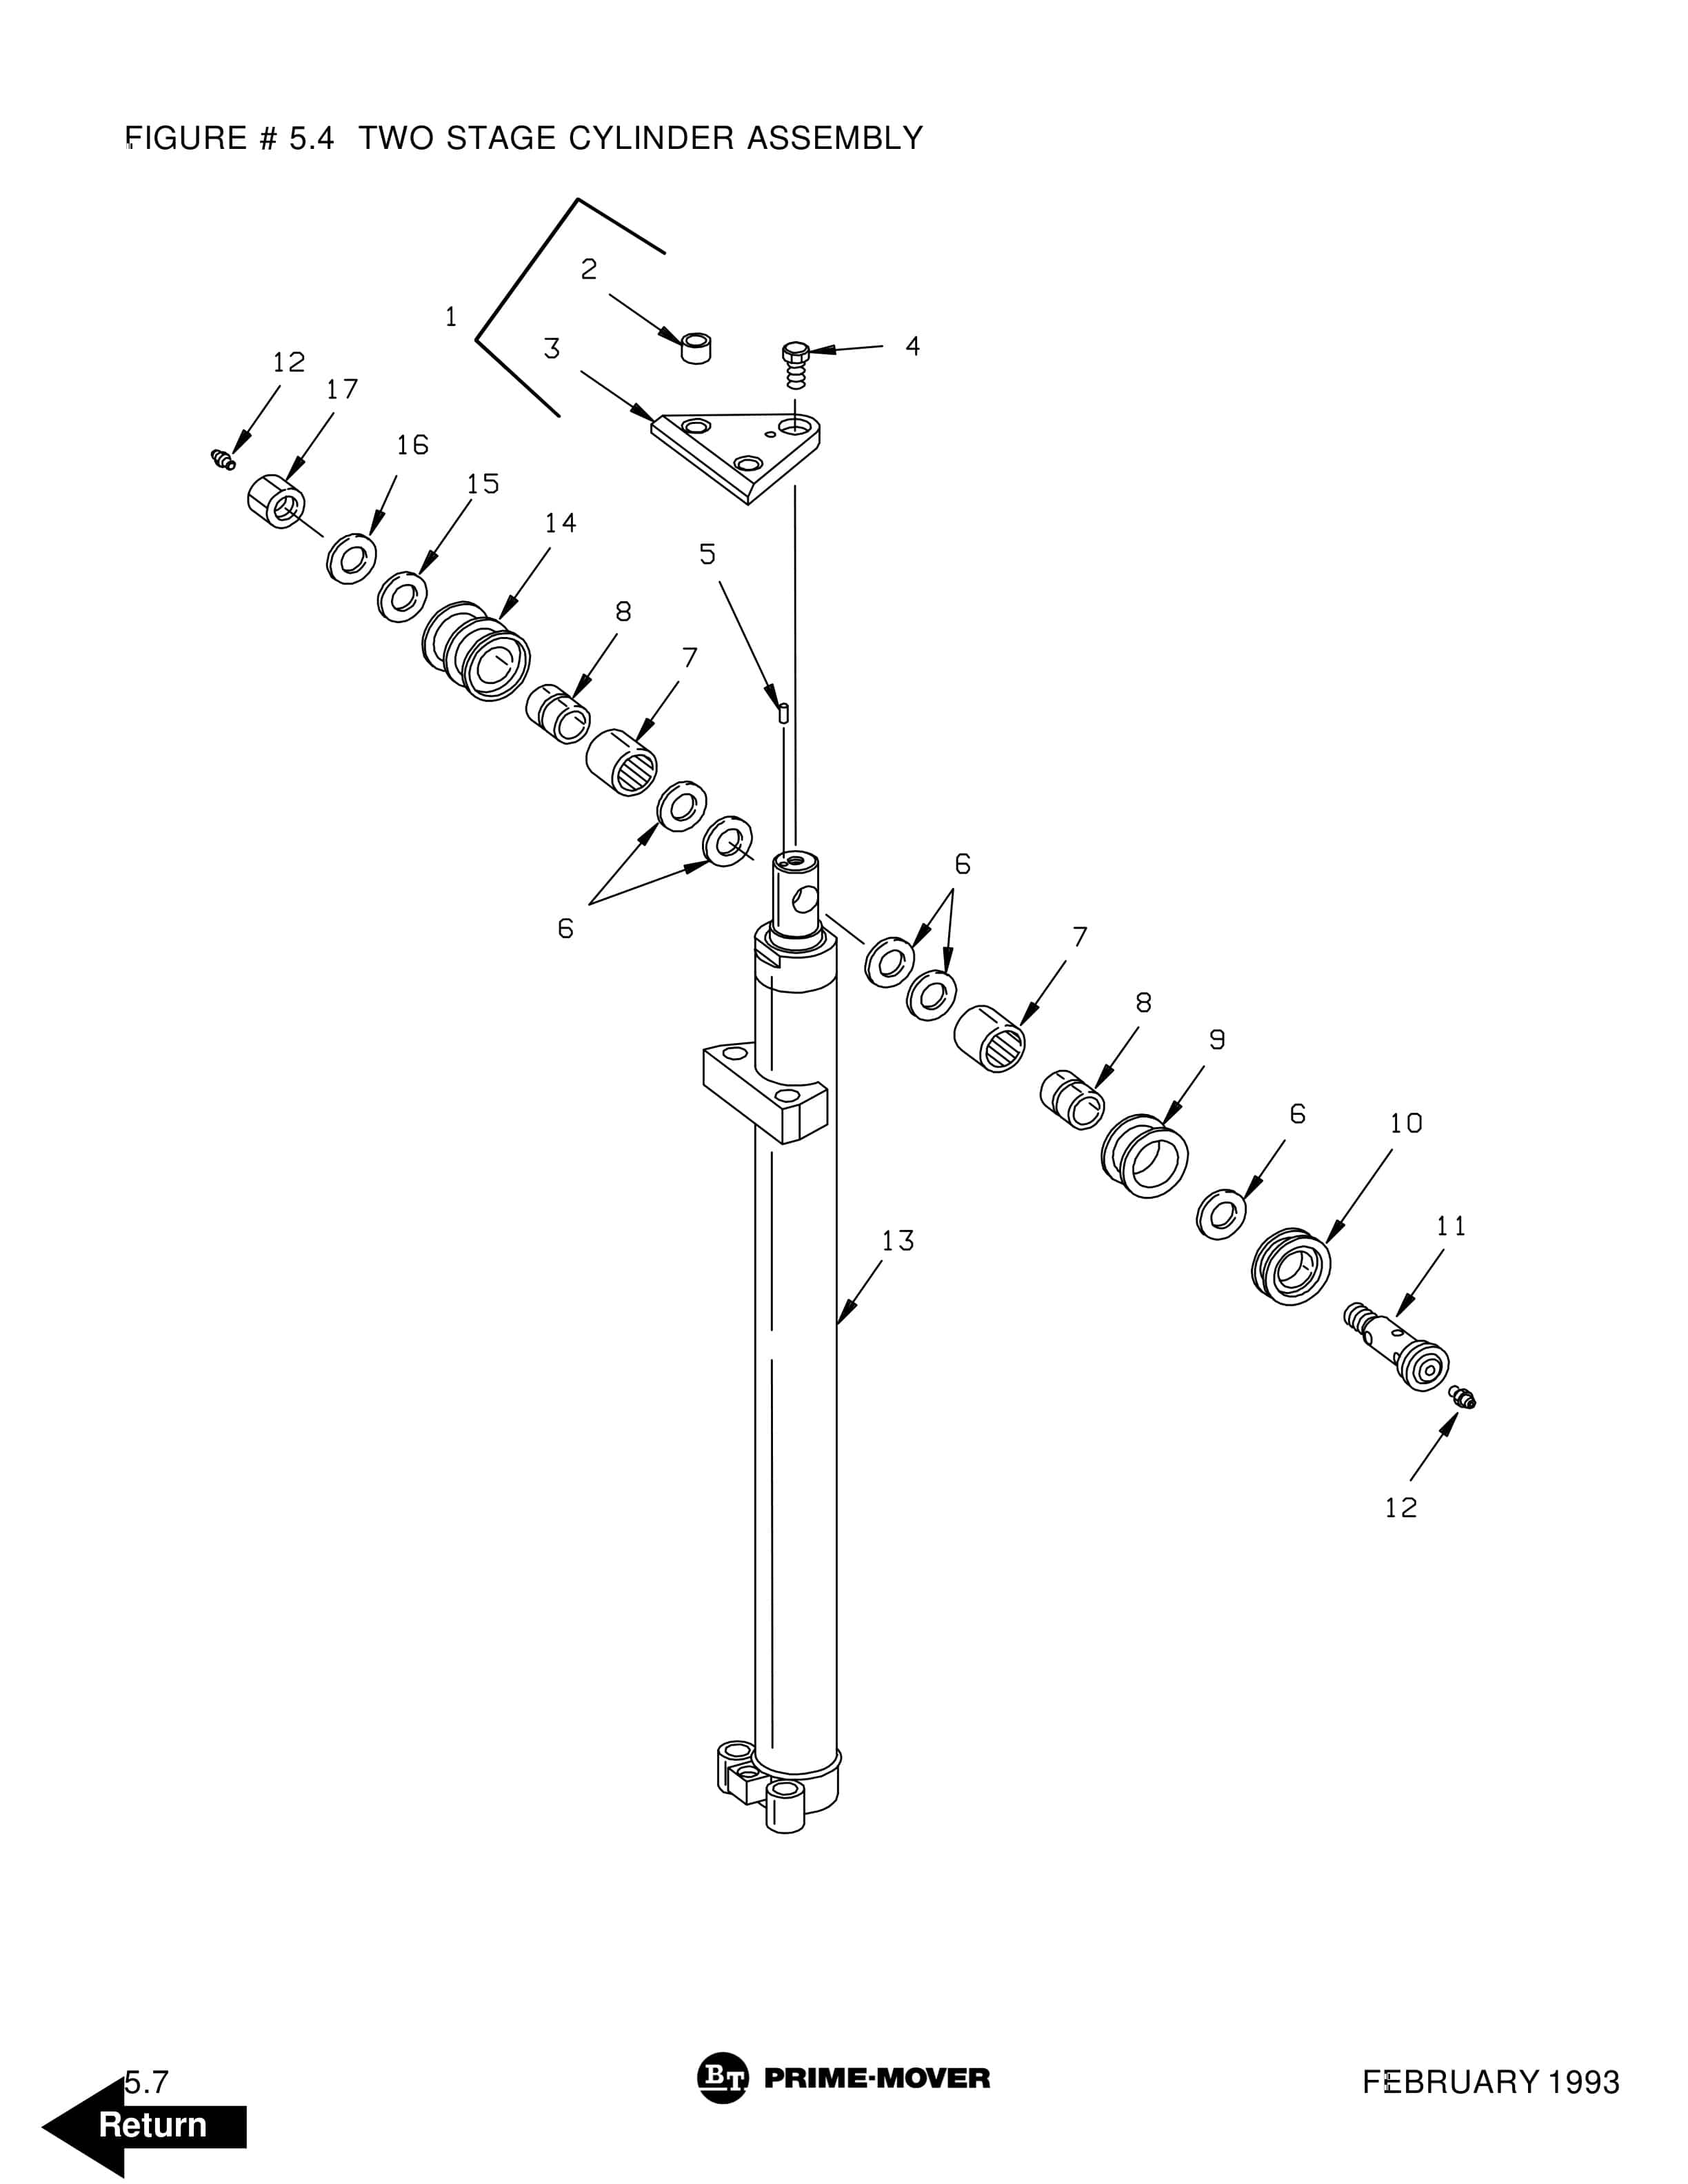
- 94. Figure 5.4 Two Stage Cylinder Assembly
- 95. Figure 5.5 Two Stage Reach Assembly
- 96. Figure 5.6 Two Stage Reach Front Frame
- 97. Figure 5.7 Two Stage Sideshifter Assembly
- 98. Figure 5.8 Two Stage Fork Assembly
- 99. Figure 5.9 Three Stage Mast Installation
- 100. Figure 5.10 Three Stage Inner Column Assembly
- 101. Figure 5.11 Three Stage Freelift Cylinder Installation
- 102. Figure 5.12 Three Stage Intermediate Column Assembly
- 103. Figure 5.13 Three Stage Outer Column Assembly
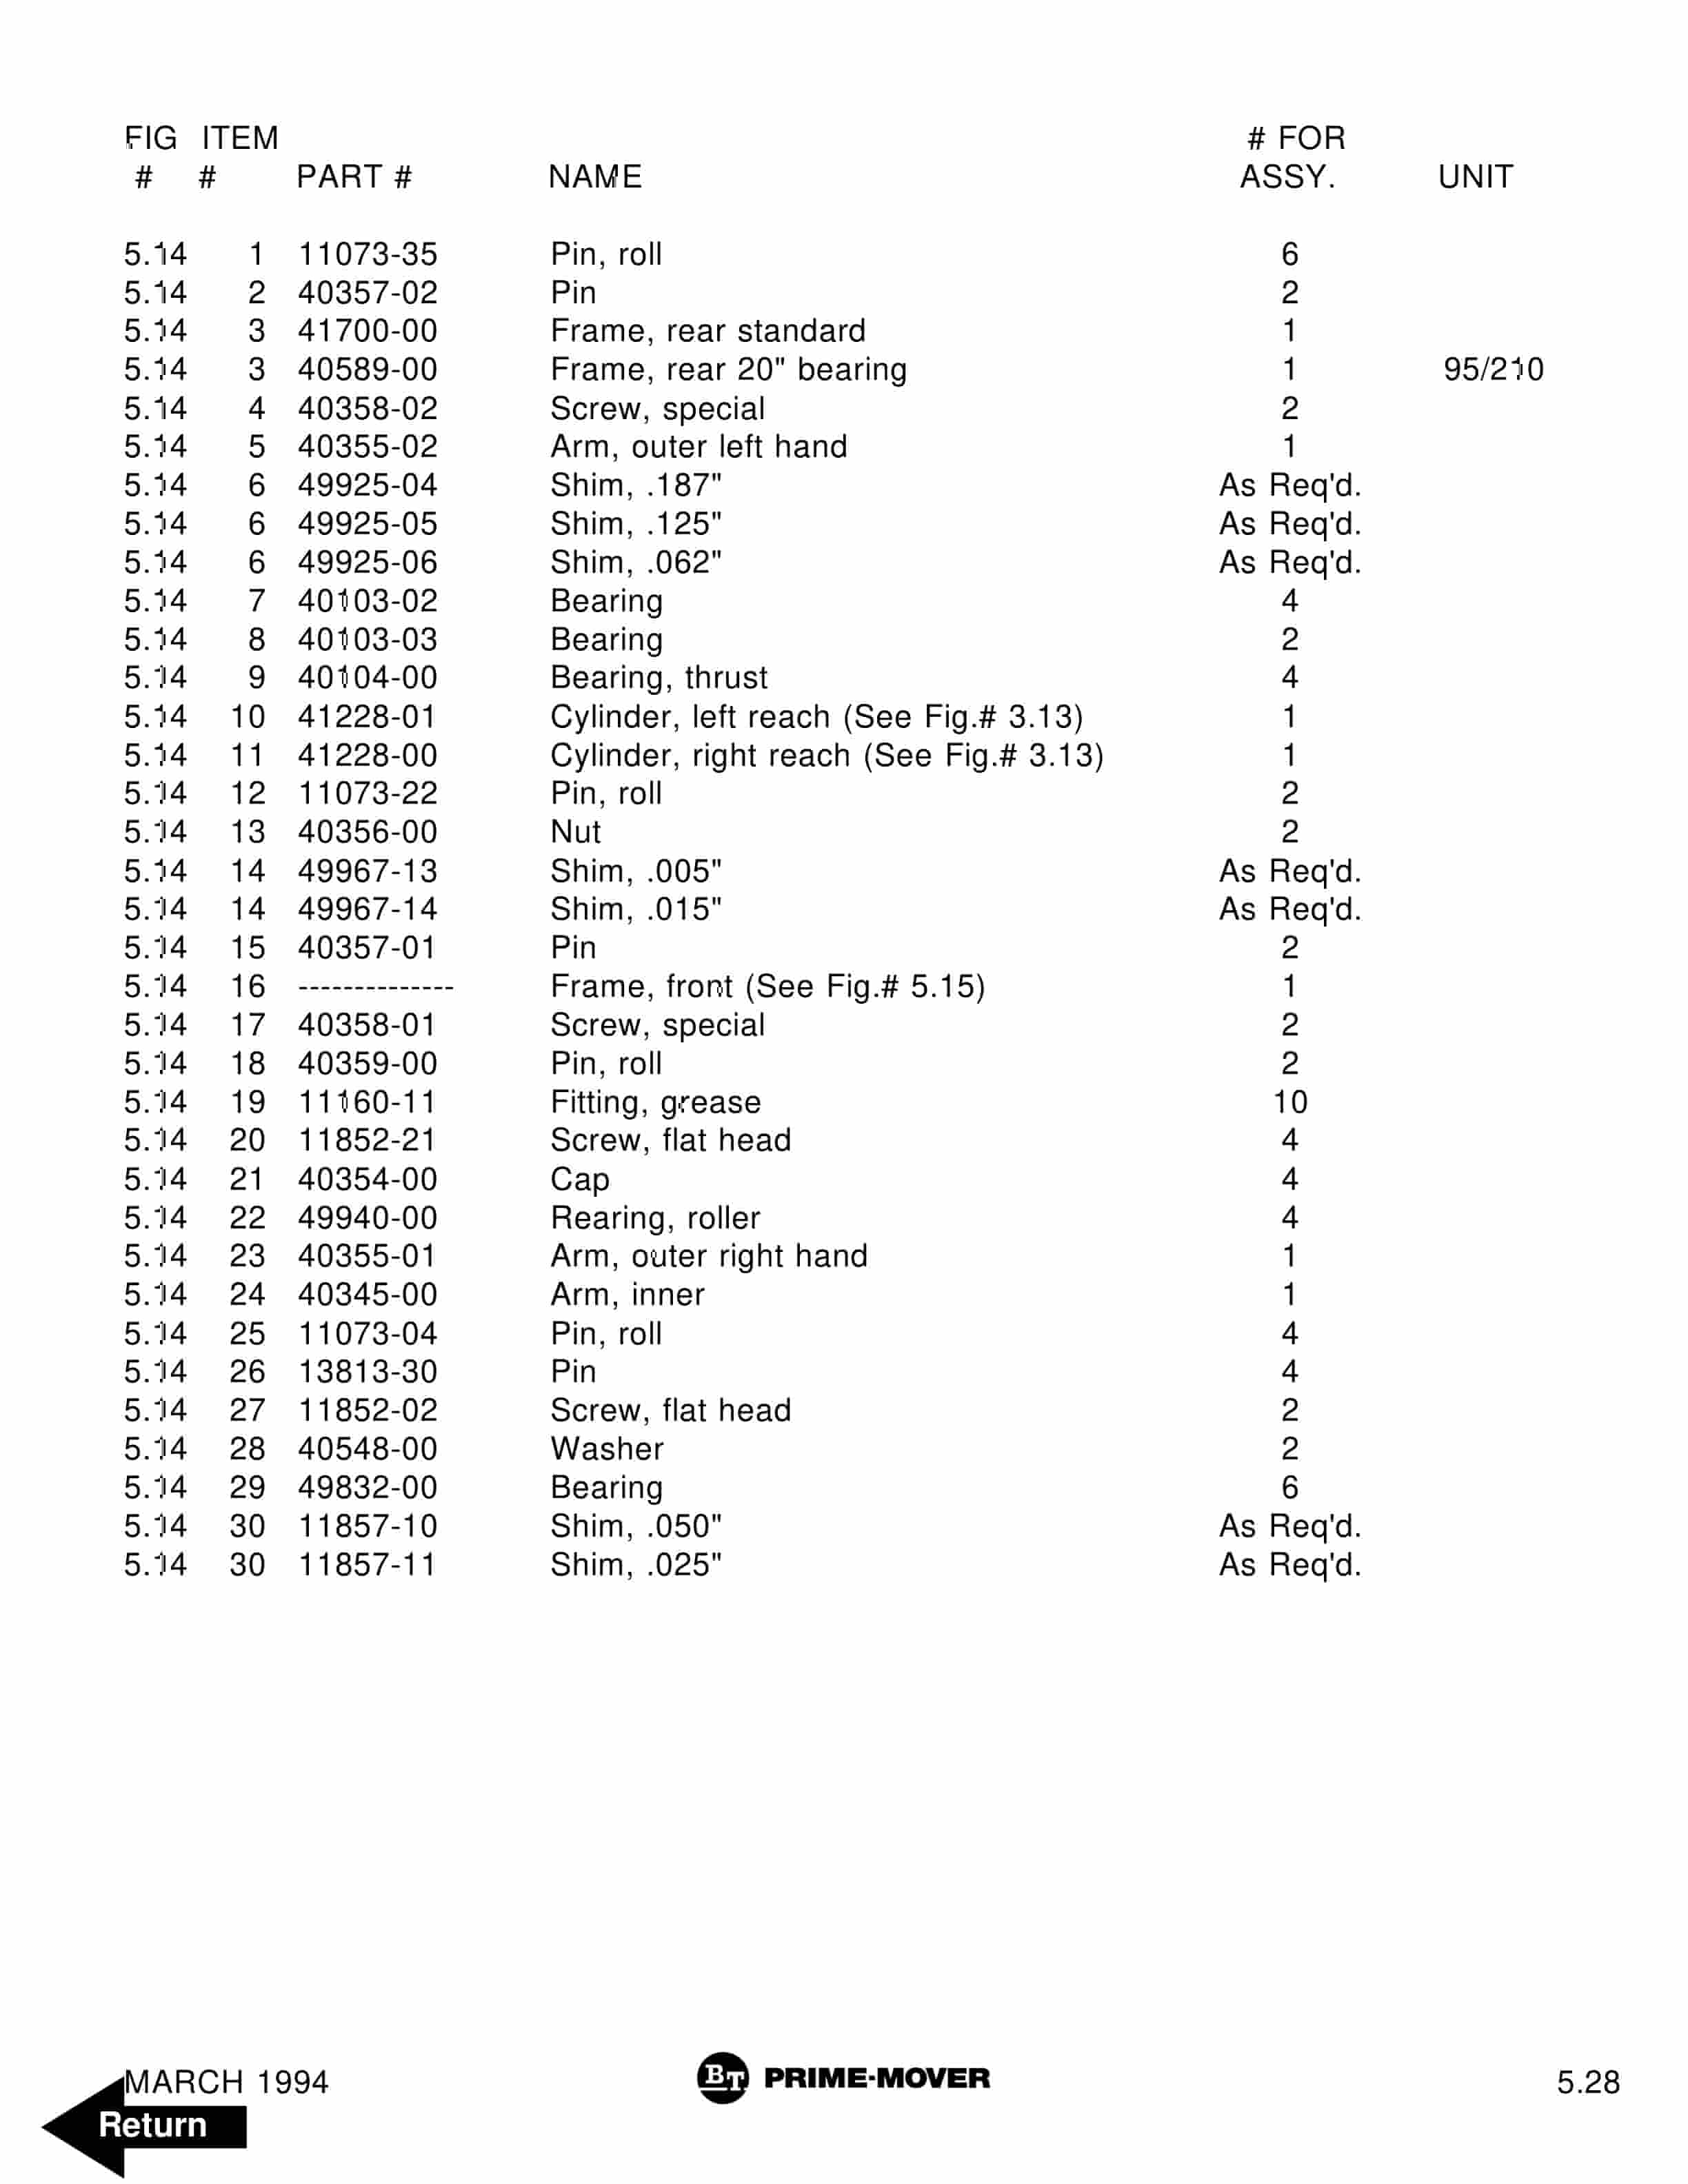
- 104. Figure 5.14 Three Stage Reach Assembly
- 105. Figure 5.15 Three Stage Reach Front Frame Assembly
- 106. Figure 5.16 Three Stage Sideshifter Assy
- 107. Figure 5.17 Three Stage Fork Assembly
- 108. Figure 6.1 Remote Lift/Lower EV-100 LX SCR Electrical Schematic
- 109. Figure 6.2 Remote Lift/Lower EV-100 LX SCR Electrical Schematic Symbols
- 110. Figure 6.3 Remote Lift/Lower Wiring Harness Assembly
- 111. Figure 6.4 Remote Lift/Lower Three Stage Mast Cable Assembly
- 112. Figure 6.5 Remote Lift/Lower Reach and Platform Cable Assembly
- 113. Figure 6.6 Remote Lift/Lower Power Component Wiring
- 114. Figure 6.7 Remote Lift/Lower Connector Assembly
- 115. Figure 6.8 Remote Lift/Lower Hydraulic Schematic
- 116. Figure 6.9 Remote Lift/Lower Manlift Hydraulic Schematic Symbols
- 117. Figure 6.10 Remote Lift/Lower Hydraulic Diagram
- 118. Figure 6.11 Blocking Remote Lift/Lower Valve Assembly
- 119. Figure 6.12 Remote Lift/Lower Valve Assembly
- 120. Figure 6.13 Remote Lift/Lower Load Backrest Installation
- 121. Figure 6.14 Remote Lift/Lower Contactor Assembly
- 122. Figure 7.1 Battery Lift Interrupt E EV-100LX SCR Electrical Schematic
- 123. Figure 7.2 Battery Lift Interrupt E EV-100LX SCR Electrical Schematic Symbols
- 124. Figure 7.3 Battery Lift Interrupt EE EV-100LX SCR Electrical Schematic
- 125. Figure 7.4 Battery Lift Interrupt EE EV-100LX SCR Electric Schematic Symbols
- 126. Figure 7.5 Battery Lift Interrupt Installation
- 127. Figure 10.1 Special Tools and Lubrications
- 128. Numerical Index
- 129. Back Cover
Related products
-
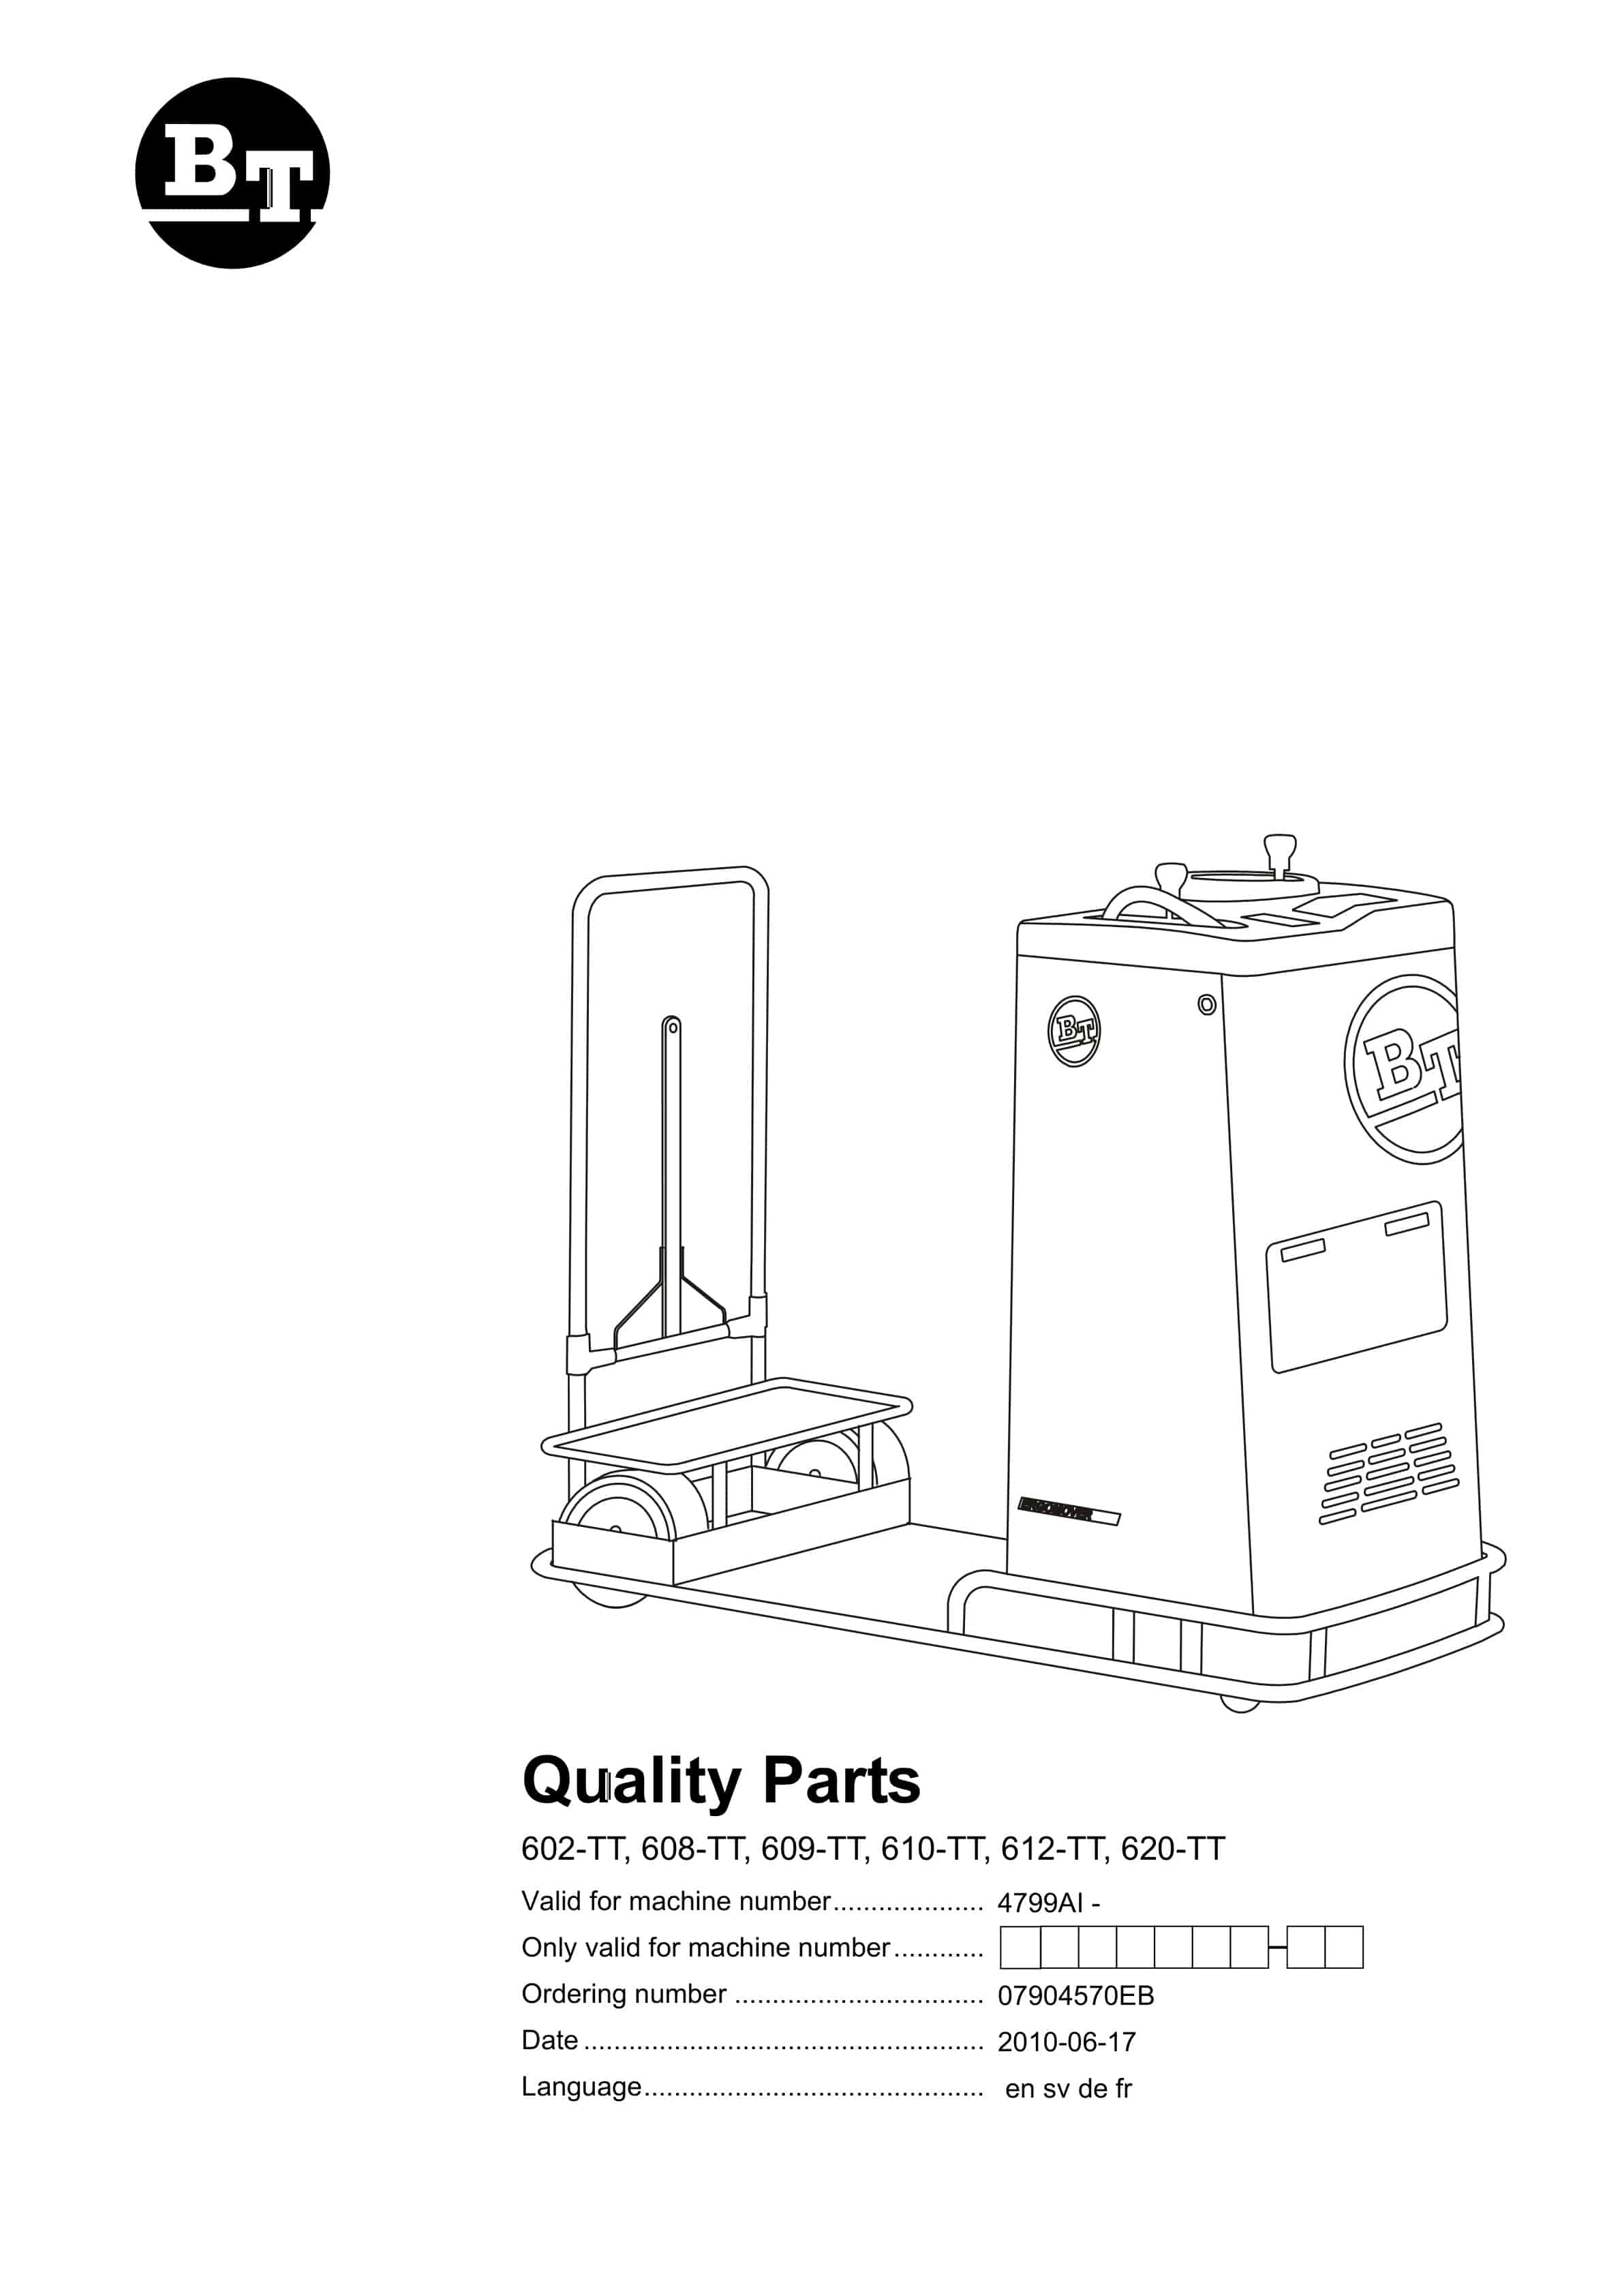
BT 602-TT, 608-TT, 609-TT, 610-TT, 612-TT, 620-TT Quality Parts 07904570EB
$30.00 Add to cart -
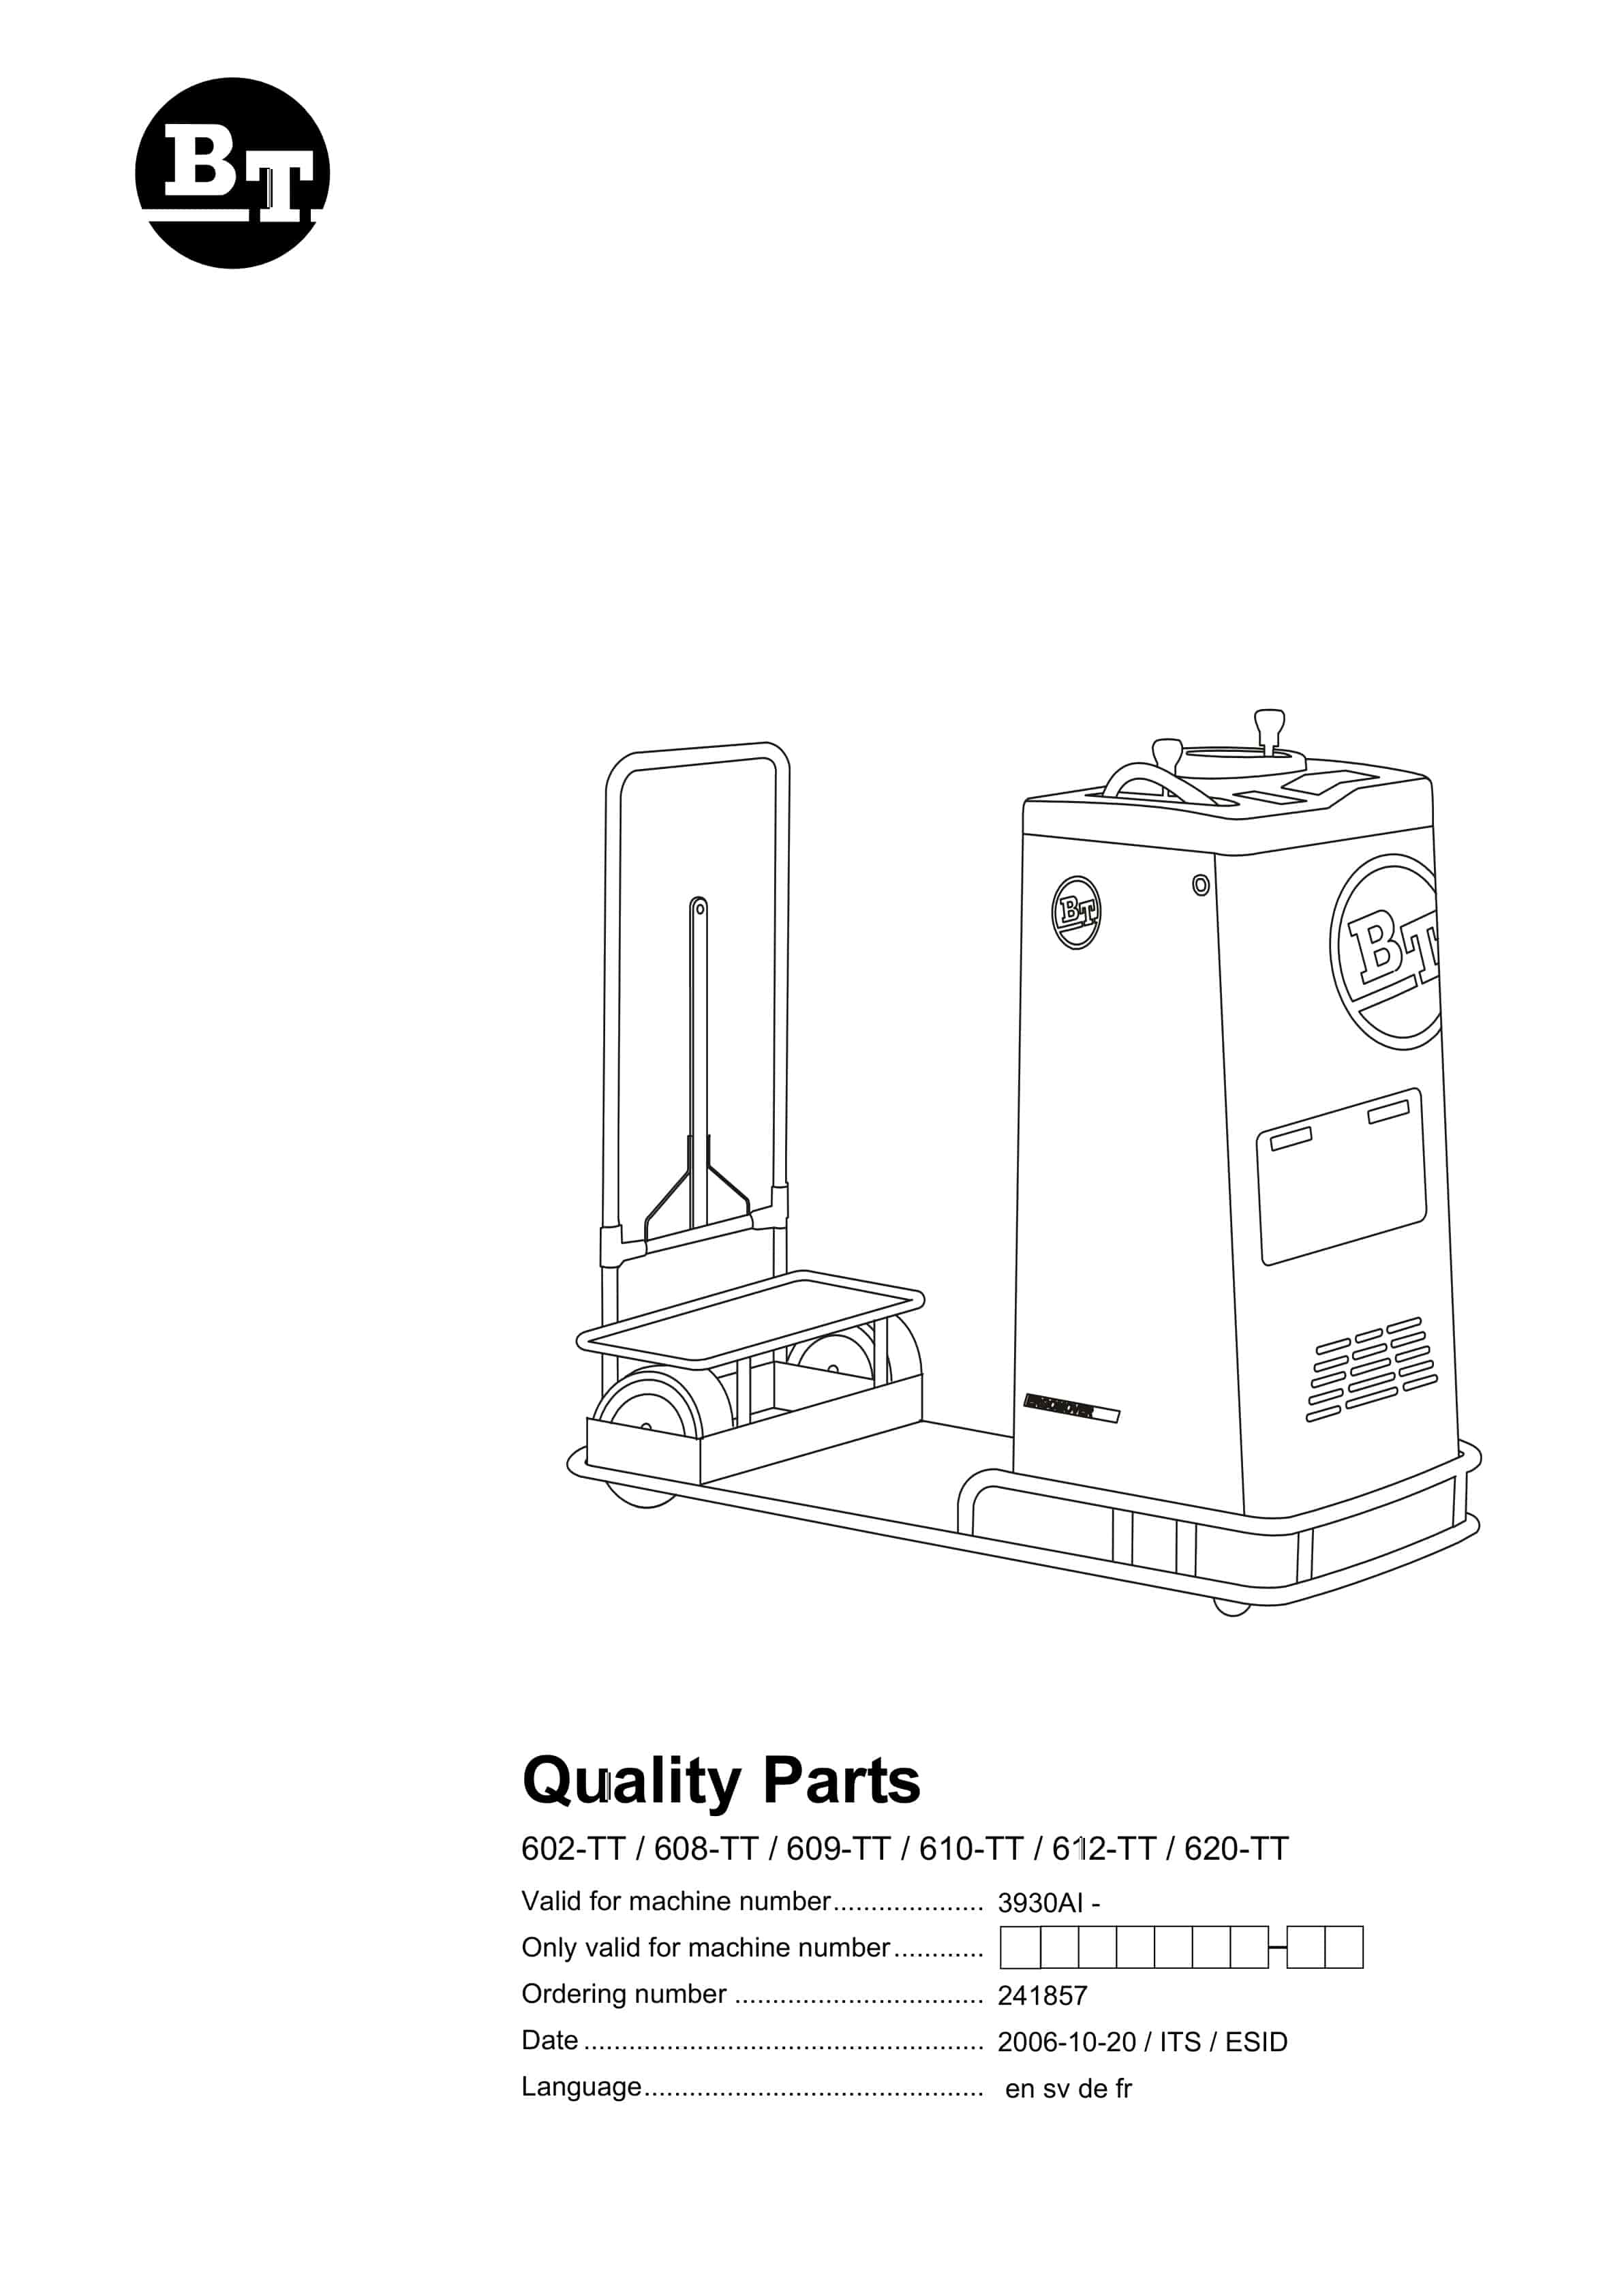
BT 602-TT, 608-TT, 609-TT, 610-TT, 612-TT, 620-TT Quality Parts 241857
$30.00 Add to cart -
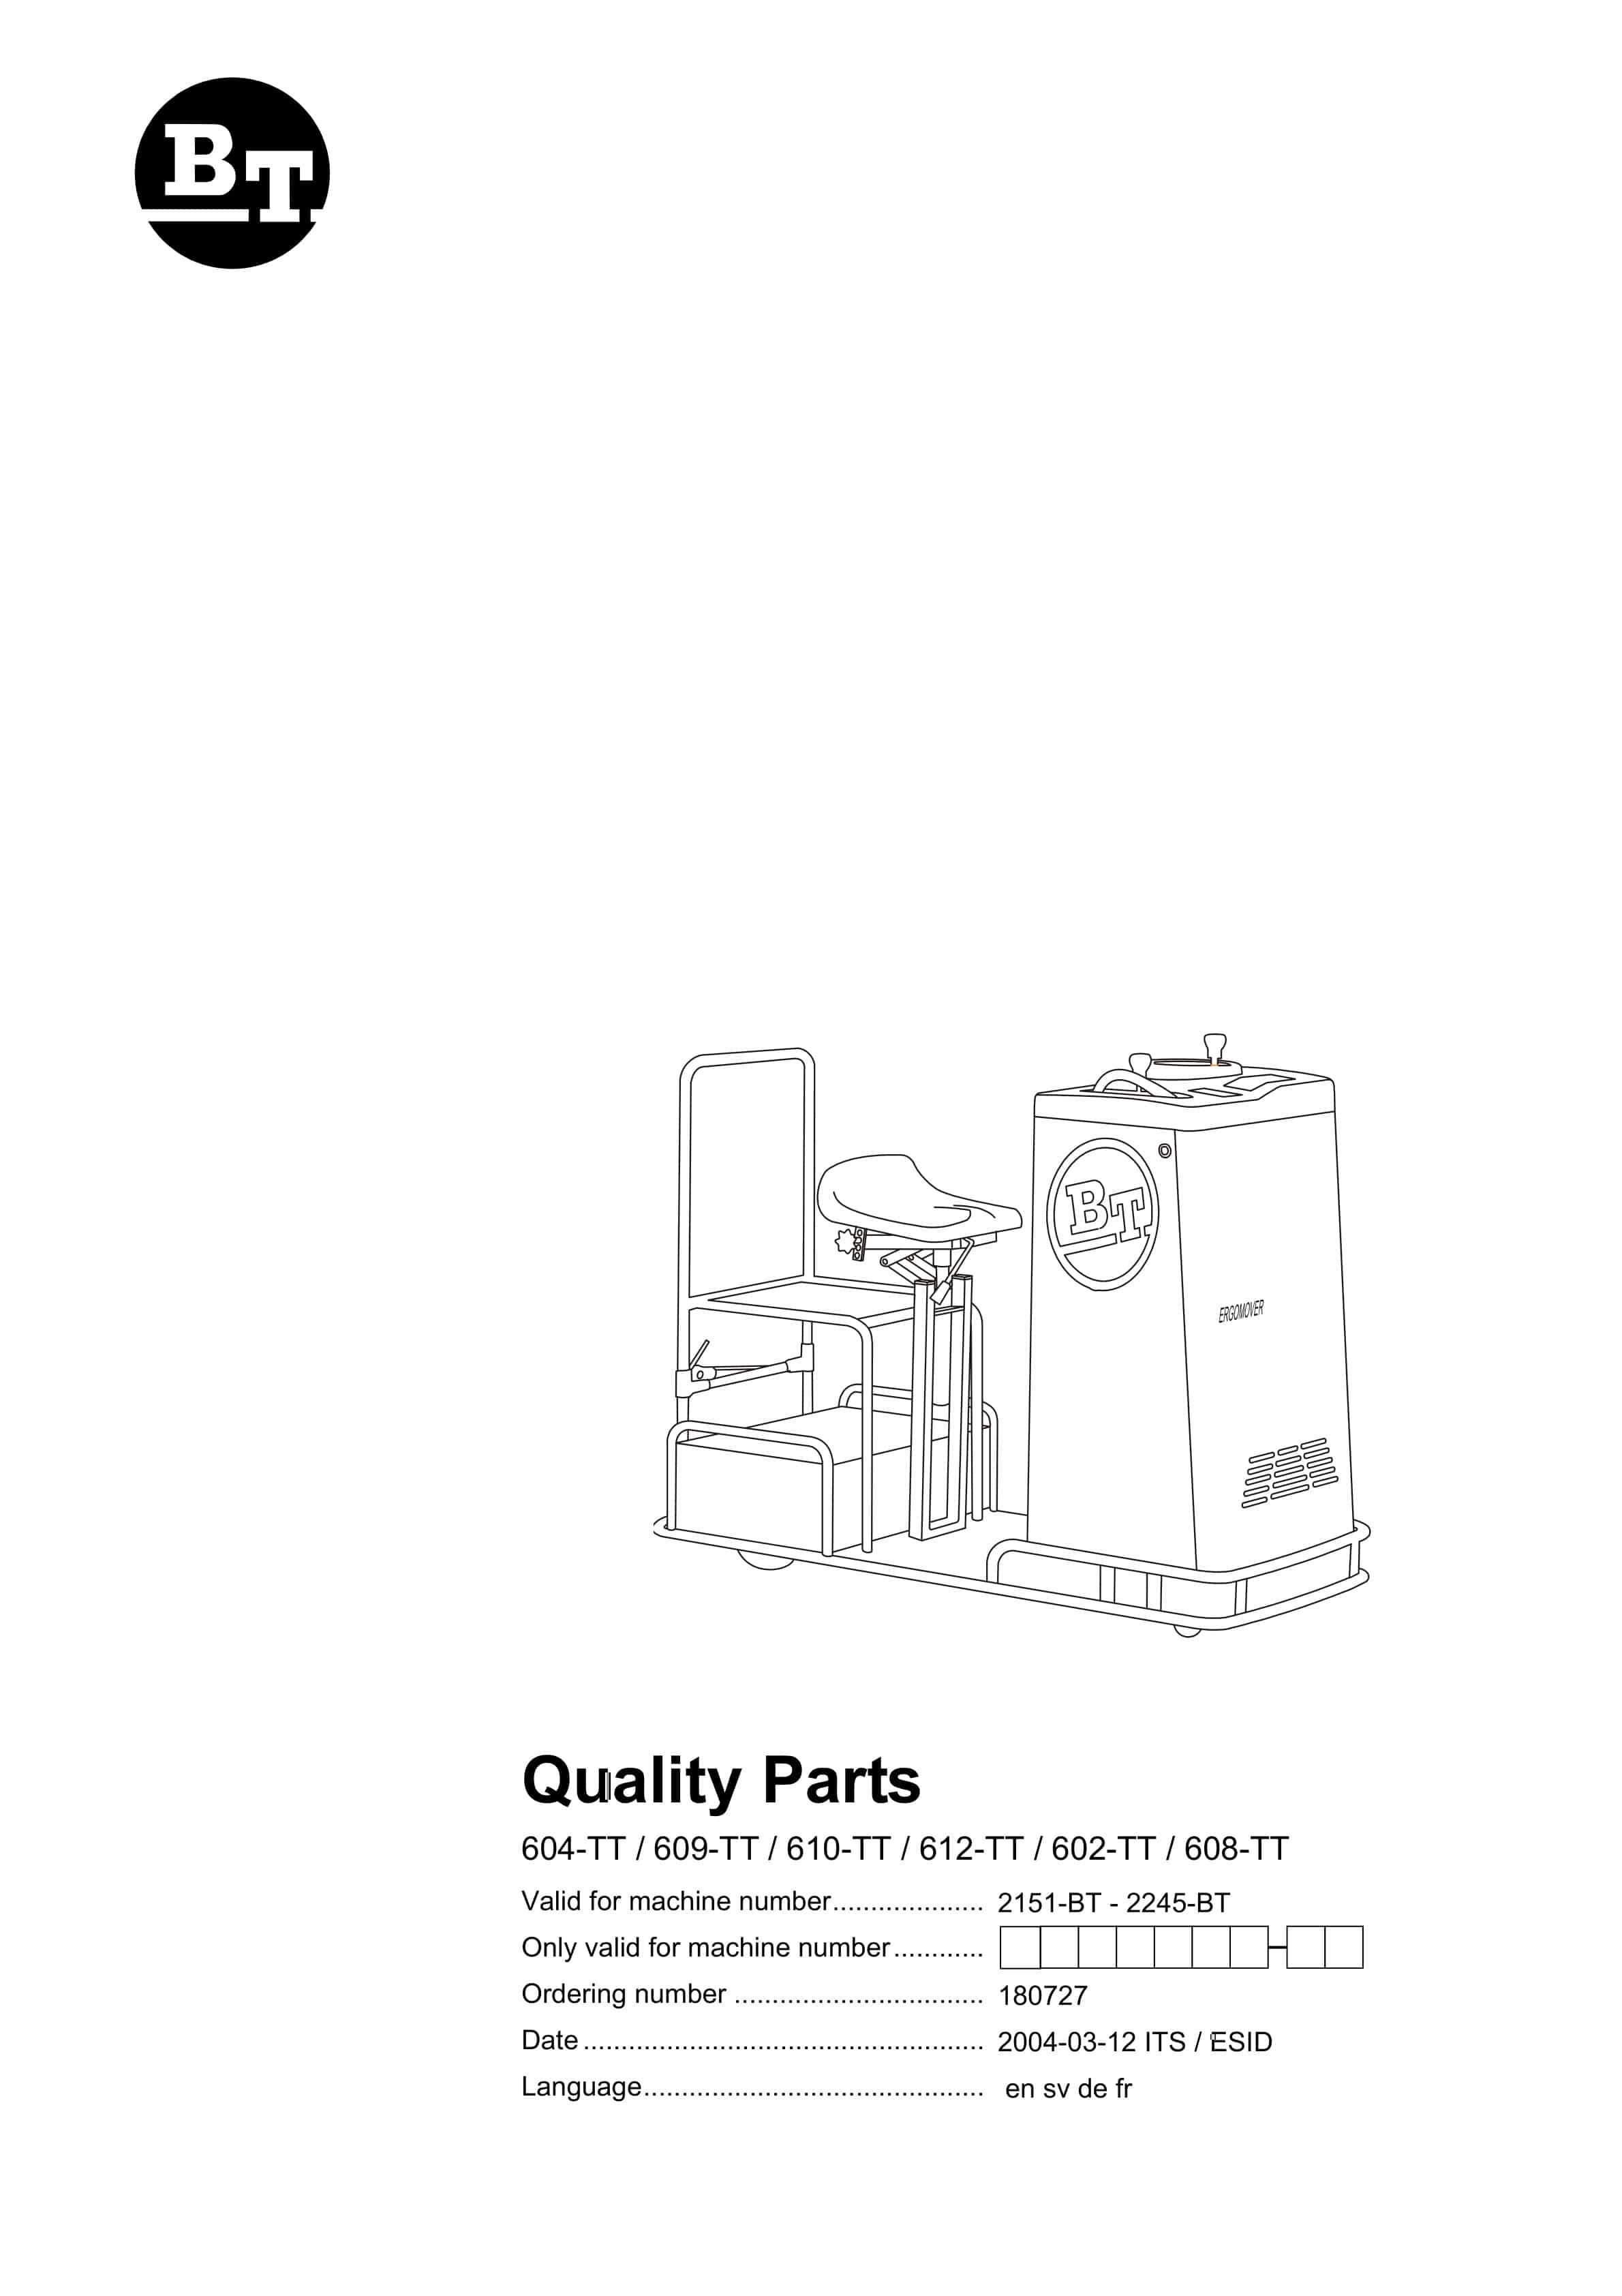
BT 604-TT, 609-TT, 610-TT, 612-TT, 602-TT, 608-TT Quality Parts 180727
$30.00 Add to cart -

BT Appendix II For Lift Pump And Motor Assembly
$30.00 Add to cart -
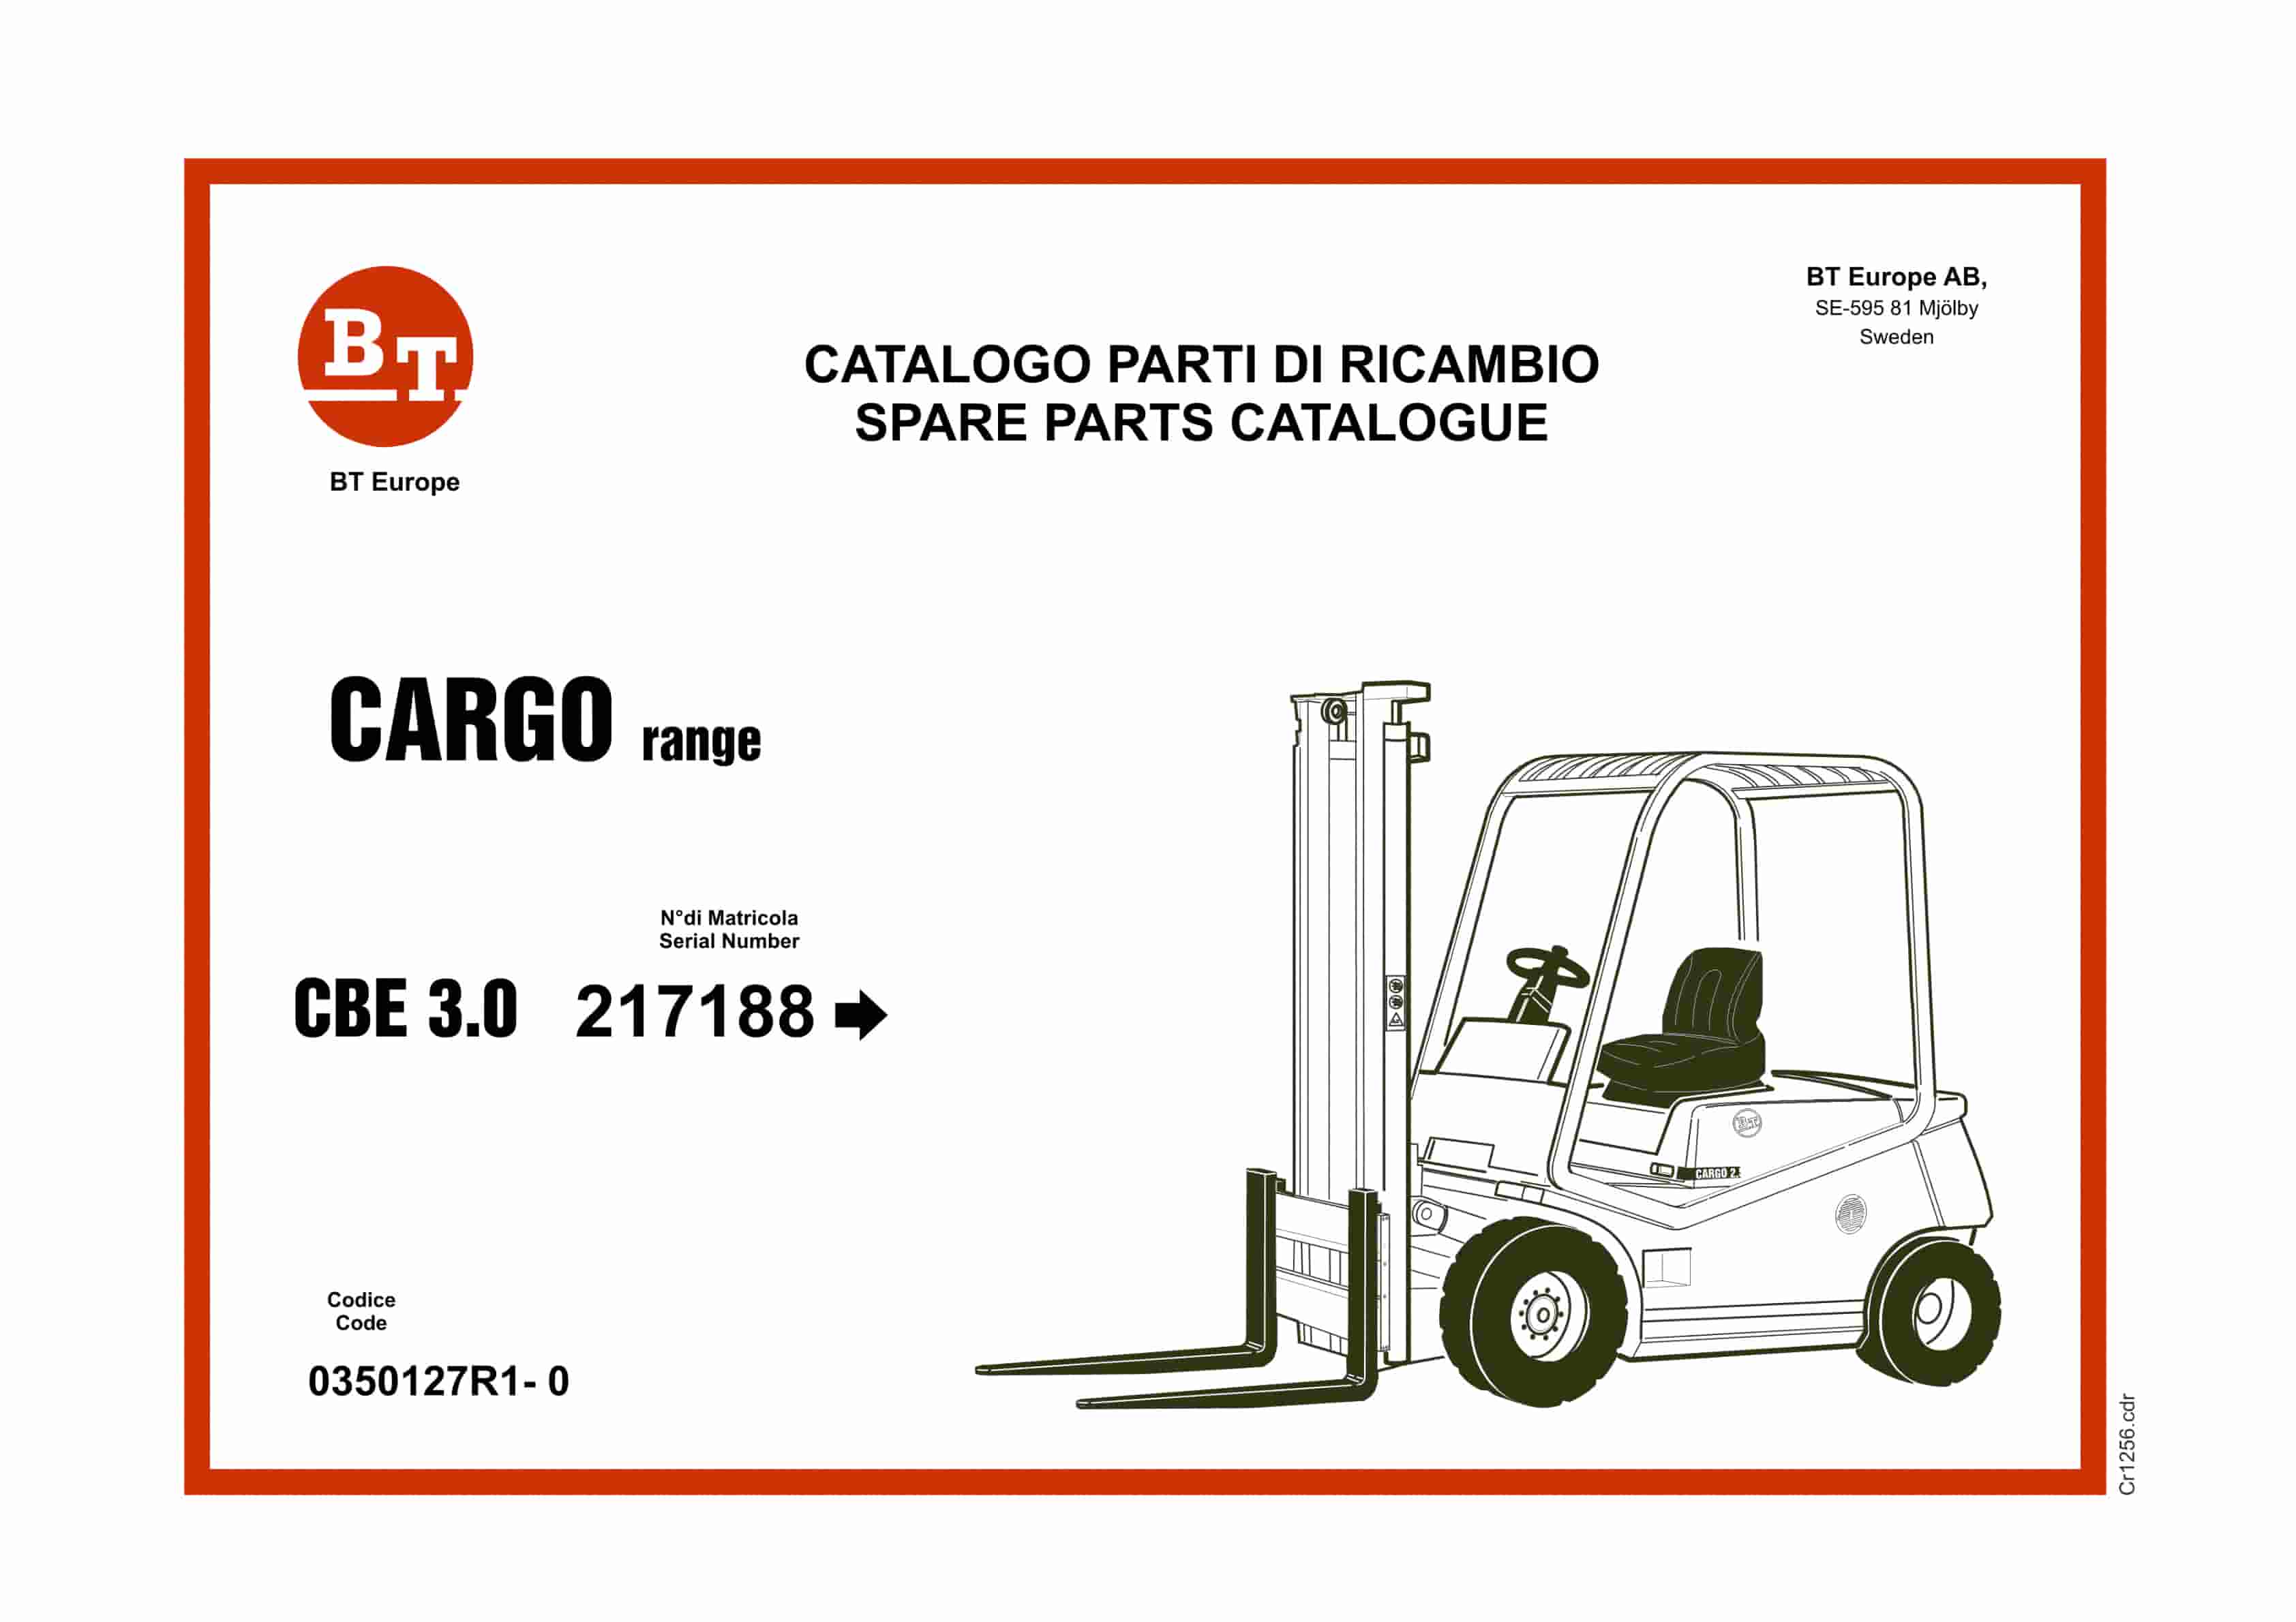
BT CARGO CBE 3.0 Spare Parts Catalog 0350127R1-0
$30.00 Add to cart


