


Bucyrus 25M3 Electrical Technical Manual BI620052
$30.00
- Type Of Manual: Technical Manual
- Manual ID: BI620052
- Number of Pages: 267
- Size: 13.7MB
- Format: PDF
Product details
-
Model List:
- 25M3 Electrical
- 1. M01282.pdf
- 1.1. Contents Page – Technical Manual
- 1.1.1. Section 1 Machine Description
- 1.1.2. Section 9 Troubleshooting
- 1.2. Section 1 Machine Description
- 1.2.1. General Description
- 1.2.1.1. Machine Layout
- 1.2.1.2. Specifications
- 1.2.2. COMPONENT DESCRIPTIONS
- 1.2.2.1. Main Chassis
- 1.2.2.2. Cutting Head Assembly
- 1.2.2.3. Gathering Head Assembly
- 1.2.2.4. Conveyor Assembly
- 1.2.2.5. Traction Drive System
- 1.2.2.6. Hydraulic System
- 1.2.2.7. Water System
- 1.3. Section 2 Defects,Hazards and Safety
- 1.3.1. GENERAL INFORMATION
- 1.3.1.1. Introduction
- 1.3.1.2. Warnings and Symbols
- 1.3.1.3. Isolation Procedures
- 1.3.1.4. Main Isolator
- 1.3.1.5. Safety Instructions and Precautions
- 1.3.2. Safe and Controlled Zones
- 1.3.3. SAFETY INSTRUCTIONS FOR OPERATIONAL PHASES
- 1.3.3.1. Normal Operation
- 1.3.3.2. Flitting Operation
- 1.3.3.3. Safety Instructions for Maintenance and Repair Procedures
- 1.3.4. HAZARDS
- 1.3.4.1. Electric Energy
- 1.3.4.2. Hydraulics
- 1.3.4.3. Oils, Greases and other Chemicals
- 1.3.5. SAFETY EQUIPMENT
- 1.3.5.1. Emergency Stop Buttons
- 1.3.5.2. Emergency Stop Button Locations
- 1.3.5.3. Transmitter Emergency Stop Switch
- 1.3.5.4. Audible Warnings
- 1.3.5.5. Strobe Lights
- 1.3.5.6. Cutter Head Stops
- 1.3.5.7. Conveyor Boom Stops
- 1.3.5.8. Cutter Stops
- 1.3.5.9. Gathering Head Stops
- 1.3.5.10. Personal Safety Equipment
- 1.3.6. RADIO REMOTE CONTROL SYSTEM
- 1.3.6.1. General
- 1.4. Section 3 Controls and Their Functions
- 1.4.1. CIRCUIT ISOLATORS
- 1.4.1.1. Main Circuit Breaker (Q1)
- 1.4.1.2. Flit Mode Circuit Breaker (Q2)
- 1.4.2. PUSH BUTTONS SWITCHES
- 1.4.2.1. Control E/L Test
- 1.4.2.2. Control and Lights E/L Reset
- 1.4.2.3. Traction Earth Leakage Test
- 1.4.2.4. Traction Earth Leakage Reset
- 1.4.2.5. Pump Start
- 1.4.2.6. Pump Stop
- 1.4.2.7. Radio/Manual Selector
- 1.4.2.8. Holville CH4 Reset Selector
- 1.4.2.9. Holville CH4 Remote Reset.
- 1.4.2.10. Left Side Machine Emergency Stop
- 1.4.2.11. Right Side Machine Emergency Stop
- 1.4.3. RADIO REMOTE CONTROL SYSTEM
- 1.4.3.1. Remote Control Transmitter
- 1.4.3.2. Transmitter Maintenance Battery Charger
- 1.4.3.3. Display Unit
- 1.4.3.4. Main Monitor Screen
- 1.4.3.5. Production Monitor Screen No.1
- 1.4.3.6. Production Monitor Screen No 2 Boom Monitor
- 1.4.4. MODES OF CONTROL
- 1.4.4.1. Radio / Manual Mode Switch
- 1.4.4.2. Radio Mode
- 1.4.4.3. Manual Mode
- 1.5. Section 4 General Electrical
- 1.5.1. MACHINE POWER
- 1.5.1.1. Phase Rotation and Indication
- 1.5.1.2. Machine Supply Voltage Indication
- 1.5.2. PILOT CIRCUIT
- 1.5.2.1. Pilot Tripping
- 1.5.2.2. Radio Watchdog Trip
- 1.5.2.3. The Diode
- 1.6. Section 5 Electrical Components and Layouts
- 1.6.1. MAIN ENCLOSURE
- 1.6.2. ISOLATOR COMPARTMENT
- 1.6.2.1. Isolator Compartment Components
- 1.6.3. OPERATORS COMPARTMENT
- 1.6.3.1. Rear Wall Layout
- 1.6.3.2. RH Side Wall Layout
- 1.6.3.3. Lower Floor Layout
- 1.6.3.4. LH Side Wall Layout
- 1.6.3.5. Door Layout
- 1.6.3.6. Swing Panel Layout
- 1.6.4. Compartment
- 1.6.4.1. Compartment Components
- 1.6.5. TRACTION COMPARTMENT
- 1.6.5.1. Traction Compartment Components
- 1.6.5.2. Swing Panel Components
- 1.6.5.3. Door Components
- 1.6.6. FIELD COMPONENTS
- 1.6.6.1. Display Enclosure
- 1.6.6.2. Strobe Indication
- 1.6.6.3. Receptacle
- 1.6.6.4. Cutter and Conveyor Motor J boxes
- 1.6.6.5. Inclinometer Enclosure
- 1.6.6.6. Machine Emergency Stops
- 1.6.6.7. Oil Switch Assembly
- 1.6.6.8. CH4 Rear Display and Battery Reset Button
- 1.6.6.9. Solenoids
- 1.6.6.10. Spool Monitoring
- 1.6.6.11. Brake Pressure Switch
- 1.6.6.12. Alarm
- 1.6.6.13. Headlights
- 1.6.6.14. Flow Switches
- 1.6.6.15. Power Fill Solenoid
- 1.6.6.16. Pendant Emergency Tram
- 1.6.6.17. Pendant Dummy Plug
- 1.7. Section 6 Radio Remote Control System
- 1.7.1. RADIO REMOTE CONTROL SYSTEM
- 1.7.1.1. Description
- 1.7.1.2. System Components
- 1.7.1.3. Thermistor Module
- 1.7.1.4. Power Supply Relay I/O Module
- 1.7.1.5. Traction Module
- 1.7.1.6. Graphics Display Screen
- 1.7.1.7. Solenoid Module
- 1.7.1.8. Control Area Network (CAN)
- 1.7.1.9. CAN Cable
- 1.7.2. CONTROL SYSTEM FUNCTIONALITY
- 1.7.2.1. Network
- 1.7.2.2. Features
- 1.7.3. Component Overview
- 1.8. Section 7 Graphics Display Screens – 25M3
- 1.8.1. Graphic Display Screens
- 1.8.2. Transmitter Navigation Functions
- 1.8.3. Transmitter Toggle Operations
- 1.8.4. Machine Fault Indication
- 1.8.5. DIAGNOSTIC MODE PAGES
- 1.8.5.1. Main Monitor Screen
- 1.8.5.2. Production Monitor Screen No 1
- 1.8.5.3. Production Monitor Screen No 2 Boom Monitor
- 1.8.5.4. Pump Monitor
- 1.8.5.5. Scrubber Monitor
- 1.8.5.6. Cutter Monitor
- 1.8.5.7. Gathering Monitor
- 1.8.5.8. Traction Monitor
- 1.8.5.9. Supply Module I/O Monitor Inputs
- 1.8.5.10. Supply Module I/O Monitor Outputs
- 1.8.5.11. Processor Module Monitor Inputs
- 1.8.5.12. I/O Module Monitor Digital Inputs
- 1.8.5.13. I/O Module Monitor Analogue Inputs
- 1.8.5.14. Displays the analogue values from the motor mates connected to the module in mA.I/O Monitor Relay Outputs
- 1.8.5.15. Traction Module Monitor Inputs
- 1.8.5.16. Traction Module Monitor Outputs
- 1.8.5.17. Thermistor Module Monitor Inputs
- 1.8.5.18. Solenoid I/O Module Monitor Inputs
- 1.8.5.19. Solenoid I/O Module Monitor Outputs
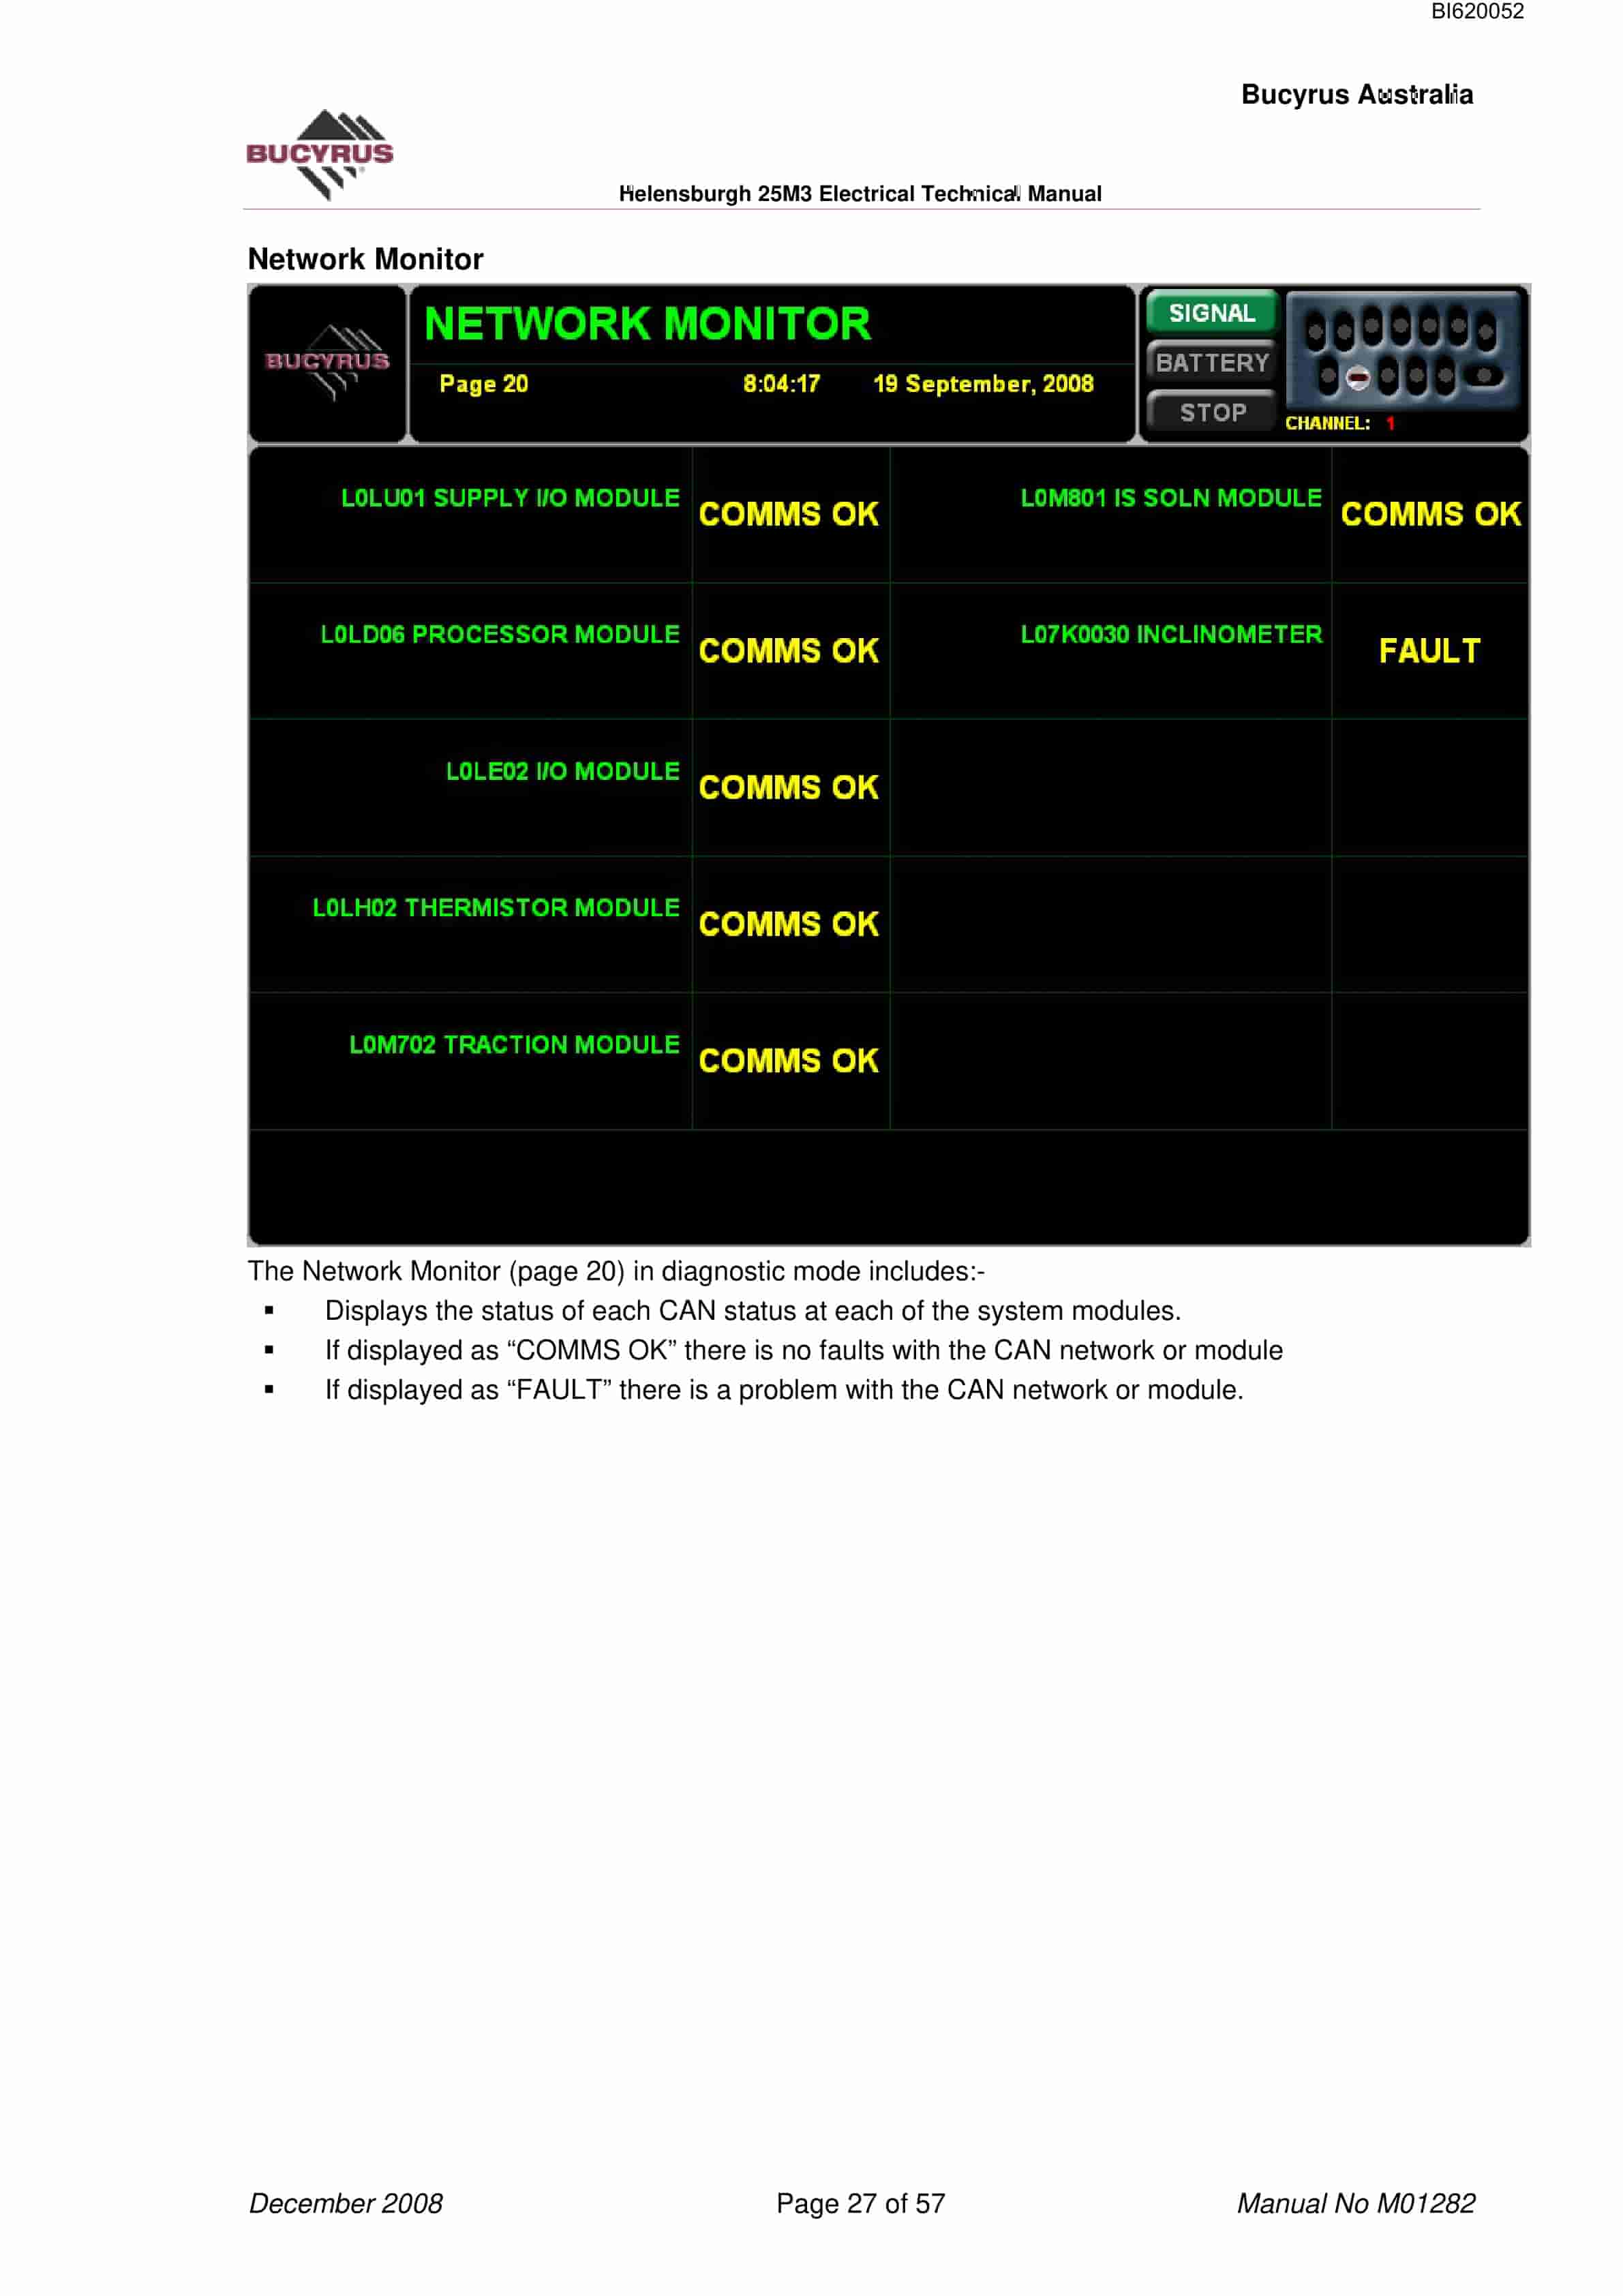
- 1.8.5.20. Network Monitor
- 1.8.5.21. I/O Monitor – Inputs 1 of 4
- 1.8.5.22. I/O Monitor – Inputs 2 of 4
- 1.8.5.23. I/O Monitor Page Inputs 3 of 4
- 1.8.5.24. I/O Monitor Inputs 4 of 4
- 1.8.5.25. I/O Monitor Outputs 1 of 1
- 1.8.5.26. Fault Log Pages
- 1.8.5.27. Fault Log Screen
- 1.8.5.28. Fault Explanation Inside Fault Log
- 1.8.6. MOTOR HOUR PAGE READ ONLY
- 1.8.7. TRADESMAN SETUP PAGES
- 1.8.7.1. Menu Page
- 1.8.7.2. Test Menu
- 1.8.7.3. Solenoid Test Page
- 1.8.7.4. Console Test Page
- 1.8.7.5. Inclinometer Config Page
- 1.8.8. ENGINEERS SETUP PAGES
- 1.8.8.1. Menu Page
- 1.8.8.2. Clear Motor Hours
- 1.8.8.3. Clear Motor Hours 2
- 1.8.8.4. Data Logging Config Page
- 1.8.8.5. Machine Config Page
- 1.8.8.6. Timers Config Page
- 1.8.8.7. Traction Config Menu
- 1.8.8.8. Setup Left Traction Page
- 1.8.8.9. Setup Right Traction Page
- 1.8.9. PASSWORDS PAGE
- 1.8.9.1. Password Levels and Access
- 1.8.10. DATE TIME SETUP PAGE
- 1.8.11. MOTOR CONFIG IN OEM SETUP
- 1.8.11.1. Motor Config Page
- 1.8.11.2. Motor Full Load Current
- 1.8.11.3. Motor Trip Delays
- 1.8.12. PARAMETERS DEFAULT
- 1.9. Section 8 Electrical Schematics
- 1.10. Section 9 Troubleshooting
- 1.11. Section 10 Remote Control Transmitter
- 1.11.1. REMOTE CONTROL TRANSMITTER
- 1.11.1.1. Description
- 1.11.1.2. Radio Signal Continuity
- 1.11.2. REMOTE CONTROL BATTERY CHARGER
- 1.11.2.1. Installation
- 1.11.2.2. Diagnostics
- 1.11.2.3. Power Up
- 1.11.2.4. Remote Control Diagnostics
- 1.11.3. USER SET UP
- 1.11.3.1. Password Entry
- 1.11.3.2. Radio Channel
- 1.11.3.3. Radio Timeout
- 1.11.3.4. Tilt Switch
- 1.11.3.5. ID Number
- 1.11.3.6. Saving Changes
- 1.11.4. MAINTENANCE
- 1.11.4.1. Inspection Frequency
- 1.11.4.2. Factory Service Frequency
- 1.11.4.3. Disassembly
- 1.11.4.4. Cleaning
- 1.11.4.5. Reassembly
- 1.11.4.6. Daily Routine Inspection of Transmitters
- 1.11.4.7. External Examination of Transmitter
- 1.11.4.8. Rejection Criteria for External Examination
- 1.11.4.9. Functional Test
Related products
-
Bucyrus Fundamentals Of Electrical Engineering Technical Handbook 2440049
$30.00 Add to cart -
Bucyrus Continuous Miner Spare Parts List 907783
$30.00 Add to cart -
Bucyrus Continuous Miner Spare Parts List 907782
$30.00 Add to cart -
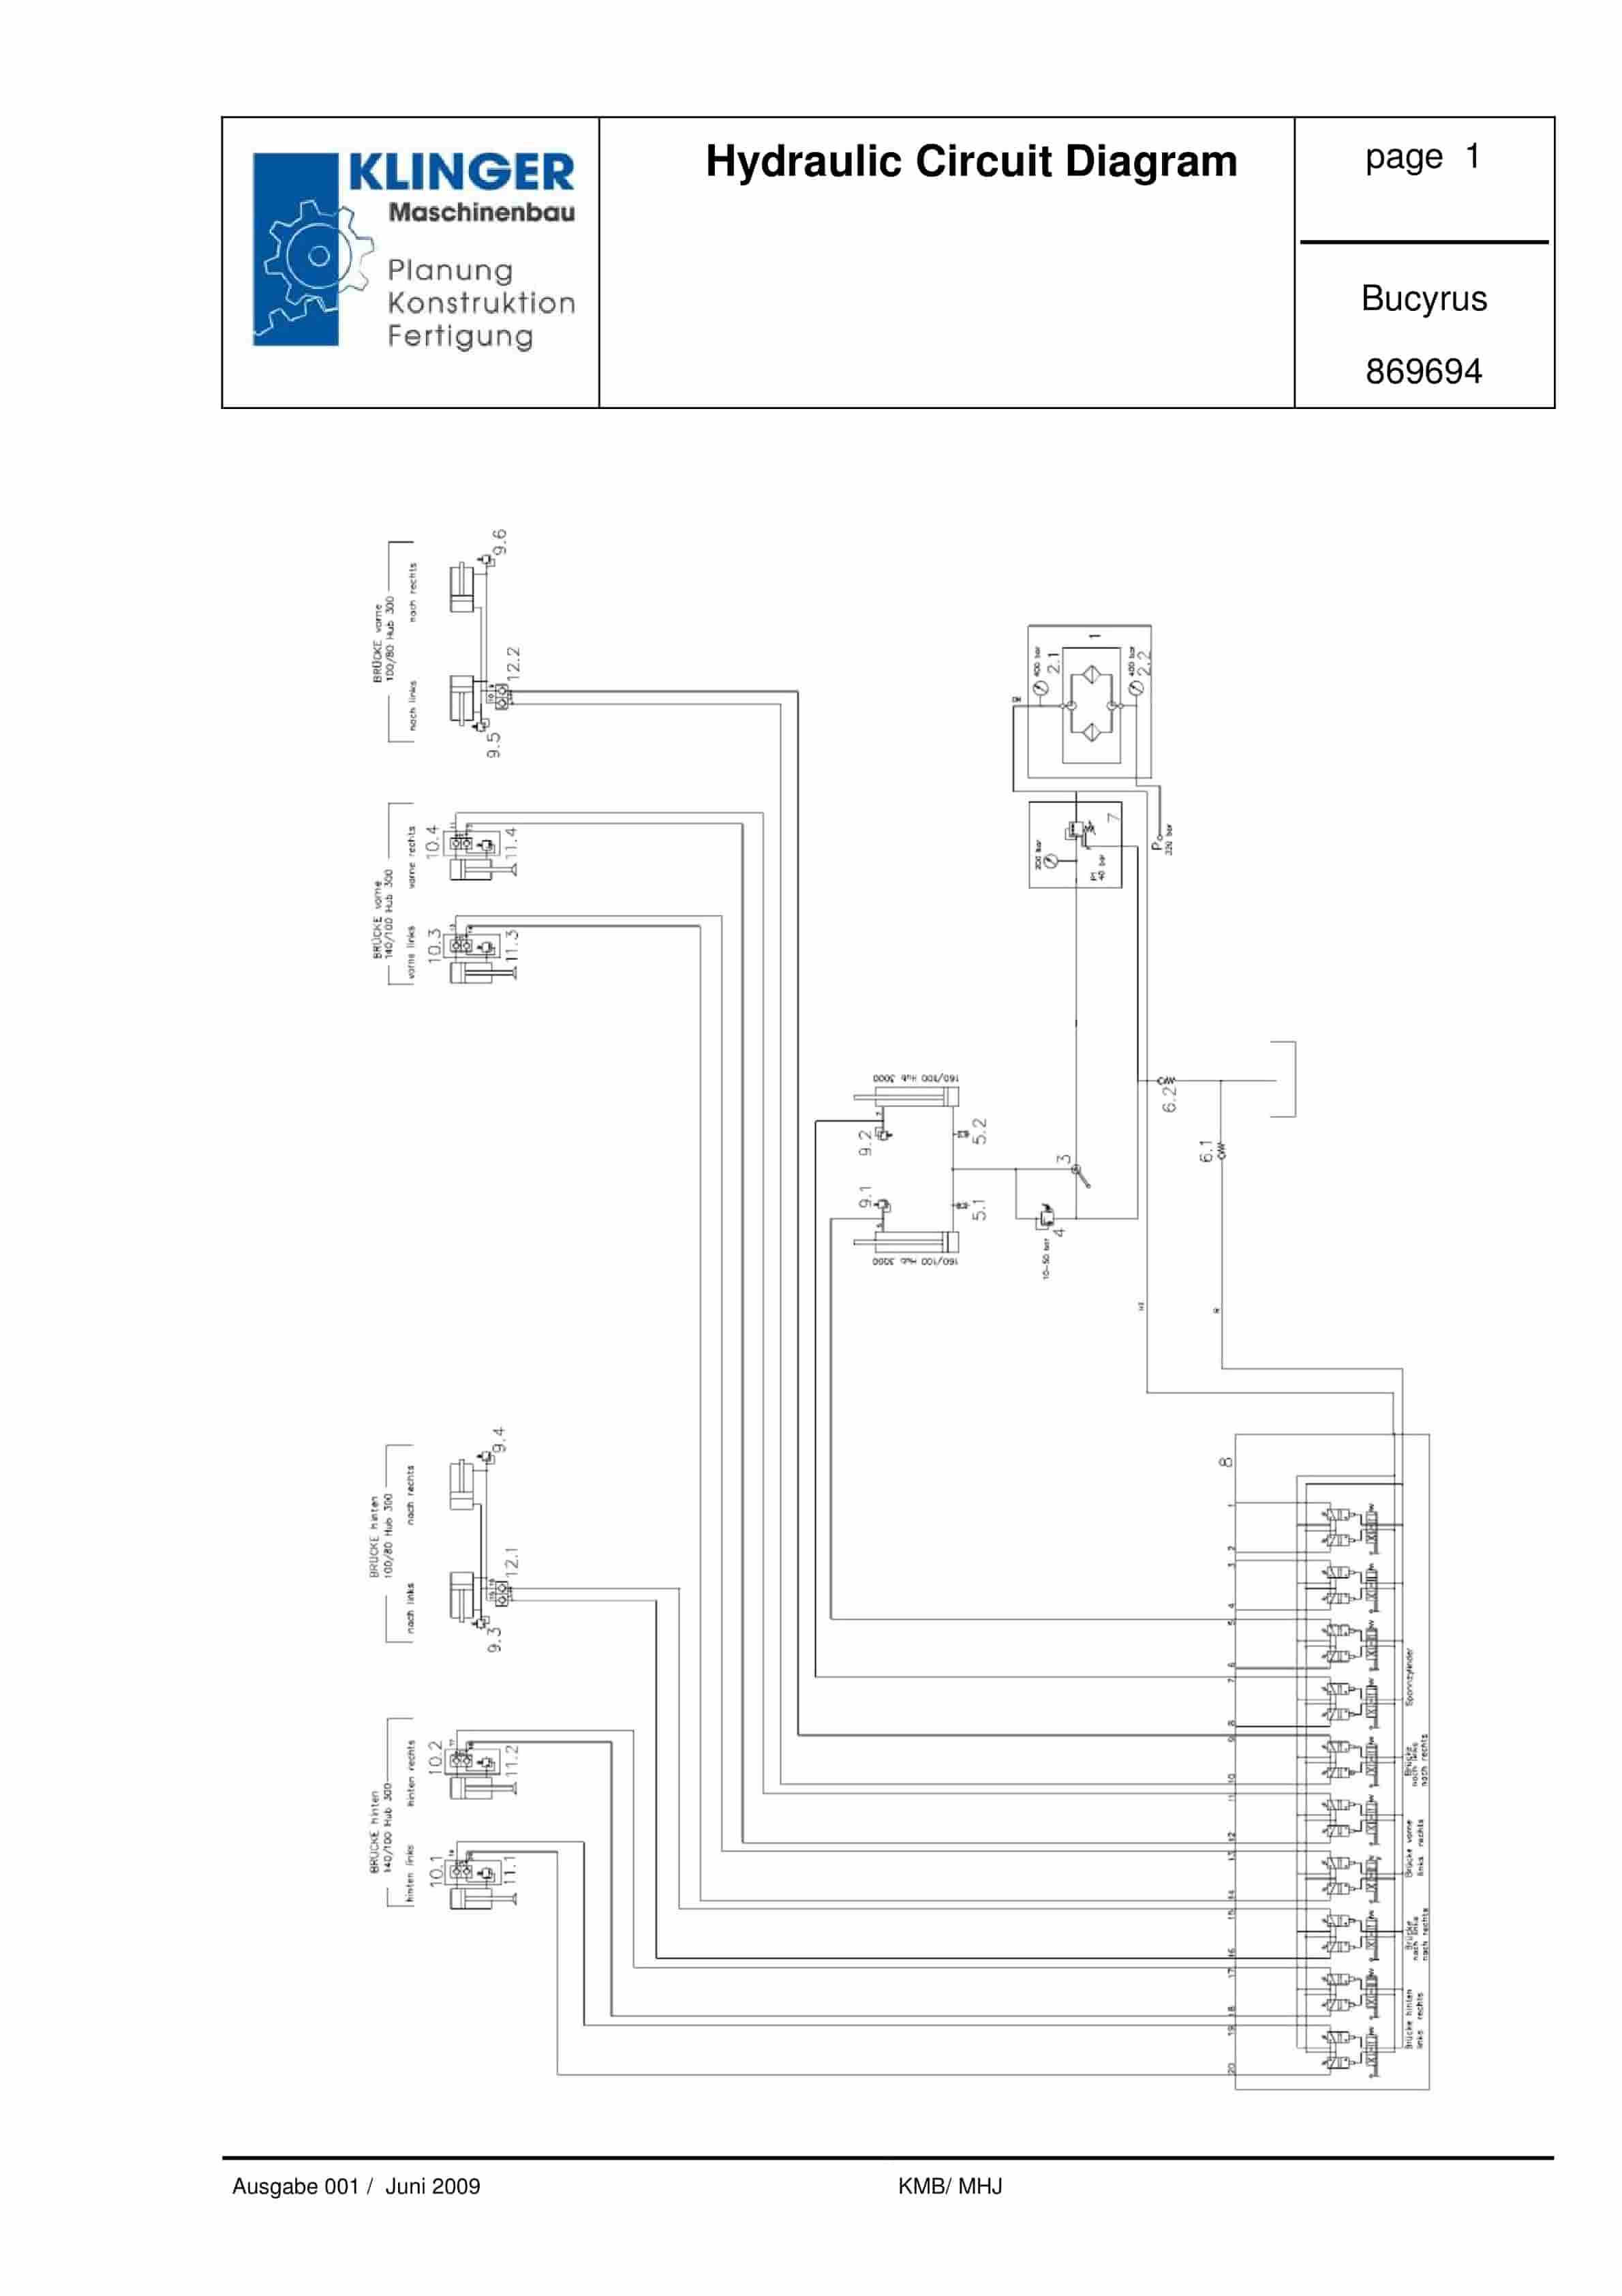
Bucyrus Hydraulic Circuit Diagram Service Parts List 869694
$30.00 Add to cart -
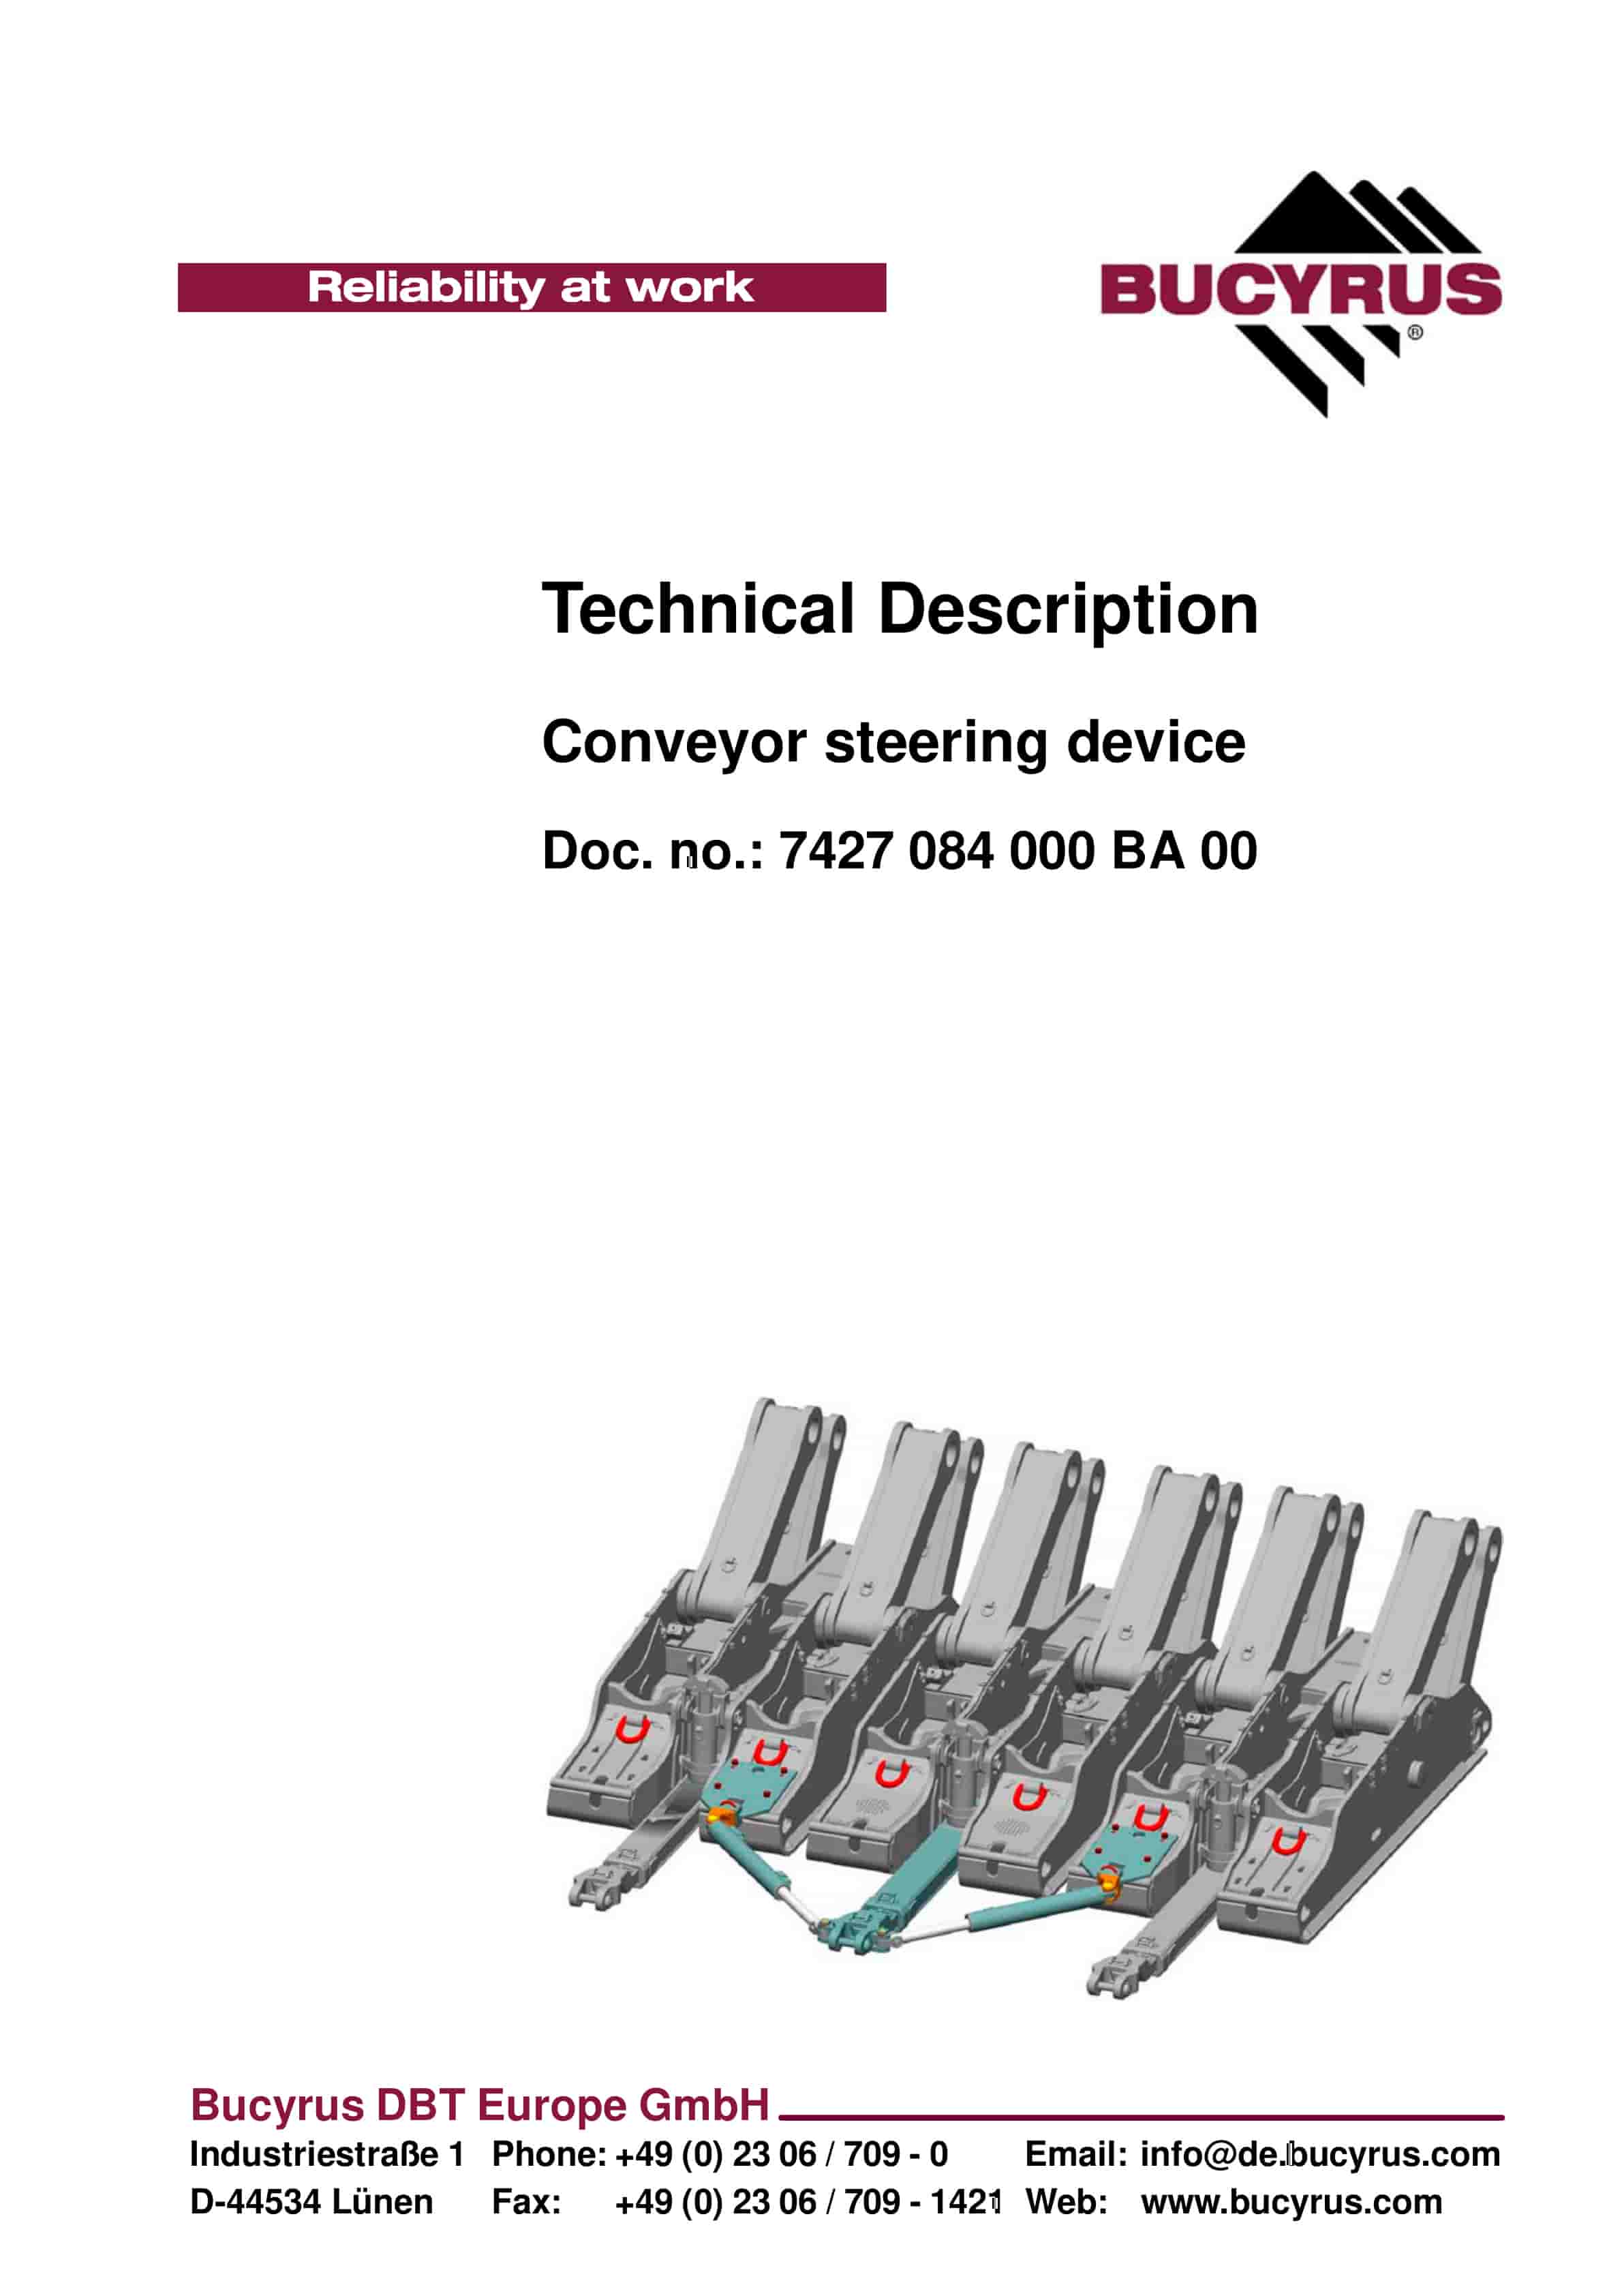
Bucyrus Conveyor Steering Device Technical Description 7427 084 000 BA 00
$30.00 Add to cart


