

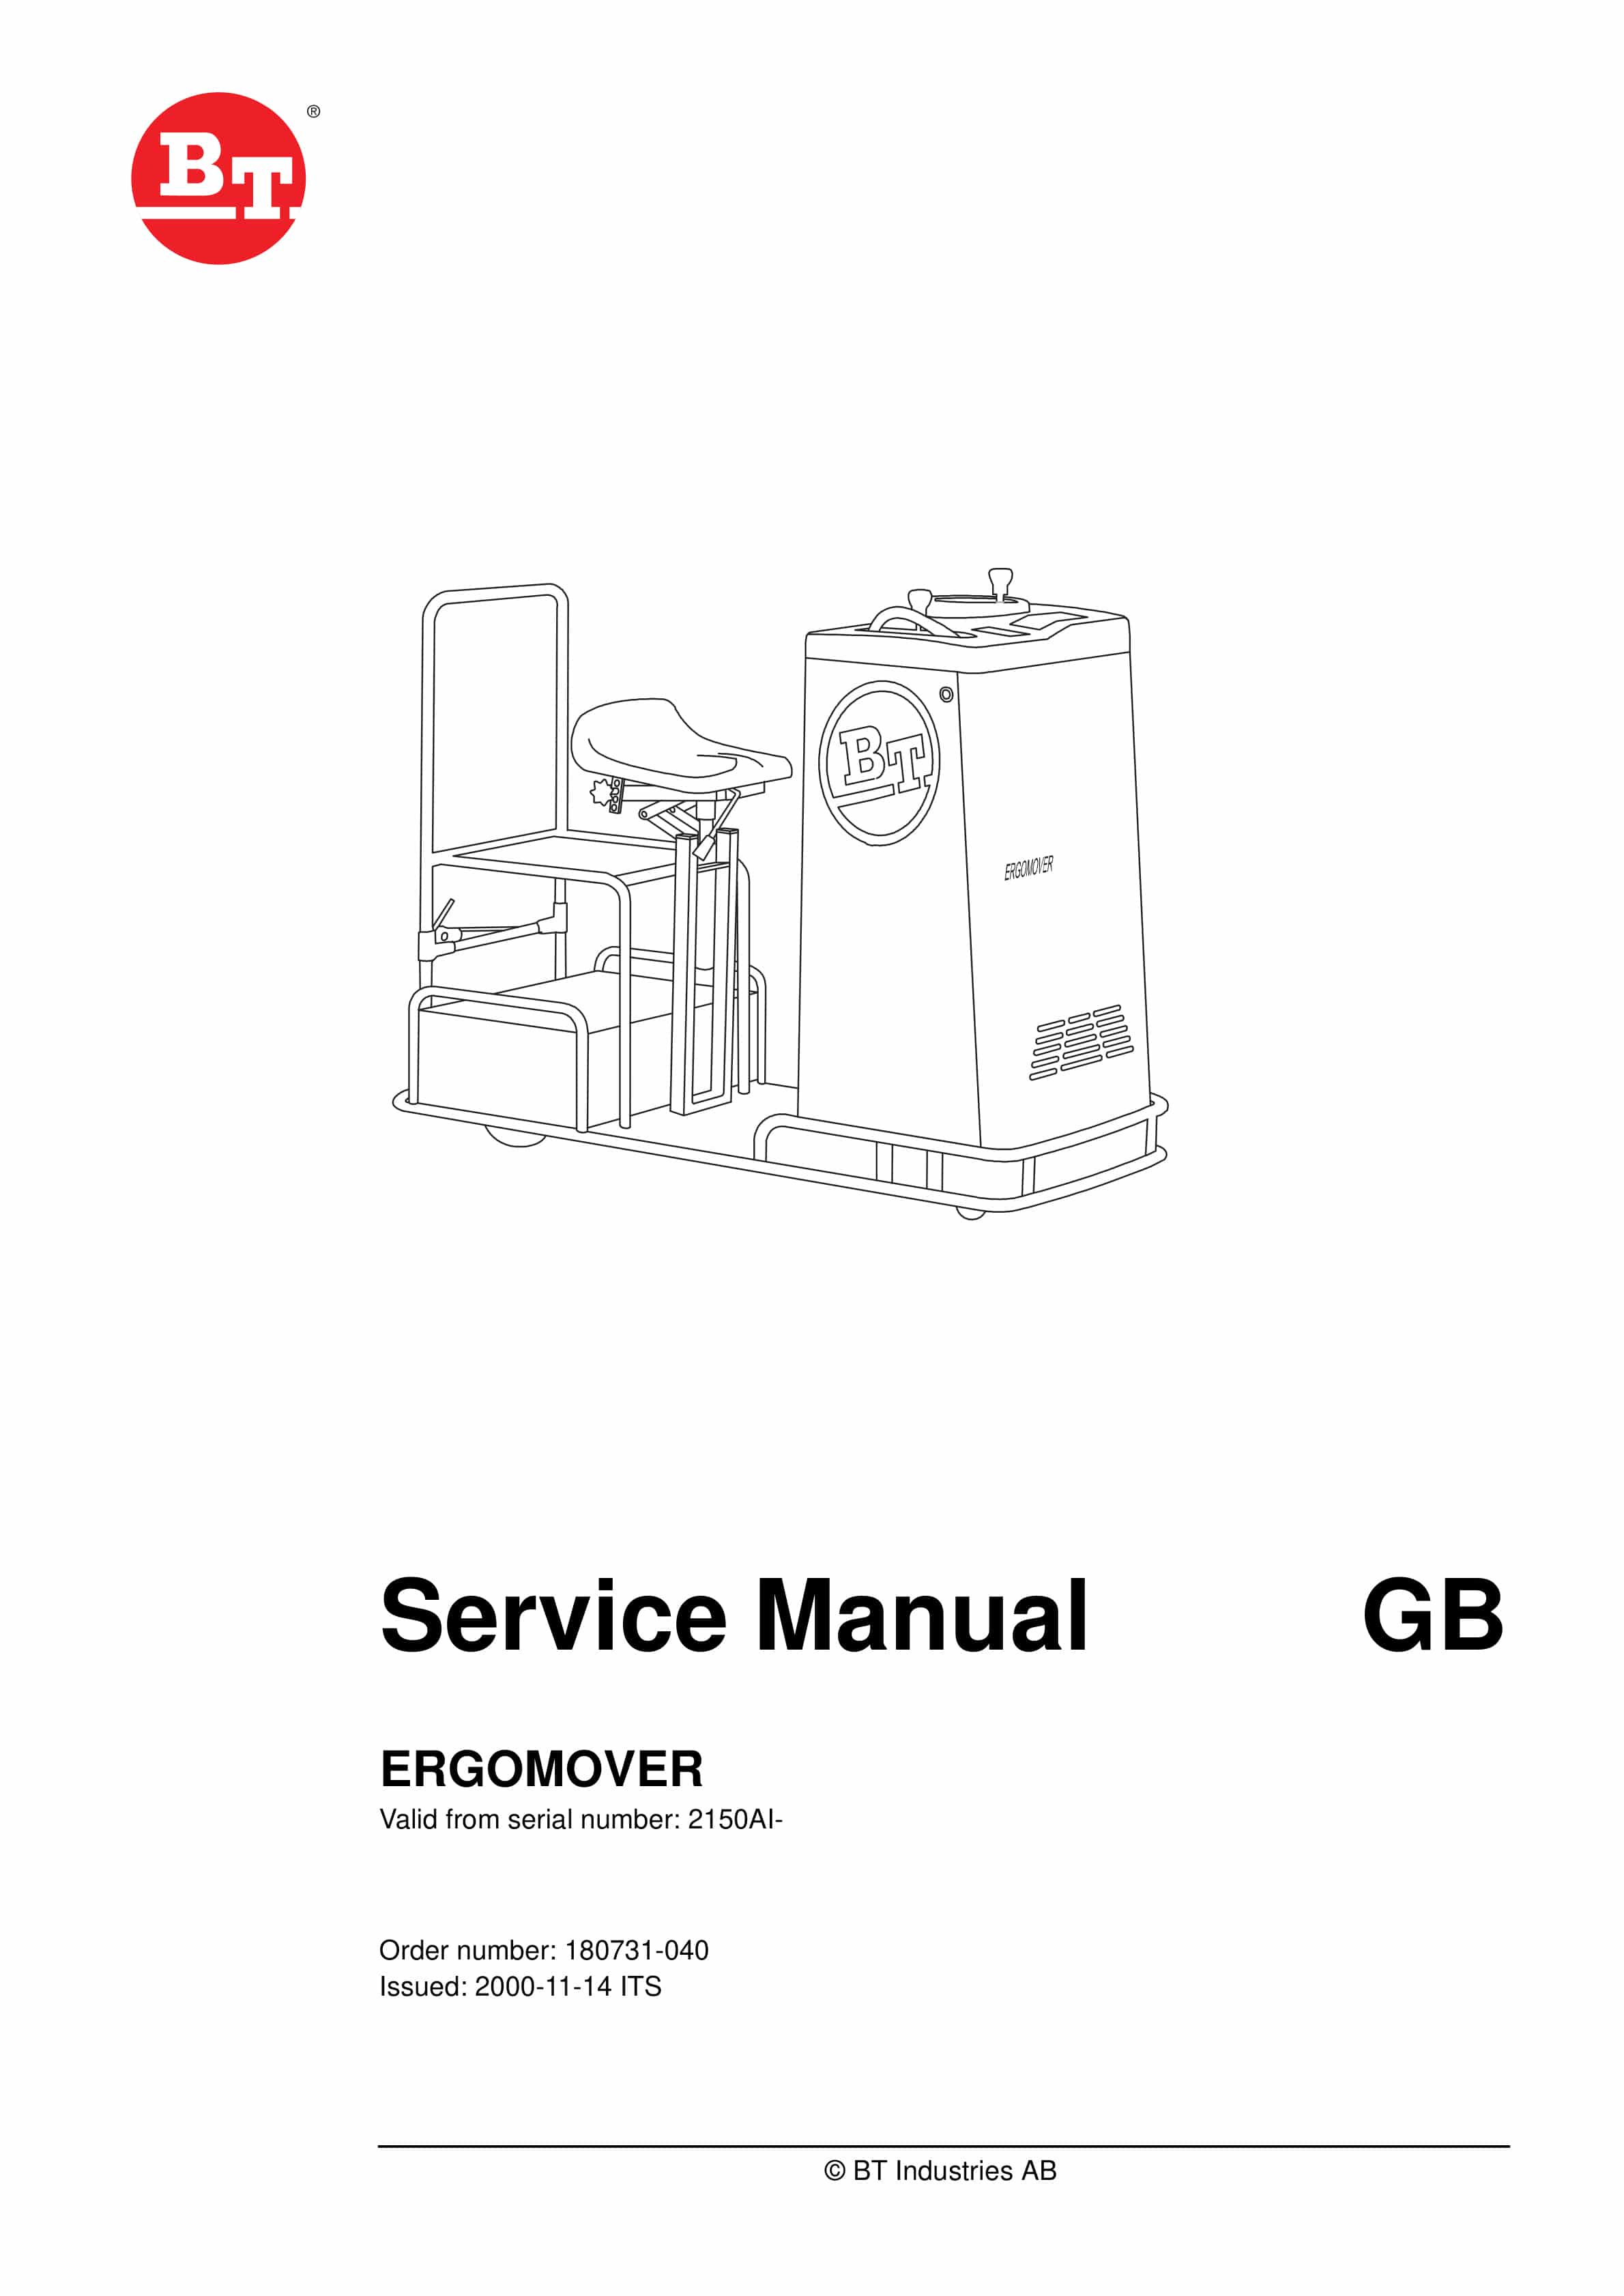
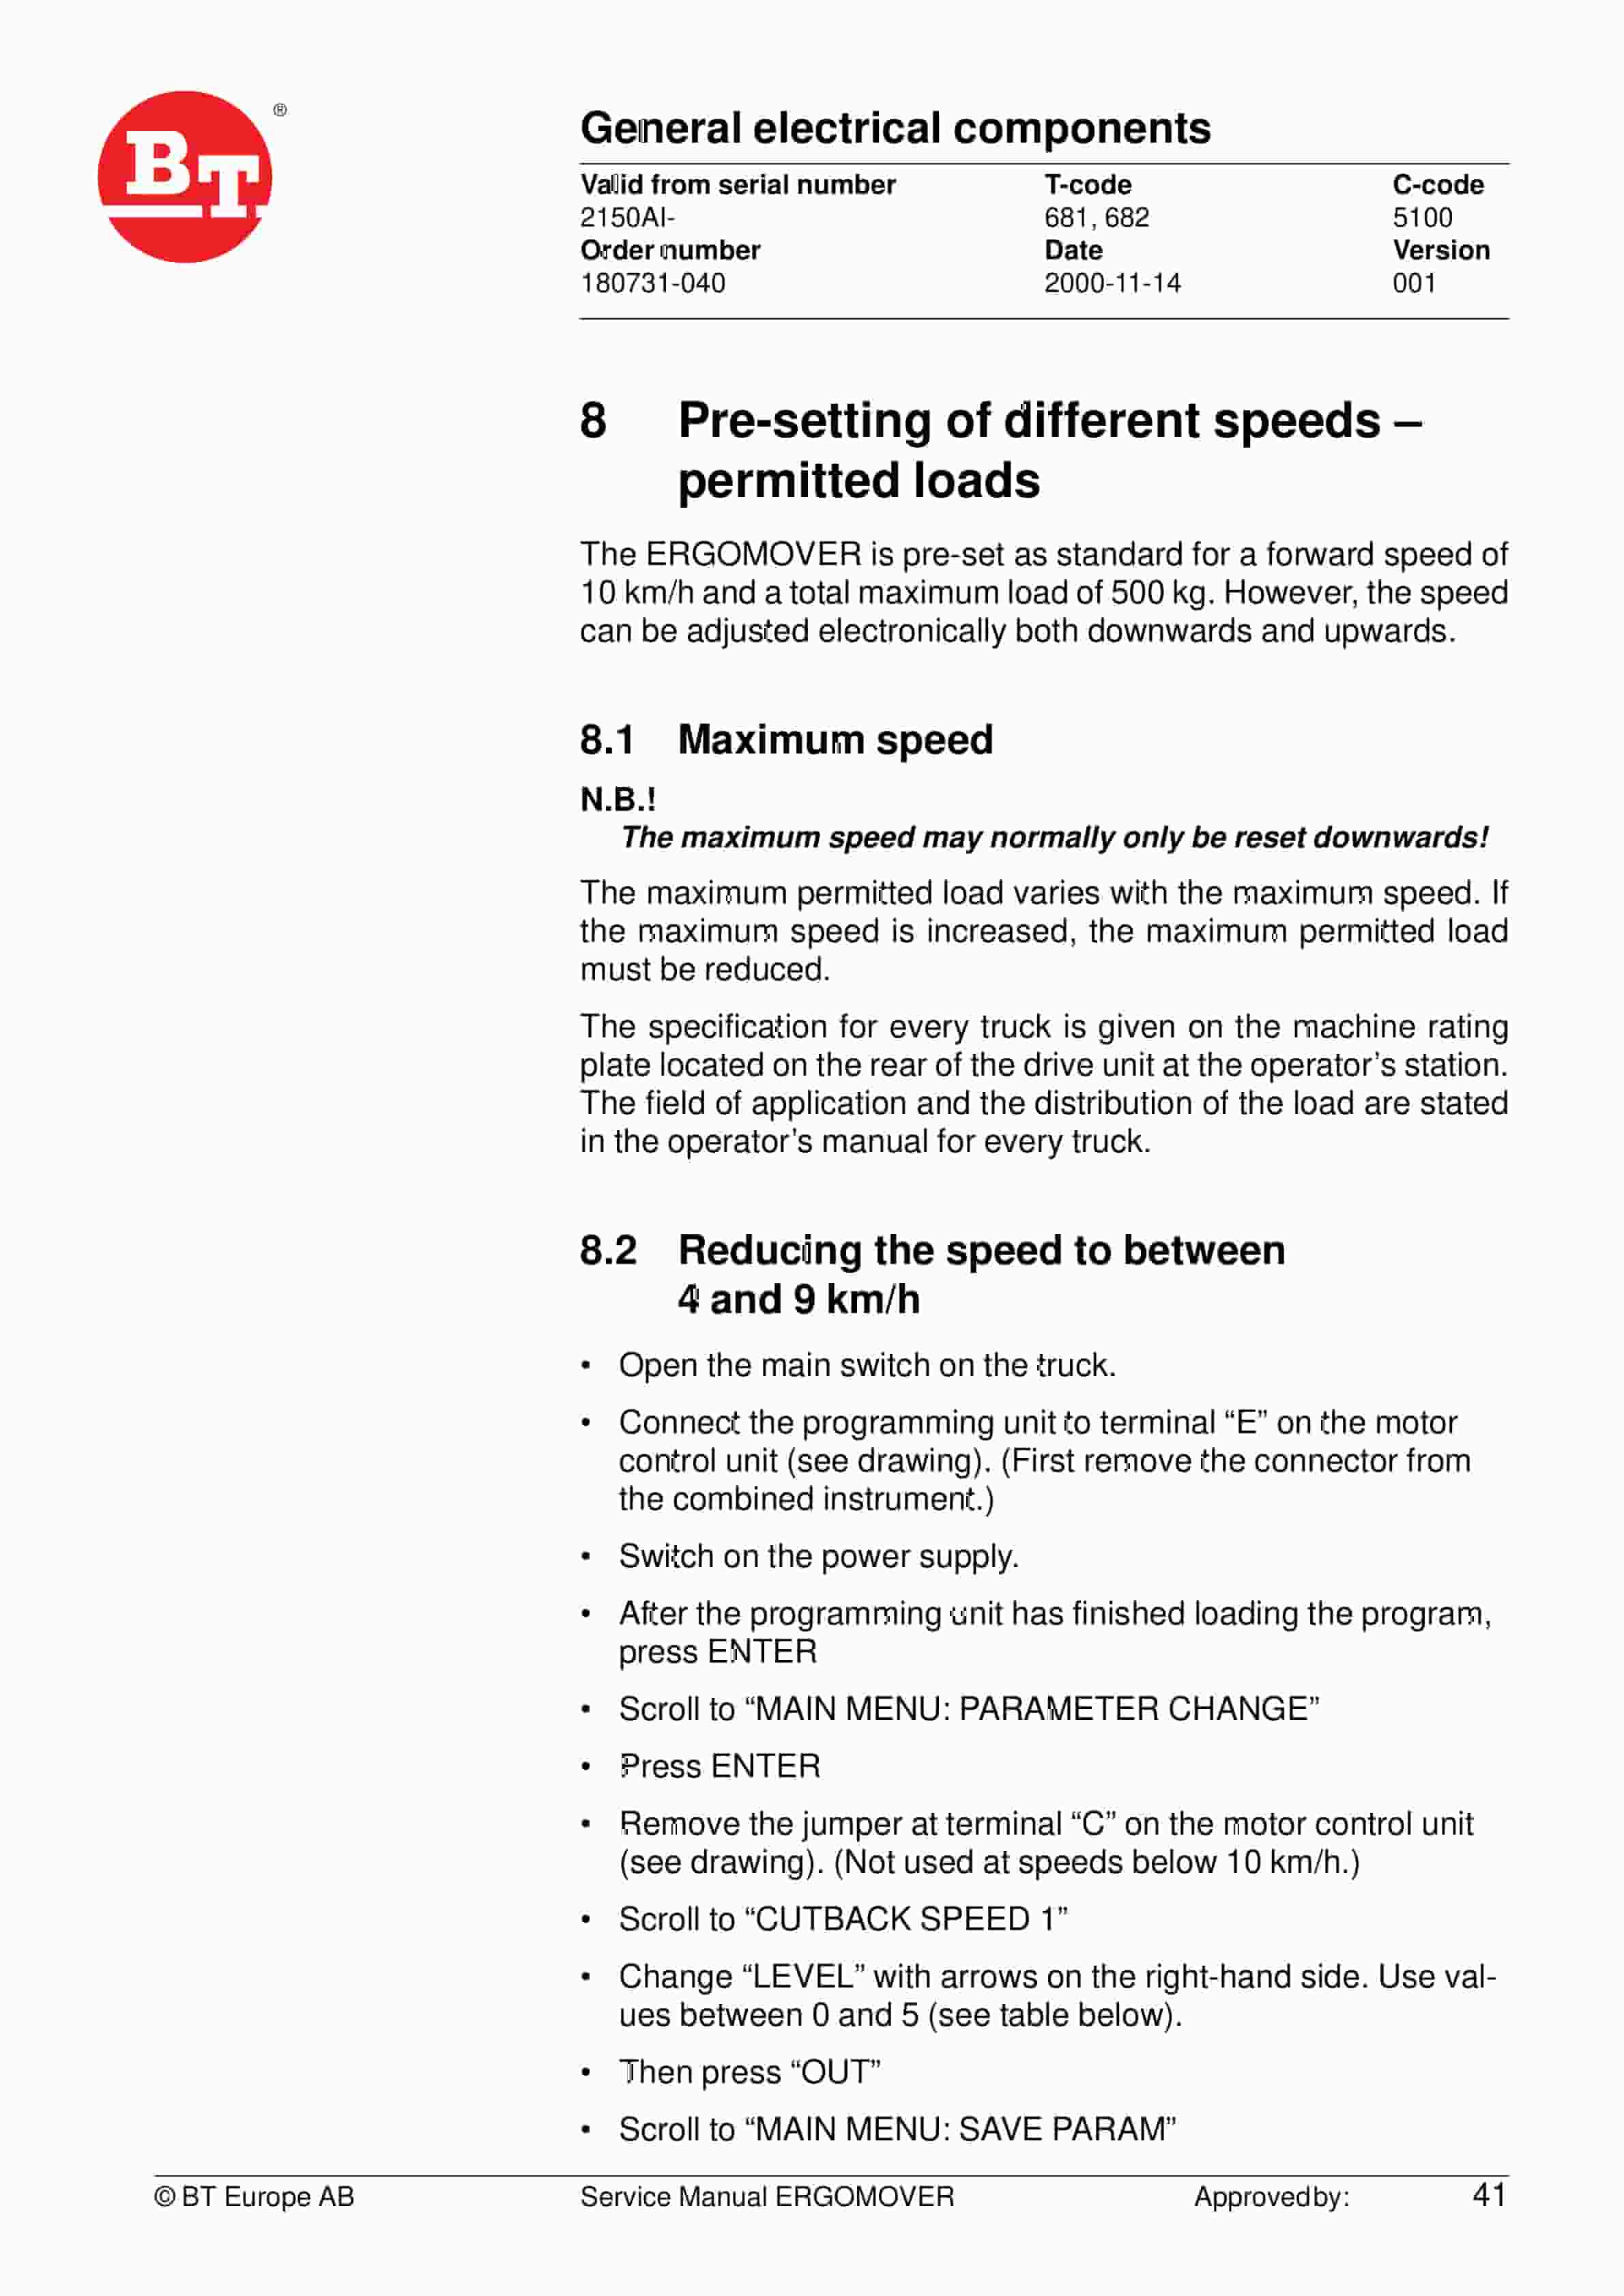
BT ERGOMOVER Service Manual 180731-040
$30.00
- Type Of Manual: Service Manual
- Manual ID: 180731-040
- : Service Manual PDF
- Number of Pages: 50
- Size: 3.1MB
- Format: PDF
Product details
-
Model List:
- ERGOMOVER
- 1. Contents
- 1.1. Battery compartment parts 5
- 1.1.1. Battery cassette for quick battery changes 5
- 1.2. Seat, cushions 7
- 1.2.1. Replacing the gas spring 7
- 1.2.2. Replacing the seat 9
- 1.3. Electric drive motor 11
- 1.3.1. Service work on motor periodic inspection 11
- 1.3.2. Replacing motor cables 12
- 1.3.3. Replacing drive belts 12
- 1.3.4. Dismantling the toothed belt pulley 13
- 1.3.5. Fitting the intermediate shaft with double belt pulley 13
- 1.3.6. Replacing the complete wheel and tyre 13
- 1.3.7. Dismantling the rubber tyre 14
- 1.4. Mechanical drive gear unit 15
- 1.4.1. Description 15
- 1.4.2. Drive wheel 17
- 1.4.3. Guide bearing for drive wheel description, dismantling and greasing 19
- 1.4.4. Taper roller bearing 19
- 1.4.5. Dismantling the drive wheel 20
- 1.4.6. Troubleshooting 21
- 1.5. Parking brake parts 23
- 1.5.1. Description parking brake 23
- 1.5.2. Assembly 24
- 1.5.3. Adjusting facilities 24
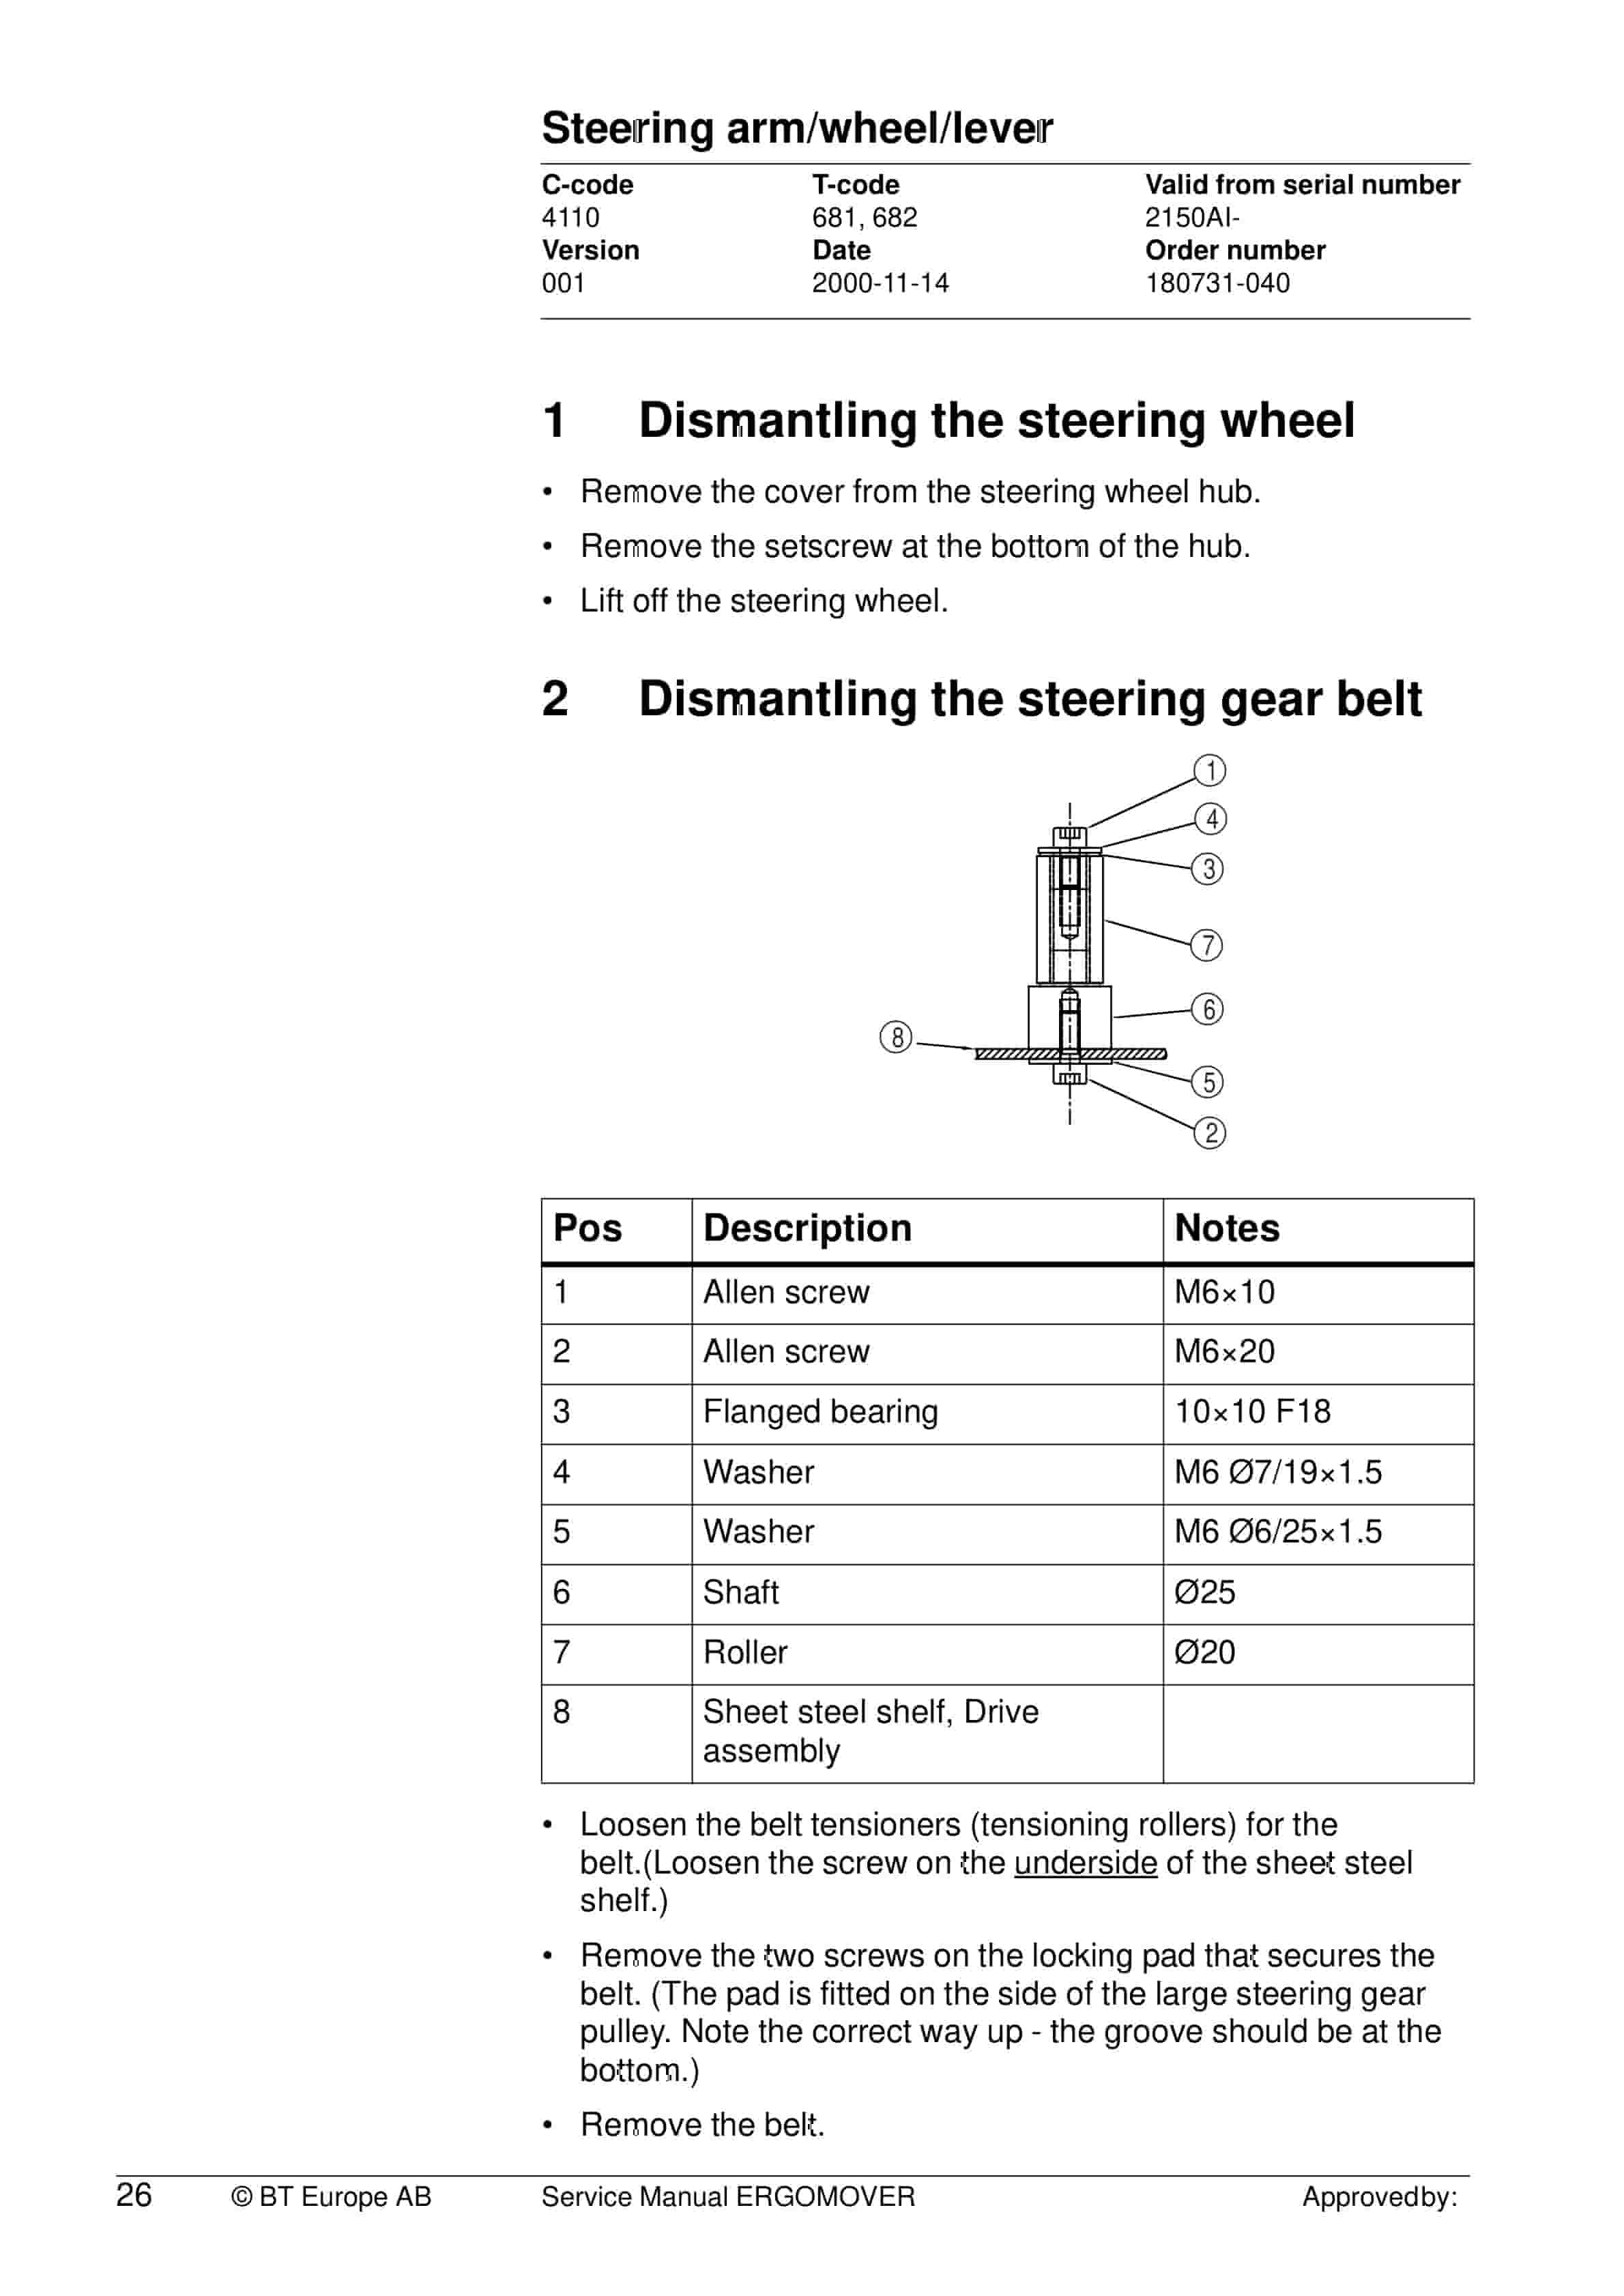
- 1.6. Steering arm/wheel/lever 25
- 1.6.1. Dismantling the steering wheel 26
- 1.6.2. Dismantling the steering gear belt 26
- 1.6.3. Dismantling the steering wheel shaft 27
- 1.6.4. Dismantling the drive wheel 27
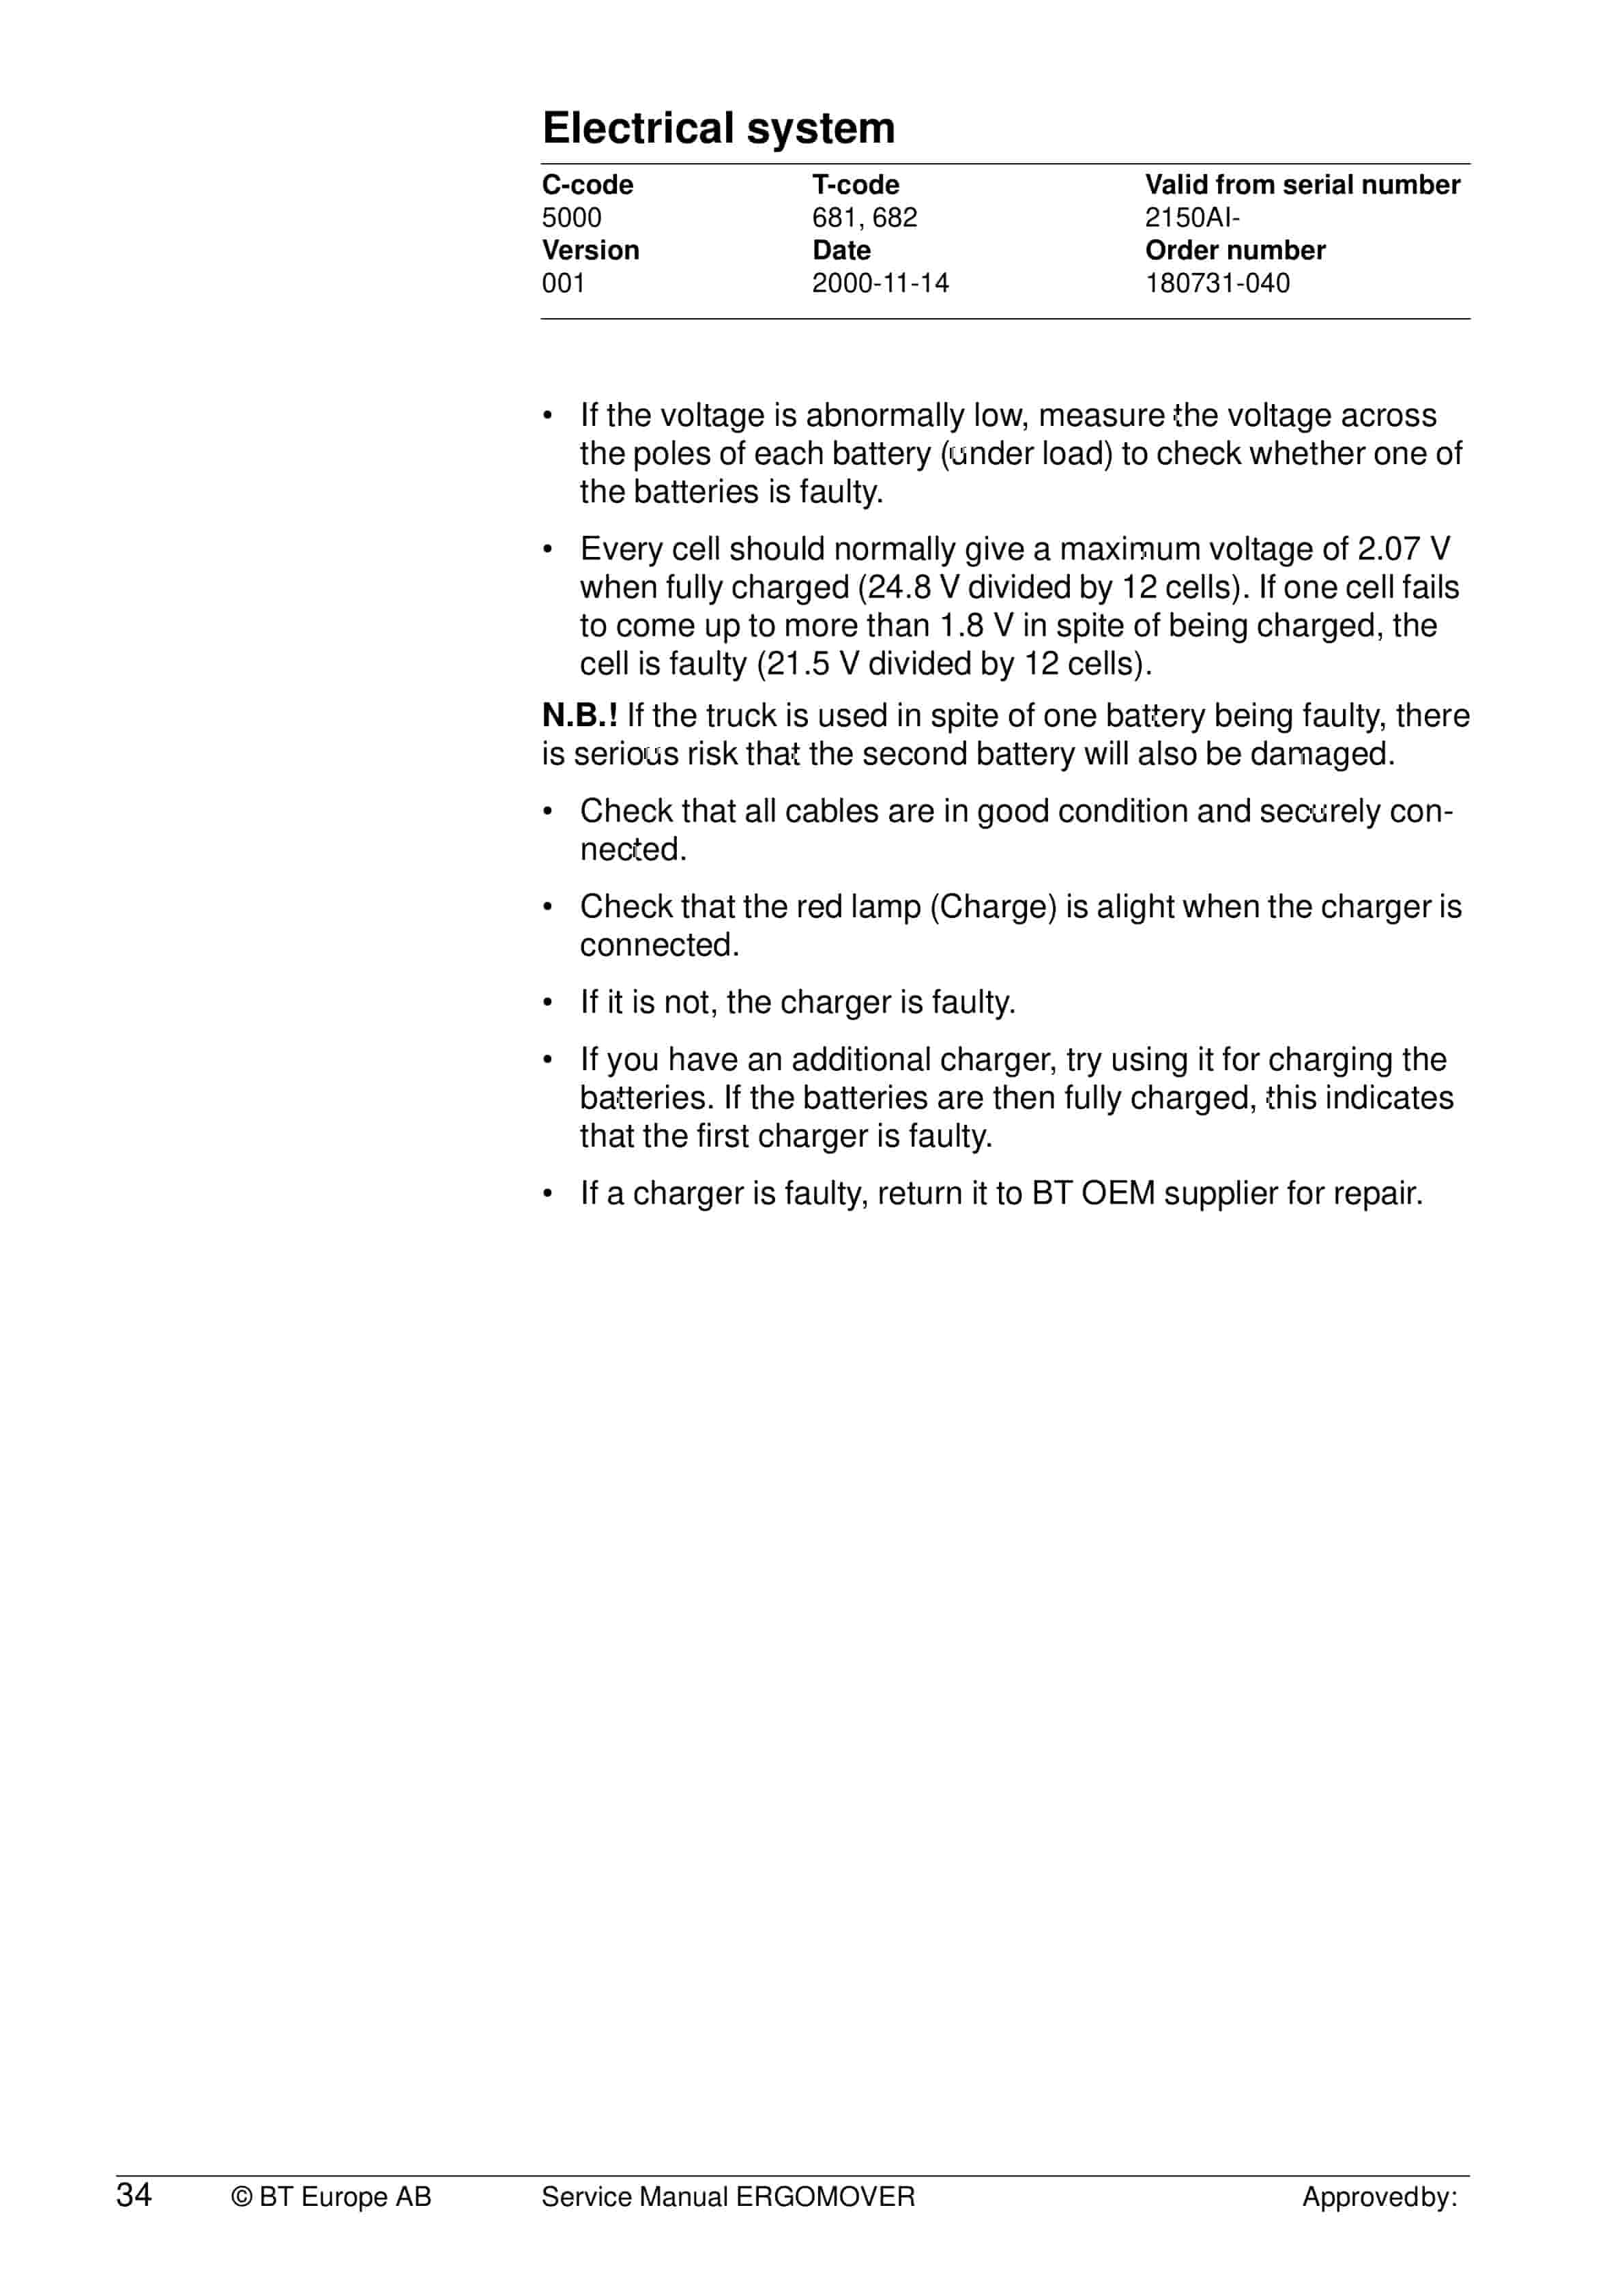
- 1.7. Electrical system 29
- 1.7.1. Circuit diagram for the ERGOMOVER 600 series 29
- 1.7.2. Battery voltage troubleshooting 33
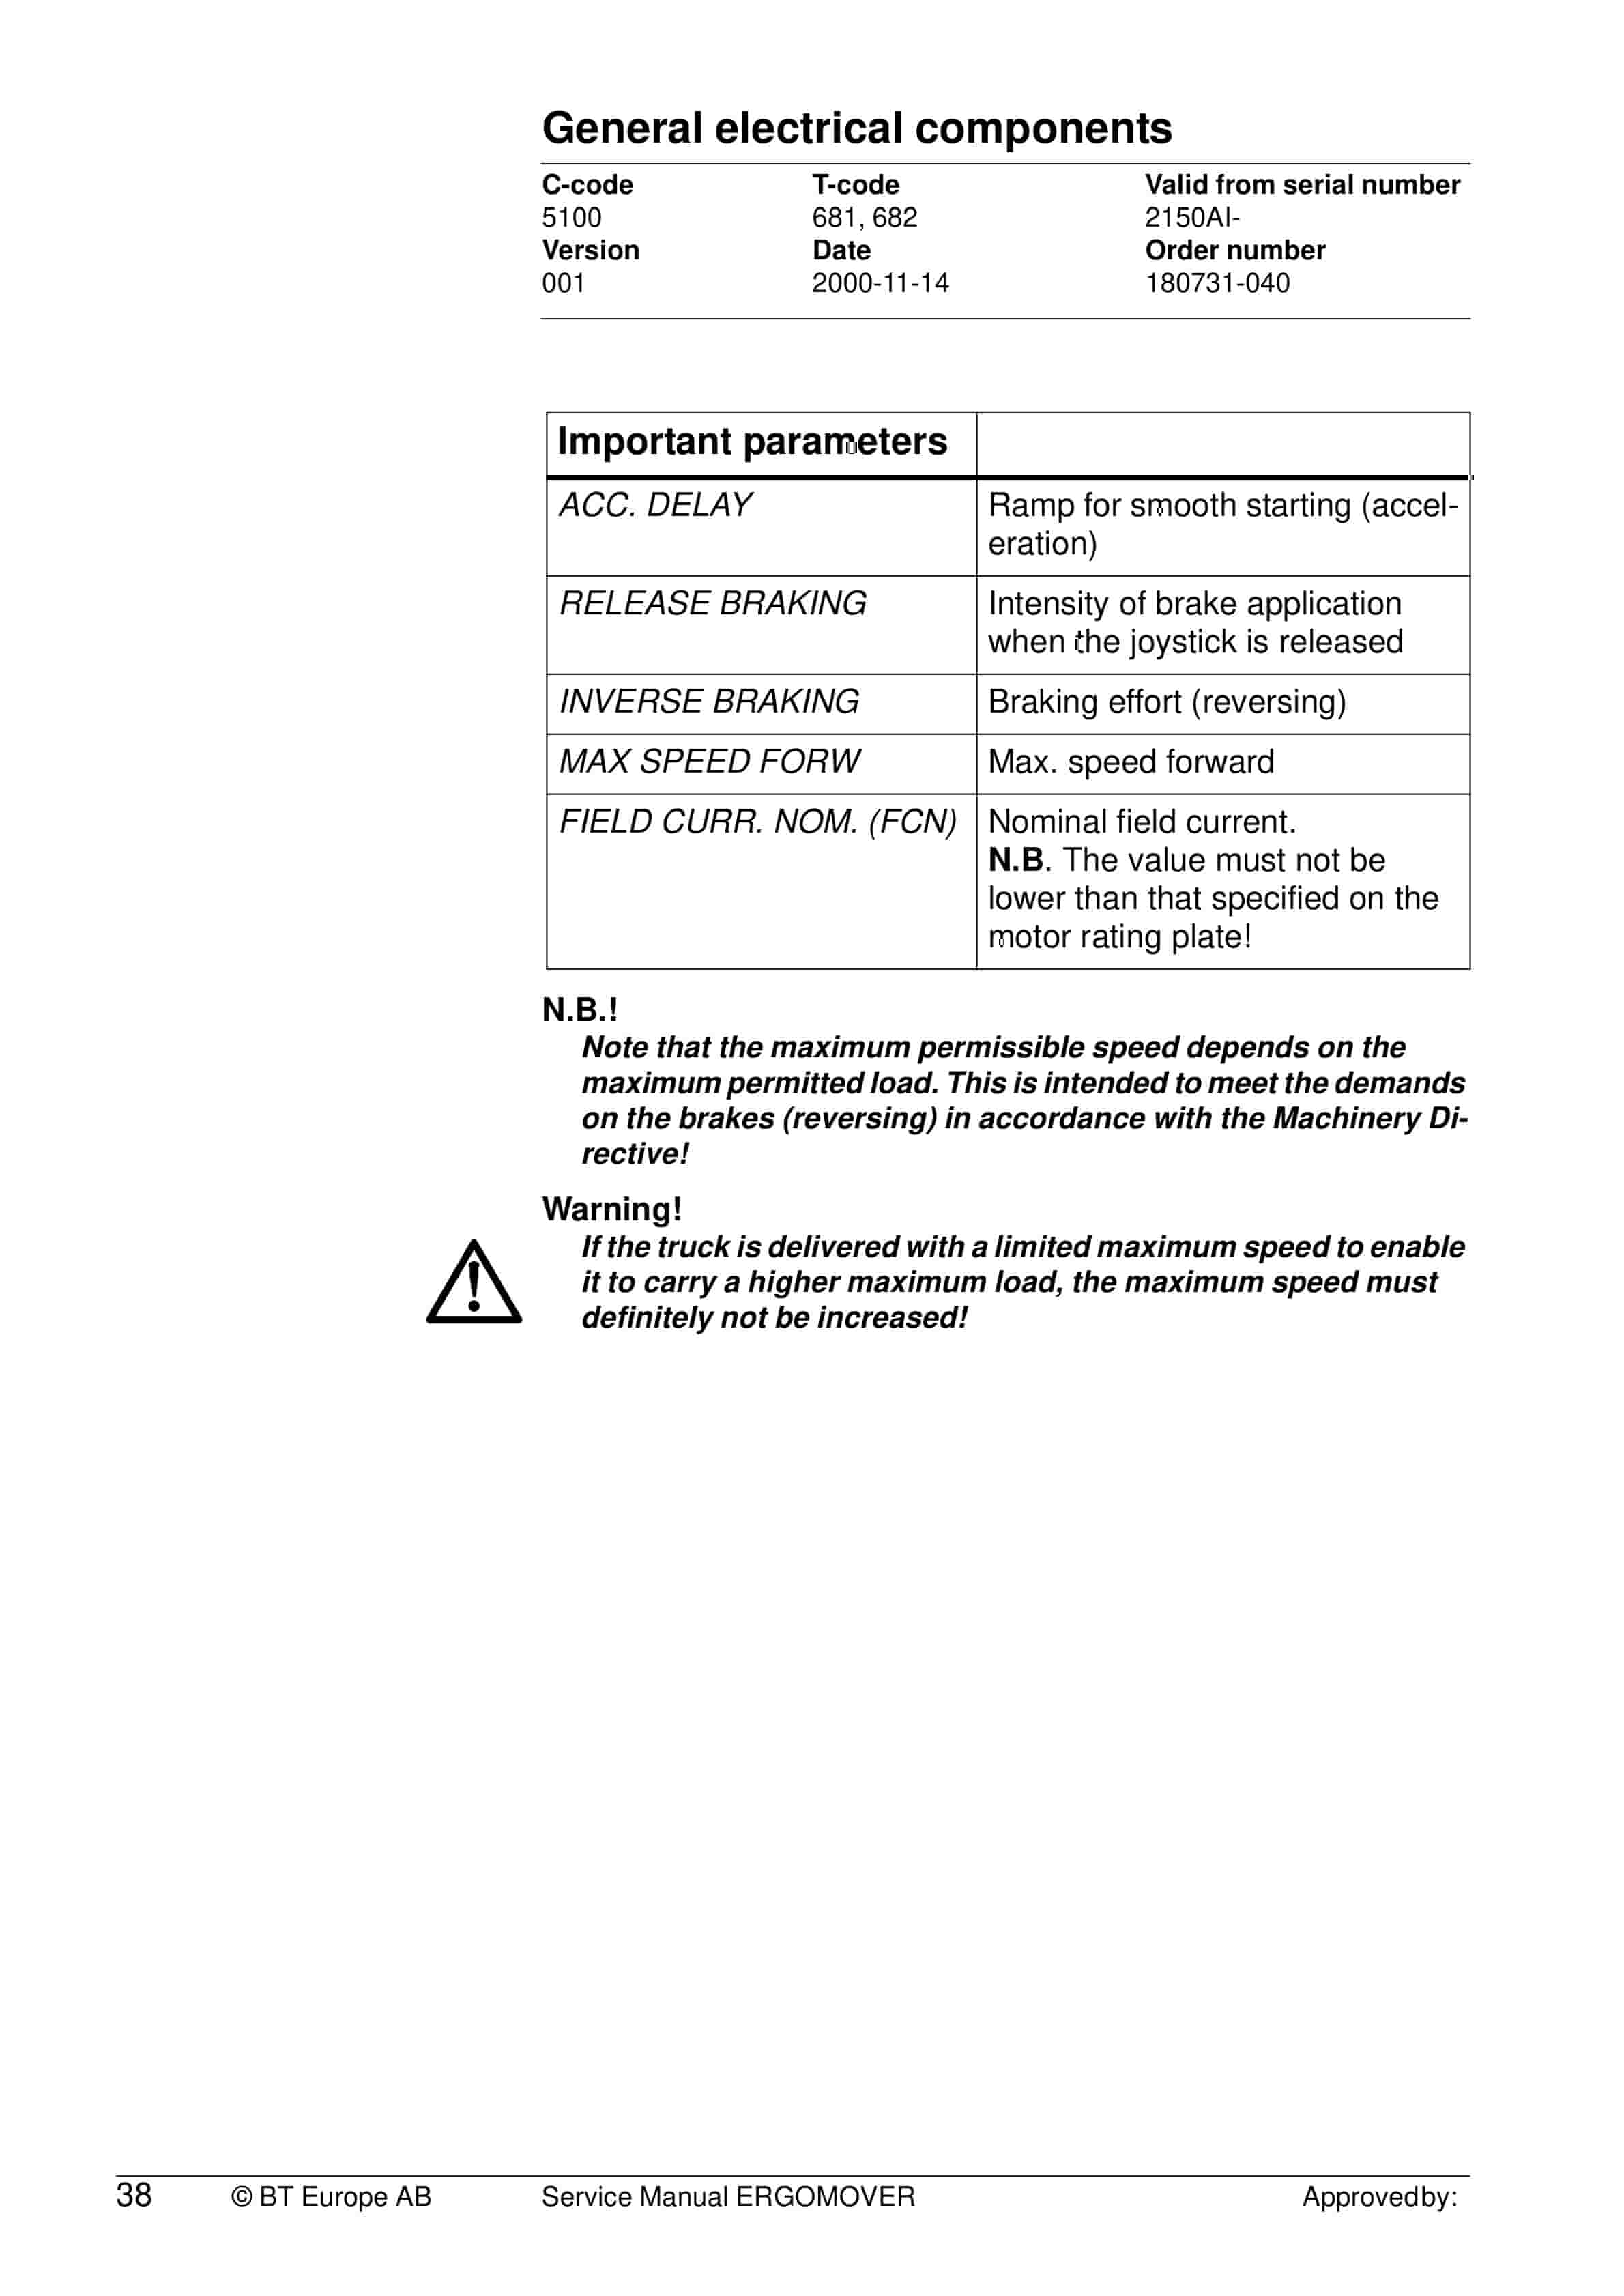
- 1.8. General electrical components 35
- 1.8.1. ZAPI SEM zero motor control system 35
- 1.8.2. Setting and adjustment 35
- 1.8.3. General 35
- 1.8.4. Programming of motor control system 36
- 1.8.5. Basic setting before delivery 36
- 1.8.6. Programming 36
- 1.8.7. To change the settings 37
- 1.8.8. Pre-setting of different speedspermitted loads 41
- 1.8.9. Symbols and Error codes 44
- 1.9. Travel direction switch (separate) 47
- 1.9.1. Description 47
- 1.9.2. Joystick faulty 48
- 1.9.3. Replacing the return spring 48
- 1.10. Information 49
- 1.10.1. In the event of breakdown 49
- 1.10.2. Moving a truck that has broken down 49
- 1.10.3. After tracing and repairing the fault 49
- 1.10.4. Possible defects if the truck has broken down and cannot be moved 50
- 2. Battery compartment parts
- 2.1. Battery cassette for quick battery changes
- 2.1.1. General
- 2.1.2. Operation
- 2.1.2.1. Changing a battery
- 2.1.2.1.1. WARNING
- 3. Seat, cushions
- 3.1. Replacing the gas spring
- 3.1.1. Description
- 3.2. Replacing the seat
- 3.2.1. Description
- 4. Electric drive motor
- 4.1. Service work on motor periodic inspection
- 4.1.1. Description
- 4.2. Replacing motor cables
- 4.3. Replacing drive belts
- 4.4. Dismantling the toothed belt pulley
- 4.5. Fitting the intermediate shaft with double belt pulley
- 4.6. Replacing the complete wheel and tyre
- 4.7. Dismantling the rubber tyre
- 5. Mechanical drive gear unit
- 5.1. Description
- 5.1.1. Description
- 5.2. Drive wheel
- 5.3. Guide bearing for drive wheel description, dismantling and greasing
- 5.4. Taper roller bearing
- 5.4.1. Fitting
- 5.4.2. Type of grease
- 5.4.3. Inspection and lubrication
- 5.5. Dismantling the drive wheel
- 5.6. Troubleshooting
- 5.6.1. General
- 5.6.2. Symptoms and action
- 5.6.3. Drive belts
- 5.6.4. Noise in the transmission/drive wheel
- 5.6.5. Faulty motor
- 5.6.6. Parking brake
- 5.6.7. Motor controller
- 6. Parking brake parts
- 6.1. Description parking brake
- 6.1.1. Description
- 6.2. Assembly
- 6.3. Adjusting facilities
- 7. Steering arm/wheel/lever
- 7.1. Description
- 7.2. Dismantling the steering wheel
- 7.3. Dismantling the steering gear belt
- 7.3.1. Description
- 7.4. Dismantling the steering wheel shaft
- 7.5. Dismantling the drive wheel
- 8. Electrical system
- 8.1. Circuit diagram for the ERGOMOVER 600 series
- 8.1.1. Main circuit diagram for the standard drive assembly
- 8.1.2. Additional circuit diagram for forklift function
- 8.2. Battery voltage troubleshooting
- 8.2.1. The battery indicator lights up when the truck is running, even though the batteries have bee…
- 8.2.1.1. Possible reasons
- 8.2.1.2. Useful life and maintenance of the batteries
- 9. General electrical components
- 9.1. ZAPI SEM zero motor control system
- 9.1.1. Connection
- 9.2. Setting and adjustment
- 9.2.1. Warning
- 9.3. General
- 9.4. Programming of motor control system
- 9.5. Basic setting before delivery
- 9.6. Programming
- 9.7. To change the settings
- 9.7.1. Parameters
- 9.7.1.1. Mode type of operation
- 9.7.1.2. Important parameters
- 9.7.1.3. Warning
- 9.7.2. Table of adjustable parameters
- 9.7.2.1. Parameters
- 9.7.2.2. Default
- 9.8. Pre-setting of different speeds permitted loads
- 9.8.1. Maximum speed
- 9.8.2. Reducing the speed to between 4 and 9 km/h
- 9.8.3. Pre-setting different speeds guideline values
- 9.8.3.1. Max Speed Forw.
- 9.8.3.2. Cutback Speed 1
- 9.8.4. Increasing the speed to between 10 and 14 km/h
- 9.8.5. Setting different speeds guideline values
- 9.8.5.1. Max Speed Forw.
- 9.8.5.2. Cutback Speed 1
- 9.9. Symbols and Error codes
- 9.9.1. Combined instrument on the control panel
- 9.9.1.1. Symbols
- 9.9.1.2. Error codes
- 9.9.2. Battery indicator on the control panel
- 9.9.3. Manual programming unit
- 9.9.3.1. To connect the programming unit
- 9.9.3.2. To disconnect the programming unit
- 9.9.3.3. List of error codes
- 9.9.4. SEM-ZERO Diagnostics
- 9.9.4.1. N Flashes
- 9.9.4.2. Message
- 10. Travel direction switch (separate)
- 10.1. Description
- 10.2. Description
- 10.3. Joystick faulty
- 10.4. Replacing the return spring
- 11. Information
- 11.1. In the event of breakdown
- 11.2. Moving a truck that has broken down
- 11.3. After tracing and repairing the fault
- 11.4. Possible defects if the truck has broken down and cannot be moved
Related products
-
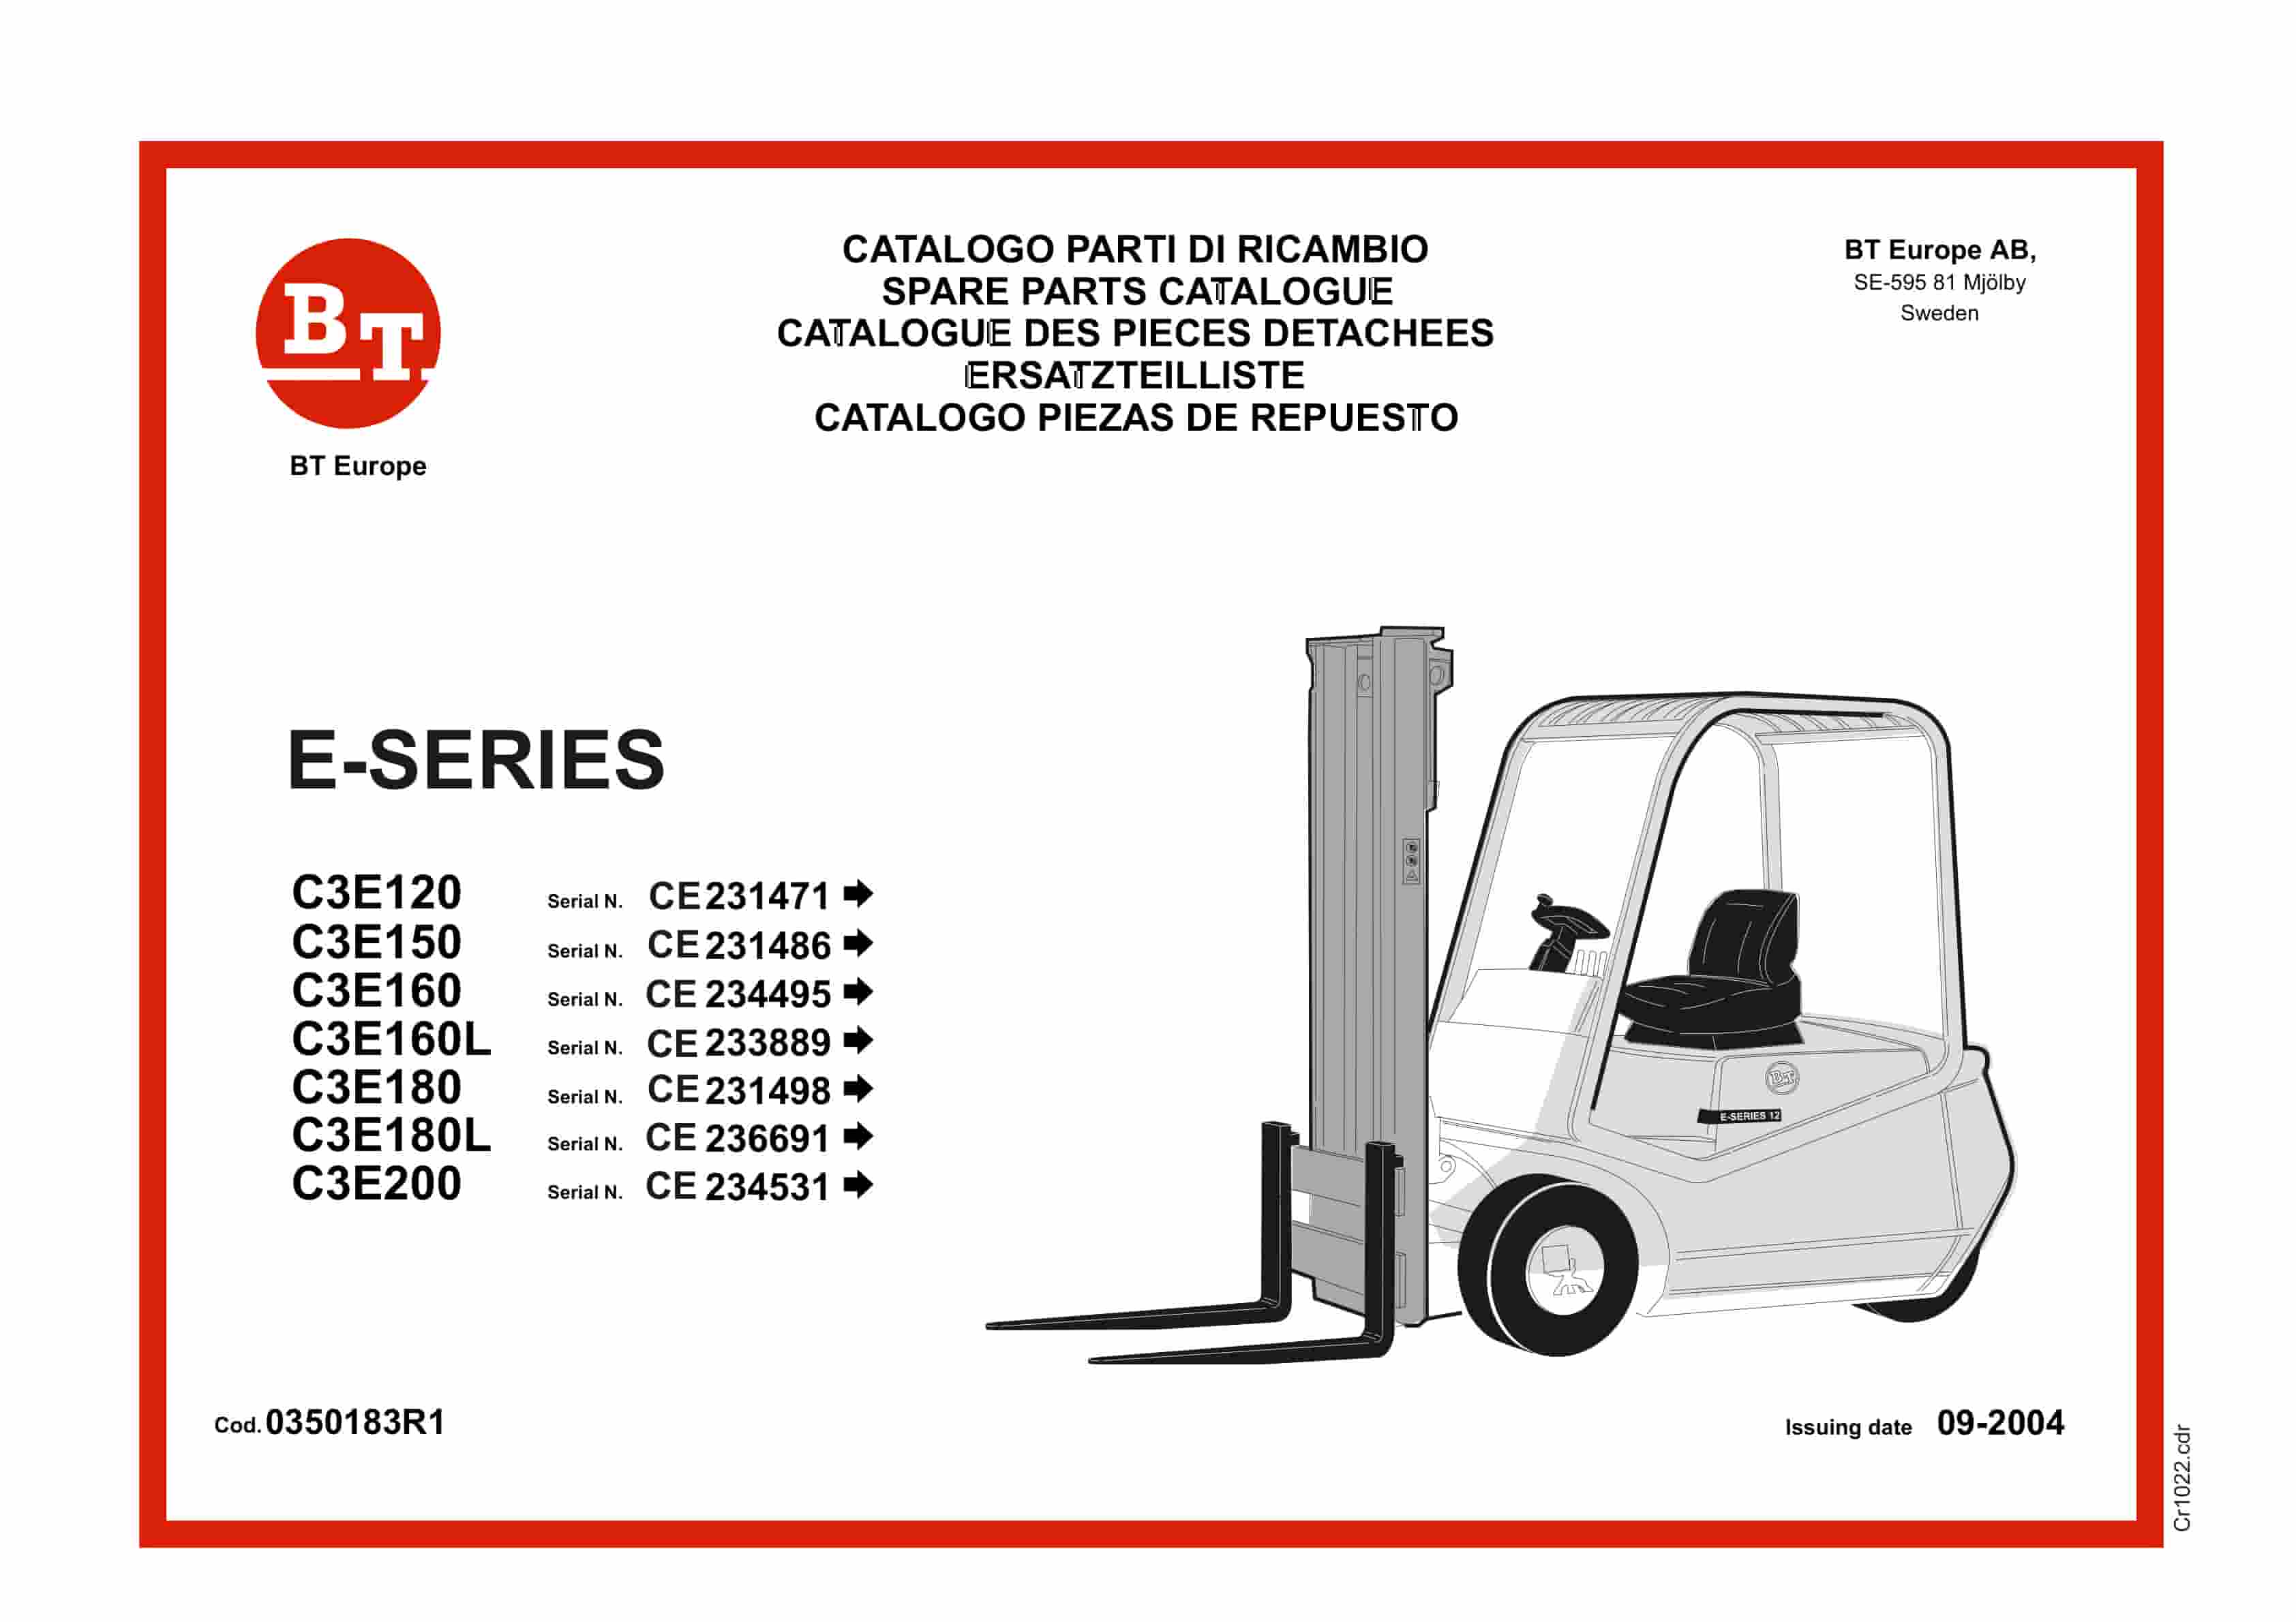
BT E-Series C3E120 to C3E200 Service Manual 0350183R1
$30.00 Add to cart -
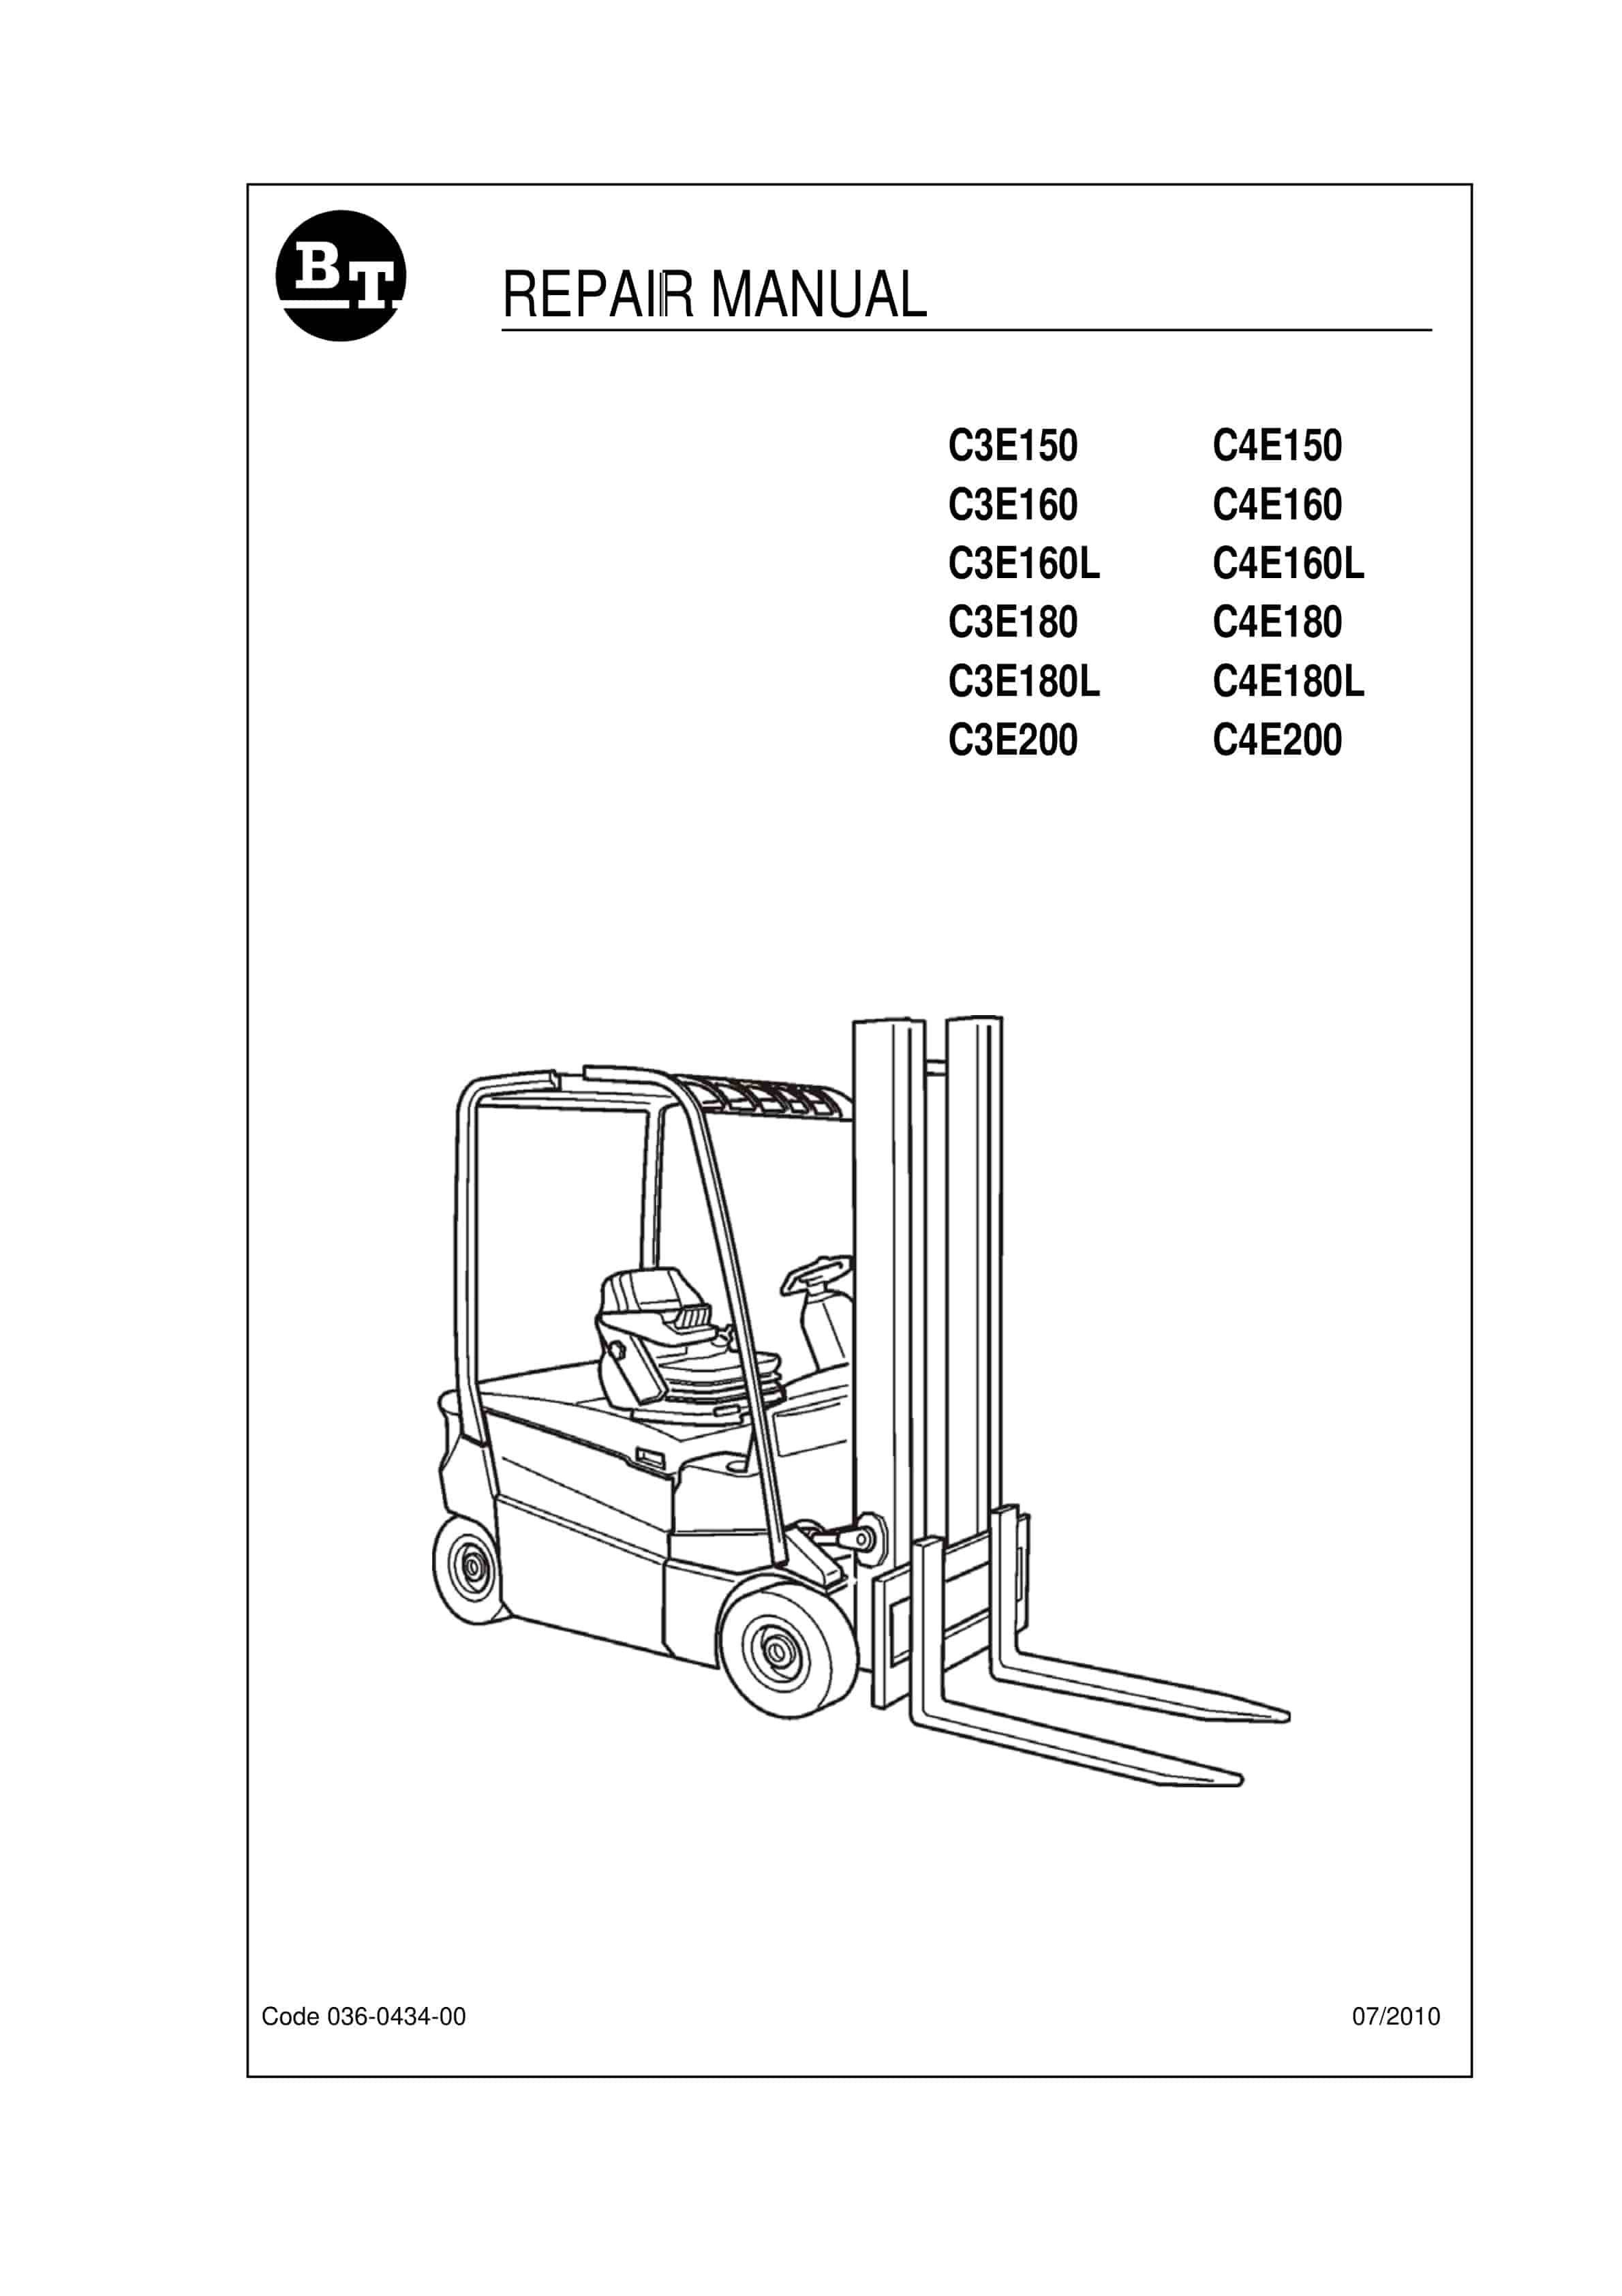
BT C3E150 to C4E200 Repair Manual 036-0434-00
$30.00 Add to cart -
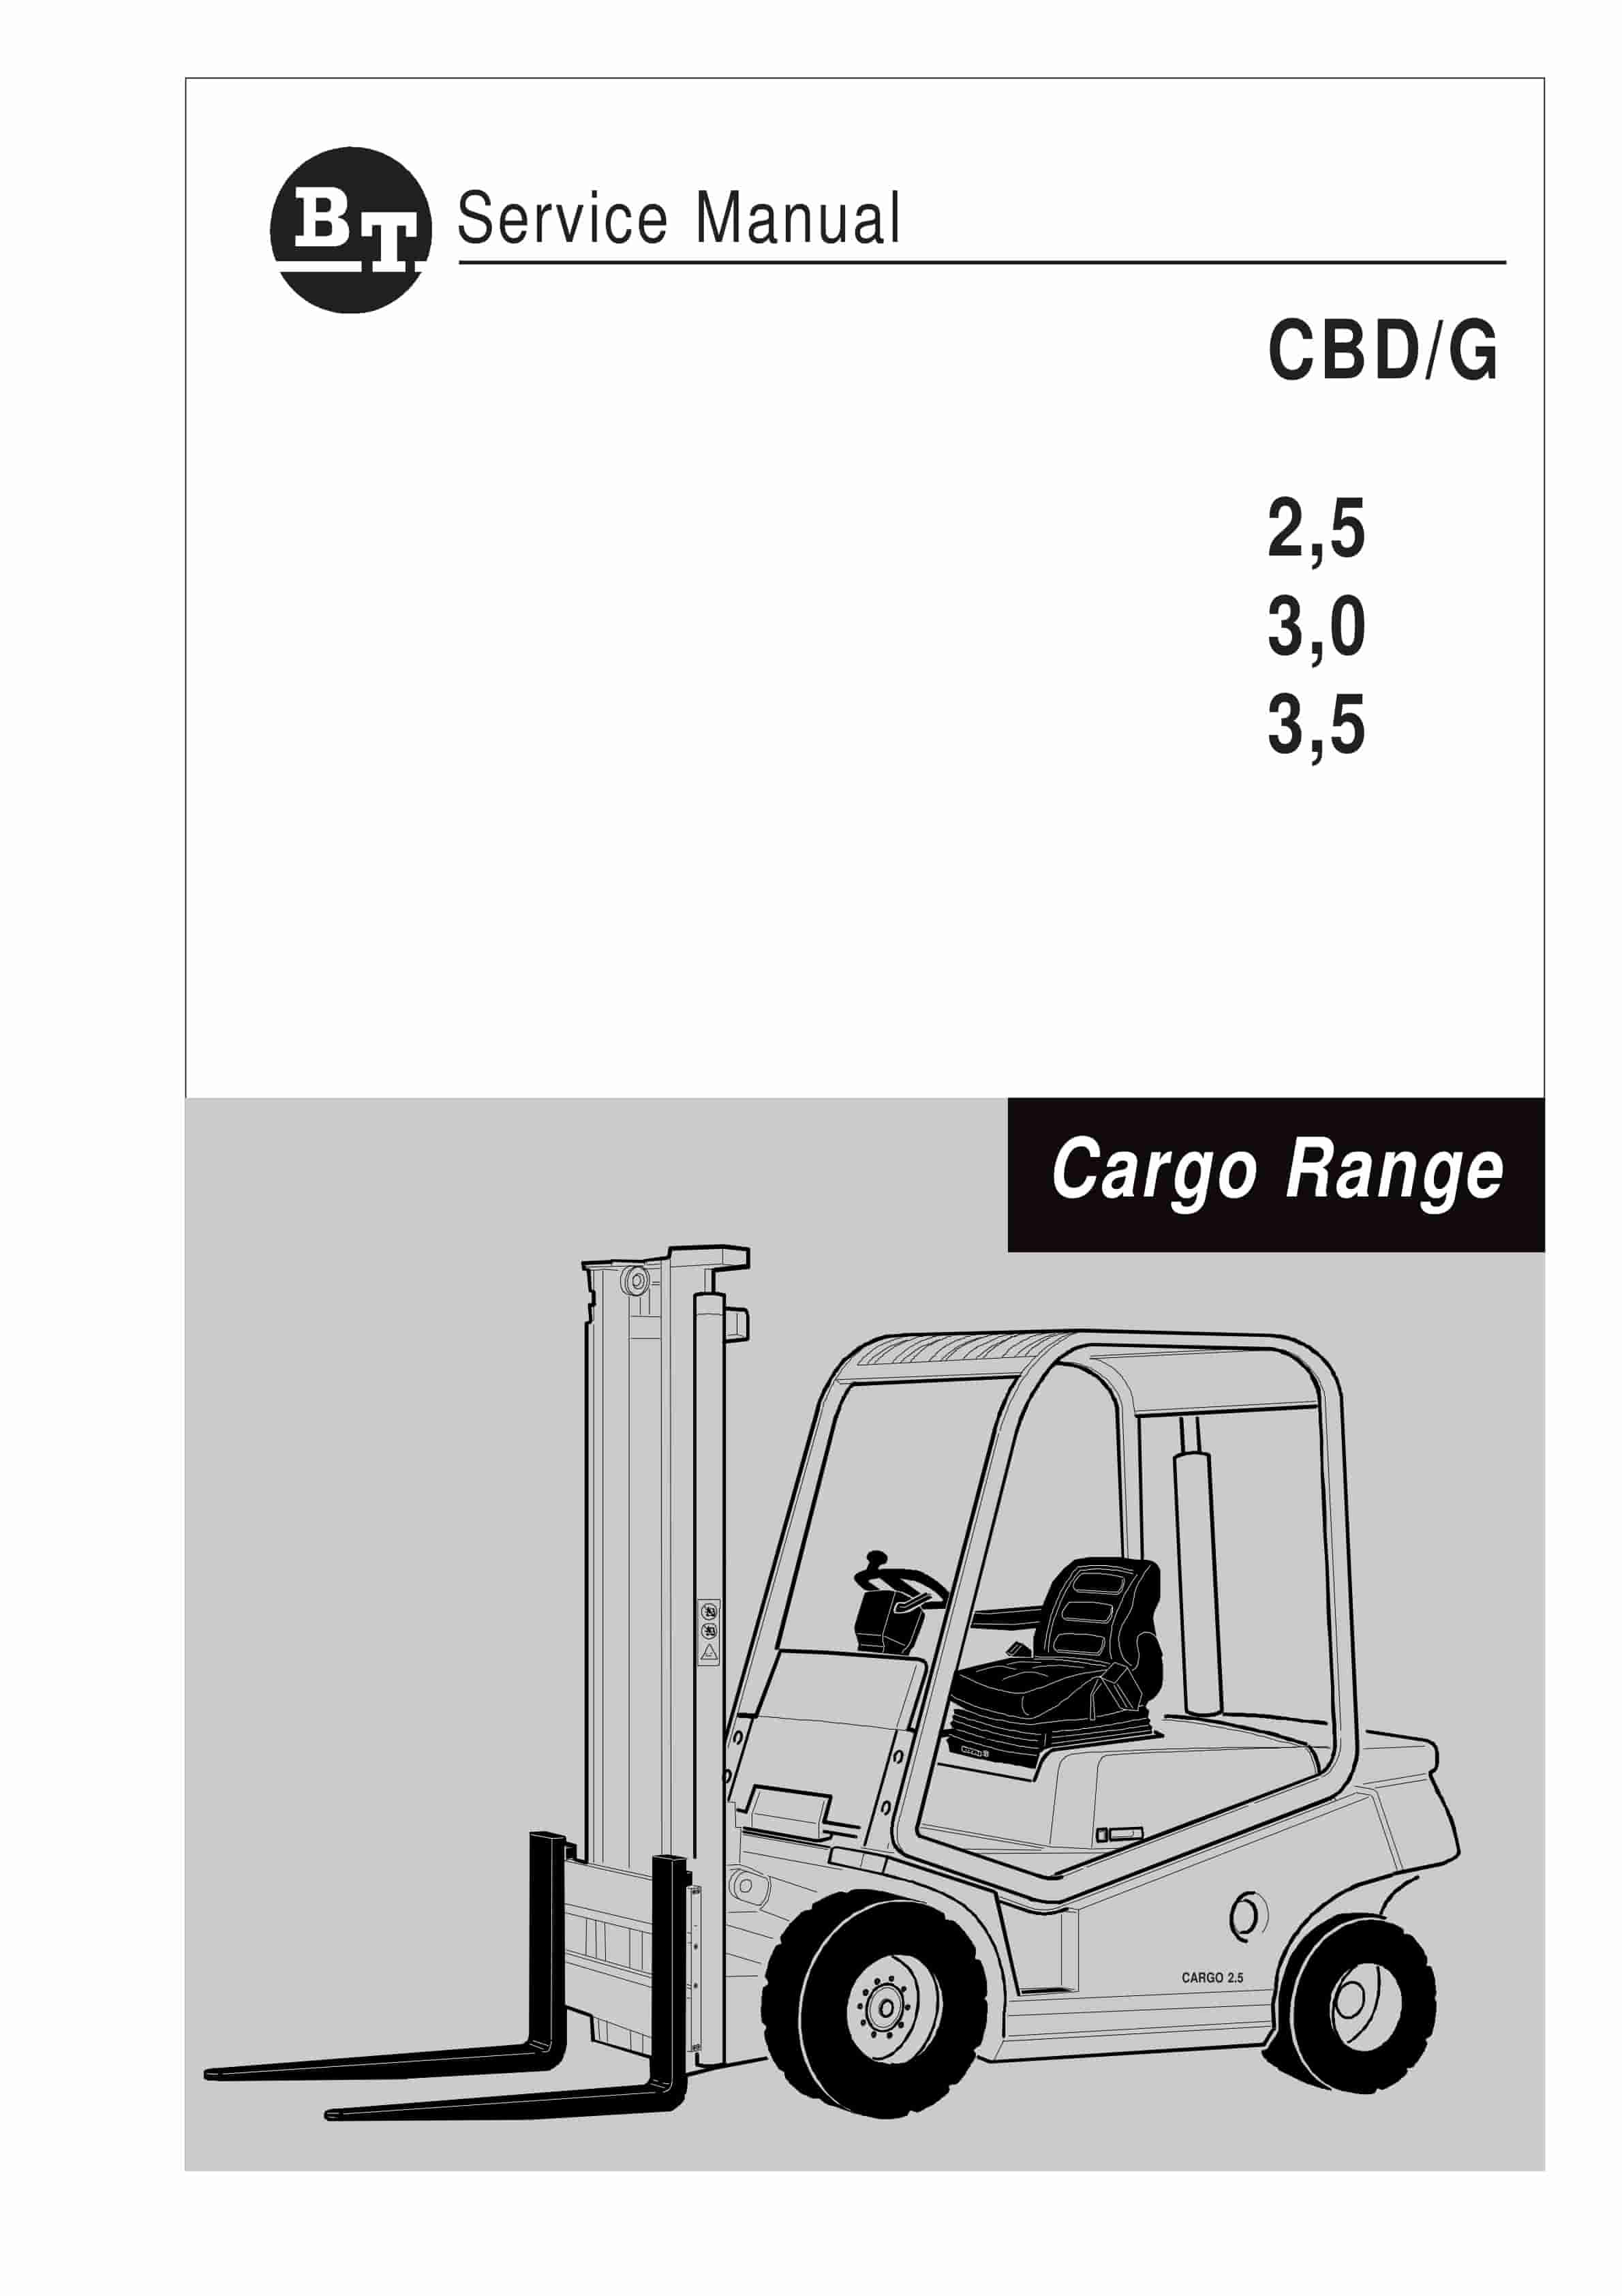
BT CBD-G 2.5, 3.0, 3.5 Service Manual 036-0405-01
$30.00 Add to cart -
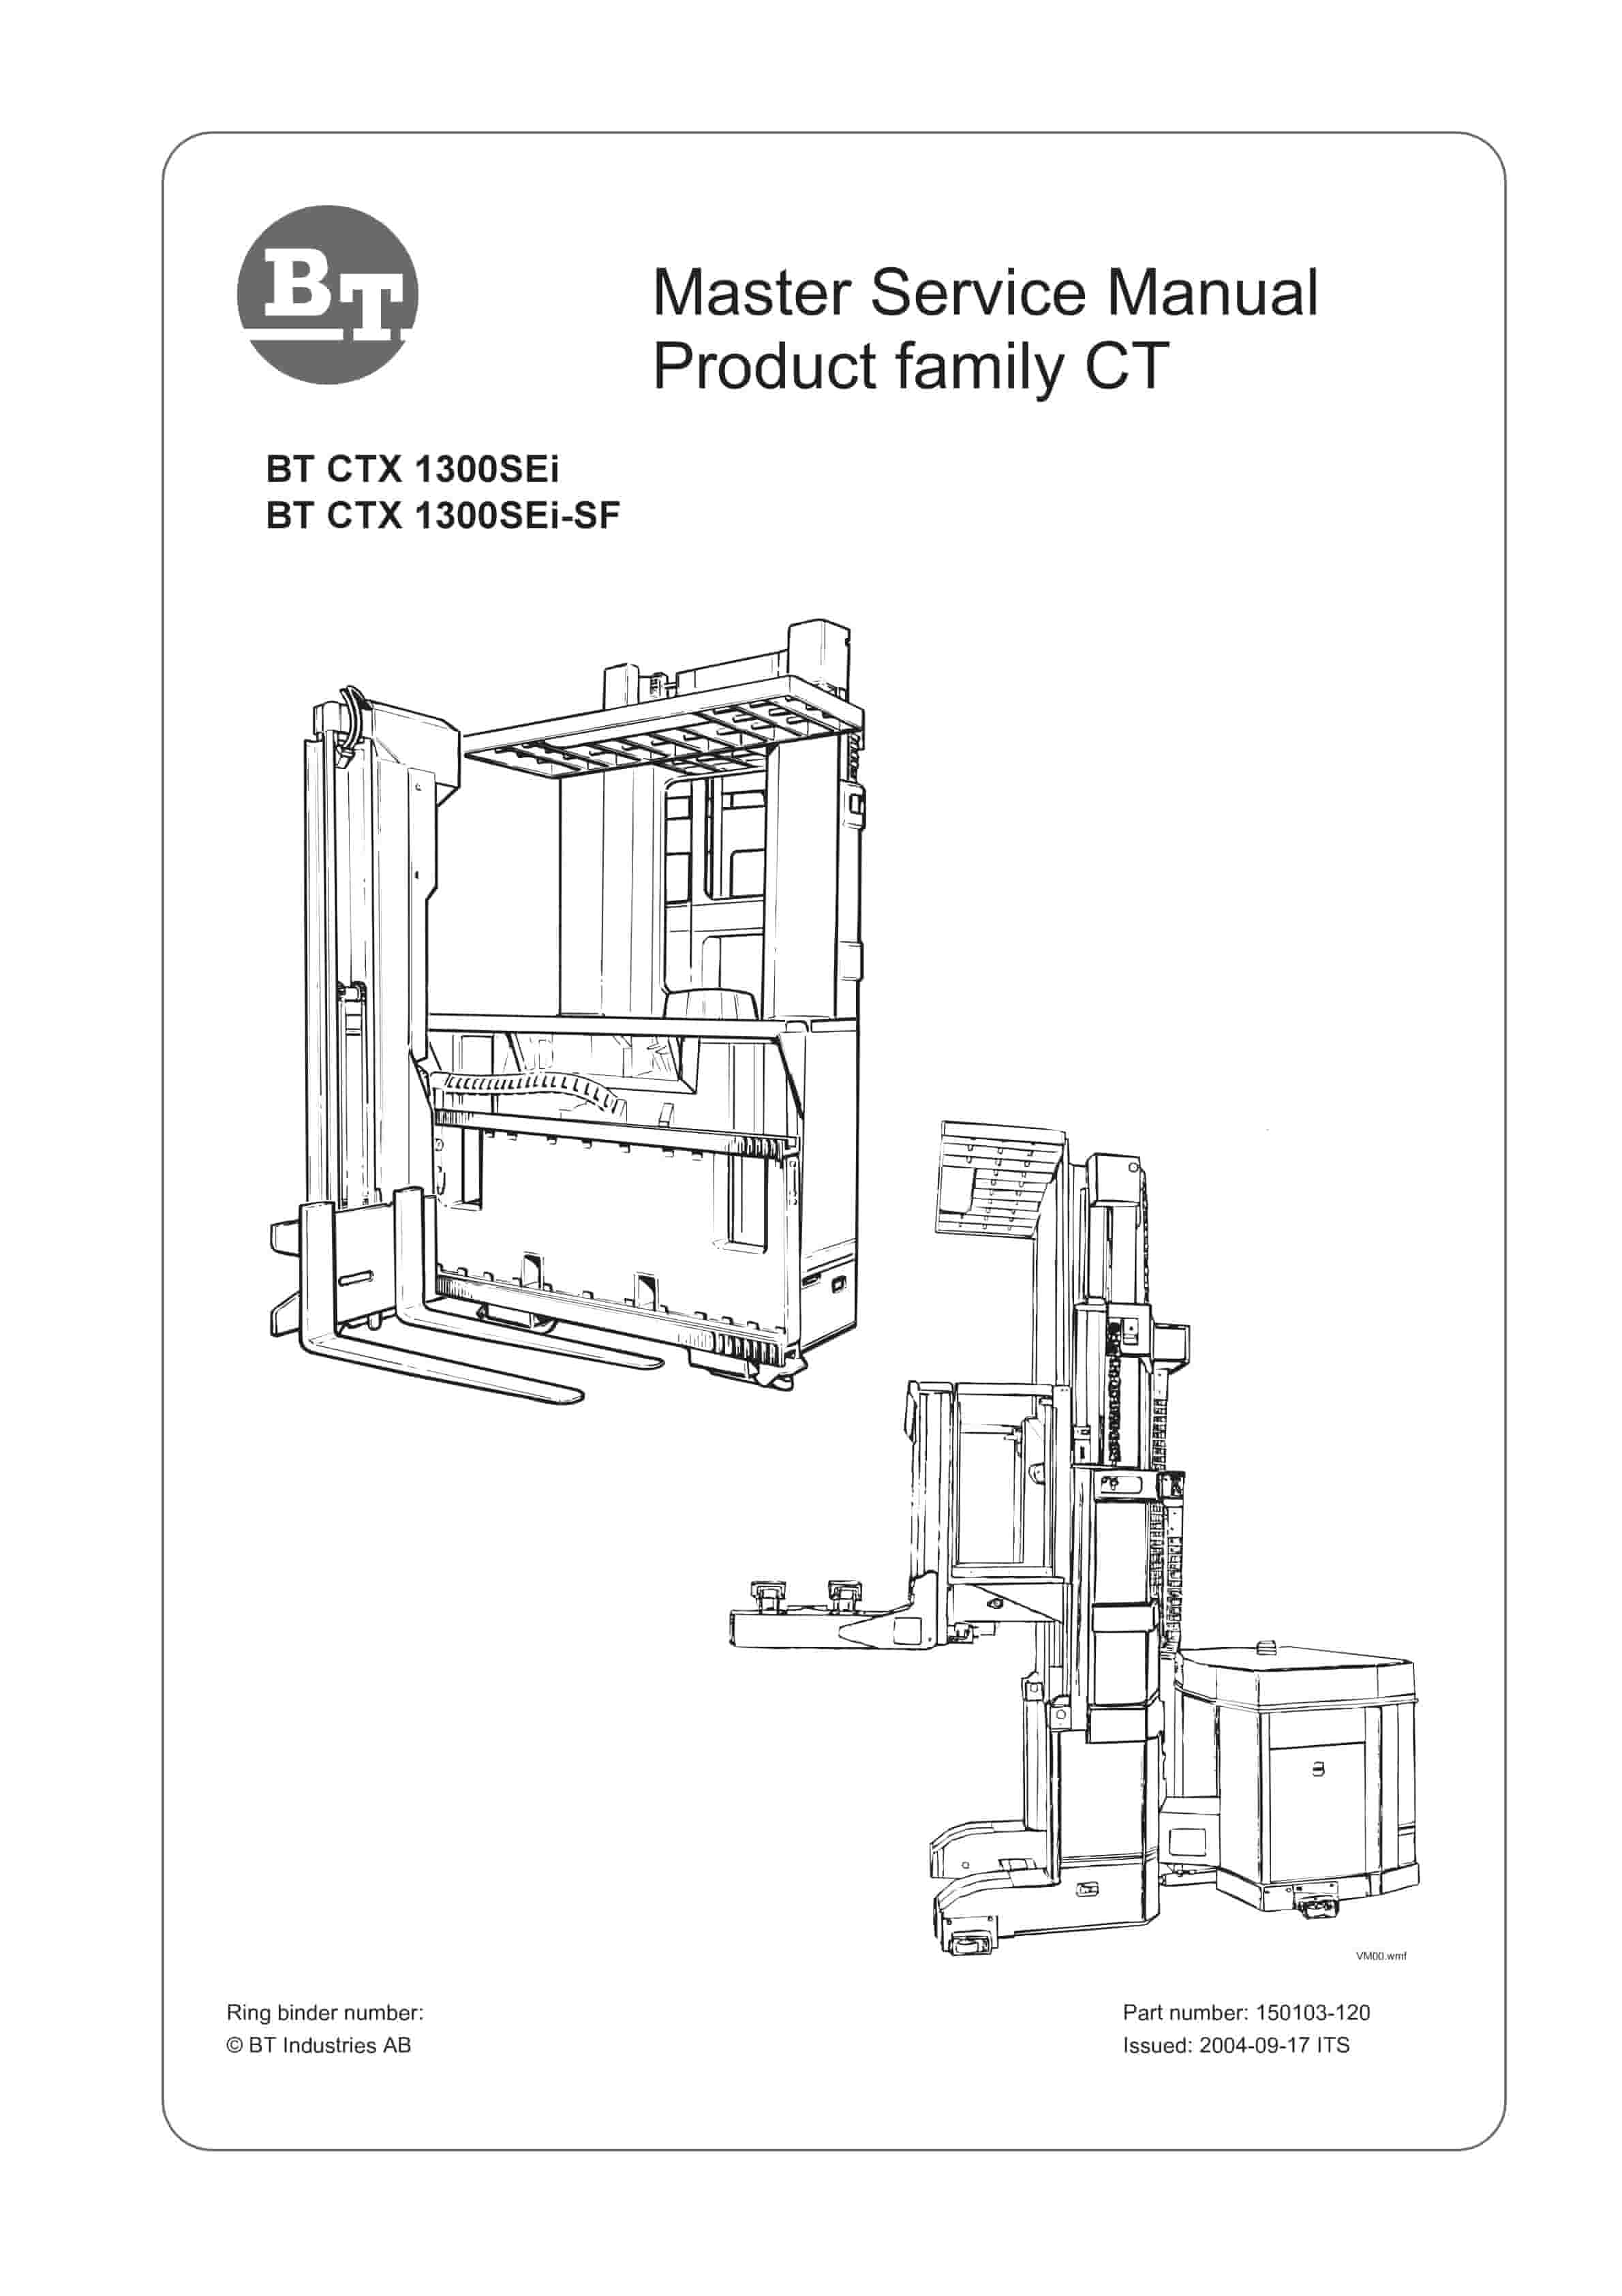
BT CTX 1300SEi, CTX 1300SEi SF Service Manual 150103-120
$30.00 Add to cart -
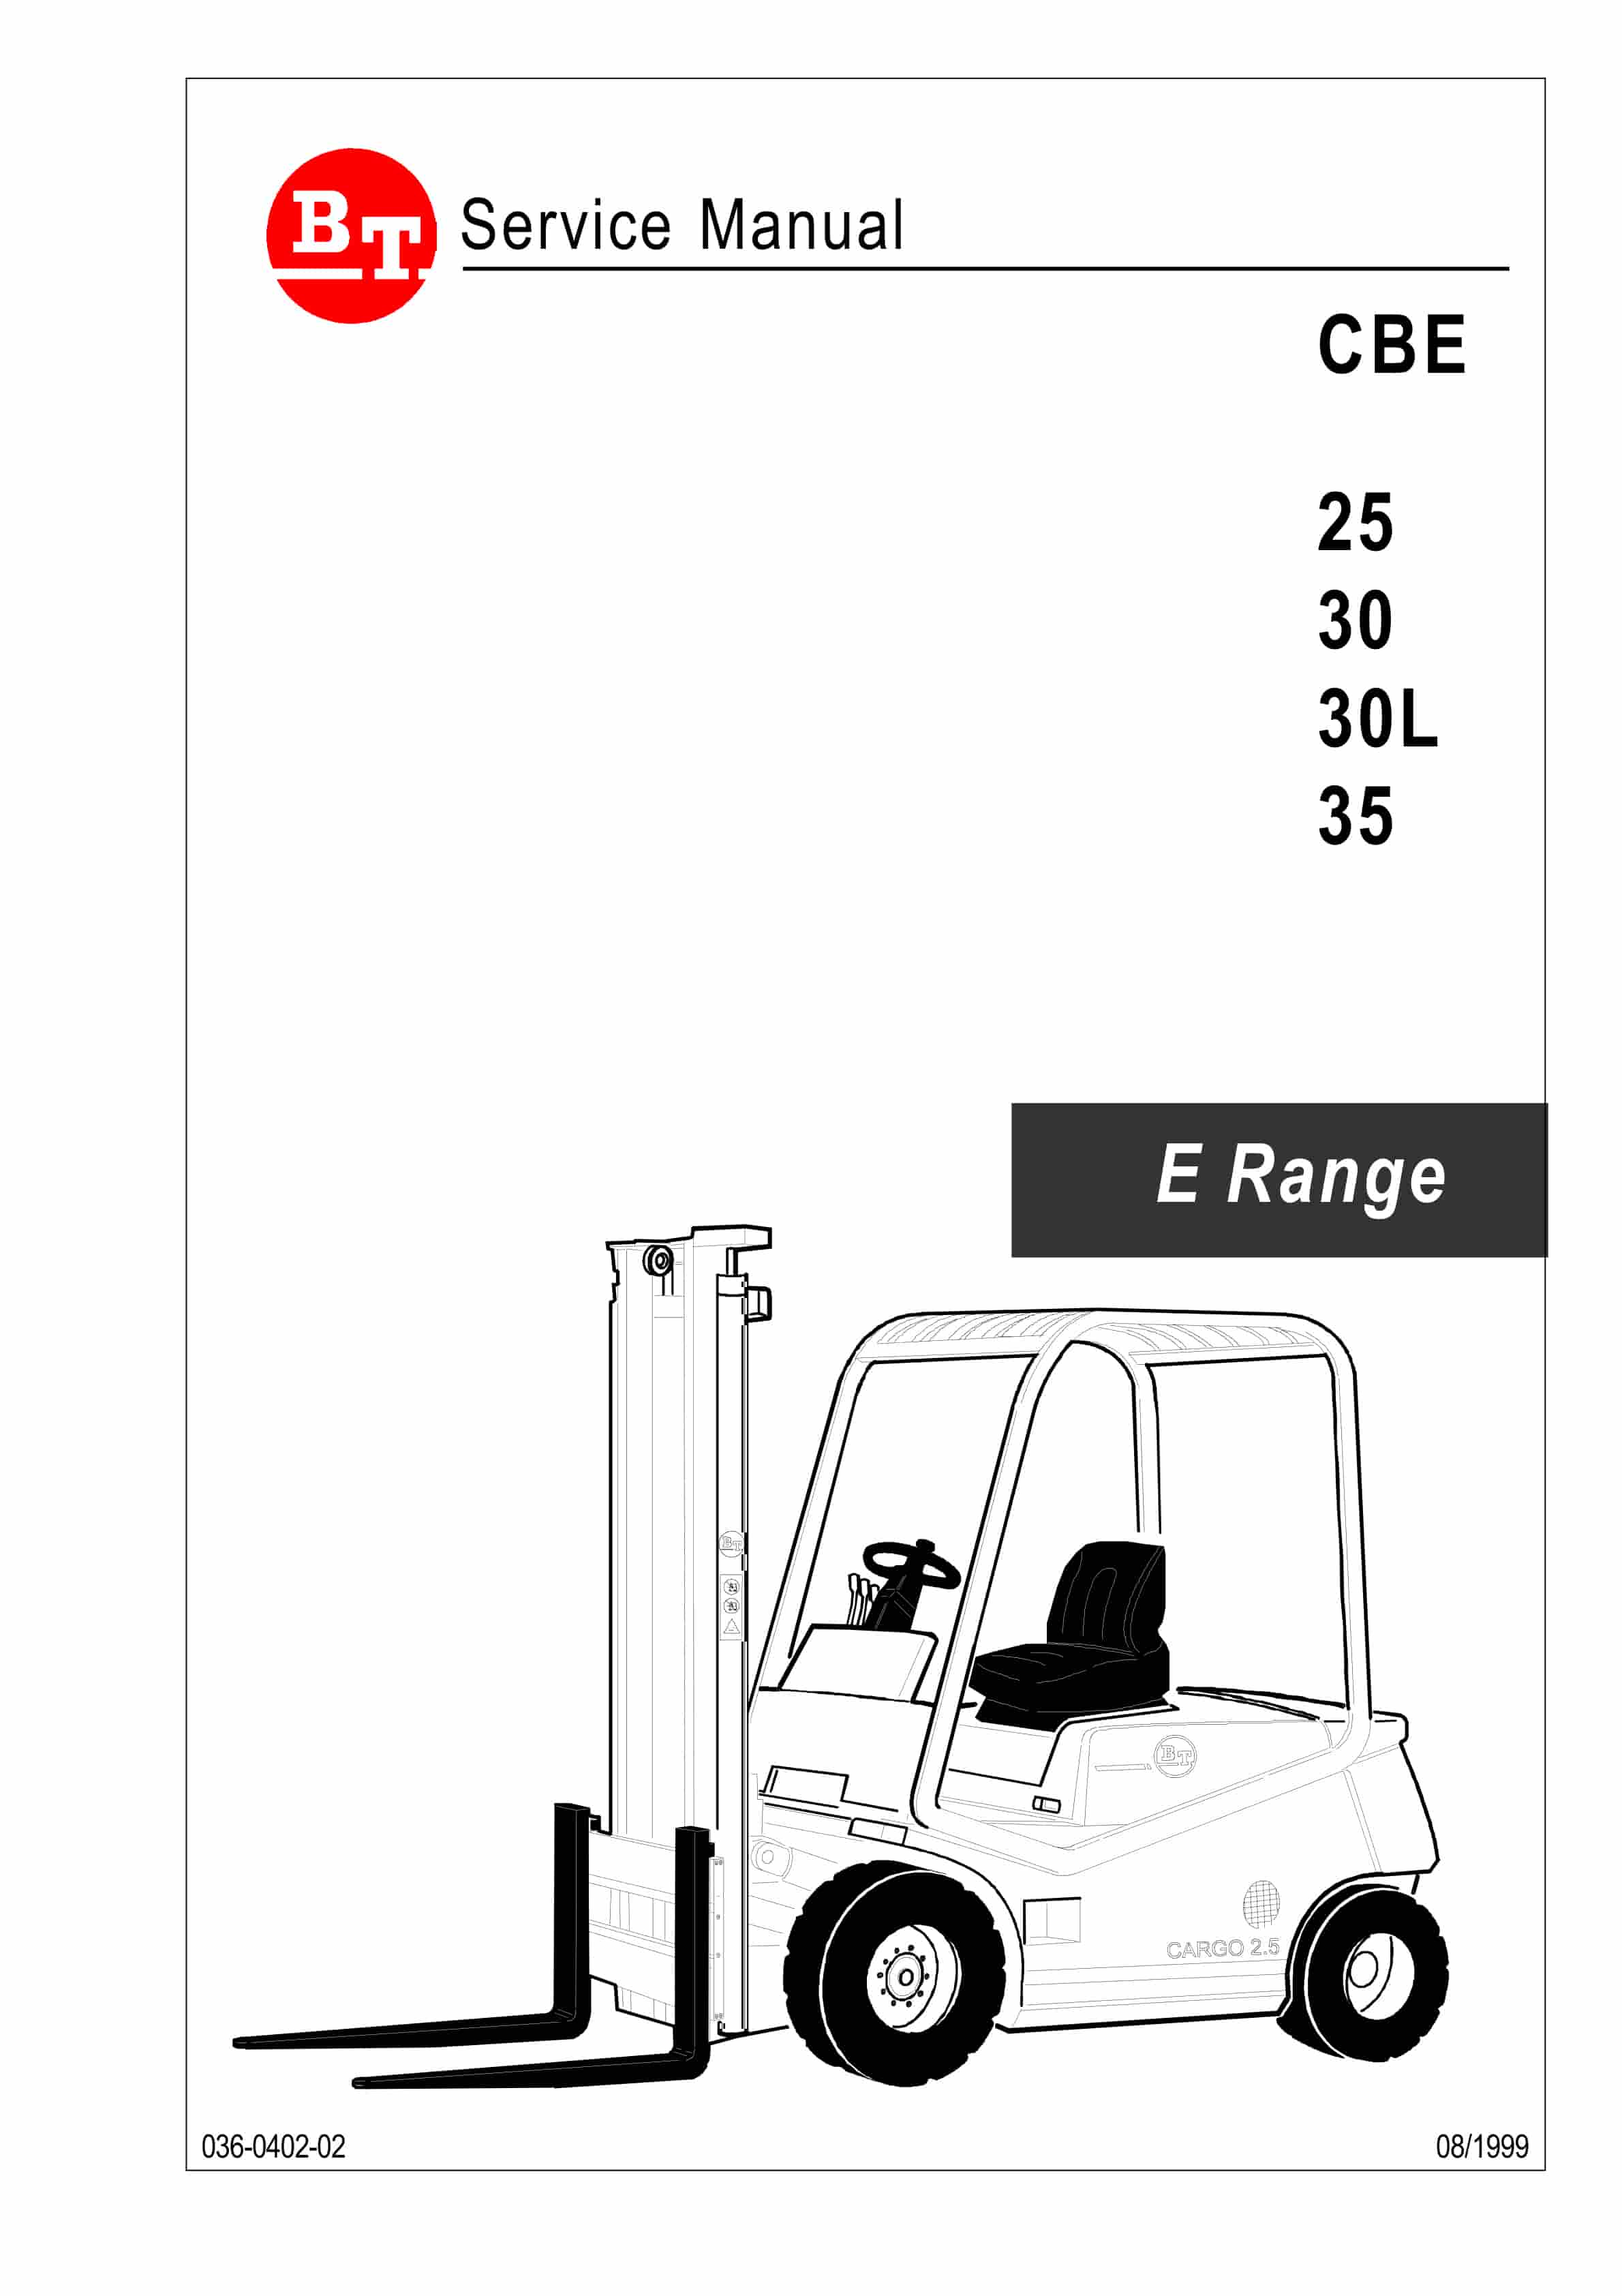
BT CBE 25, CBE 30, CBE 30L, CBE 35 Service Manual 036-0402-02
$30.00 Add to cart


