

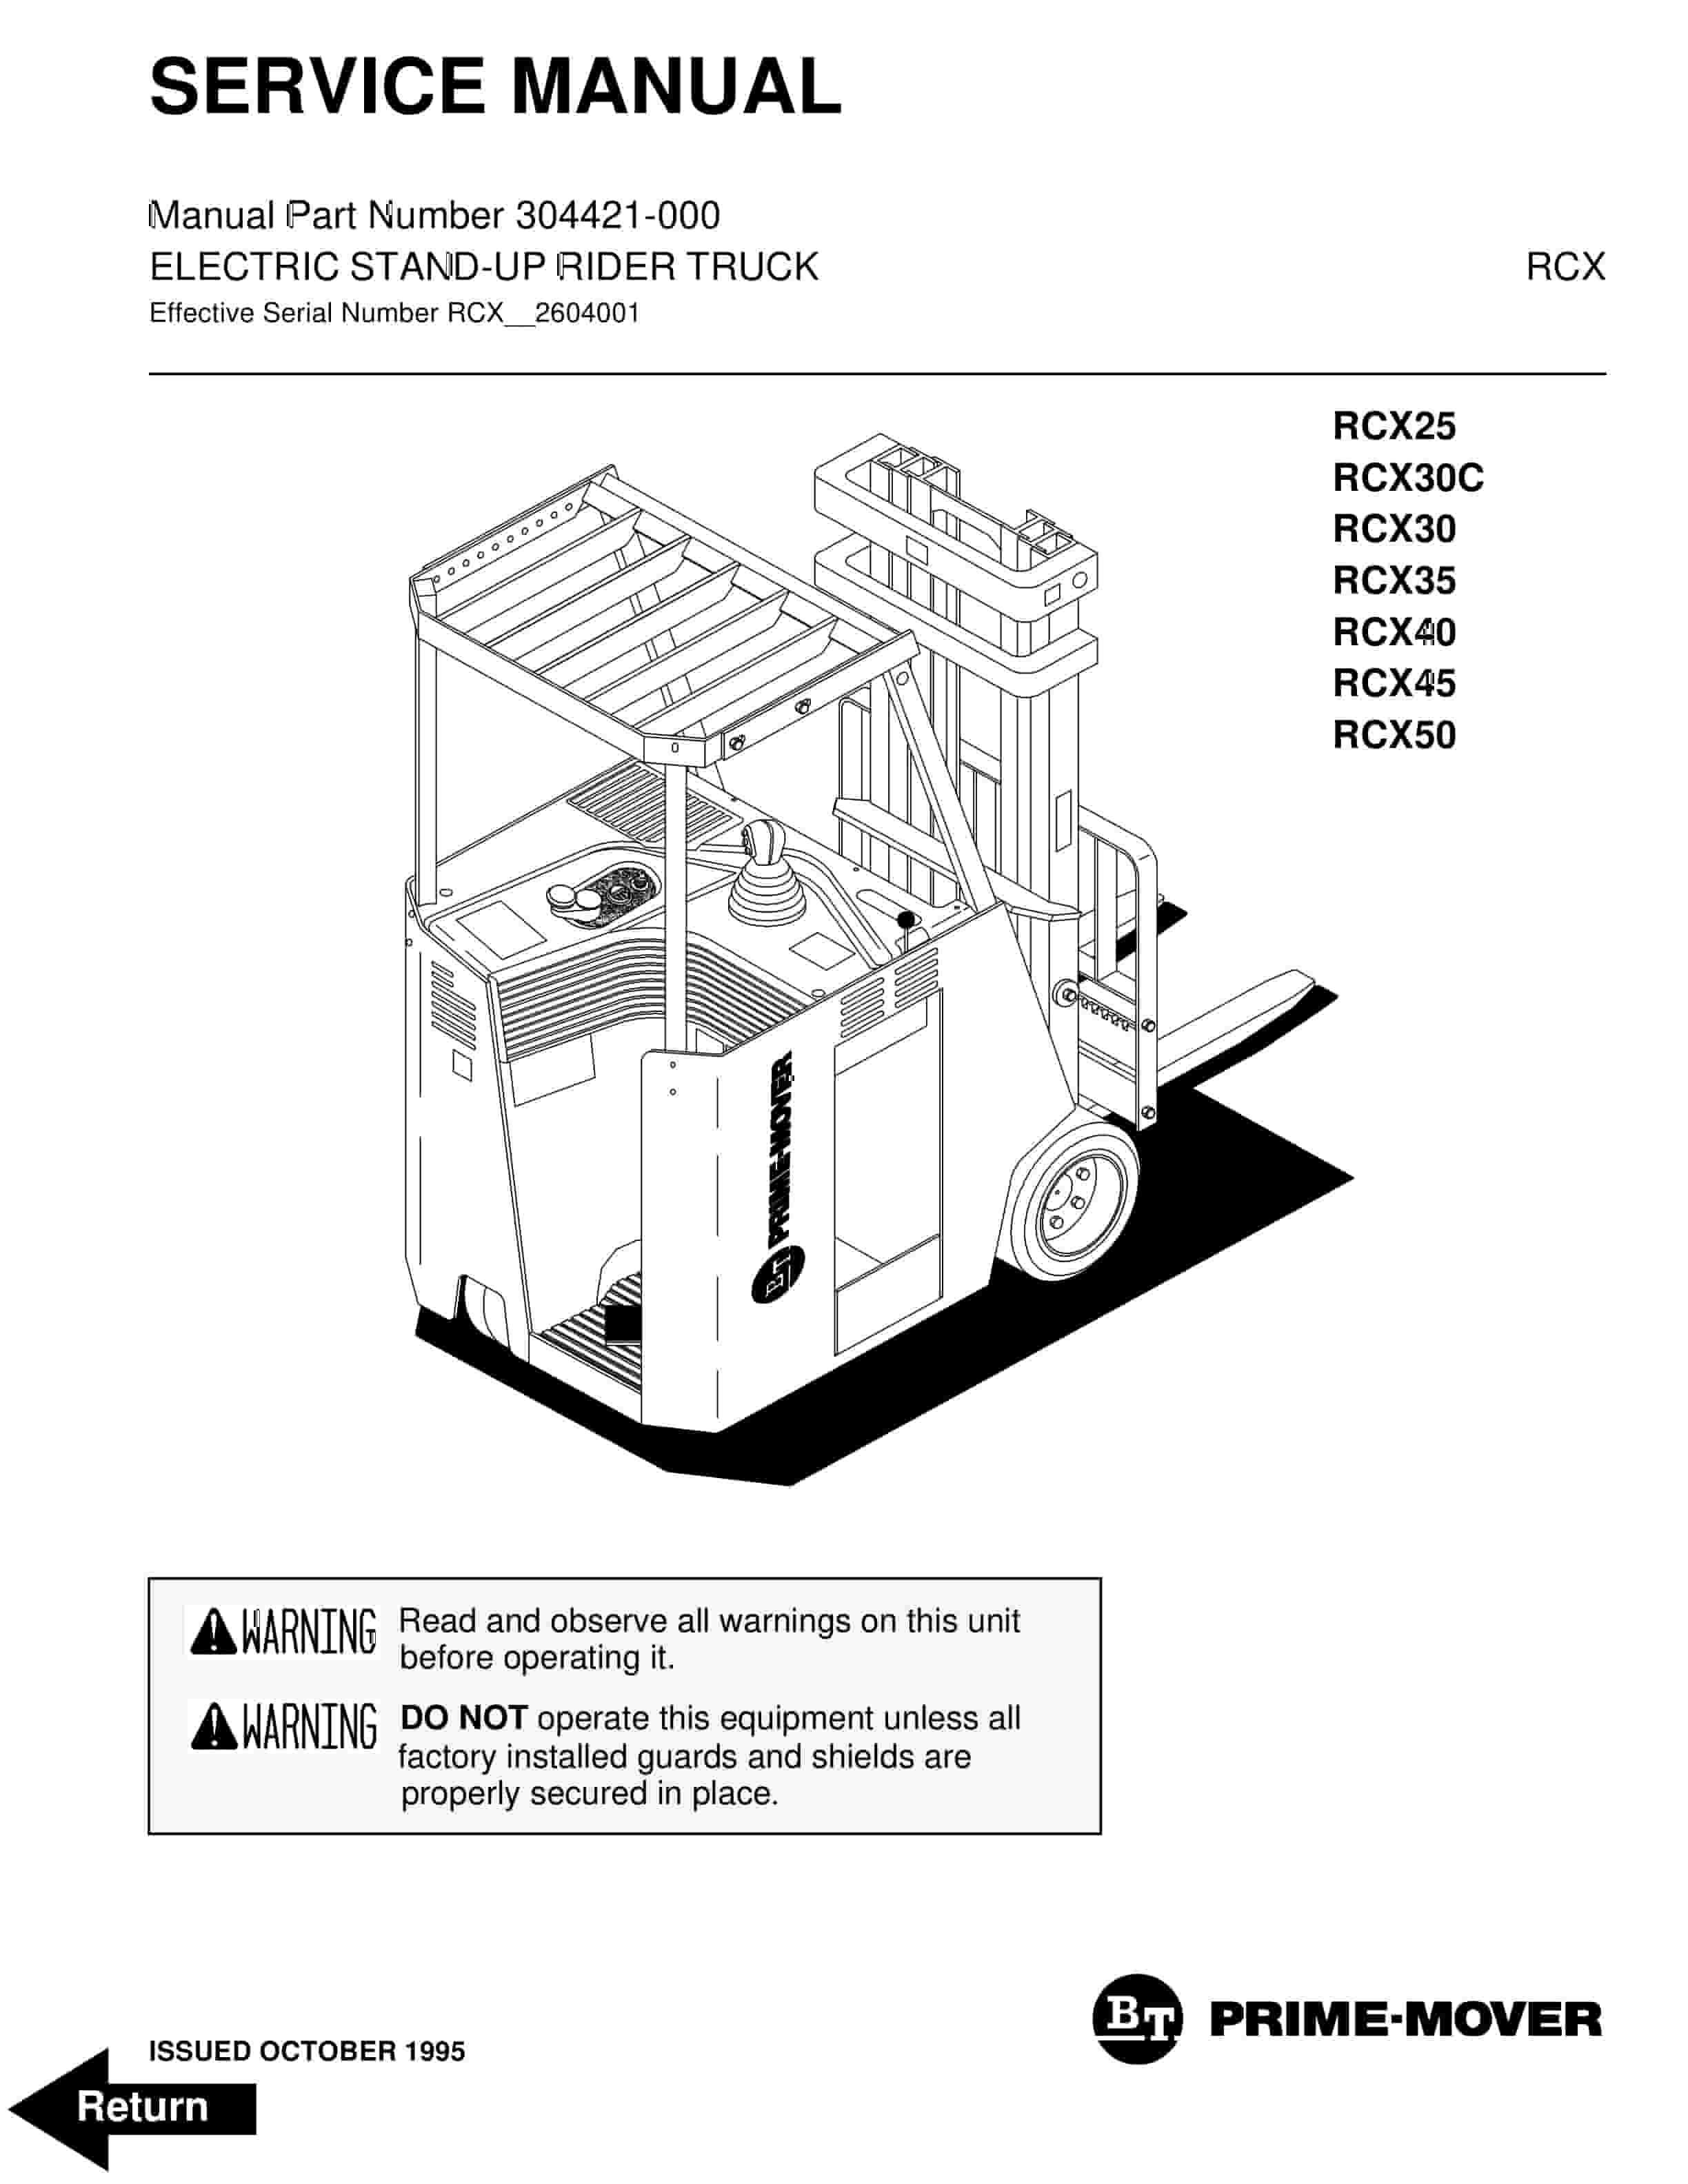
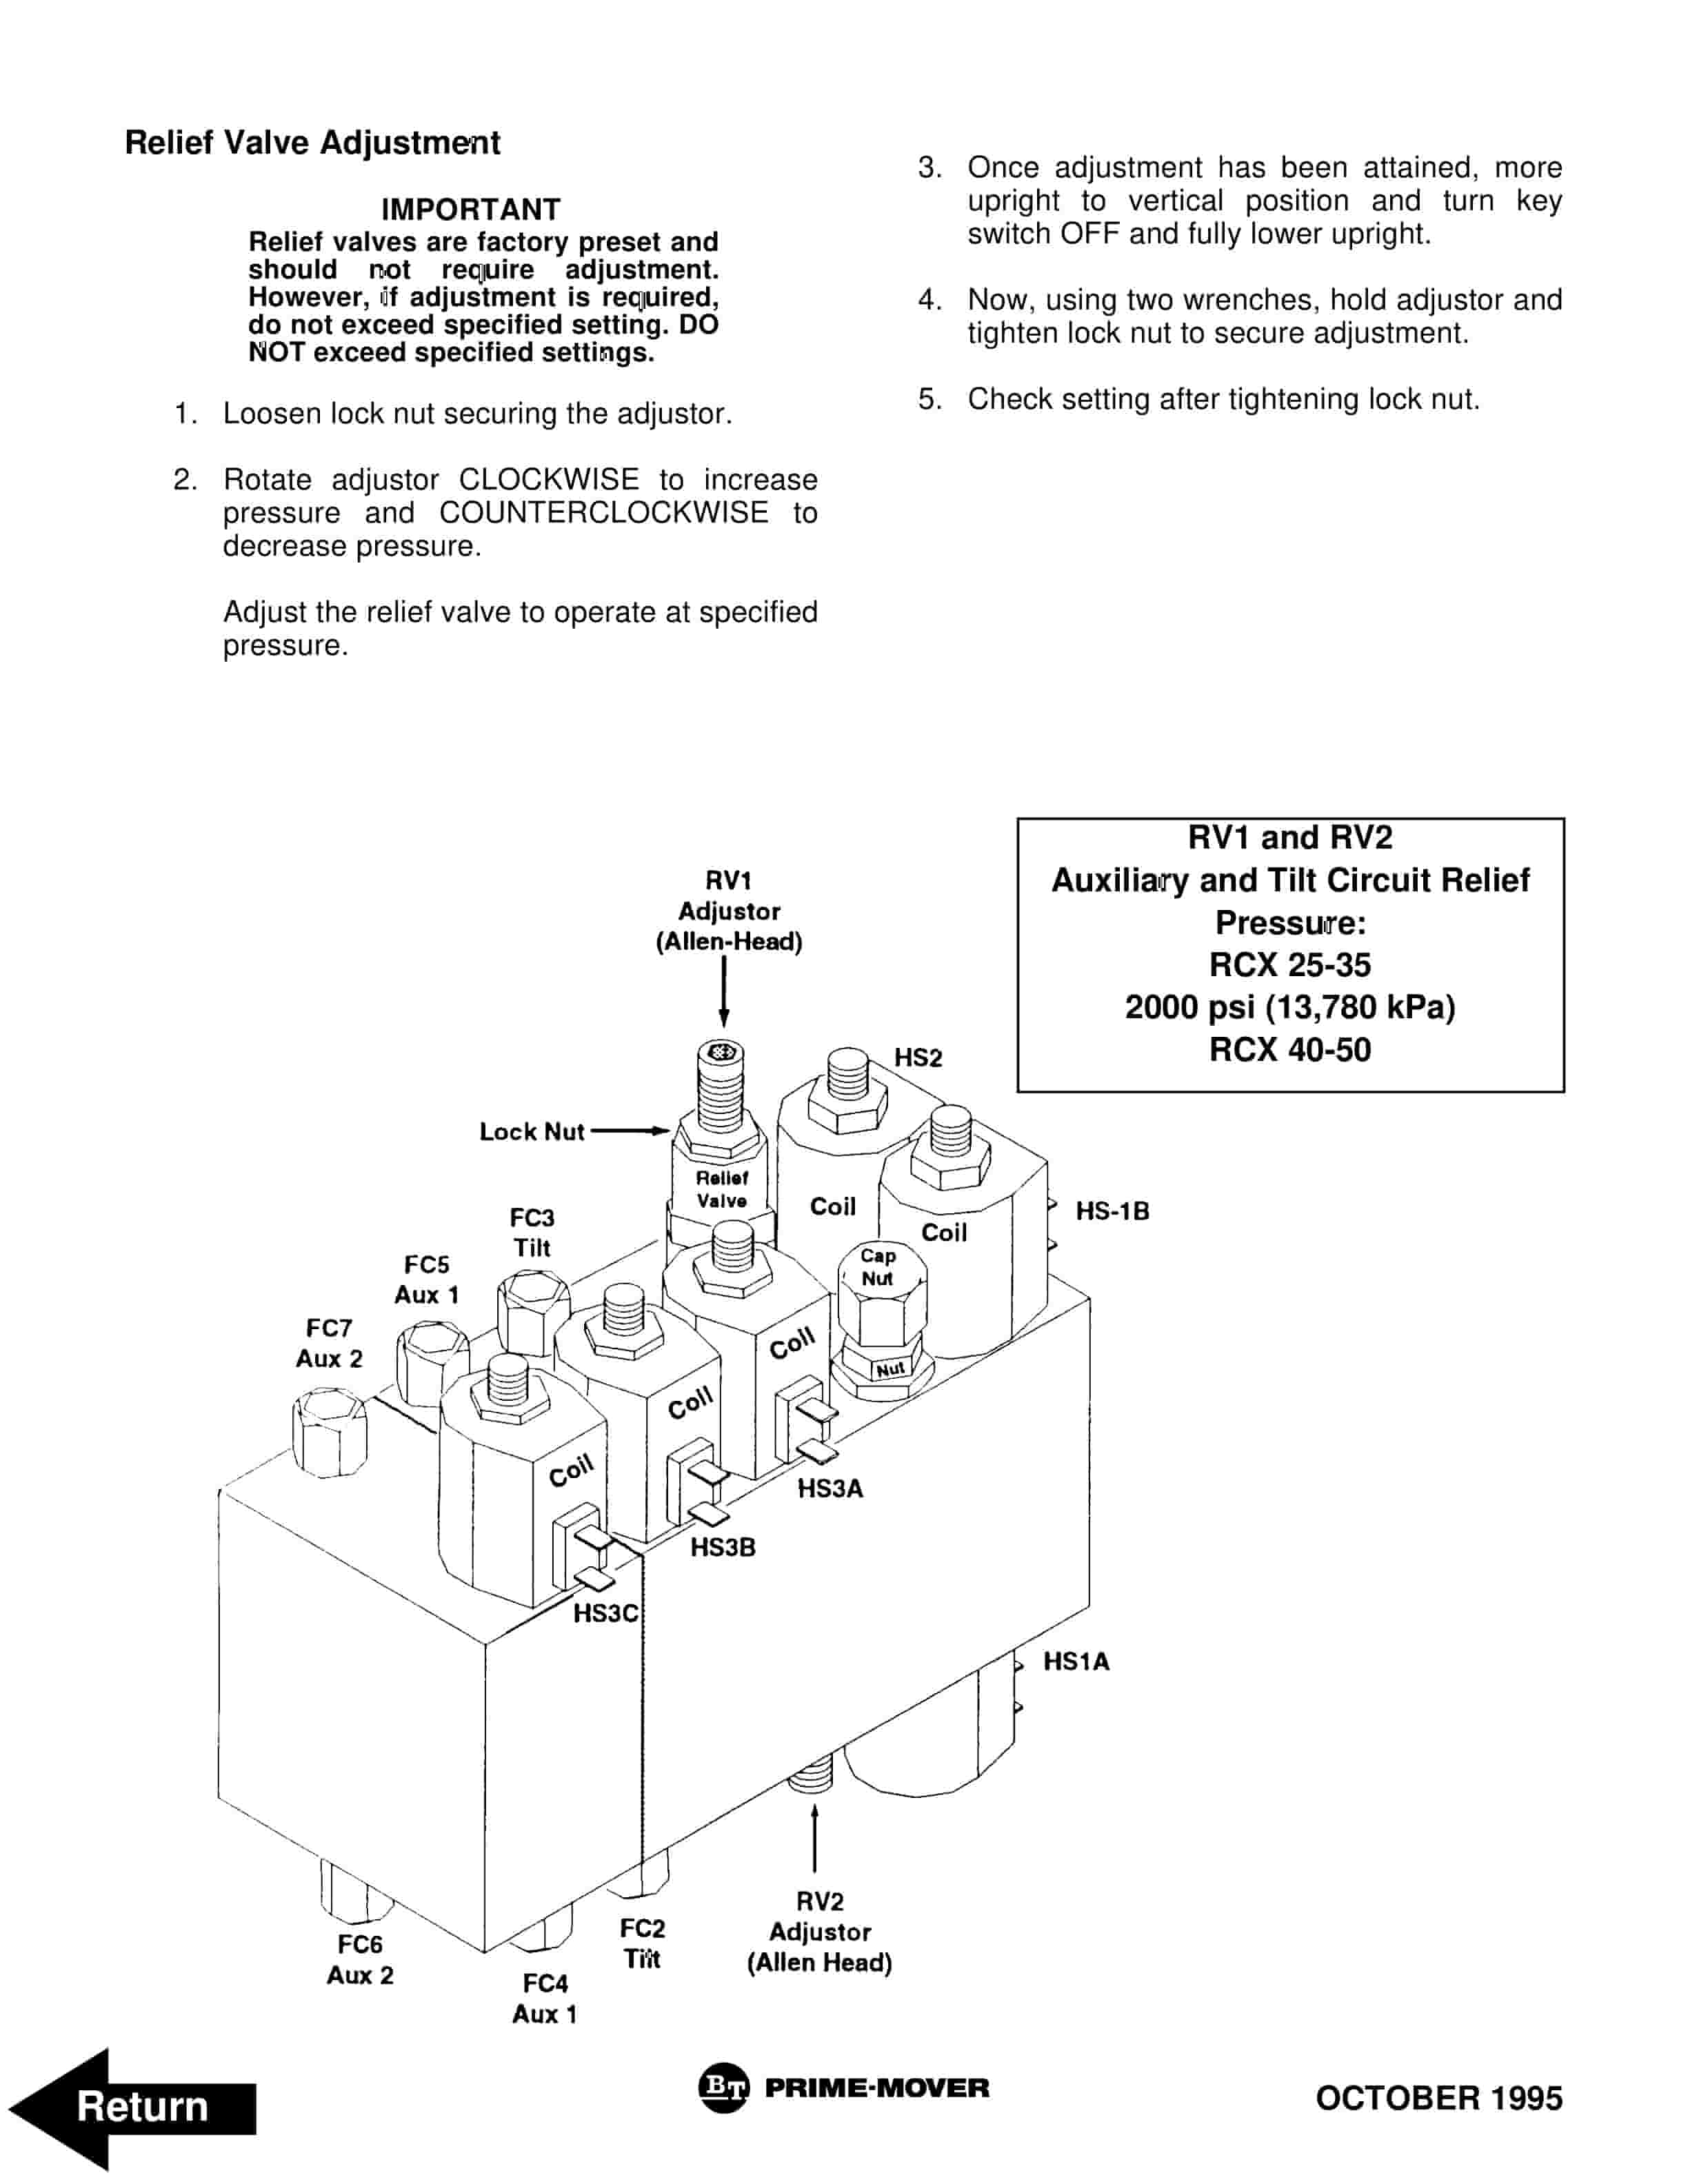
BT RCX 25-50 Electric Stand-Up Rider Truck Service Manual 304421-000
$30.00
- Type Of Manual: Service Manual
- Manual ID: 304421-000
- : Service Manual PDF
- Number of Pages: 492
- Size: 7.7MB
- Format: PDF
Product details
-
Model List:
- RCX 25, RCX 30C, RCX 30, RCX 35, RCX 40, RCX 45, RCX 50
- 1. Front Cover
- 2. Foreword
- 3. Contents
- 4. Group SA – Safe Maintenance
- 4.1. Section 1 – Safety
- 4.1.1. Safety Signs and Messages
- 4.1.2. Safety Maintenance Practices
- 4.1.3. General Shop Precautions
- 4.2. Section 2 – Machine Jacking and Blocking
- 4.2.1. Raising Drive Wheels
- 4.2.2. Blocking the Upright in Raised Position
- 4.2.3. Raising Rear of Truck
- 4.2.4. Raising Truck with a Hoist
- 5. Group PS – Periodic Service
- 5.1. Section 1 – Maintenance Schedules
- 5.1.1. Maintenance Schedules
- 5.1.2. Lubrication Points
- 5.1.3. Lubrication Chart Key
- 5.1.4. Miscellaneous Lubricants
- 5.2. Section 2 – Planned Maintenance
- 5.2.1. Use PM Report Form
- 5.2.2. How to Perform the PM Periodic Inspections and Maintenance
- 5.2.3. Test Drive Truck with Load
- 5.2.4. Air Cleaning
- 5.2.5. Critical Fastener Torque Checks
- 5.2.6. Lubrication, Fluids and Filters
- 6. Group 12 – Battery
- 6.1. Section 1 – Battery Handling
- 6.1.1. Typical Battery Service Area
- 6.1.2. Battery Handling
- 6.1.3. Battery Maintenance
- 6.1.4. Install Battery
- 6.1.5. Keeping Battery Records
- 7. Group 13 – Electrical Handle Switch
- 7.1. Section 1 – Control Handle Switch
- 7.1.1. Tilt, Auxiliary 1 and Auxiliary 2 (Attachment) Switches
- 7.1.2. Up and Down Switches
- 7.1.3. Forward and Reverse Switches, Transducer (Speed Control)
- 8. Group 16 – Electrical Motors
- 8.1. Section 1 – General Information
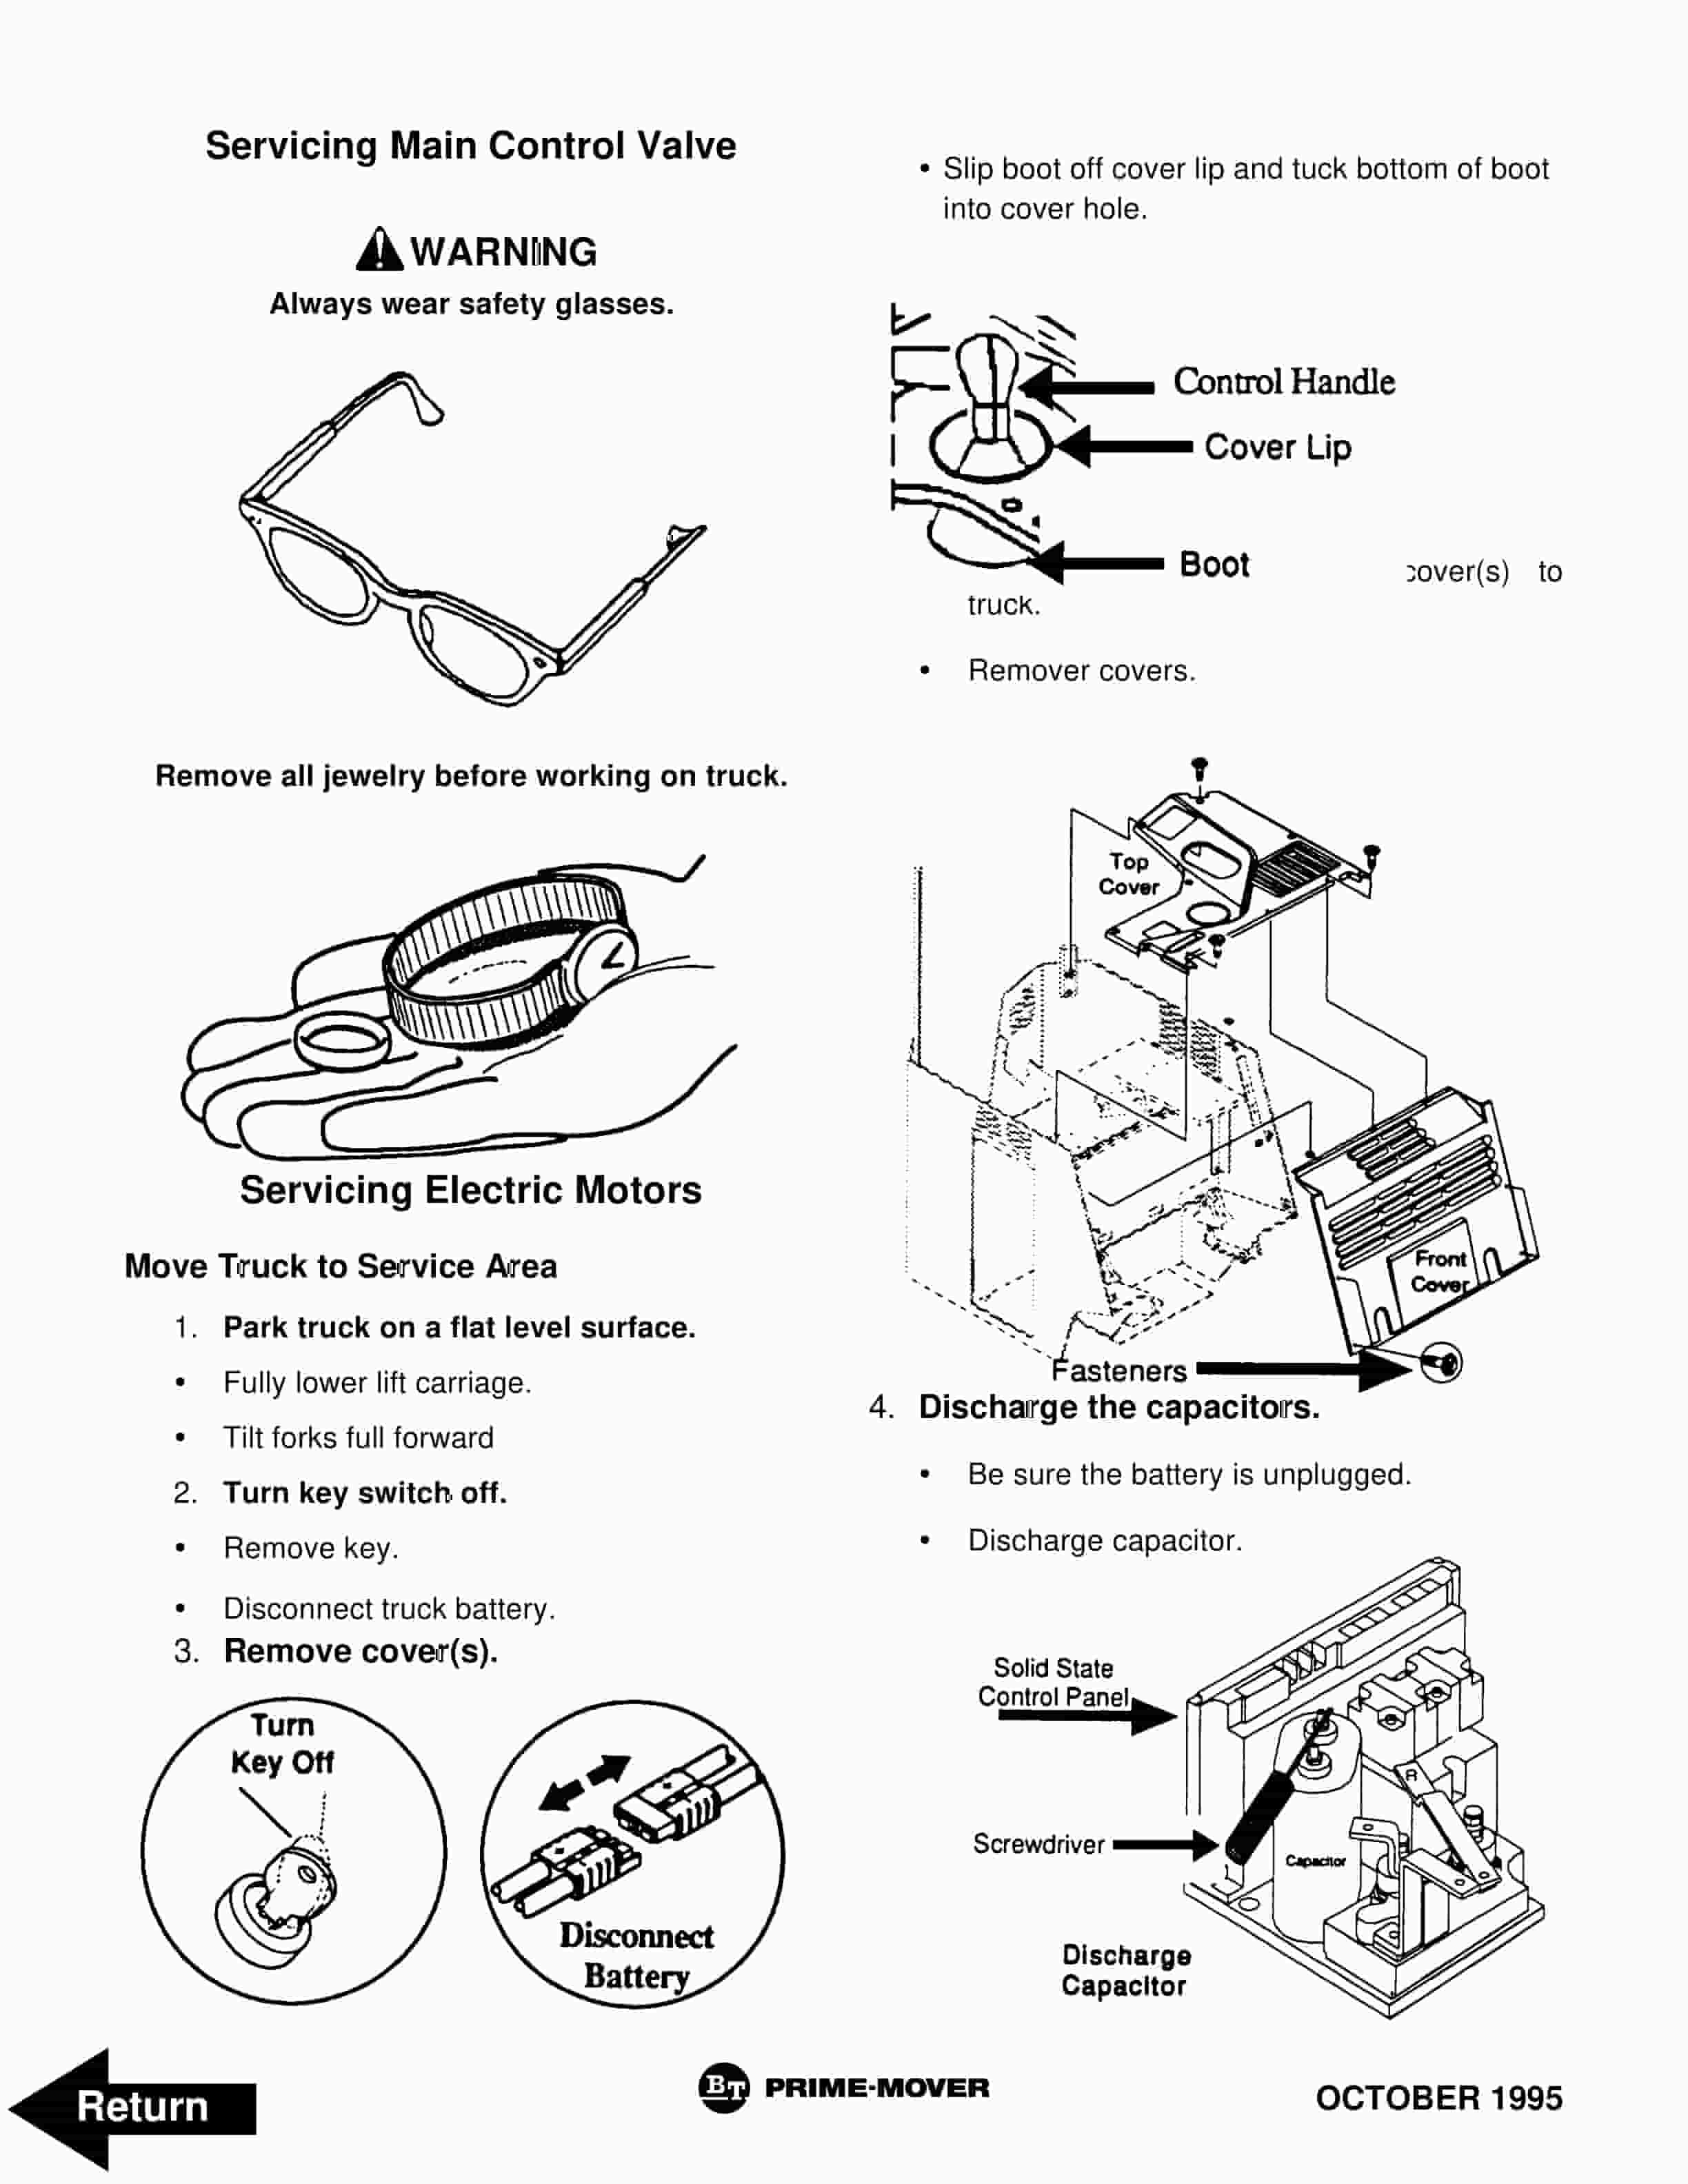
- 8.1.1. Servicing Electric Motors
- 8.1.2. Electric Motor Maintenance
- 8.1.3. Test for Motor Insulation Resistance to Ground
- 8.1.4. Brush and Commutator Inspection
- 8.1.5. Operating Conditions
- 8.1.6. Brush Inspection Chart
- 8.2. Section 2 – Drive Motors
- 8.2.1. General Information
- 8.2.2. Operating Conditions
- 8.2.3. Drive Motor Description
- 8.2.4. Drive Motor Removal
- 8.2.5. Drive Motor
- 8.2.6. Drive Motor
- 8.2.7. Volt Drive Motor Specifications
- 8.2.8. Brush Inspection Chart
- 8.3. Section 3 – Hydraulic Pump Motors
- 8.3.1. General Information
- 8.3.2. Operating Conditions
- 8.3.3. Hydraulic Pump Motor
- 8.3.4. Volt Drive Motor Specifications
- 8.3.5. Brush Inspection Chart
- 8.4. Section 4 – Steer Pump Motor
- 8.4.1. General Information
- 8.4.2. Operating Conditions
- 8.4.3. Steer Pump Motor (Permanent Magnet Type)
- 8.4.4. Volt Drive Motor Specifications
- 8.4.5. Brush Inspection Chart
- 9. Group 17 – Electrical Schematics
- 9.1. Section 1 – Wiring Schematics and Diagrams
- 9.1.1. Standard Wiring Schematic
- 9.1.2. Standard Wiring Diagram
- 9.1.3. Optional Wiring Schematic
- 9.1.4. Optional Wiring Diagram
- 9.1.5. Lights Wiring Schematic
- 9.1.6. Lights Wiring Diagram
- 9.1.7. Strobe and Alarm Wiring Schematic
- 9.1.8. Strobe and Alarm Wiring Diagram
- 10. Group 19 – Electrical Controls
- 10.1. Section 1 – Control Panel
- 10.1.1. Control Panel Description
- 10.1.2. Control Panel Maintenance
- 10.1.3. Control Panel Troubleshooting
- 10.1.4. Control and Contactor Panel Removal
- 10.1.5. Control and Contactor Panel Component Identification
- 10.1.6. Contactor Inspection
- 10.1.7. Control and Contactor Panel Installation
- 10.2. Section 2 – EV-100MK Troubleshooting
- 10.2.1. Check 1, 2, 5 RECs (SCRs)
- 10.2.2. Check Capacitor (1C)
- 10.2.3. Checking Component with VOM (Only)
- 10.2.4. EV-100 MK Card Factory Settings
- 10.2.5. Oscillator Card Voltage Checks
- 10.2.6. Solenoid Function Control Card Voltage Checks
- 10.3. Section 3 – Recommended Tests, Equipment, and Procedures
- 10.3.1. Recommended Tests
- 10.3.2. Test Procedures
- 10.4. Section 4 – Drive Motor Cut-Out Switch Check and Adjustment
- 10.4.1. Drive Motor Cut-Out Switch Check
- 10.4.2. Drive Motor Cut-Out Switch Adjustment
- 10.5. Section 5 – Forward and Reverse Switches, Up and Down Switches, and Transducer Adjustments
- 10.5.1. Multi-Function Control Handle Connector Identification
- 10.5.2. Switches and Transducer Adjustments
- 10.6. Section 6 – Periodic Electrical Checks
- 10.6.1. Truck Preparation
- 10.6.2. Electrical Connectors
- 10.7. Section 7 – Battery Tests
- 10.7.1. Battery Tests
- 10.8. Section 8 – Solenoid Control Card Troubleshooting
- 10.8.1. Indicator Lights
- 10.8.2. Troubleshooting Solenoid Control Card
- 10.8.3. Lift Function ONLY Disabled
- 10.8.4. Install New Solenoid Control Card
- 10.9. Section 14 – EV100 LXT Control Panel
- 10.9.1. General
- 10.9.2. Operation
- 10.9.3. Function Set-Up Procedures
- 10.9.4. Description of Function Numbers for
- 10.10. Section 15 – EV100 LXT Control Panel Status Codes
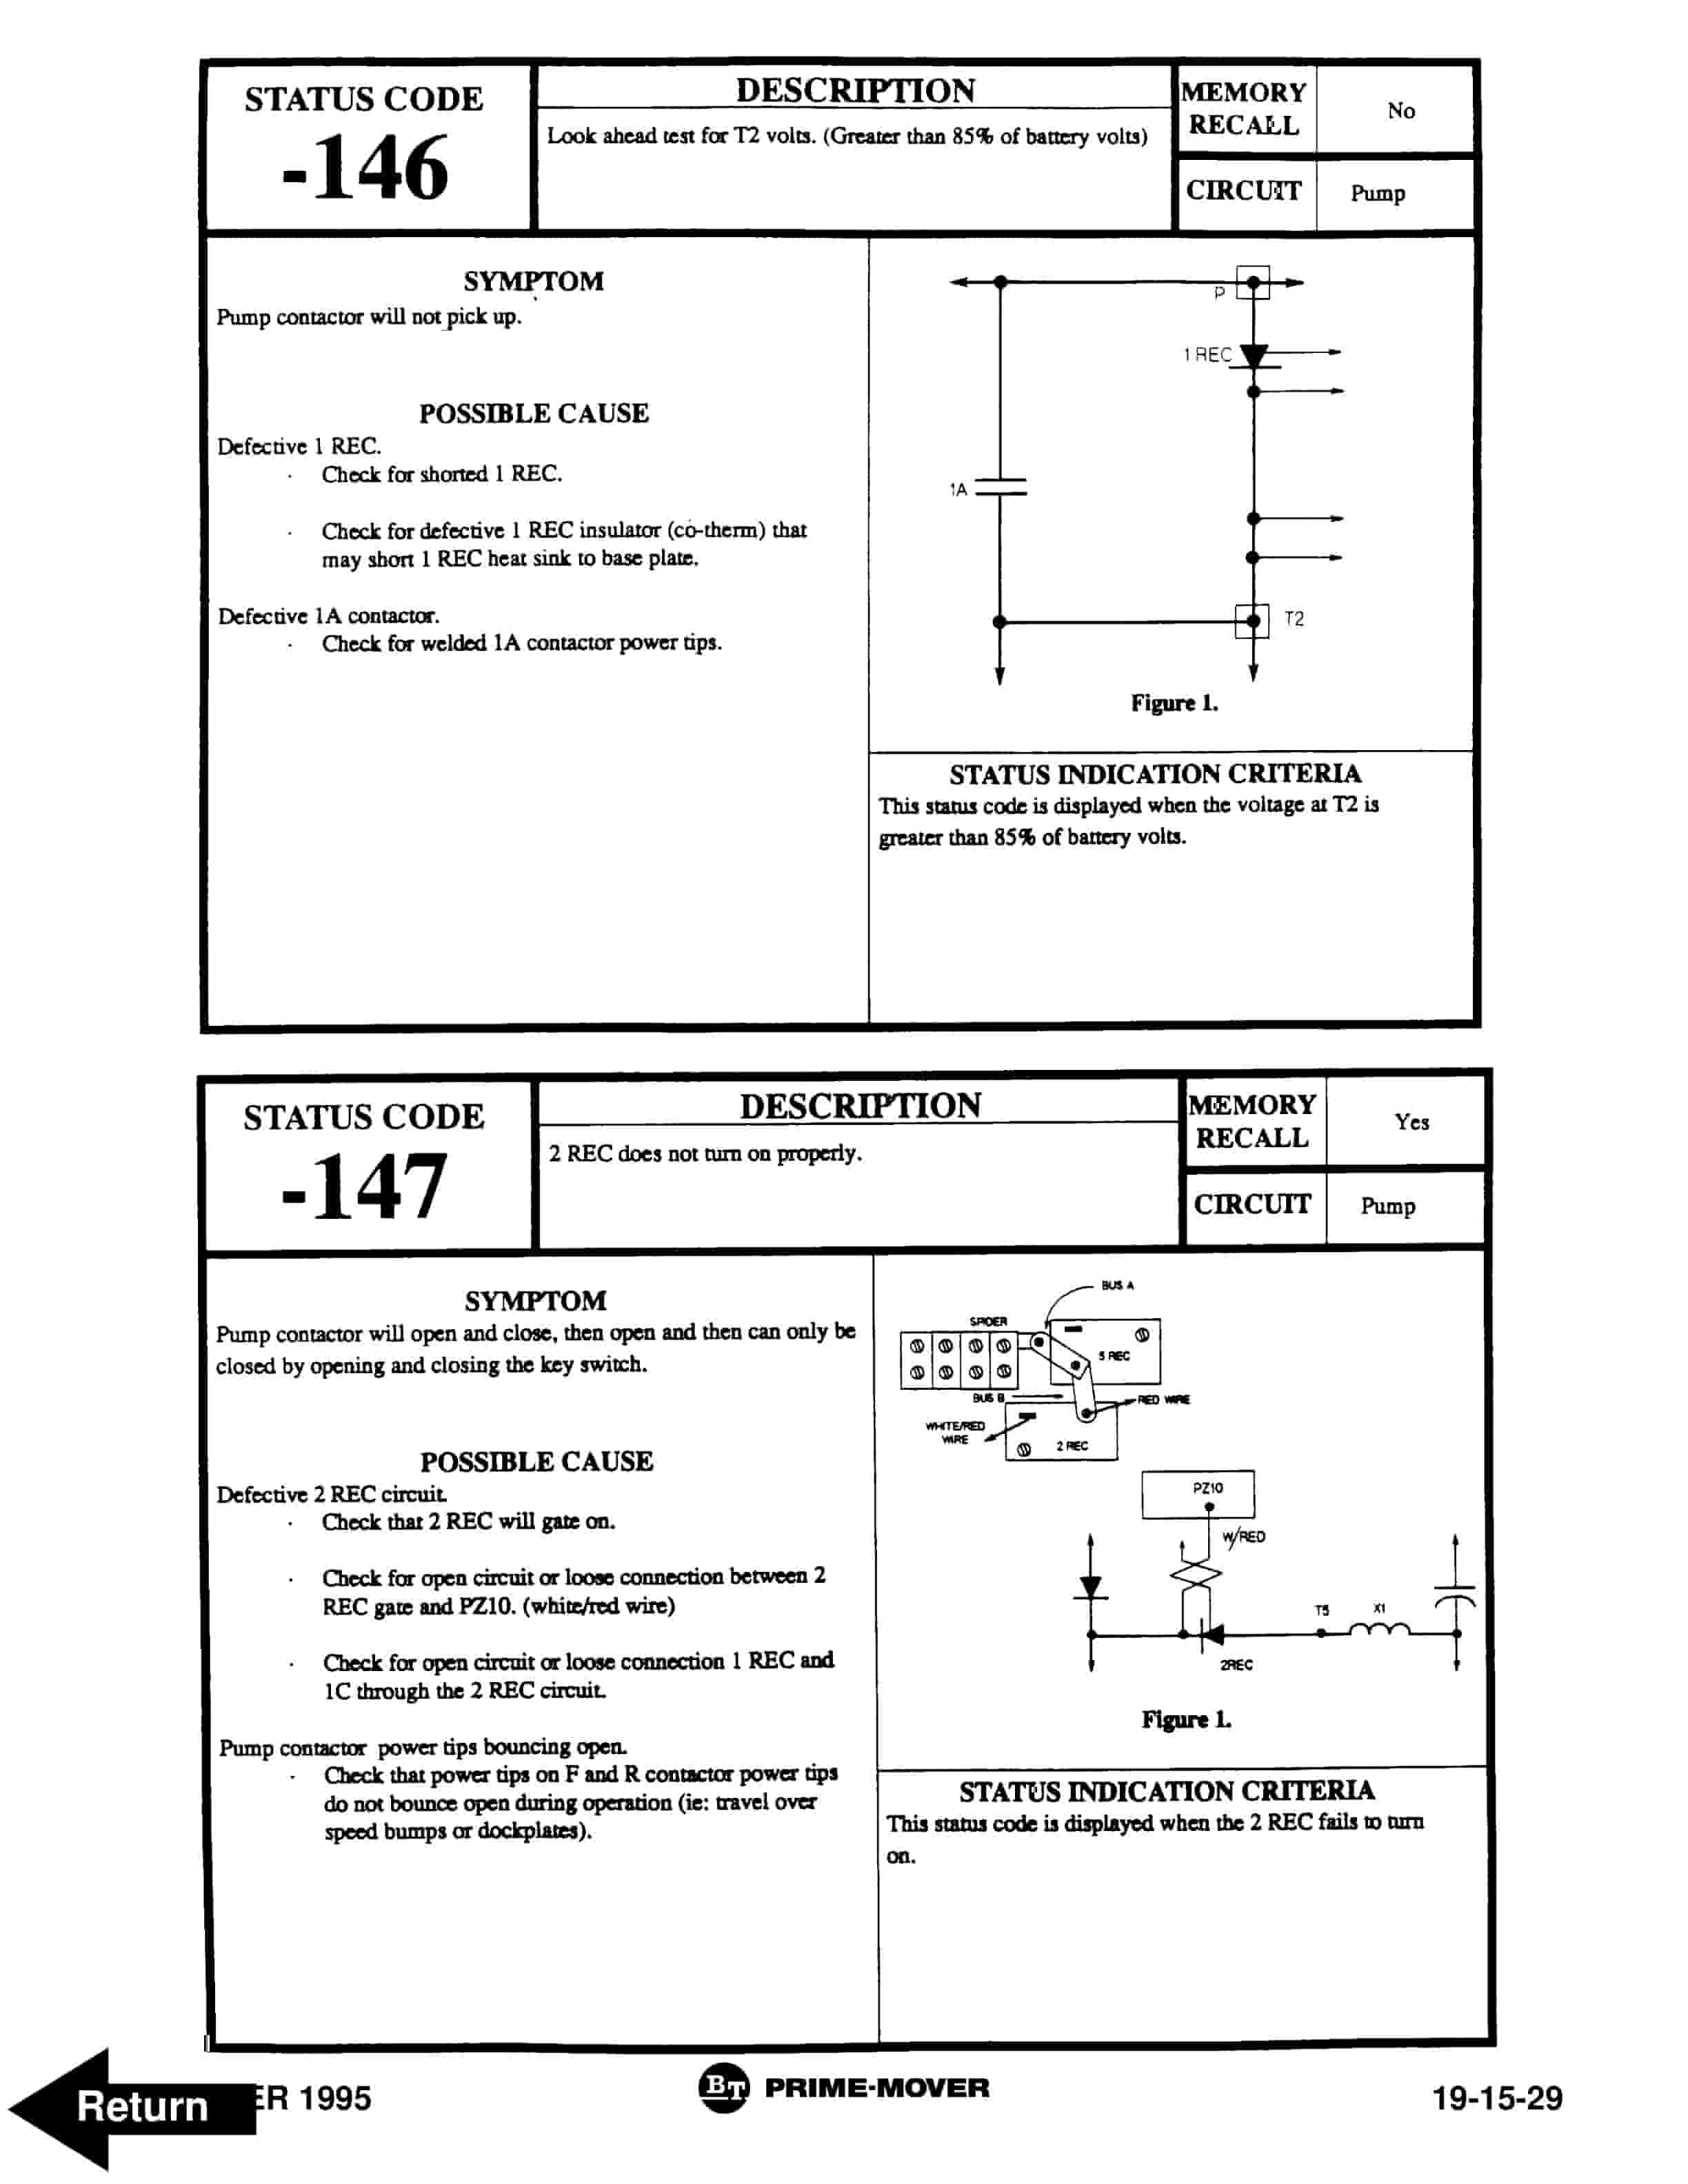
- 10.11. Section 16 – Checking Components
- 10.11.1. Main Logic Card
- 10.11.2. Capacitor
- 10.11.3. Contactors F, R, 1A, SP, FW, D, Regen, and P
- 10.11.4. Potentiometer in Accelerator
- 10.11.5. SCRs (1REC, 2REC, 3REC)
- 10.11.6. Rectifiers (3REC, 4REC, Diode Blocks)
- 10.11.7. Thermal Protector (TP)
- 10.11.8. Filter Block (23FIL, etc.)
- 10.11.9. Choke and Reactor T3-T4
- 10.11.10. Replacement of EV-100 Components
- 11. Group 20 – Drive Axle
- 11.1. Section 1 – Drive Axle
- 11.1.1. General Description
- 11.1.2. Service Notes
- 11.1.3. Drive Axle Maintenance
- 11.1.4. Drive Axle Removal
- 11.1.5. Drive Axle Special Tools
- 11.1.6. Drive Axle Disassembly
- 12. Group 22 – Wheels and Tires
- 12.1. Section 1 – Cushion Wheels and Tires
- 12.1.1. Cushion Drive and Steering Tire Specifications
- 12.1.2. Cushion Drive Tire Removal
- 12.1.3. Cushion Drive Tire Inspection
- 12.1.4. Cushion Drive Tire Removal and Replacement
- 12.1.5. Cushion Drive Wheel Installation
- 12.1.6. Steering Wheel Removal
- 12.1.7. Steering Tire Inspection
- 12.1.8. Steering Wheel Installation
- 12.2. Section 2 – Pneumatic Drive Tire and Wheel Maintenance
- 12.2.1. Pneumatic Tire Warning
- 12.2.2. Safety Procedures
- 12.2.3. Pneumatic Drive Tire Specifications
- 12.2.4. Pneumatic Tire Maintenance
- 12.2.5. Pneumatic Drive Wheel and Tire Removal and Disassembly
- 12.2.6. Pneumatic Drive Tire Assembly
- 12.2.7. Pneumatic Drive Wheel and Tire Installation
- 13. Group 23 – Brake System
- 13.1. Section 1 – Brake System and Bleeding
- 13.1.1. Brake System Description
- 13.1.2. Bleeding the Brake System
- 13.2. Section 2 – Brake Adjustment
- 13.2.1. Brake Lining Wear Check
- 13.2.2. Brake Lining Wear Adjustment
- 13.2.3. Replacing Brake Linings
- 13.3. Section 3 – Brake Slave Cylinder
- 13.3.1. Brake Slave Cylinder
- 14. Group 25 – Steering Gear
- 14.1. Section 1 – Steering Gear
- 14.1.1. Steering Gear Description
- 14.1.2. Steering Gear Troubleshooting
- 14.1.3. Steering Gear Removal
- 14.1.4. Steering Gear Disassembly
- 14.1.5. Steering Gear Parts Inspection
- 14.1.6. Steering Gear Assembly
- 14.1.7. Steering Gear Installation
- 15. Group 26 – Steering Axle
- 15.1. Section 1 – Steering Axle Repair
- 15.1.1. Steering Axle Removal
- 15.1.2. Steering Axle Installation
- 15.2. Section 2 – Power Steering Pump
- 15.2.1. Steering Pump Description
- 15.2.2. Steering Pump Troubleshooting
- 15.2.3. Steering Pump Removal
- 15.2.4. Steering Pump Disassembly
- 15.2.5. Steering Pump Parts Inspection
- 15.2.6. Steering Pump Assembly
- 15.2.7. Steering Pump Installation
- 15.2.8. Steering Pump Installation Specifications
- 15.2.9. Steering Lines Installation Specifications
- 15.2.10. Reverse Steering Lines Installation Specifications
- 15.3. Section 3 – Steering Torque Generator
- 15.3.1. Steering Torque Generator Description
- 15.3.2. Steering Torque Generator Removal
- 15.3.3. Steering Torque Generator Disassembly
- 15.3.4. Steering Torque Generator Parts Inspection
- 15.3.5. Steering Torque Generator Assembly
- 15.3.6. Steering Torque Generator Installation
- 15.3.7. Steering Torque Generator Assembly Specifications
- 15.3.8. Steering Torque Generator Lines Installation Specifications
- 16. Group 29 – Hydraulic Pump, Sump and Filter
- 16.1. Section 1 – Hydraulic Pump
- 16.1.1. Main Hydraulic Pump
- 16.2. Section 2 – Hydraulic Sump and Filter
- 16.2.1. Hydraulic Sump and Filter Assembly
- 16.3. Section 3 – Hydraulic Schematics
- 16.3.1. Hydraulic Diagram
- 17. Group 30 – Hydraulic Control Valves
- 17.1. Section 1 – Main Control Valve
- 17.1.1. Servicing Main Control Valve
- 17.1.2. Relief Valve Assembly
- 17.1.3. Load Check Valve
- 17.1.4. Main Control Valve End Cap and Components
- 17.1.5. Main Control Valve
- 17.2. Section 2 – Face Seal Fittings
- 17.2.1. Face Seal Fittings
- 17.3. Section 3 – Hydraulic System Pressure Checks – Lift Circuit
- 17.3.1. Test Ports
- 17.3.2. Hydraulic Lift Circuits Pressure Checks
- 17.4. Section 4 – Hydraulic System Pressure Checks – Steering Circuit
- 17.4.1. Test Ports
- 17.4.2. Hydraulic Steering Circuit Pressure Checks
- 17.5. Section 5 – Hydraulic System Pressure Checks – Auxiliary and Tilt Circuits
- 17.5.1. Test Ports
- 17.5.2. Hydraulic Pressure Checks
- 17.6. Section 6 – Flow Controls – Selector Solenoid Valve
- 17.6.1. Valve Identification
- 17.6.2. Hydraulic Solenoid Valves
- 18. Group 31 – Hydraulic Supply System
- 18.1. Section 1 – Hydraulic System
- 18.1.1. General Description
- 18.1.2. Hydraulic Fluid and Filter Change
- 18.1.3. Hydraulic Sump Tank
- 19. Group 32 – Cylinders
- 19.1. Section 1 – Tilt Cylinder
- 19.1.1. Tilt Cylinder Components
- 19.1.2. Tilt Cylinder Plumbing Layout
- 19.1.3. Tilt Cylinder Drift Test
- 19.1.4. Tilt Cylinder Removal
- 19.1.5. Tilt Cylinder Rod End Removal
- 19.1.6. Tilt Cylinder Disassembly
- 19.1.7. Tilt Cylinder Inspection
- 19.1.8. Tilt Cylinder Assembly
- 19.1.9. Tilt Cylinder Installation
- 19.1.10. Face Seal Fittings
- 19.1.11. Tilt Check and Adjustment
- 20. Group 33 – Selector Solenoid Valve
- 20.1. Section 1 – Selector Solenoid Valve
- 20.1.1. Selector Solenoid Valve Description
- 20.1.2. Selector Solenoid Valve Troubleshooting
- 20.1.3. Selector Solenoid Valve Removal
- 20.1.4. Selector Solenoid Valve Repair
- 20.1.5. Selector Solenoid Valve Installation
- 20.1.6. Device Selector Solenoid Valve
- 21. Group 34 – Uprights
- 21.1. Section 1 – Upright
- 21.1.1. Upright Maintenance
- 21.1.2. Triple Stage Upright
- 21.1.3. Standard (Two Stage) Upright
- 21.2. Section 2 – Chain Inspection, Adjustment, and Replacement
- 21.2.1. Periodic Inspection
- 21.2.2. Chain Length Adjustments
- 21.2.3. Chain Lubrication
- 21.2.4. Chain Removal and Replacement
- 21.2.5. Other Chain Service Notes
- 22. Group 40 – Specifications
- 22.1. Section 1 – Specifications
- 22.1.1. Group 12 – Battery
- 22.1.2. Group 16 – Motors
- 22.1.3. Group 19 – Electrical Controls
- 22.1.4. Group 20 – Drive Axle
- 22.1.5. Group 22 – Wheels and Tires
- 22.1.6. Group 23 – Brakes
- 22.1.7. Group 25/26 – Steering System
- 22.1.8. Group 29/30 – Hydraulic System
- 22.1.9. Group 32 – Tilt Cylinder
- 22.1.10. Group 34 – Uprights
- 22.1.11. Group 40 – Specifications
- 22.2. Section 2 – Data Plate
- 22.2.1. How to Read Data Plate
- 22.2.2. Battery Weight Chart
- 22.3. Section 3 – Lubricants and Shop Supplies
- 22.3.1. Lubricants and Shop Supplies
- 23. Back Cover
Related products
-
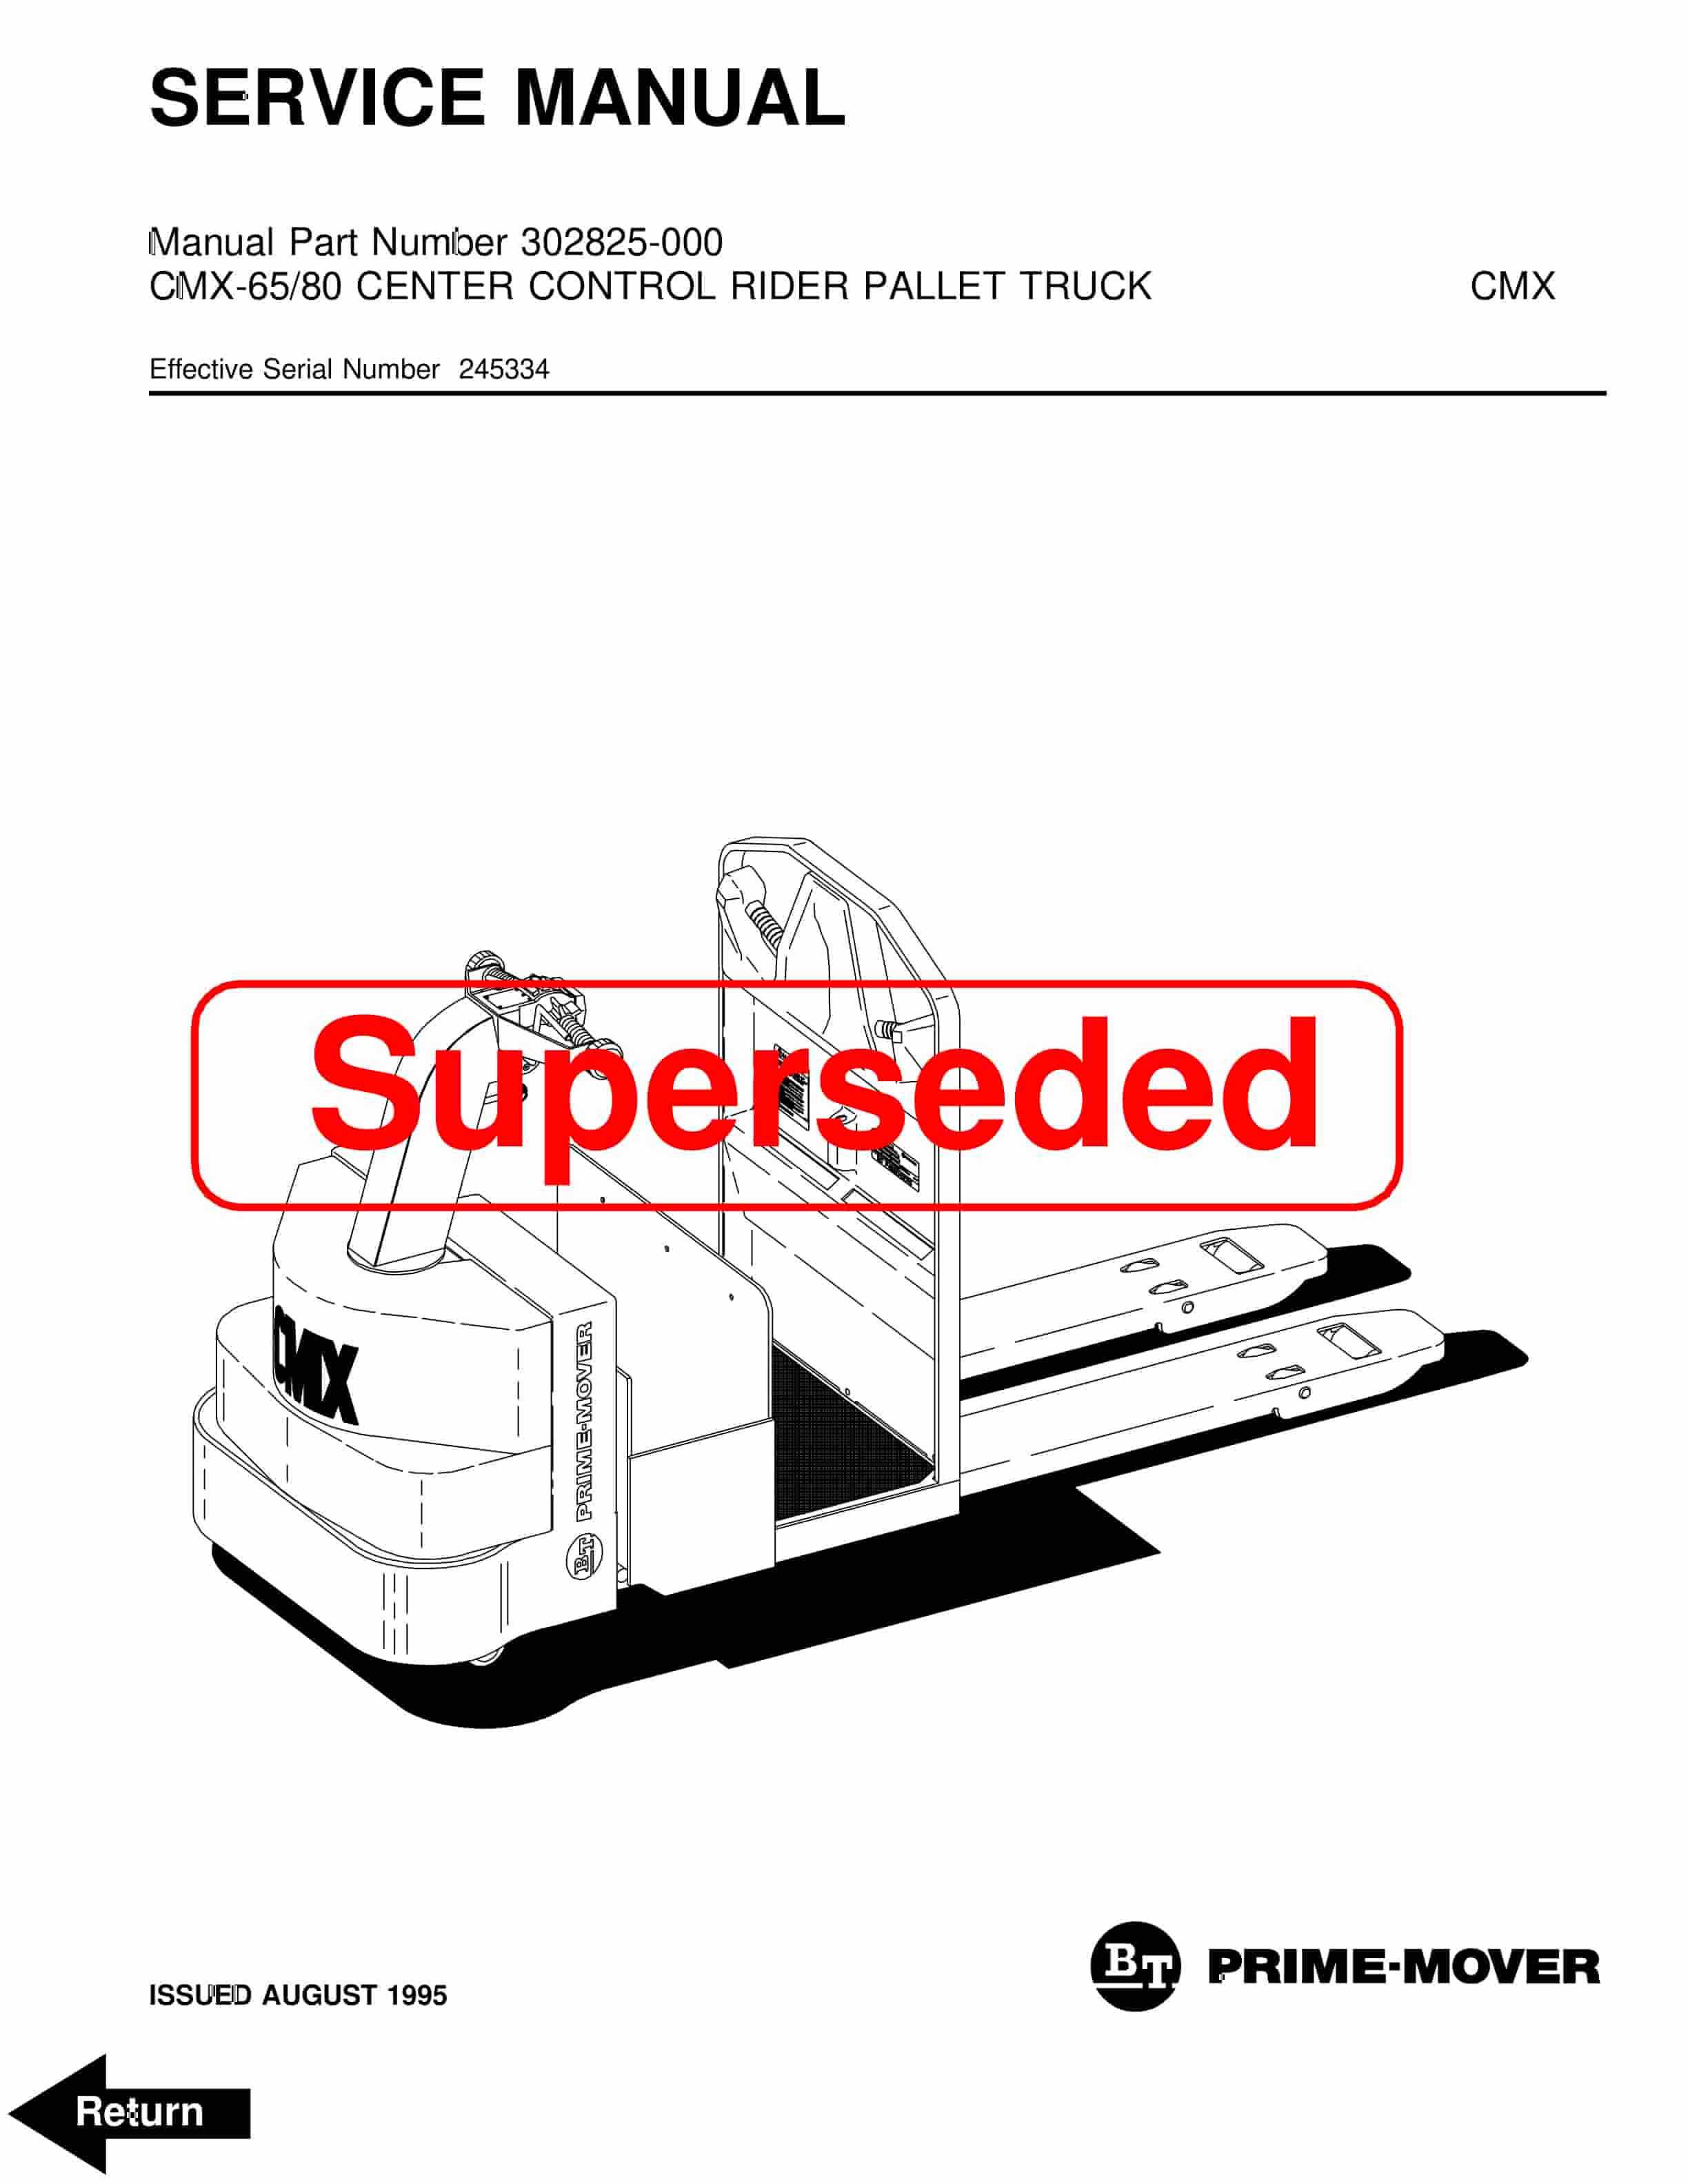
BT CMX-65, CMX-80 Center Control Riding Pallet Truck Service Manual 302825-000
$30.00 Add to cart -
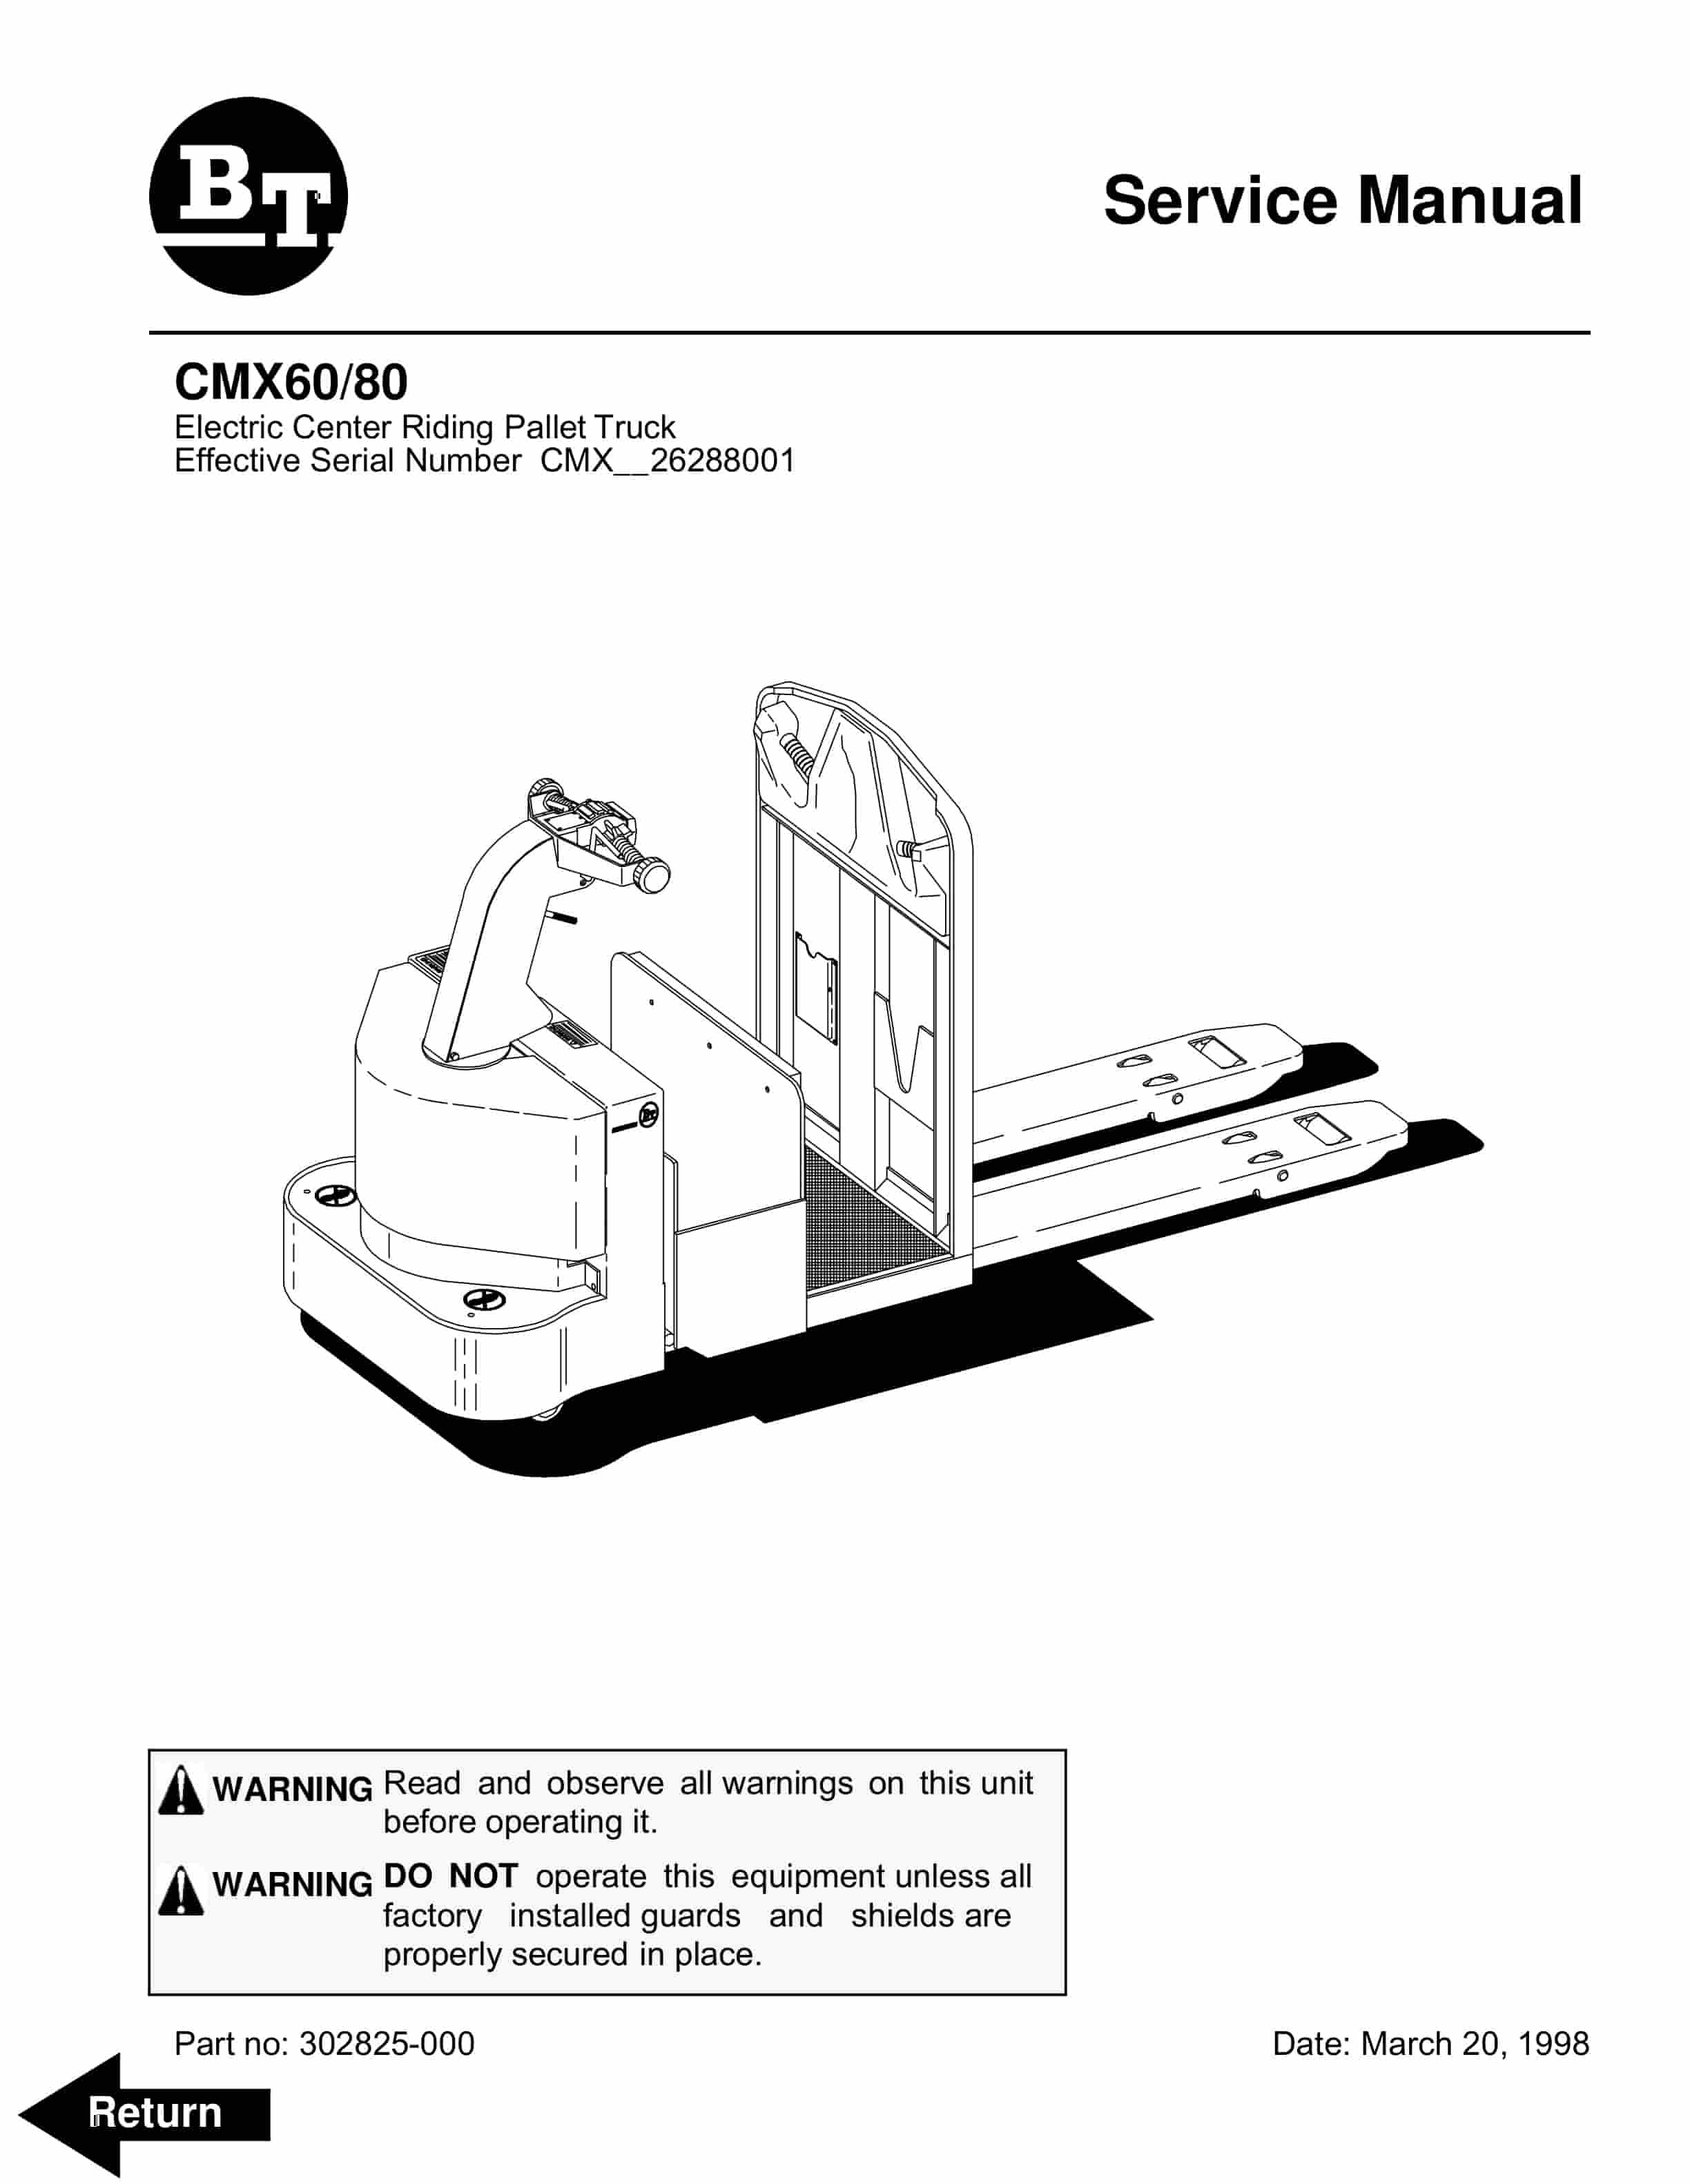
BT CMX60, CMX80 Electric Center Riding Pallet Truck Service Manual 302825-000
$30.00 Add to cart -
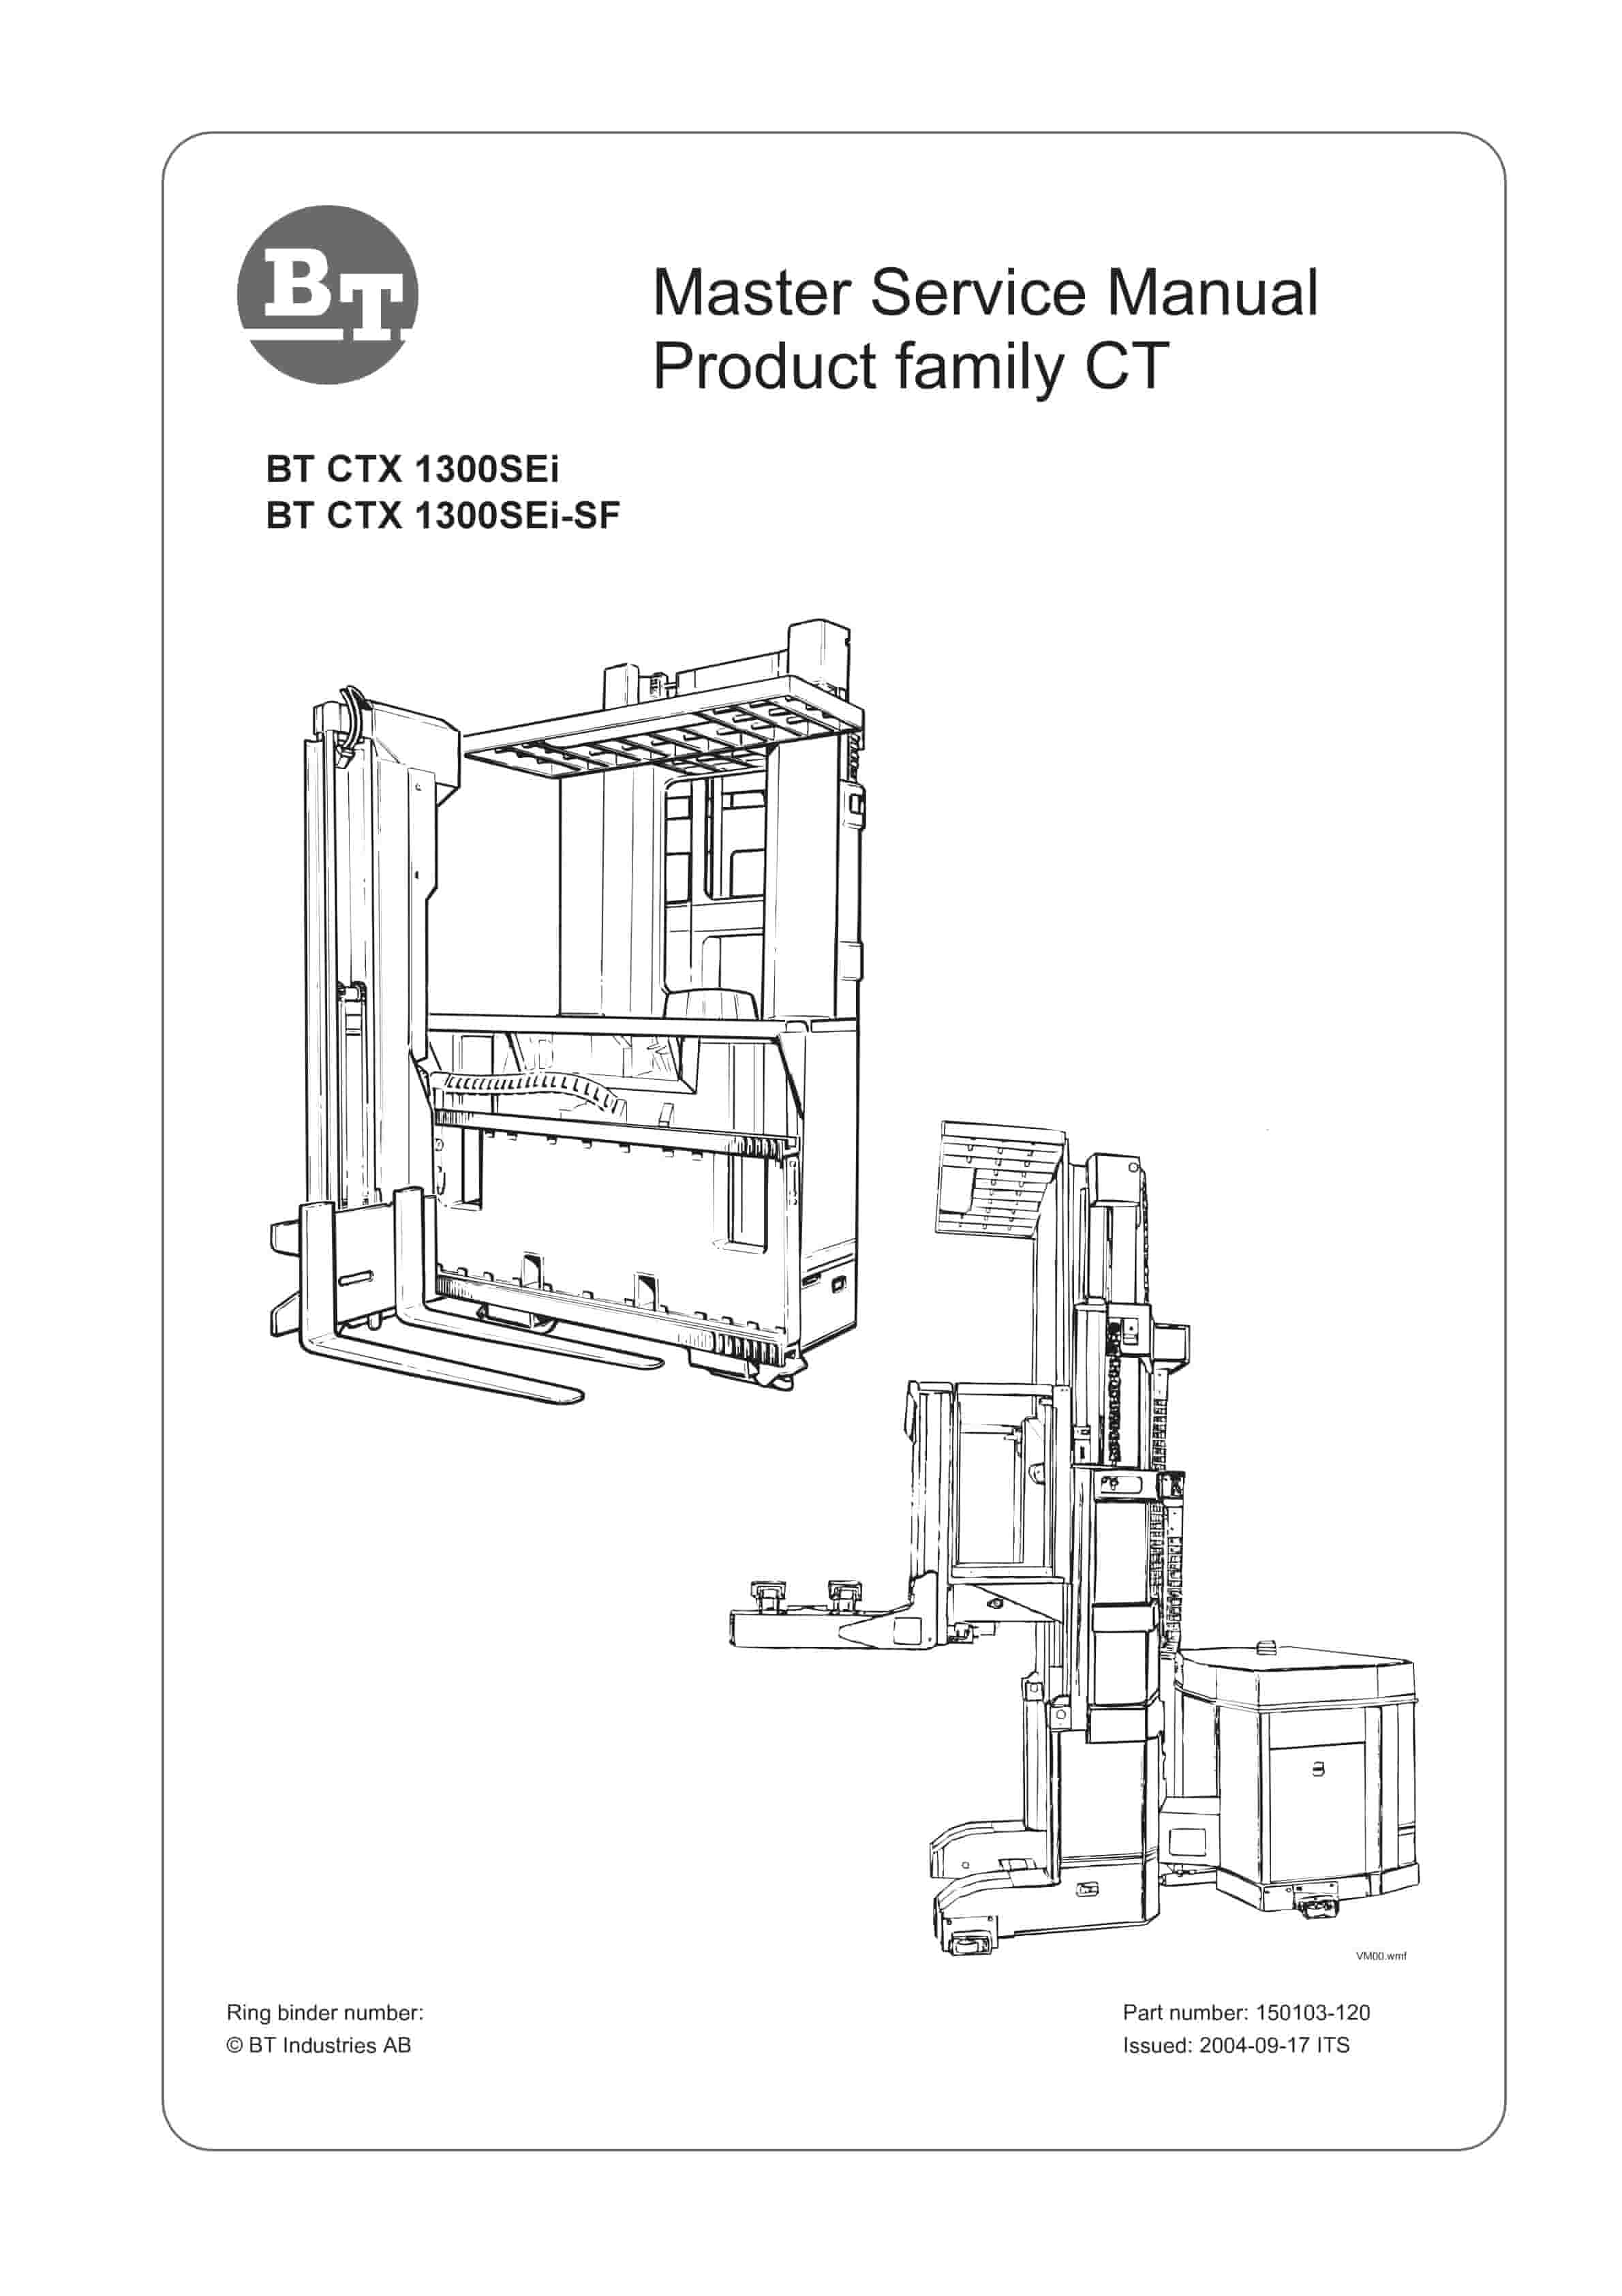
BT CTX 1300SEi, CTX 1300SEi SF Service Manual 150103-120
$30.00 Add to cart -
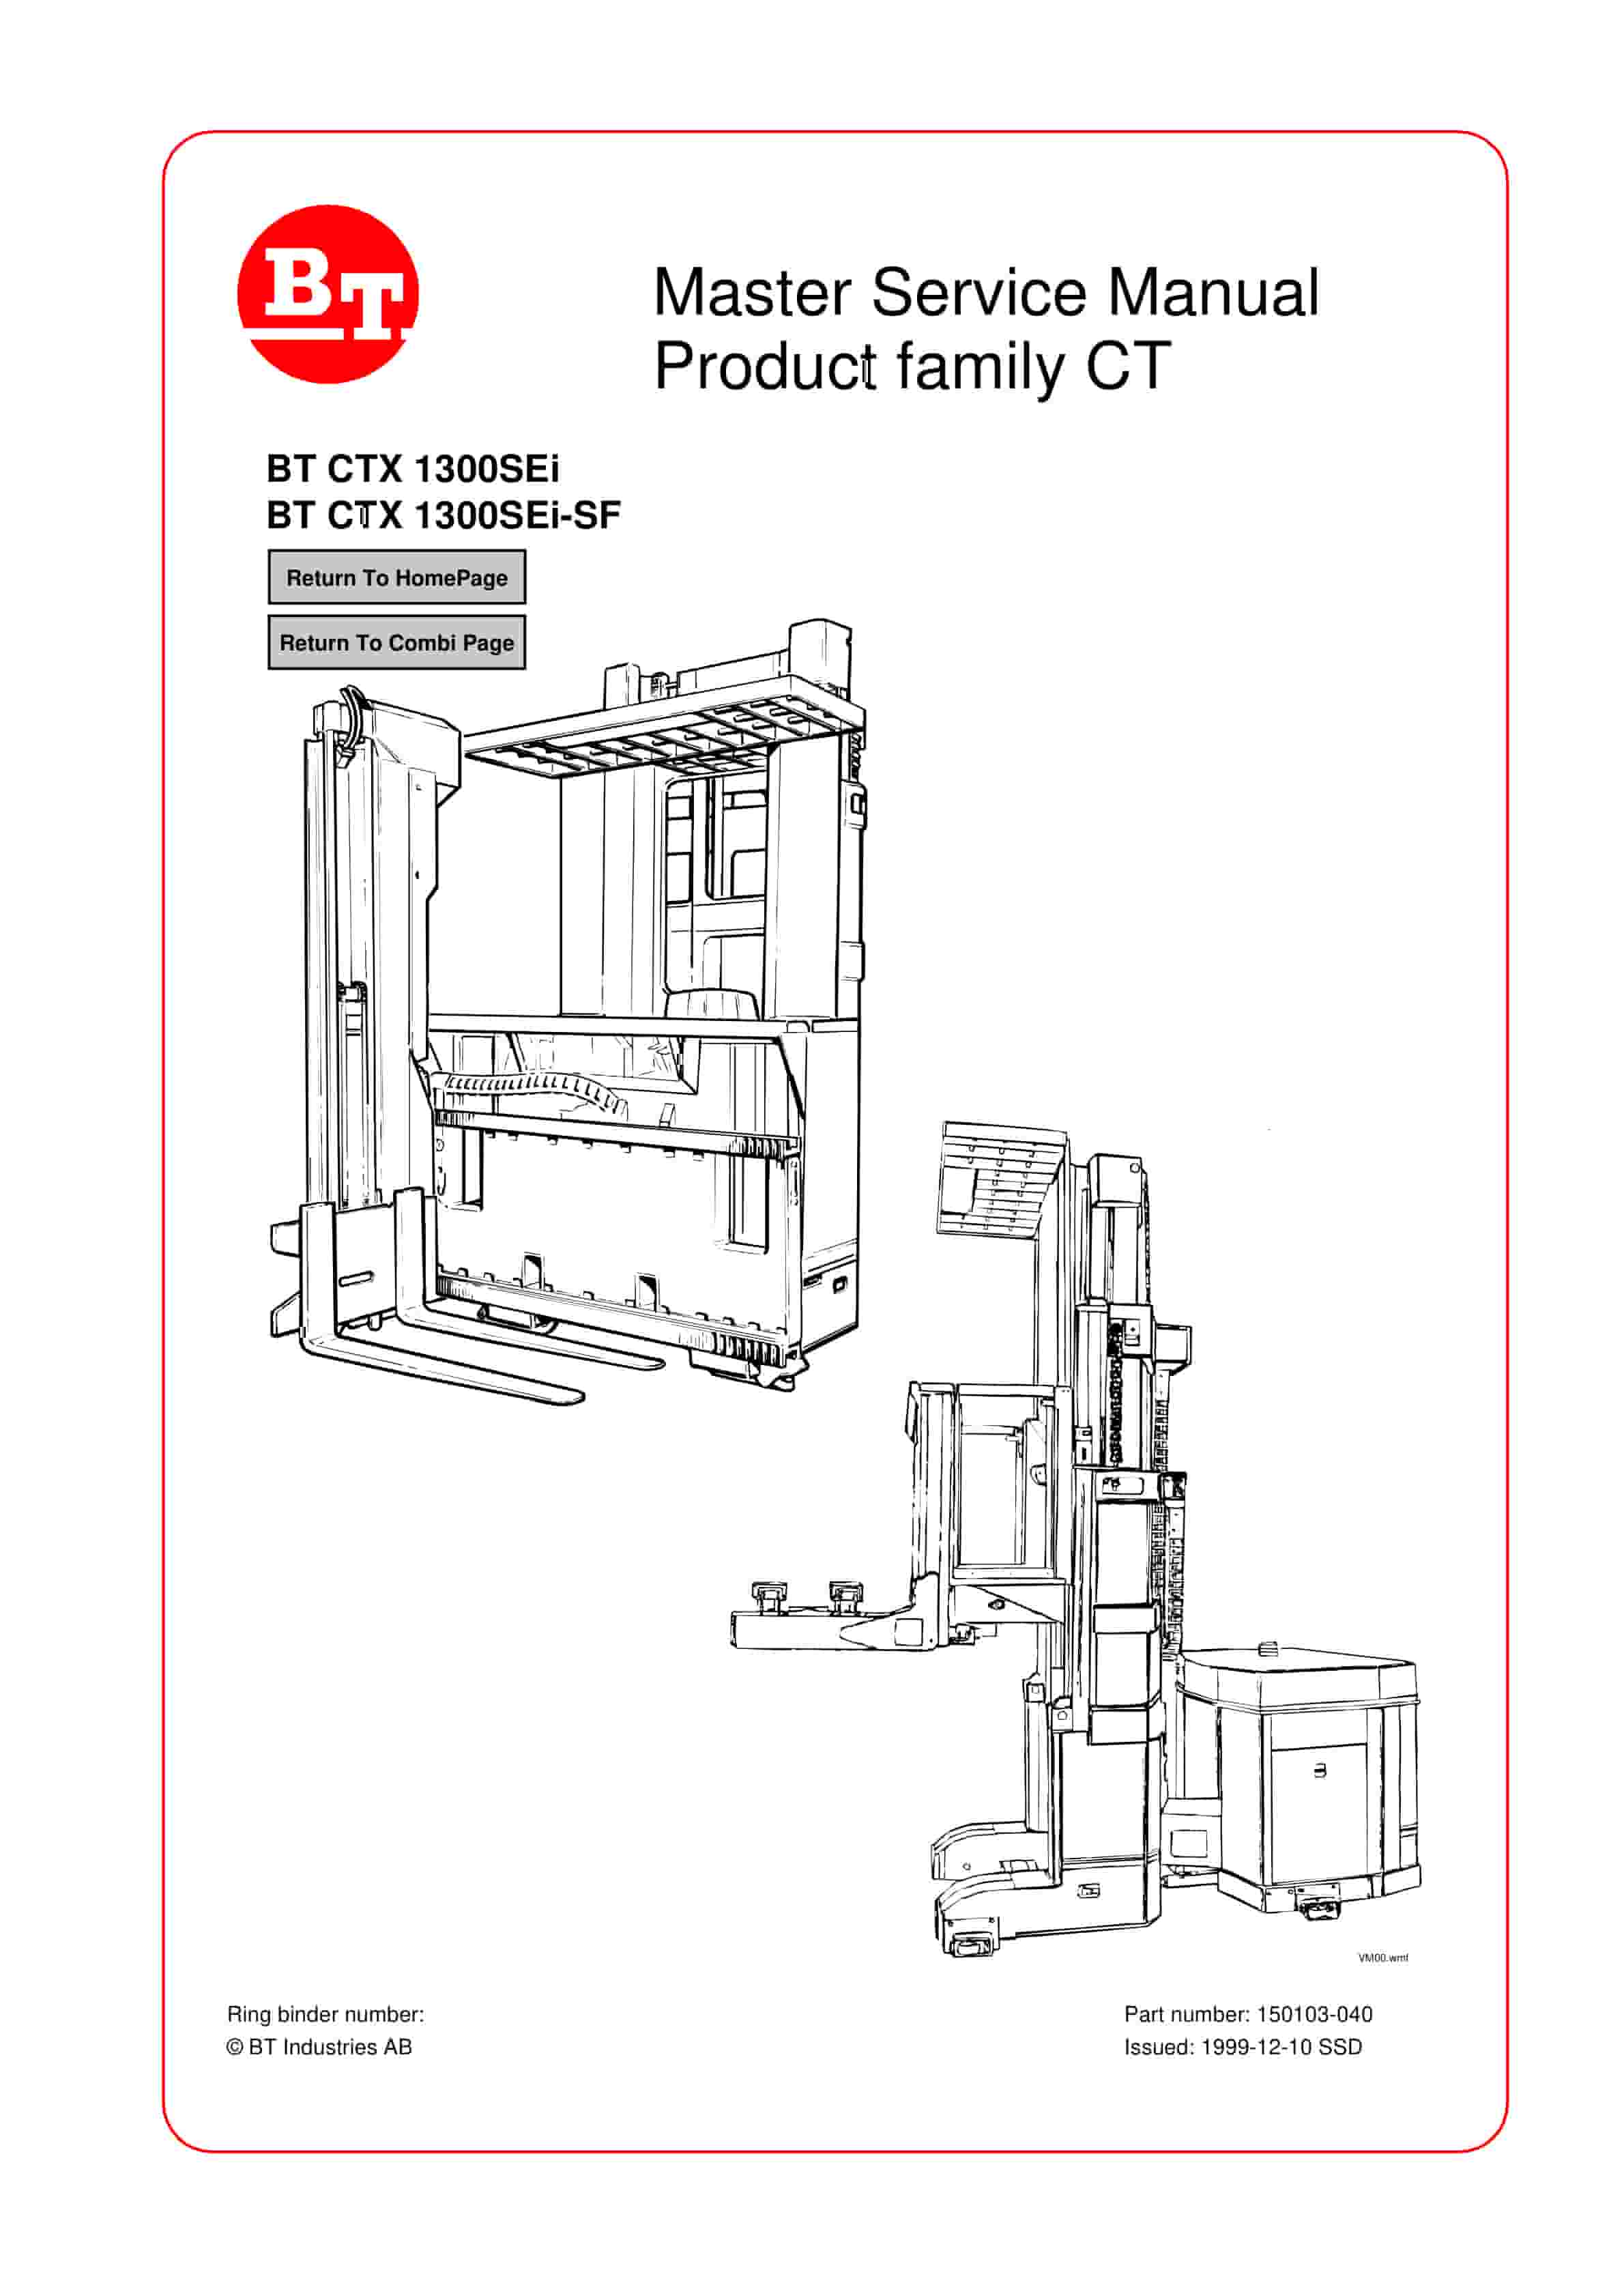
BT CTX 1300SEi, CTX 1300SEi SF Service Manual 150103-040
$30.00 Add to cart -
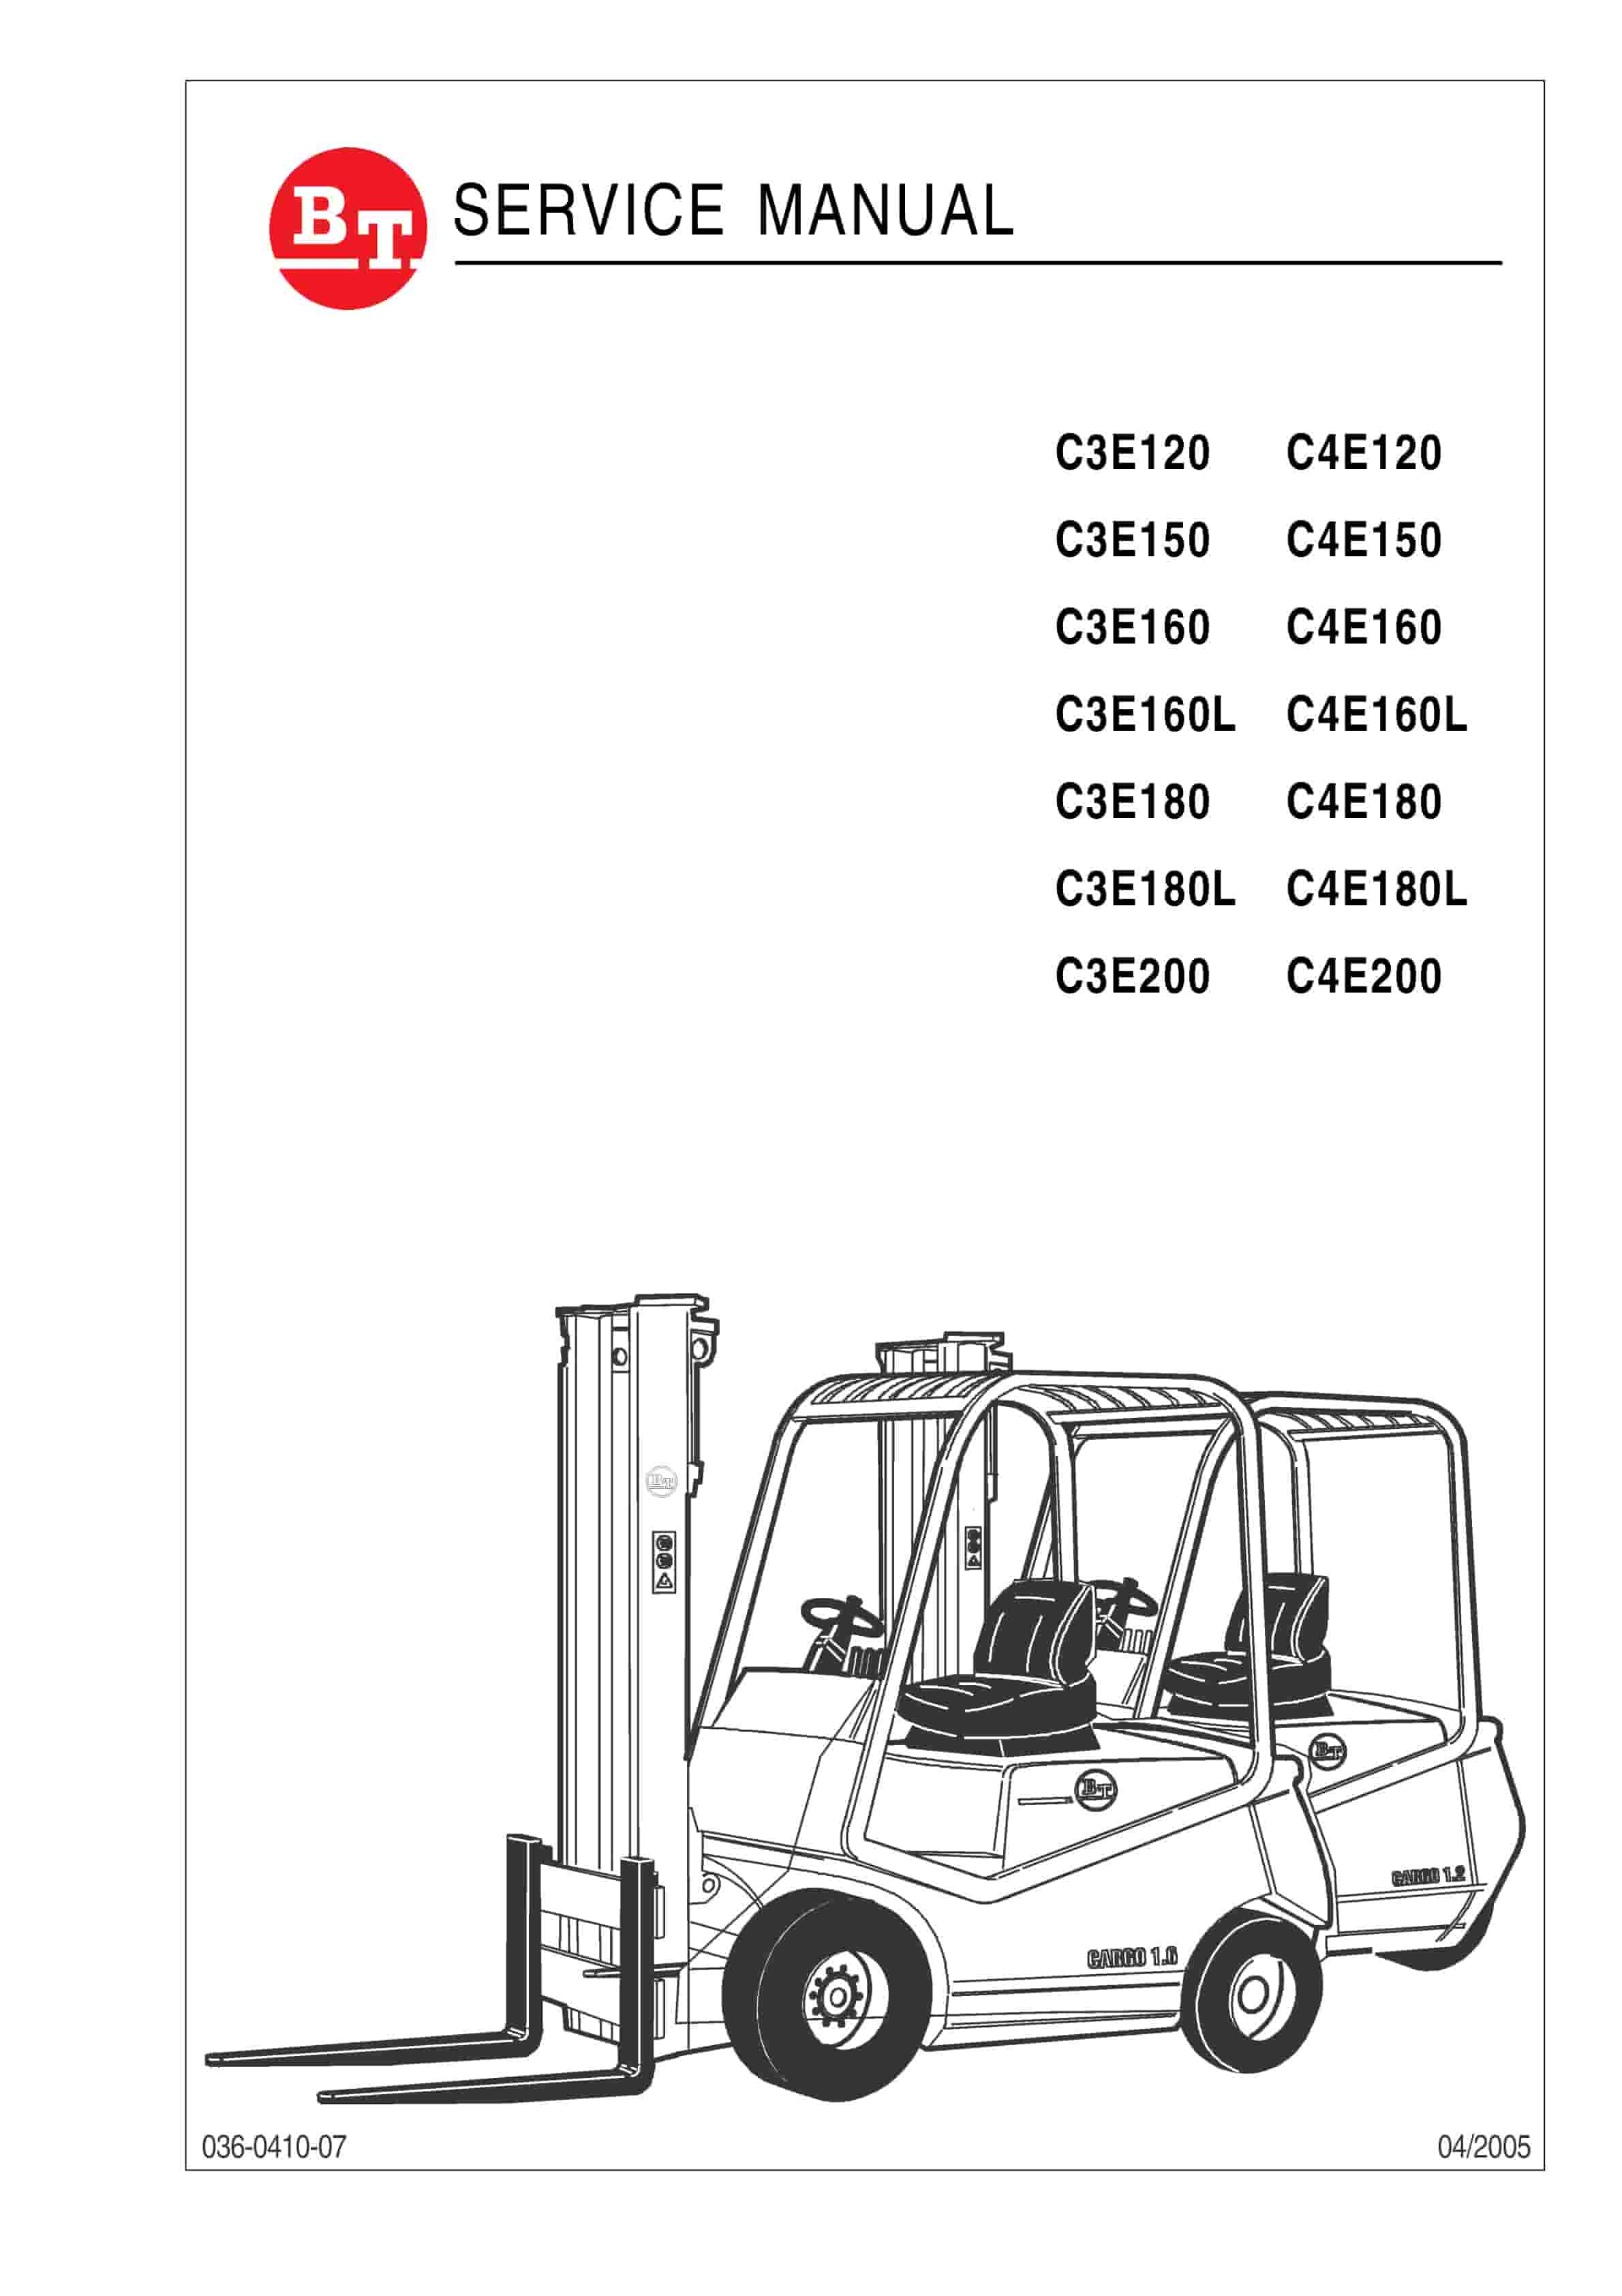
BT C3E120 to C4E200 Service Manual 036-0410-07
$30.00 Add to cart


