

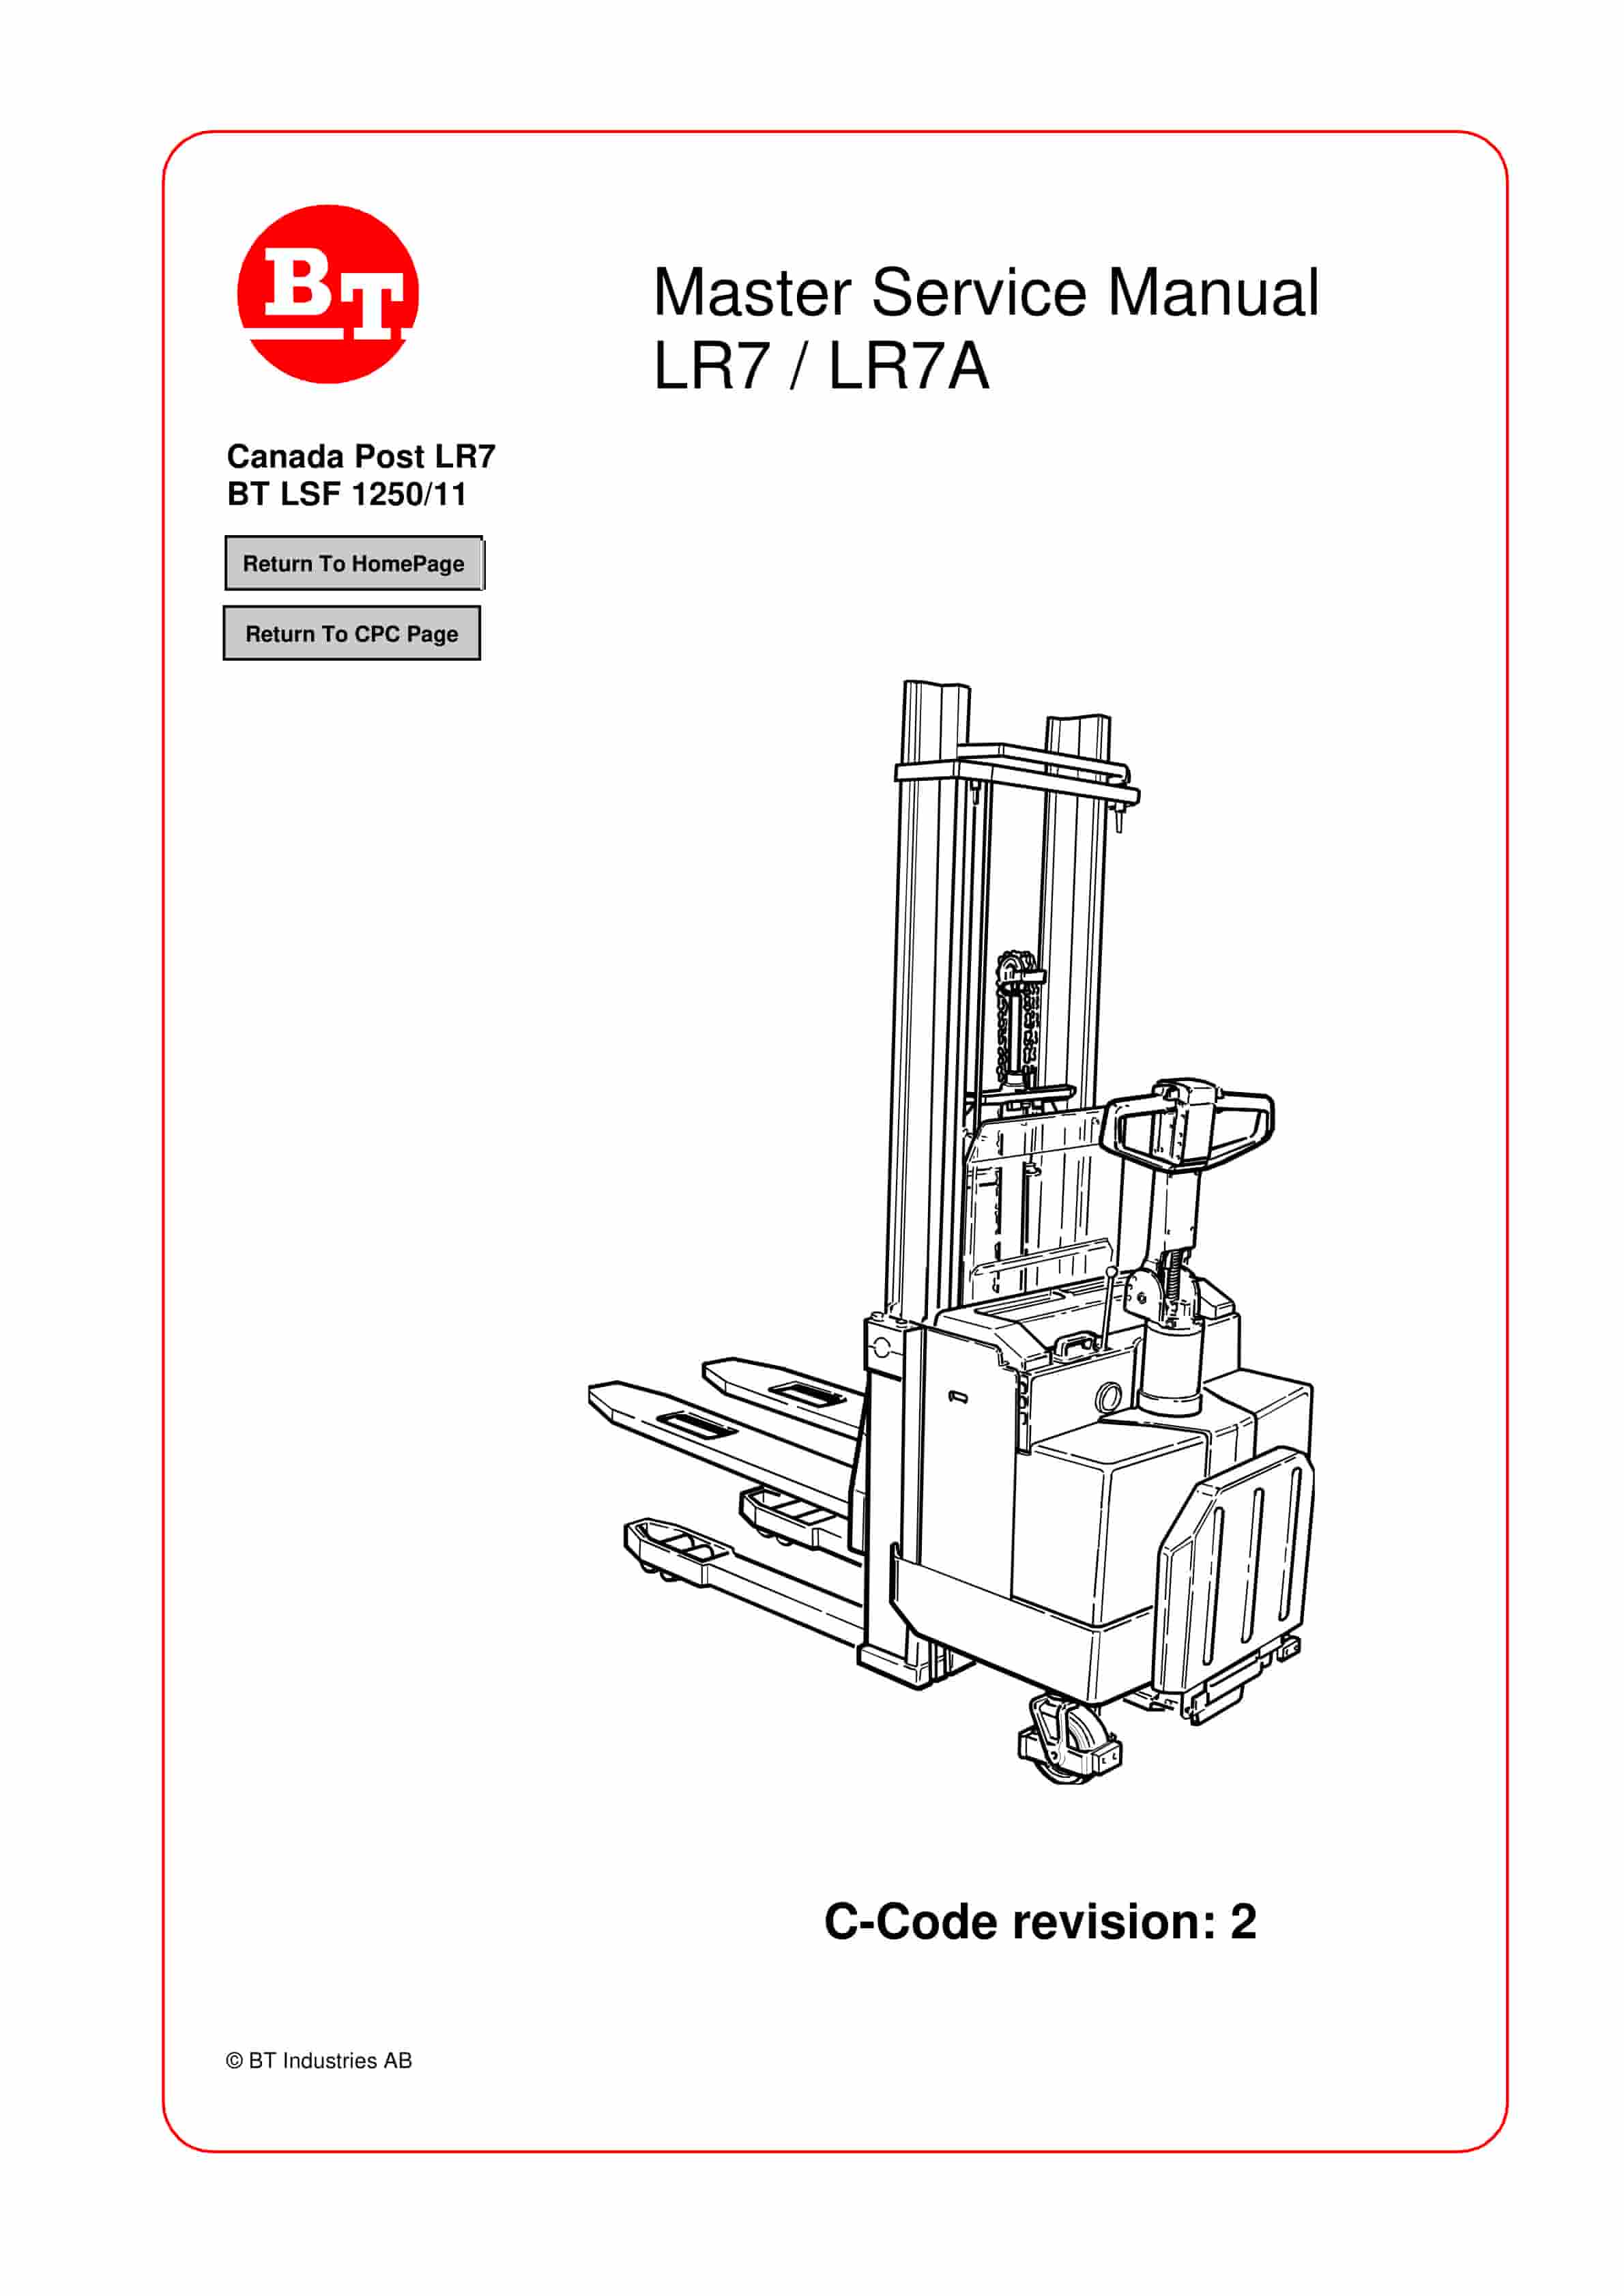
BT LR7, LR7A Service Manual
$30.00
- Type Of Manual: Service Manual
- : Service Manual PDF
- Number of Pages: 174
- Size: 26.0MB
- Format: PDF
Product details
-
Model List:
- LR7, LR7A
- 1. Return To HomePage
- 2. Master Service Manual Product family PS
- 3. Contents Master Service Manual (MSM)
- 3.1. Valid from serial number
- 3.1.1. Serial No
- 3.2. Document list
- 3.2.1. Section
- 3.2.2. Document
- 4. Introduction to BTs Service Manual
- 5. Contents, M
- 5.1. Truck information
- 6. Technical data
- 6.1. Valid from serial number
- 6.1.1. Serial number
- 6.2. LSF 1250
- 6.2.1. Drive motor
- 6.2.2. Transmission/drive gear
- 6.2.3. Hydraulic system
- 6.2.4. Batteries
- 6.2.5. Driving speeds
- 6.2.6. Lifting/lowering times
- 6.2.7. Power consumption
- 7. Contents, P
- 7.1. Preventive Maintenance
- 8. Introduction, maintenance
- 8.1. Safety regulations with maintenance work
- 8.1.1. WARNING
- 8.1.2. WARNING
- 8.1.3. WARNING
- 8.1.4. CAUTION
- 8.2. Cleaning and washing
- 8.2.1. External cleaning
- 8.2.2. Cleaning the motor compartment
- 8.2.3. Electrical components
- 8.3. Safe lifting
- 8.3.1. WARNING
- 9. Preventive maintenance
- 9.1. Valid from serial number
- 9.1.1. Serial No
- 9.2. Maintenance schedule
- 9.2.1. Pos. no.
- 9.2.2. Work to carry out
- 9.3. Lubrication chart
- 9.3.1. Service point
- 9.3.2. Interval/Running hours
- 9.3.3. Lubricant
- 10. Oil and grease specification
- 10.1. Valid from serial number
- 10.1.1. Serial No
- 10.2. Approved oils and grease
- 10.2.1. Lubticant
- 10.2.2. Specification
- 10.2.3. Application area
- 11. Contents, S
- 11.1. Service instructions
- 12. Electric pump motor
- 12.1. Valid from serial number
- 12.1.1. Serial number
- 12.2. General
- 12.2.1. Mechanical construction
- 12.2.2. Special tools
- 12.3. Removal/Refitting
- 12.3.1. Removing the motor from the truck
- 12.3.2. Refitting
- 12.4. Service/Repairs
- 12.4.1. Cleaning
- 12.4.2. Dismantling
- 12.4.3. Re-assembling
- 12.4.4. Armature bearings
- 12.4.5. Carbon brushes and brush holder
- 12.4.6. Commutator
- 12.5. Storage/Transport
- 12.5.1. Storage
- 12.5.2. Component
- 13. Electric drive motor
- 13.1. Valid from serial number
- 13.1.1. Serial number
- 13.2. General
- 13.2.1. Mechanical contruction
- 13.2.2. Special tools
- 13.3. Removal/Refitting
- 13.3.1. Removing the motor from the truck
- 13.3.2. Reassembly
- 13.4. Service/Repairs
- 13.4.1. Cleaning
- 13.4.2. Removal of motor
- 13.4.3. Refitting of motor
- 13.4.4. Armature bearings
- 13.4.5. Carbon brushes and brush holder
- 13.4.6. Commutator
- 13.5. Storage/Transport
- 13.5.1. Storage
- 13.5.2. Grease specification
- 13.5.3. Component
- 14. Mechanical drive gear unit
- 14.1. Valid from serial number
- 14.1.1. Serial No
- 14.2. General technical description
- 14.2.1. Technical data
- 14.2.2. Gear components
- 14.2.3. Special tools
- 14.3. Removing the gear from the truck
- 14.4. Change of seal on the drive shaft
- 14.5. Reconditioning of the gear
- 15. Electromagnetic parking brake
- 15.1. Gäller maskinnummer
- 15.1.1. Serial No
- 15.2. General
- 15.3. Function
- 15.3.1. Releasing the brake
- 15.3.2. Braking
- 15.4. Maintenance
- 15.4.1. Adjustment of gap
- 15.4.2. Exchange of brake disc/magnetic coil
- 15.4.3. Check/adjustment of the braking force
- 16. Electric parking brake, magnetic brake
- 16.1. Valid from serial number
- 16.1.1. Serial no
- 16.2. General
- 16.3. Function
- 16.3.1. Releasing the brake
- 16.3.2. Braking
- 16.4. Maintenance
- 16.4.1. Adjustment of gap
- 16.4.2. Exchange of brake disc/magnetic coil
- 16.4.3. Check/adjustment of the braking force
- 17. Wiring Diagrams LR7
- 18. Electrical system
- 18.1. Valid from serial number
- 18.1.1. Serial number
- 18.2. Electrical panel, components
- 18.3. List of symbols and electrical diagrams
- 18.3.1. List of symbols
- 18.3.2. Electrical diagram 1(4)
- 18.3.3. Electrical diagram 2(4)
- 18.3.4. Electrical diagram 3(4)
- 18.3.5. Electrical diagram 4(4)
- 18.4. Operating description
- 18.4.1. General
- 18.4.2. Adjustable settings
- 18.4.3. Description
- 18.4.4. Ignition switch S17 in the ON position
- 18.4.5. Tiller arm in driving position, S10
- 18.4.6. Driving, direction of the forks
- 18.4.7. Driving, direction of the steer wheel
- 18.4.8. Load dependent current limit
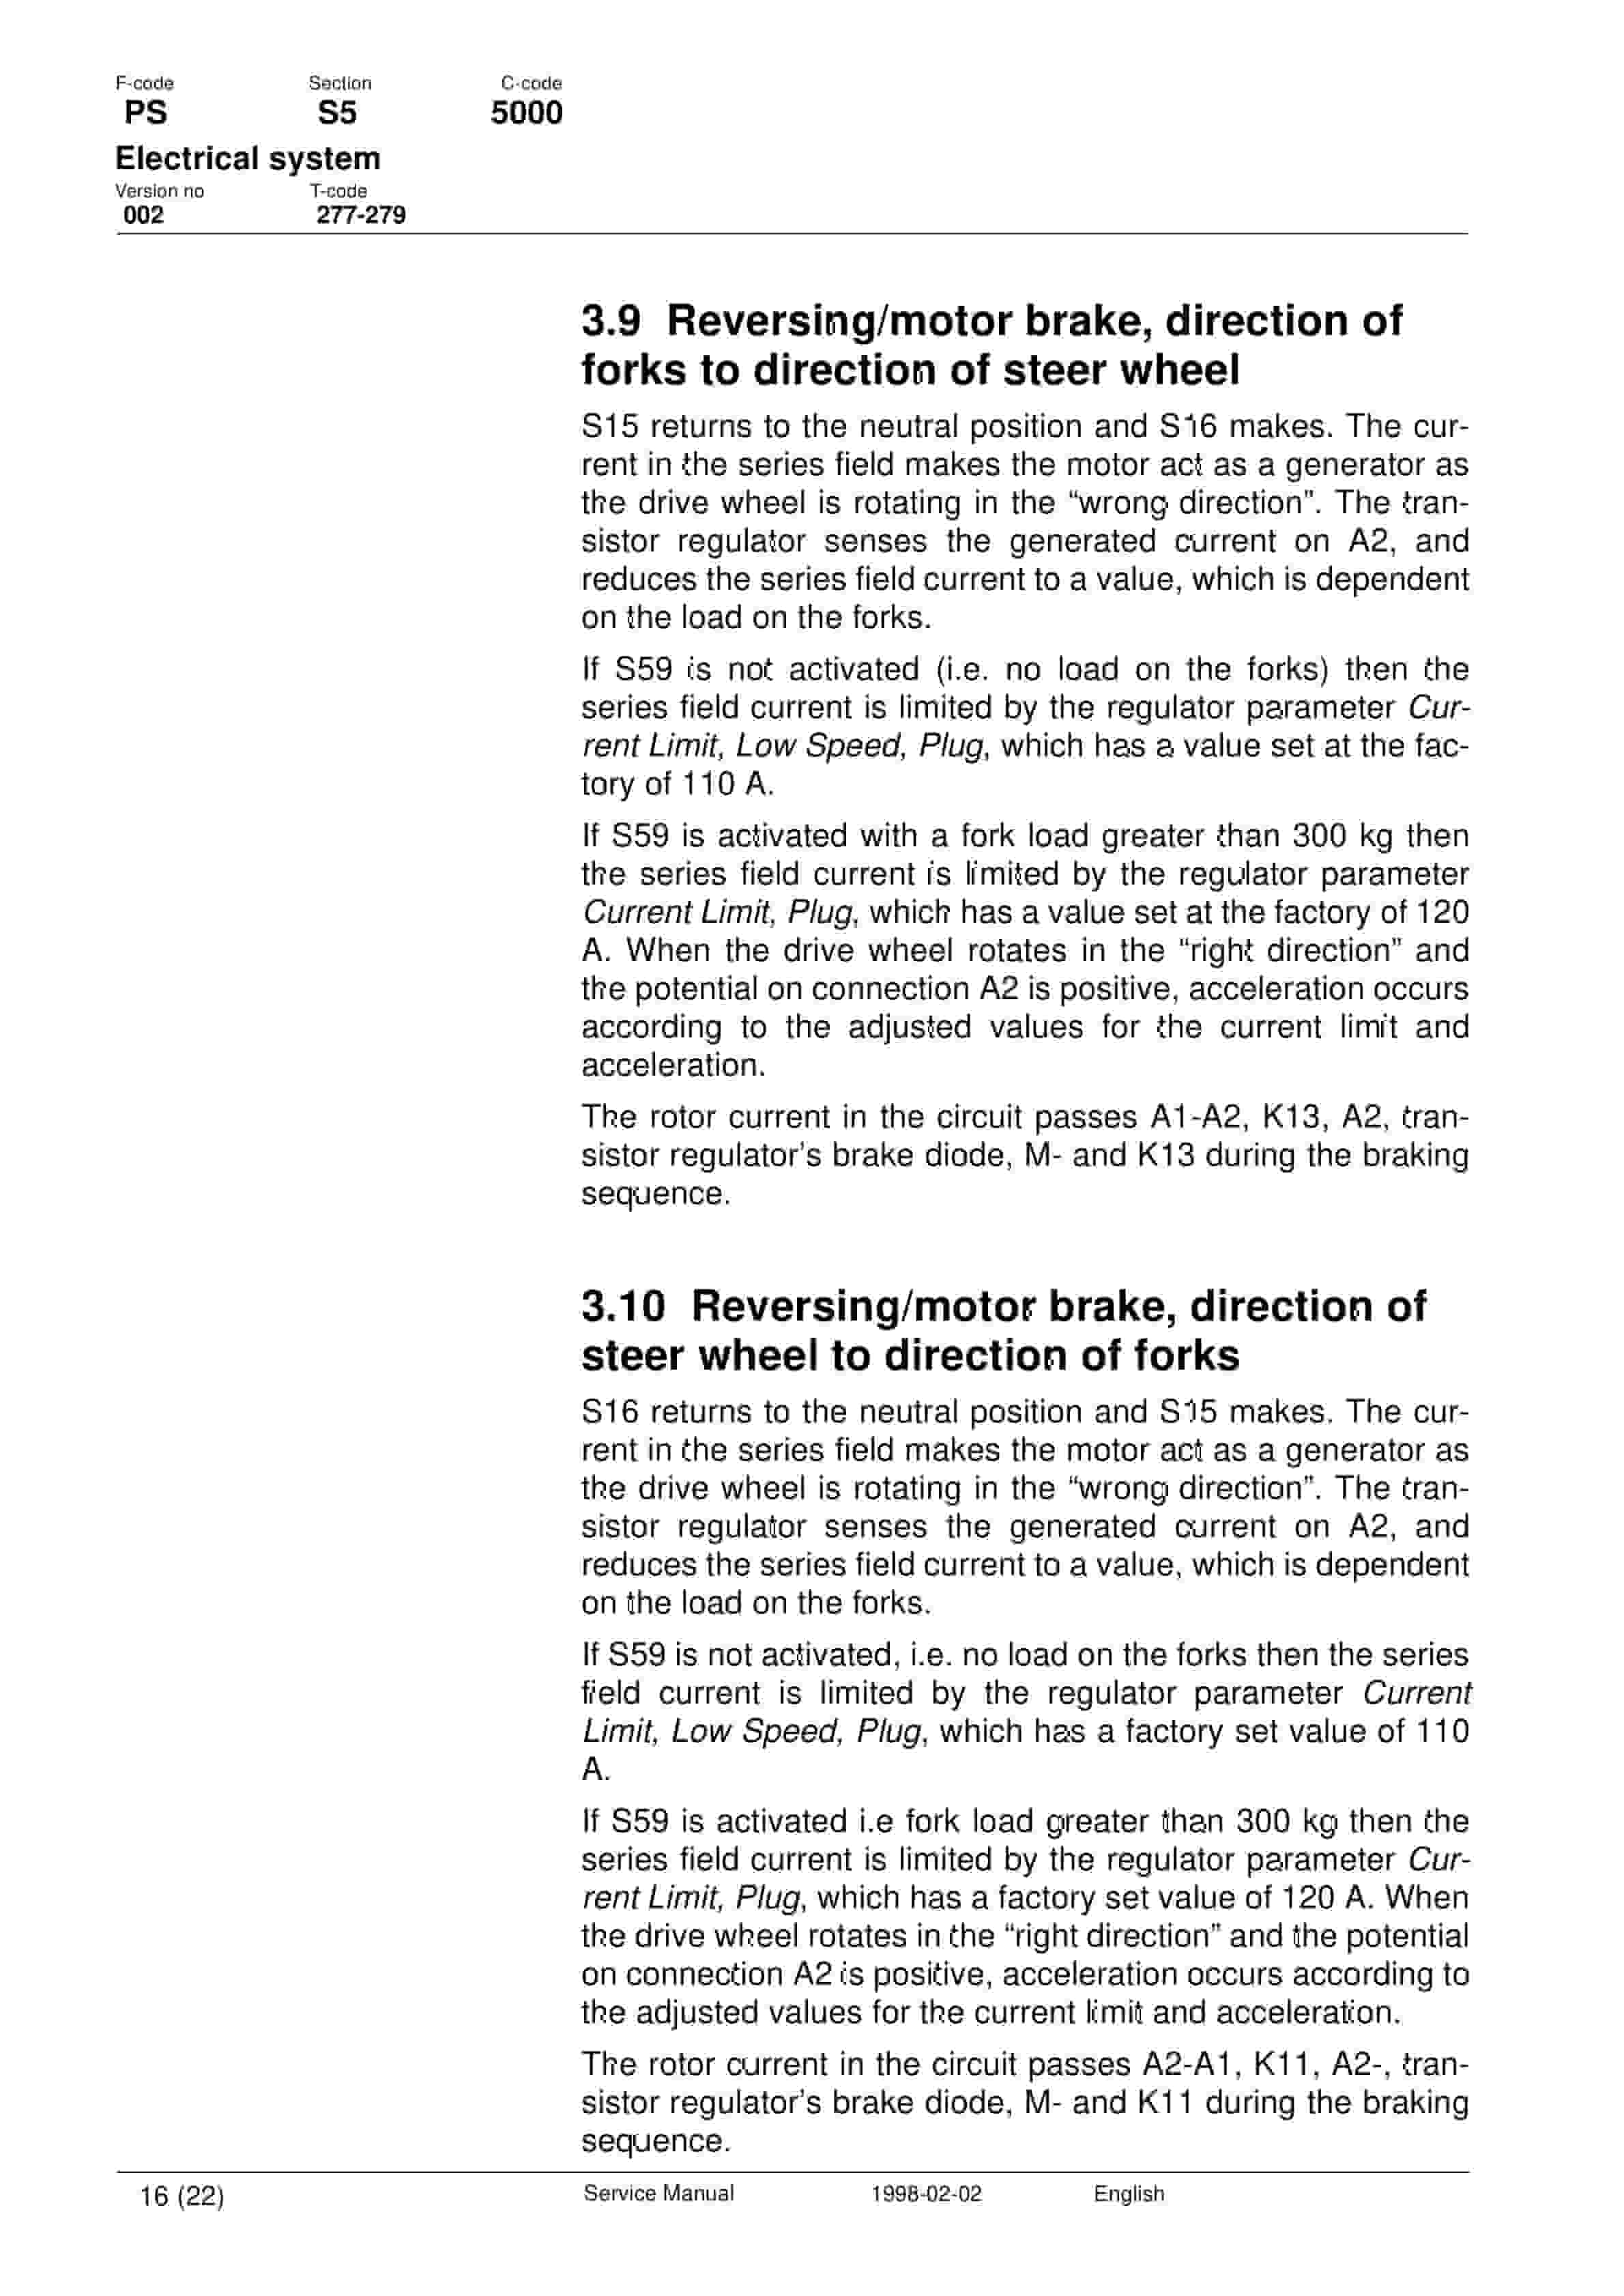
- 18.4.9. Reversing/motor brake, direction of forks to direction of steer wheel
- 18.4.10. Reversing/motor brake, direction of steer wheel to direction of forks
- 18.4.11. Safety reversing
- 18.4.12. Lifting the support arms
- 18.4.13. Lowering the support arms
- 18.4.14. Lifting the forks
- 18.4.15. Horn
- 18.4.16. Switch operation for the platform and gates
- 18.4.17. Limited lifting and driving
- 19. Electrical system
- 19.1. Valid from serial number
- 19.1.1. Serial number
- 19.2. Electrical panel, components
- 19.3. List of symbols and electrical diagrams
- 19.3.1. List of symbols
- 19.3.2. Electrical diagram 1(5)
- 19.3.3. Electrical diagram 2(5)
- 19.3.4. Electrical diagram 3(5)
- 19.3.5. Electrical diagram 4(5)
- 19.3.6. Electrical diagram 5(5)
- 19.4. Functional description
- 19.4.1. General
- 19.4.2. Description
- 19.4.3. Ignition key switch S17 in ON position
- 19.4.4. Tiller arm in drive position, S10
- 19.4.5. Driving in direction of forks
- 19.4.6. Driving in steer wheel direction
- 19.4.7. Load dependent current limits
- 19.4.8. Reversing/motor brakes, fork direction to steer wheel direction
- 19.4.9. Reversing/motor brakes, steer wheel direction to fork direction
- 19.4.10. Safety reversing
- 19.4.11. Support arm lifting
- 19.4.12. Support arm lower
- 19.4.13. Fork lift
- 19.4.14. Horn
- 19.4.15. Breaker function for platform and gates
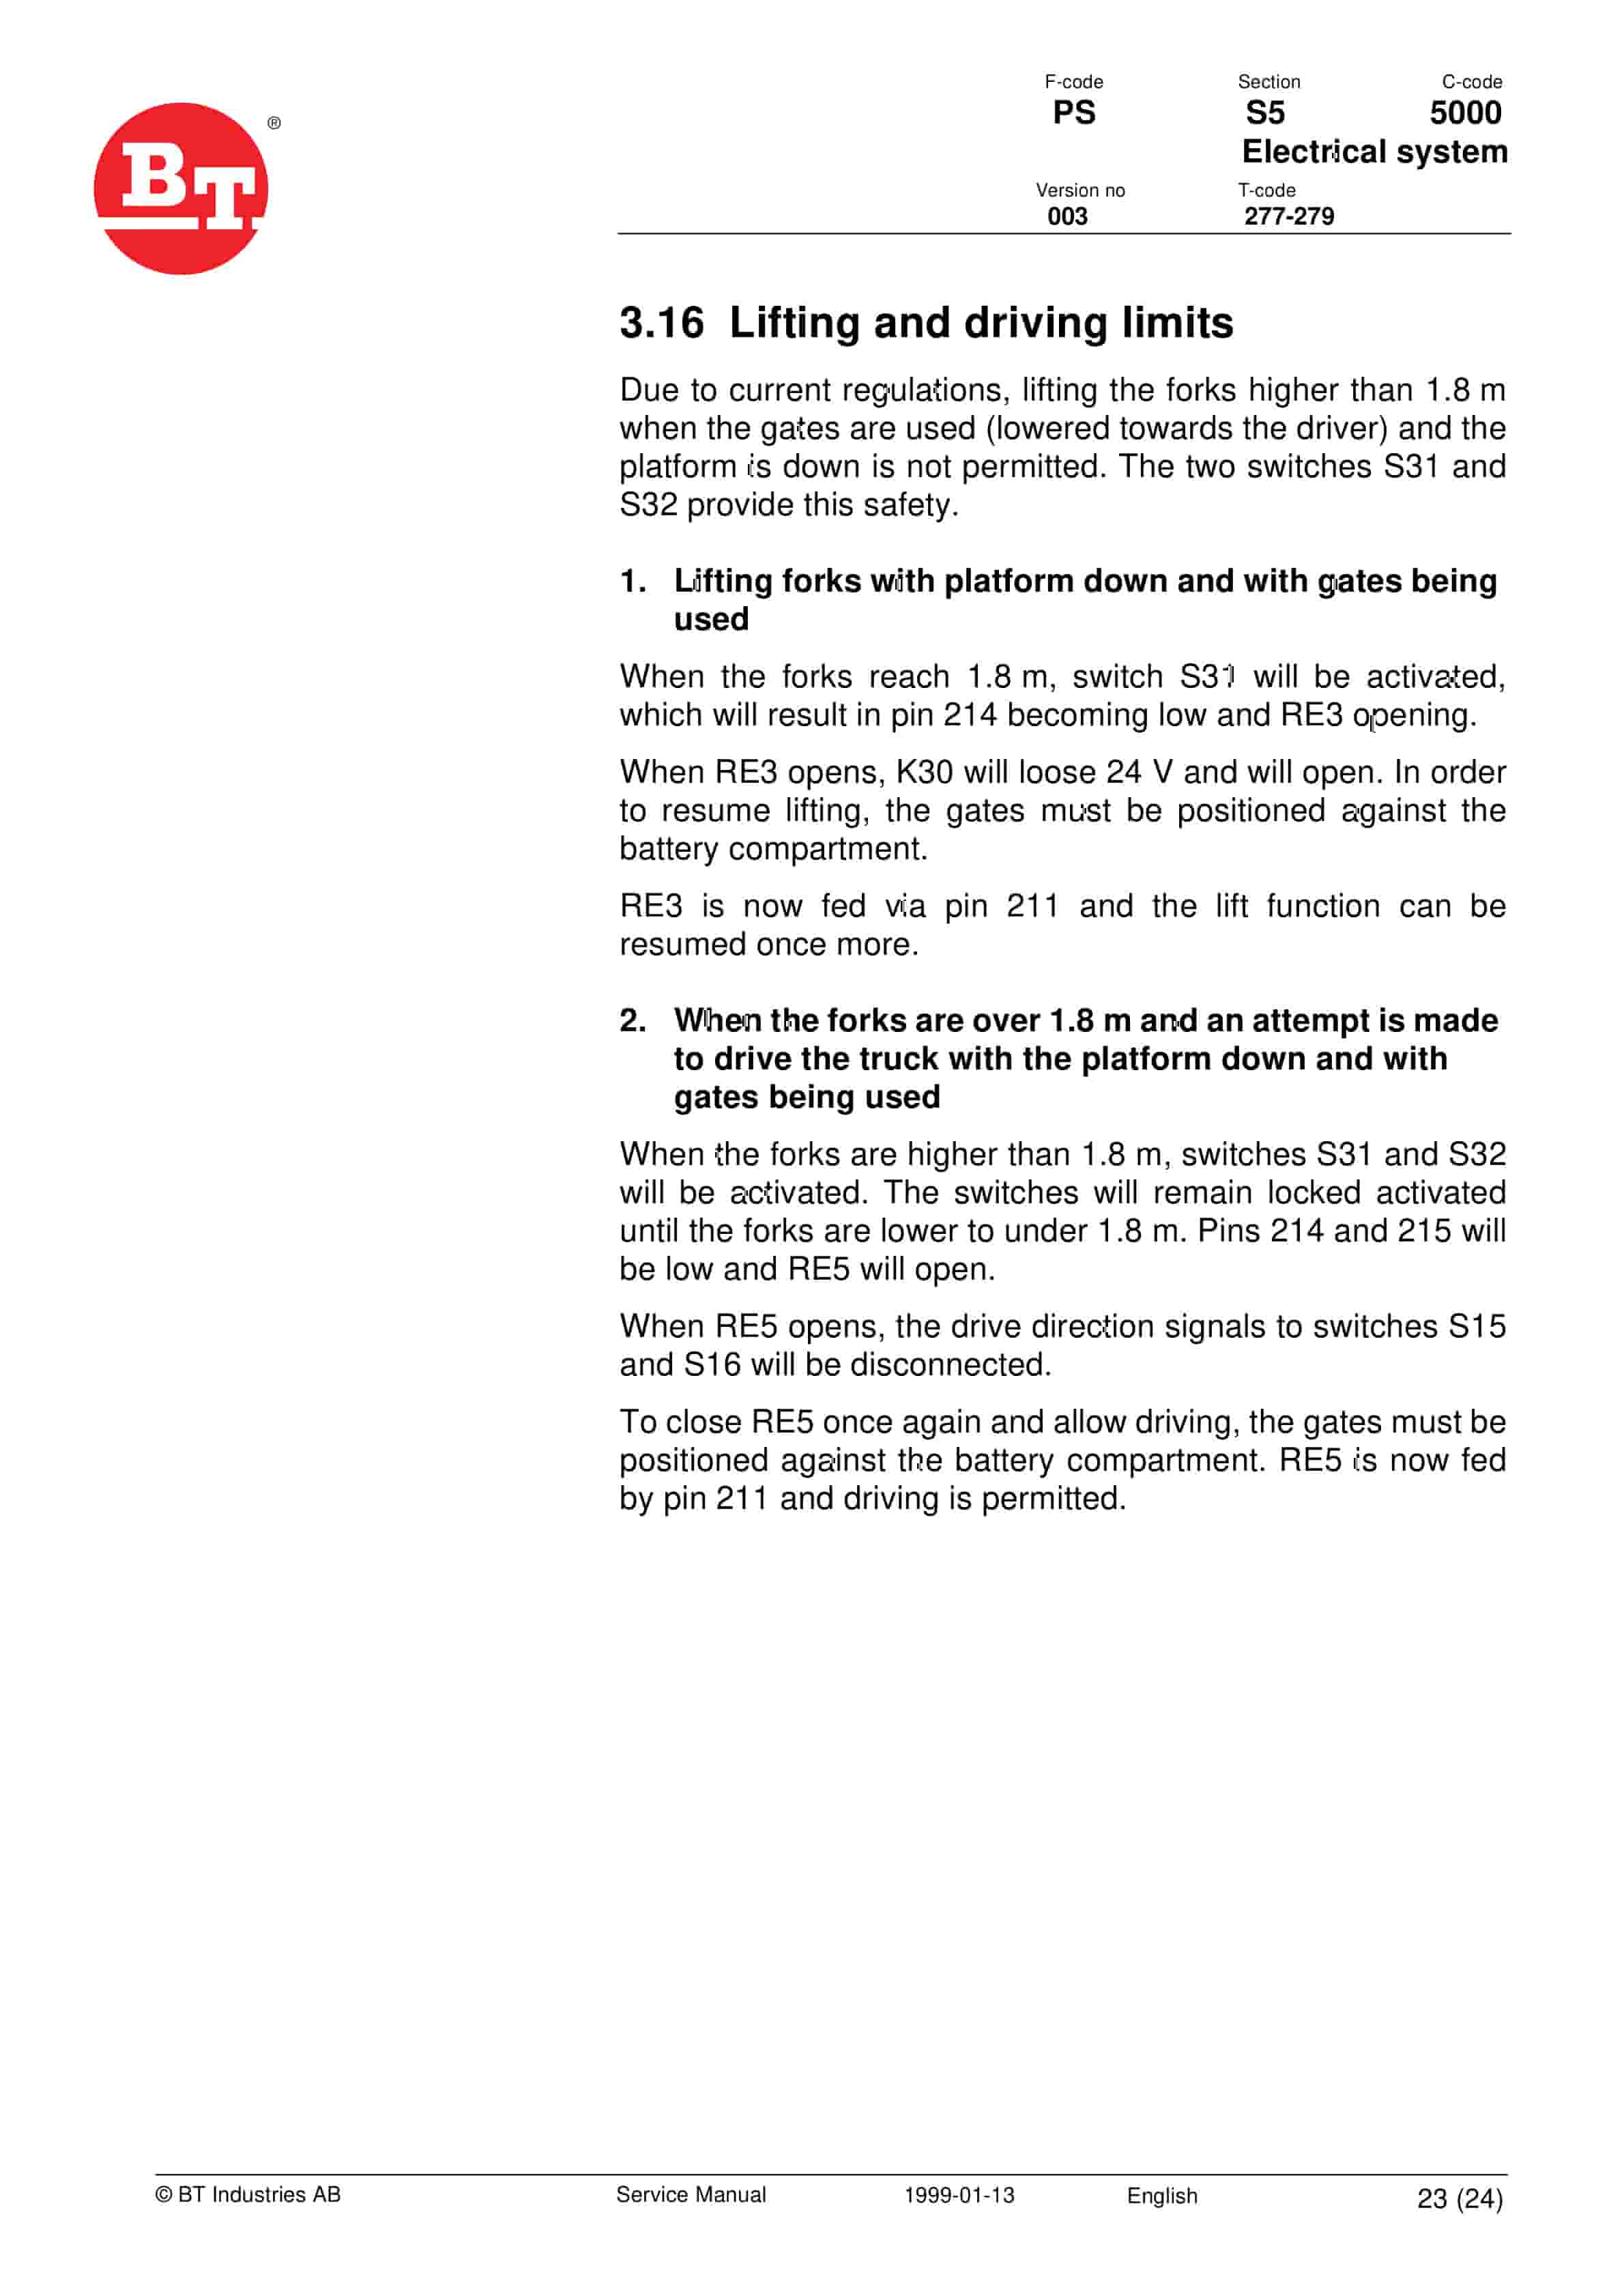
- 19.4.16. Lifting and driving limits
- 20. Voltage/battery indicator/control
- 20.1. Valid from serial number
- 20.1.1. Serial No
- 20.2. General
- 20.3. Electrical
- 20.3.1. Voltage
- 20.4. Battery controller
- 20.4.1. General
- 20.4.2. Reset
- 20.4.3. Keyswitch
- 20.4.4. Hourmeter
- 20.5. Trouble shooting
- 20.5.1. Battery Discharge Indicator
- 20.5.2. Hour meter
- 21. Transistor panel
- 21.1. Valid from serial number
- 21.2. General
- 21.3. Connections
- 21.3.1. Connection pin
- 21.3.2. Connection
- 21.4. Control circuit
- 21.4.1. Pin No.
- 21.4.2. Connection
- 21.5. Technical specification
- 21.5.1. Parameter (Programmers display)
- 21.5.2. Ran- ge
- 21.5.3. Std value
- 21.5.4. Description
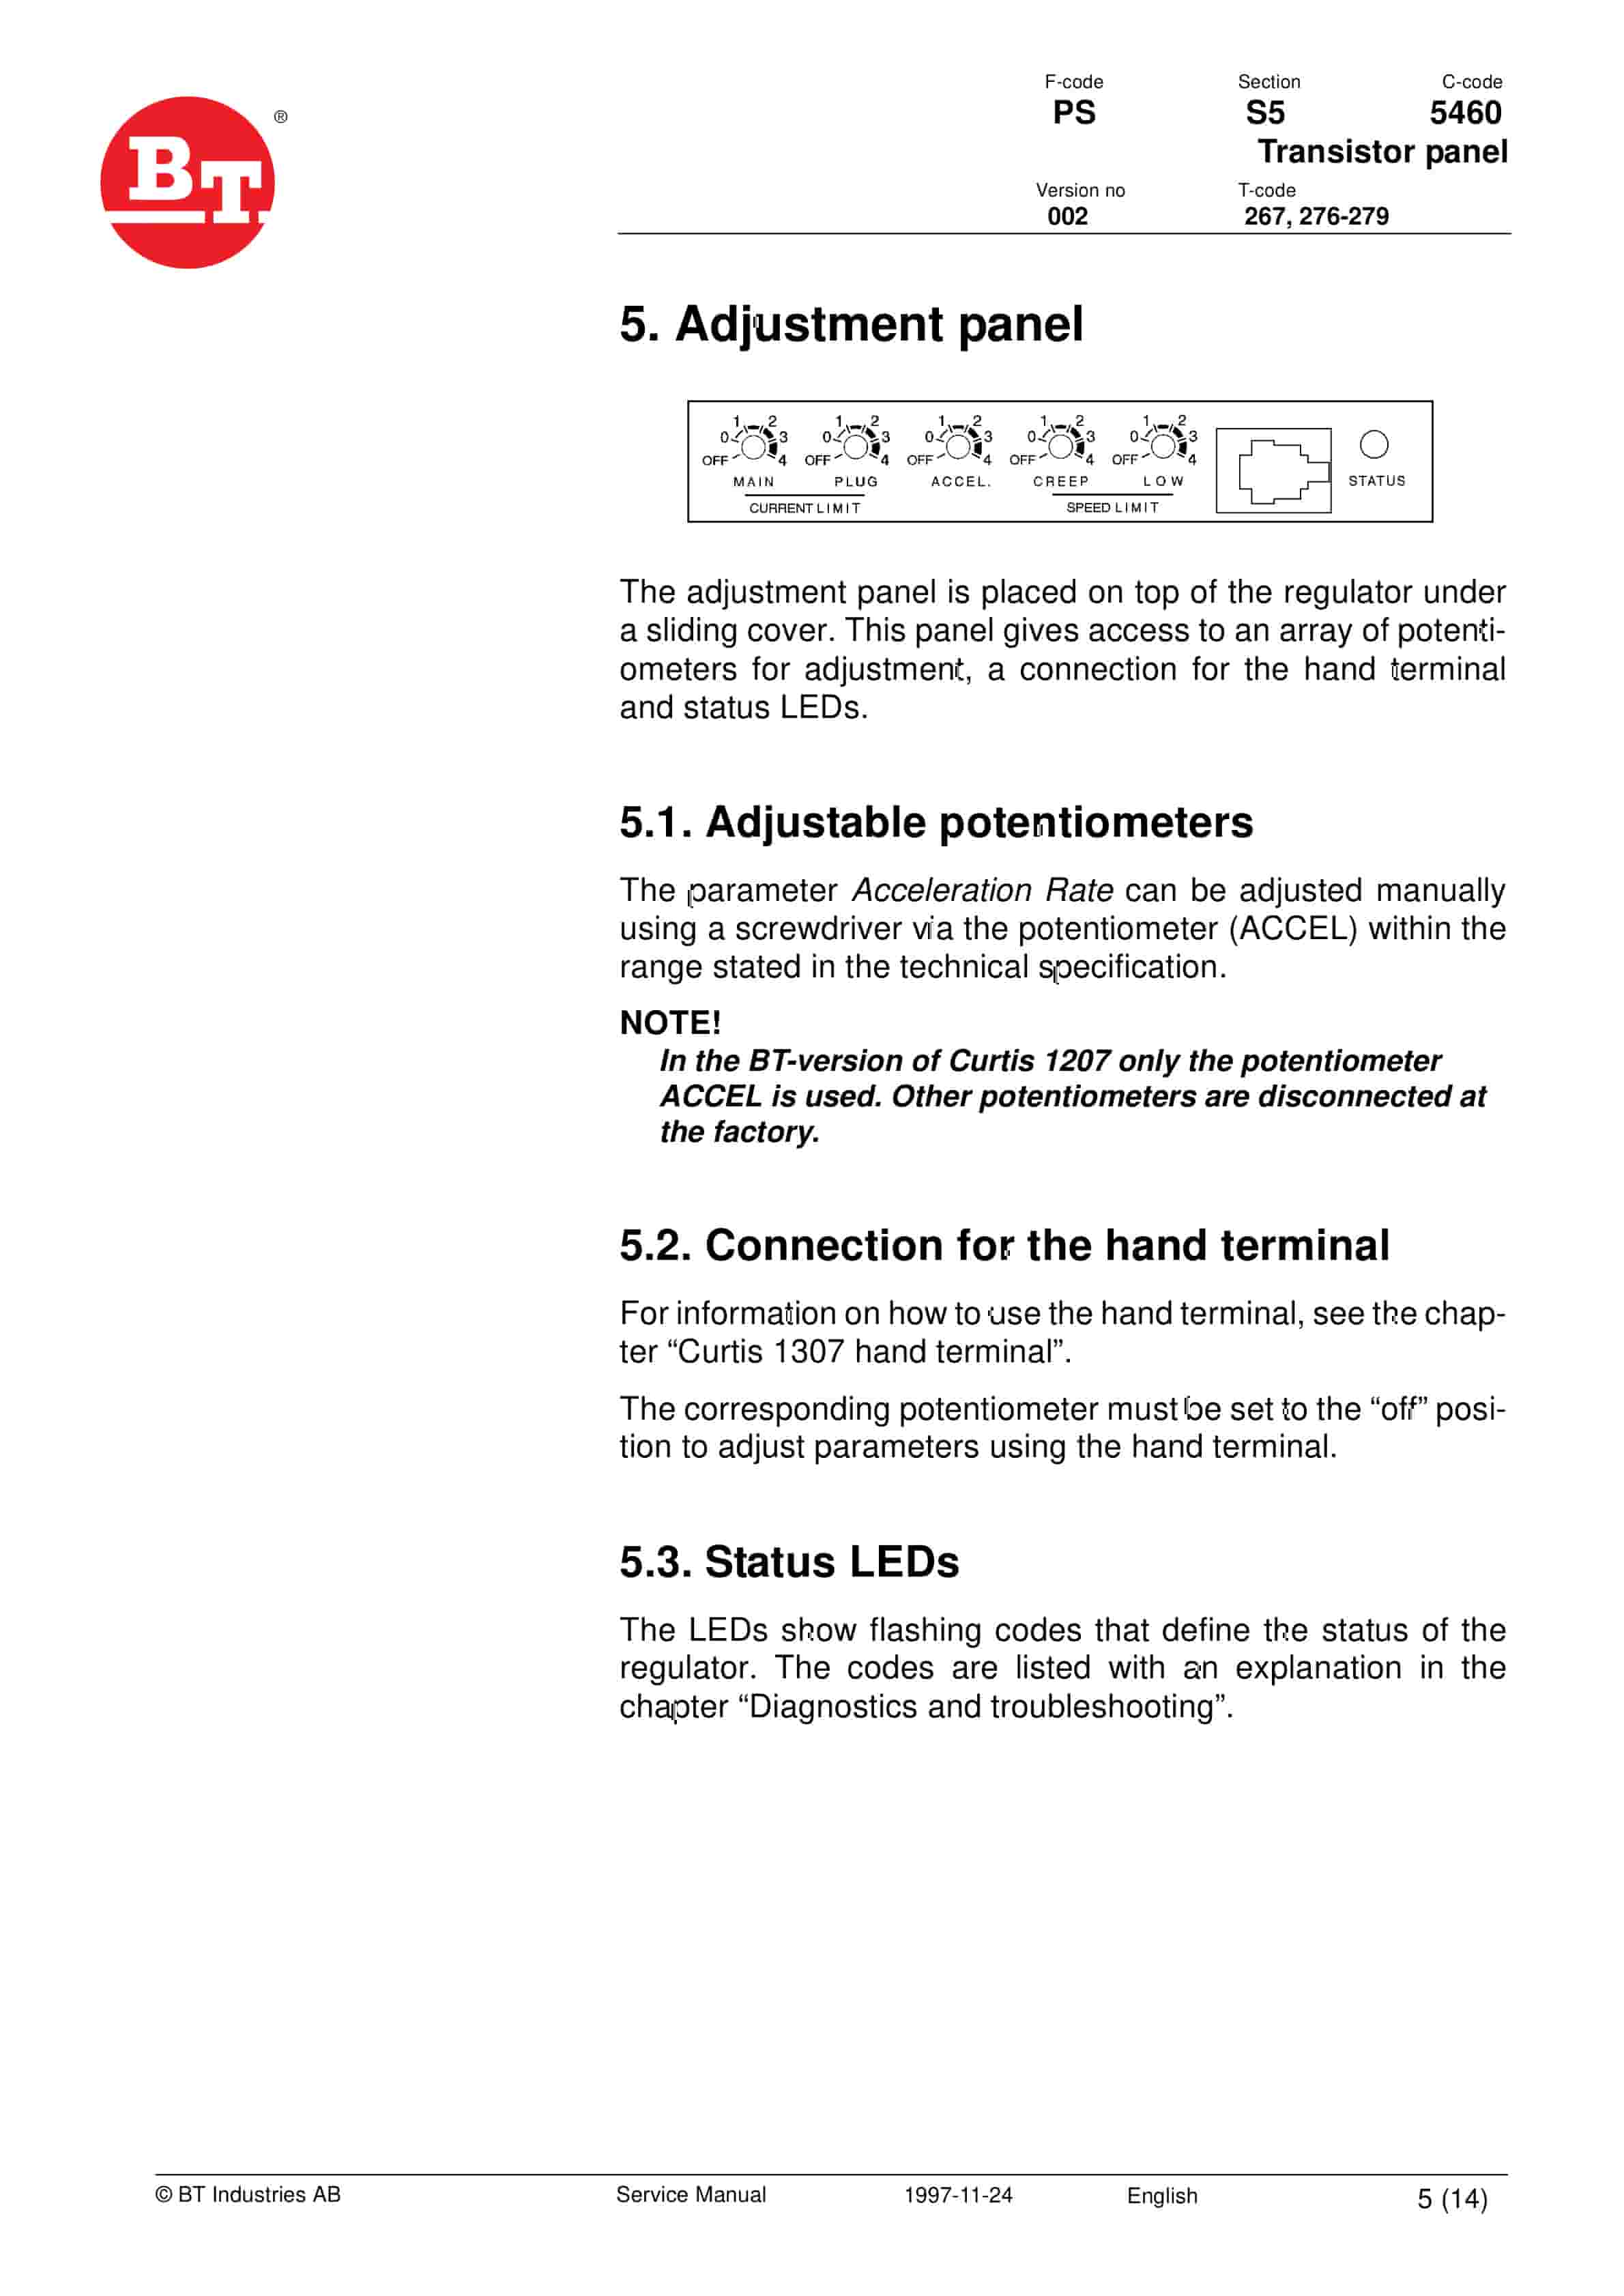
- 21.6. Adjustment panel
- 21.6.1. Adjustable potentiometers
- 21.6.2. Connection for the hand terminal
- 21.6.3. Status LEDs
- 21.7. Maintenance
- 21.7.1. Safety
- 21.7.2. Cleaning
- 21.8. Diagnostics and troubleshooting
- 21.8.1. LED code
- 21.8.2. Programmers LCD-display
- 21.8.3. Explanation
- 21.8.4. Probable cause
- 21.9. Curtis 1307 hand terminal
- 21.9.1. Function
- 21.10. Using the hand terminal
- 21.10.1. Checking and adjusting parameters
- 21.10.2. Using TEST mode
- 21.10.3. Using DIAGNOSTICS mode
- 22. Transistor panel
- 22.1. Valid from serial number
- 22.1.1. Serial number
- 22.2. General
- 22.2.1. Characteristics and functions
- 22.3. Connections
- 22.3.1. Connection pin
- 22.3.2. Connection
- 22.3.3. Connection to the control circuits
- 22.4. Technical specification
- 22.4.1. Description
- 22.5. Parameters
- 22.5.1. Parameter (1307-display)
- 22.5.2. Std. value
- 22.5.3. Description
- 22.5.4. Mode 1 and 2
- 22.6. Diagnostics and trouble shooting
- 22.6.1. Trouble shooting
- 22.6.2. Error codes
- 22.6.3. Testing circuits for error detection
- 22.7. Maintenance
- 22.7.1. WARNING
- 22.7.2. Safety
- 22.7.3. Cleaning
- 22.8. Curtis 1307 hand terminal
- 22.8.1. Connection to Curtis 1207
- 22.8.2. Connection to Curtis 1207A
- 22.8.3. Function
- 22.9. Using the hand terminal
- 22.9.1. Using the PROGRAM mode, checking and adjusting parameters
- 22.9.2. Using SPECIAL PROGRAM mode
- 22.9.3. Using TEST mode
- 22.9.4. Using DIAGNOSTICS mode
- 22.9.5. Using SPECIAL DIAGNOSTICS mode
- 23. Electronic card
- 23.1. Valid from serial number
- 23.2. General
- 23.2.1. Connections and adjustments
- 23.2.2. Connections for inputs and outputs
- 24. Electronic card
- 24.1. Valid from serial number
- 24.1.1. Serial number
- 24.2. General
- 24.2.1. Components
- 24.2.2. Connectors and adjustments
- 24.2.3. Connections for inputs/outputs
- 24.2.4. Adjustment of max. speed
- 24.3. Cleaning/maintenance
- 24.4. Changing the card
- 25. Hydraulic/pneumatic system
- 25.1. Valid from serial number
- 25.1.1. Serial number
- 25.2. General
- 25.3. Hydraulic diagram
- 25.4. List of symbols
- 25.4.1. Description
- 25.4.2. Function
- 25.5. Functional description
- 25.5.1. Lifting the forks
- 25.5.2. Lowering the forks
- 25.5.3. Switch, S59
- 25.6. Adjustments
- 25.6.1. Adjustment procedure
- 26. Main valve unit lift/reach/tilt
- 26.1. Valid from serial number
- 26.1.1. Serial No
- 26.2. General description
- 26.2.1. Solenoid
- 26.2.2. Function
- 26.2.3. Location
Related products
-
BT D-Series CBD40, CBD45, CBD50 Use And Maintenance Handbook 0337308R1CE
$30.00 Add to cart -
BT CBE 12T to CBE 20F Service Manual 036-0403-03
$30.00 Add to cart -
BT CBE 25, CBE 30, CBE 30L, CBE 35 Service Manual 036-0402-02
$30.00 Add to cart -
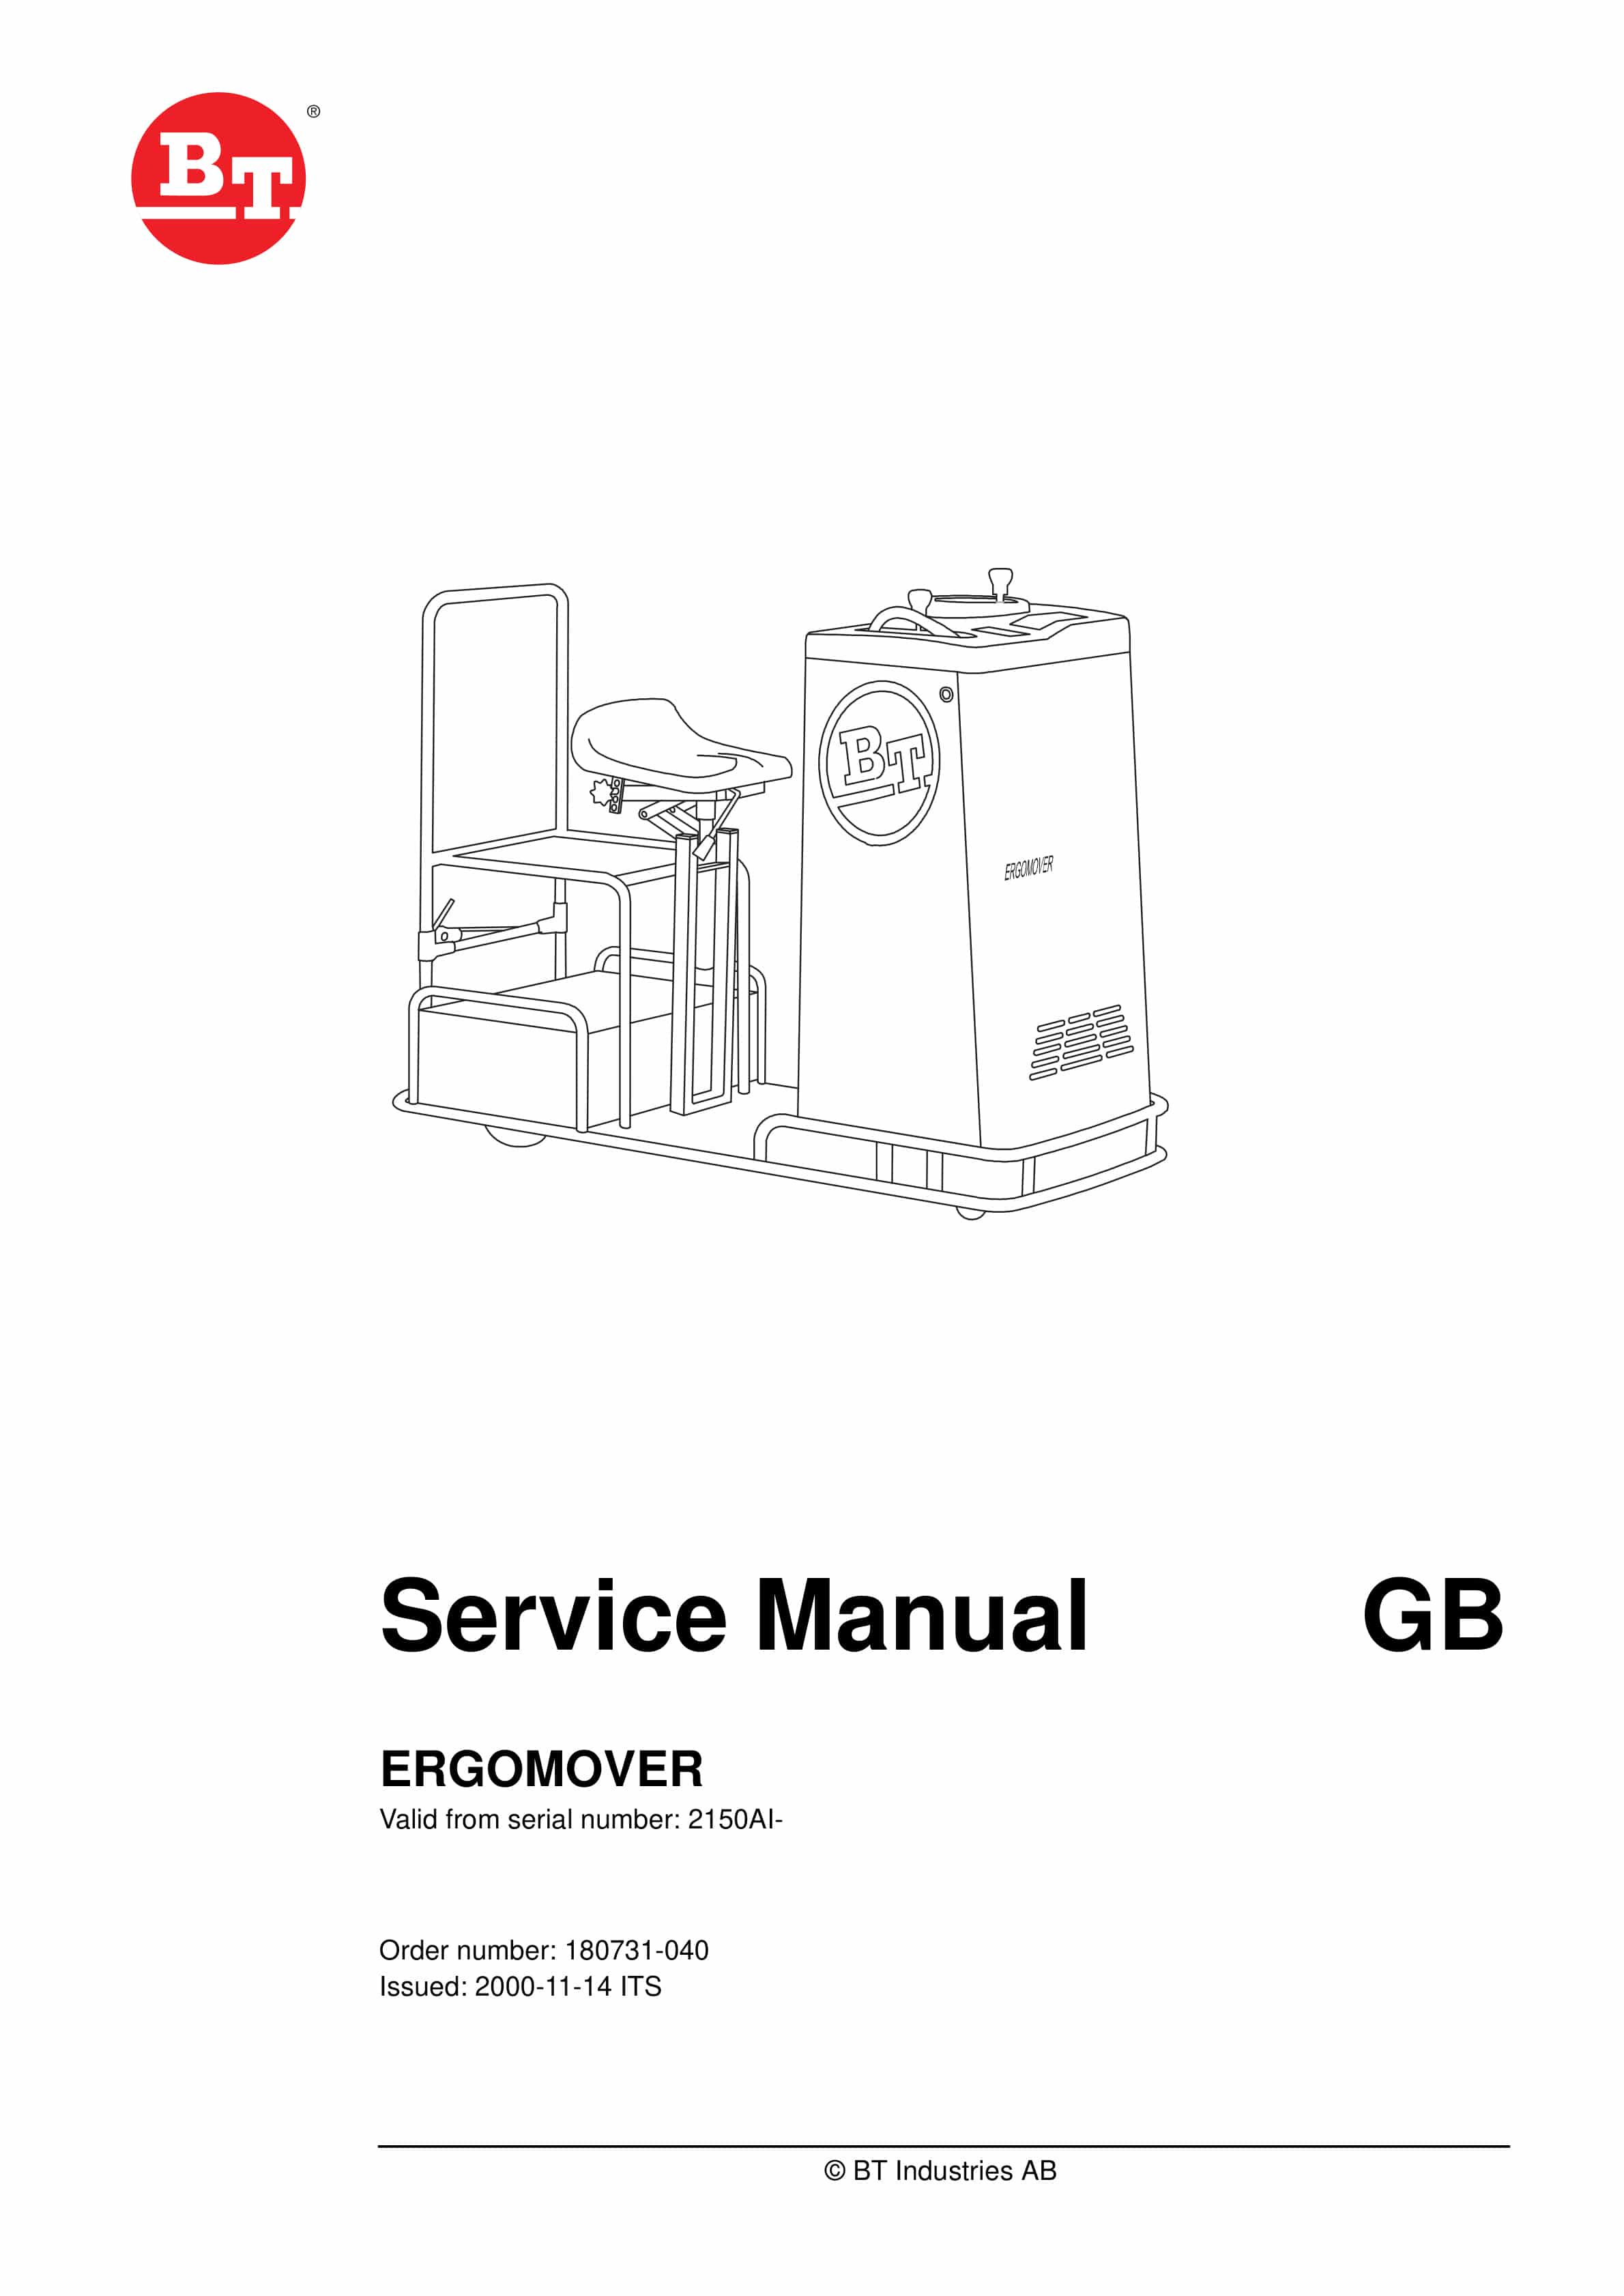
BT ERGOMOVER Service Manual 180731-040
$30.00 Add to cart -
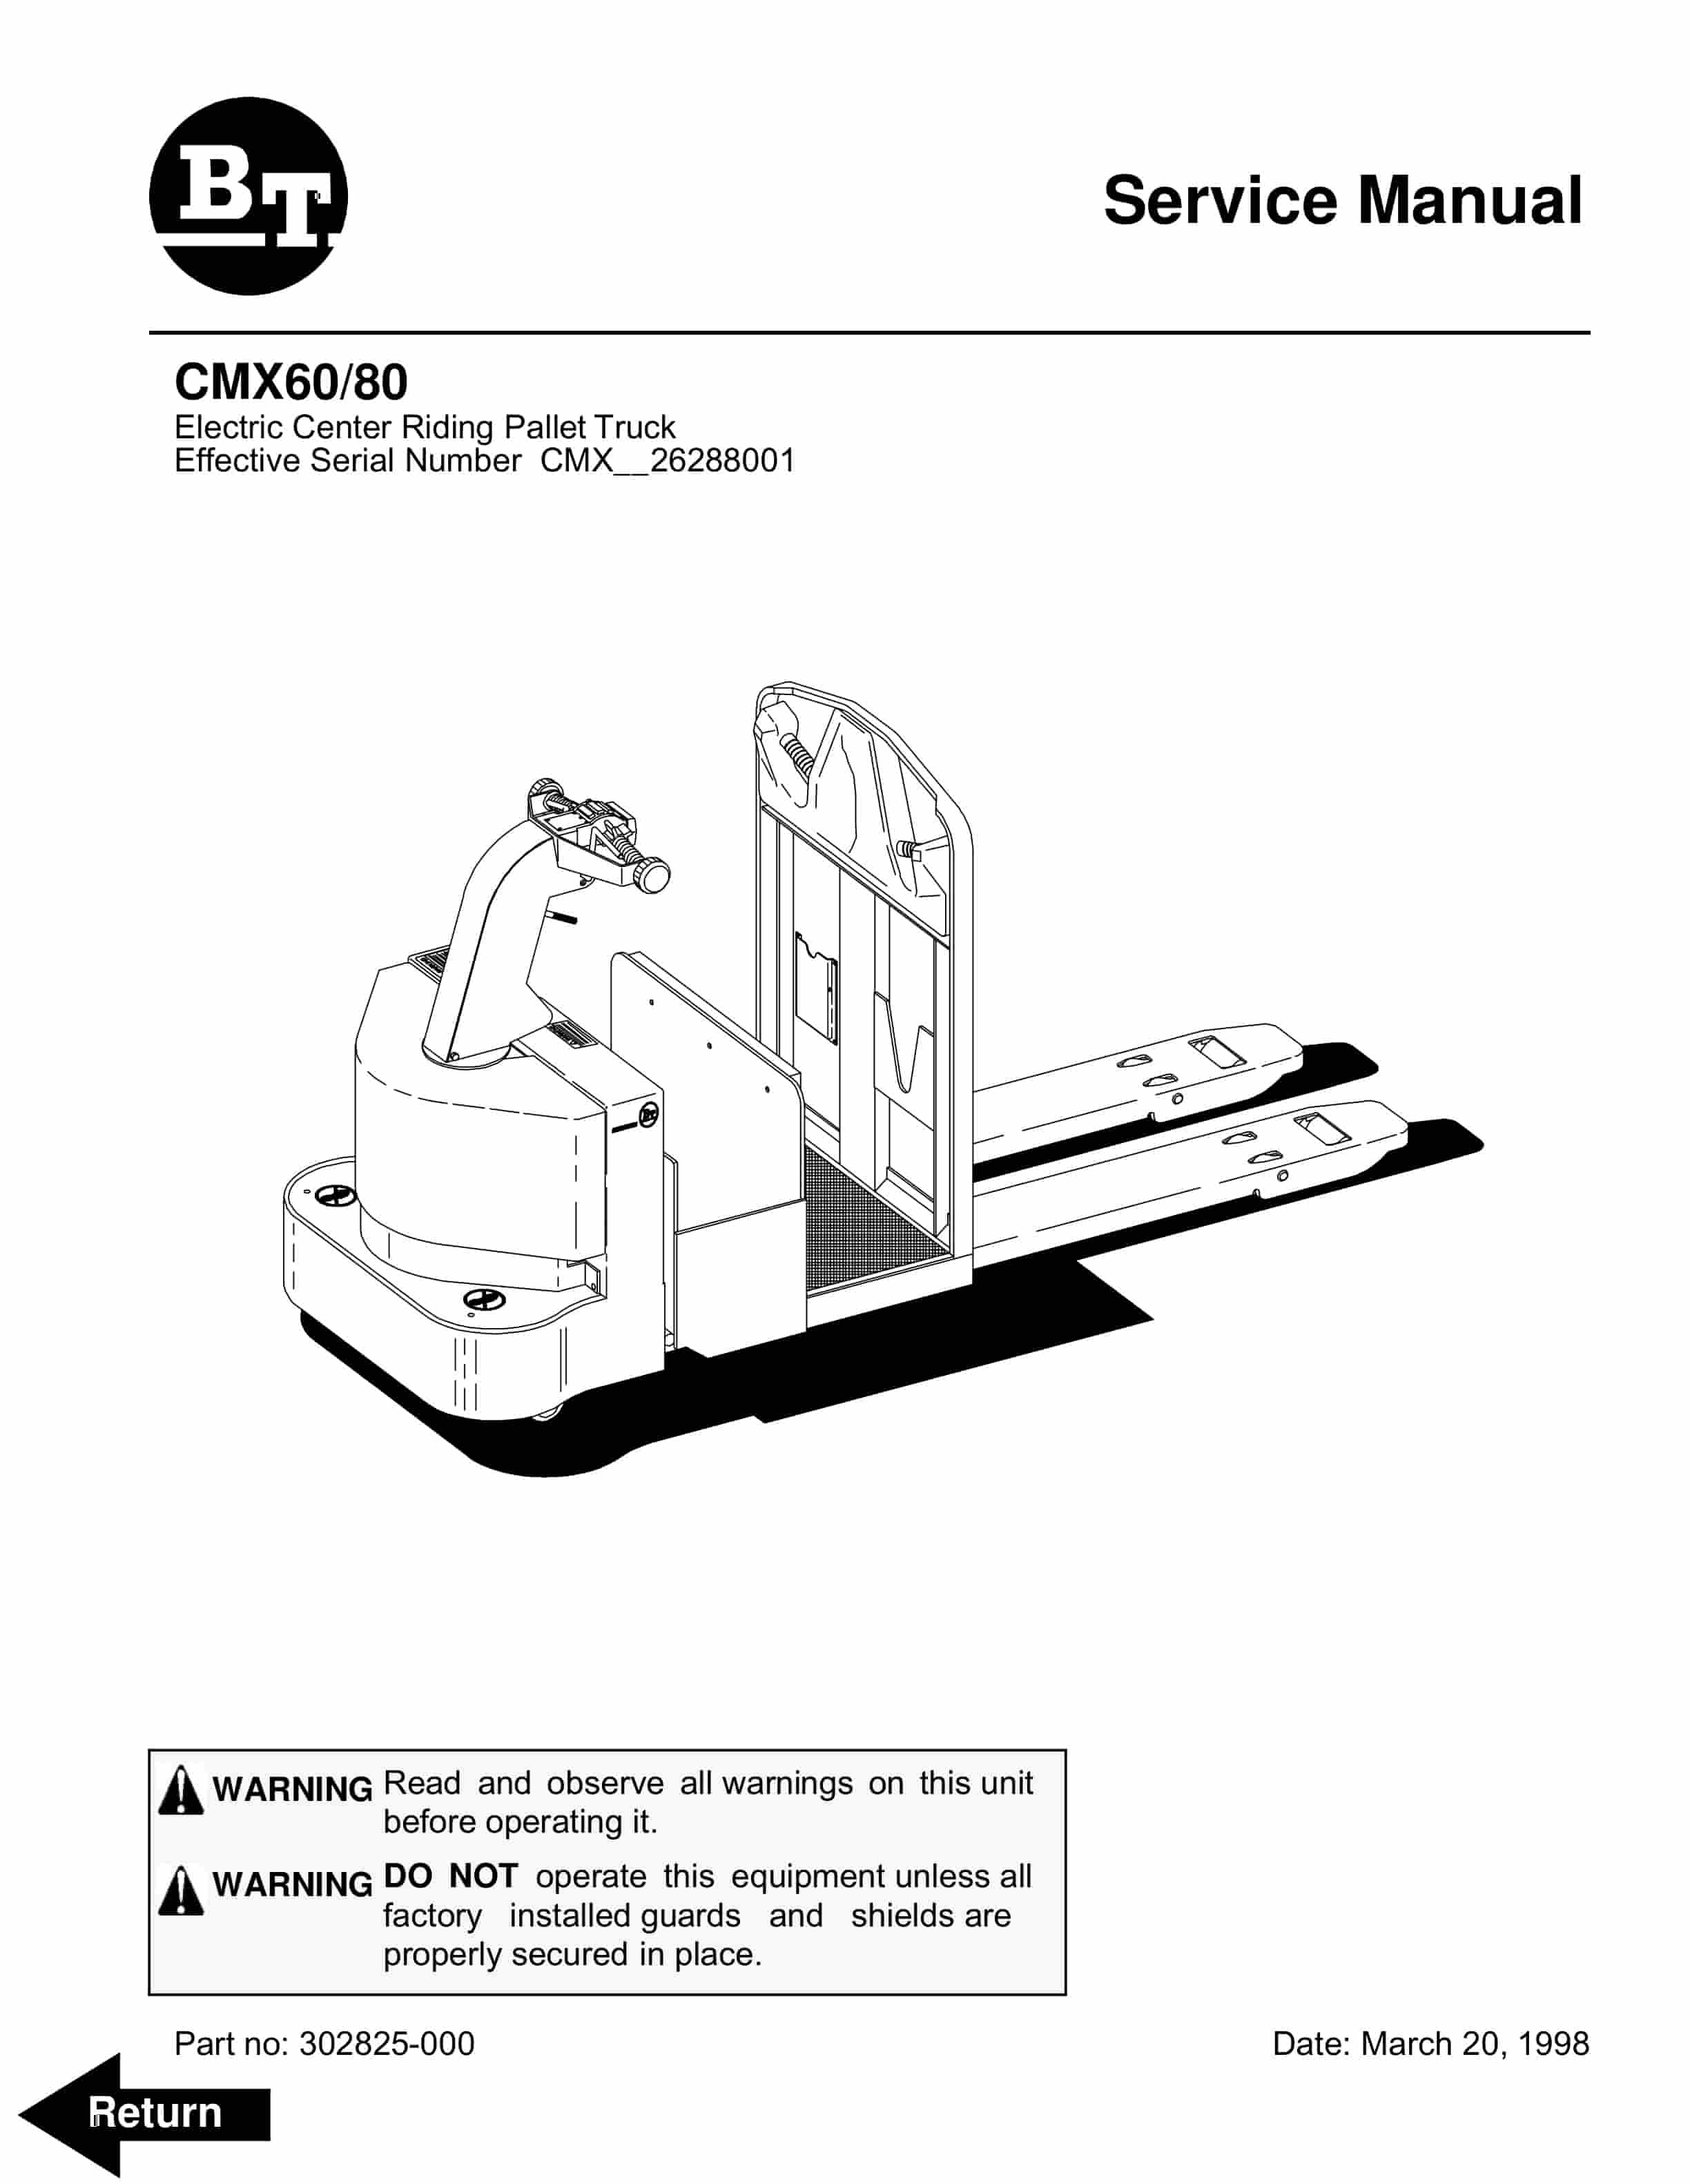
BT CMX60, CMX80 Electric Center Riding Pallet Truck Service Manual 302825-000
$30.00 Add to cart


