

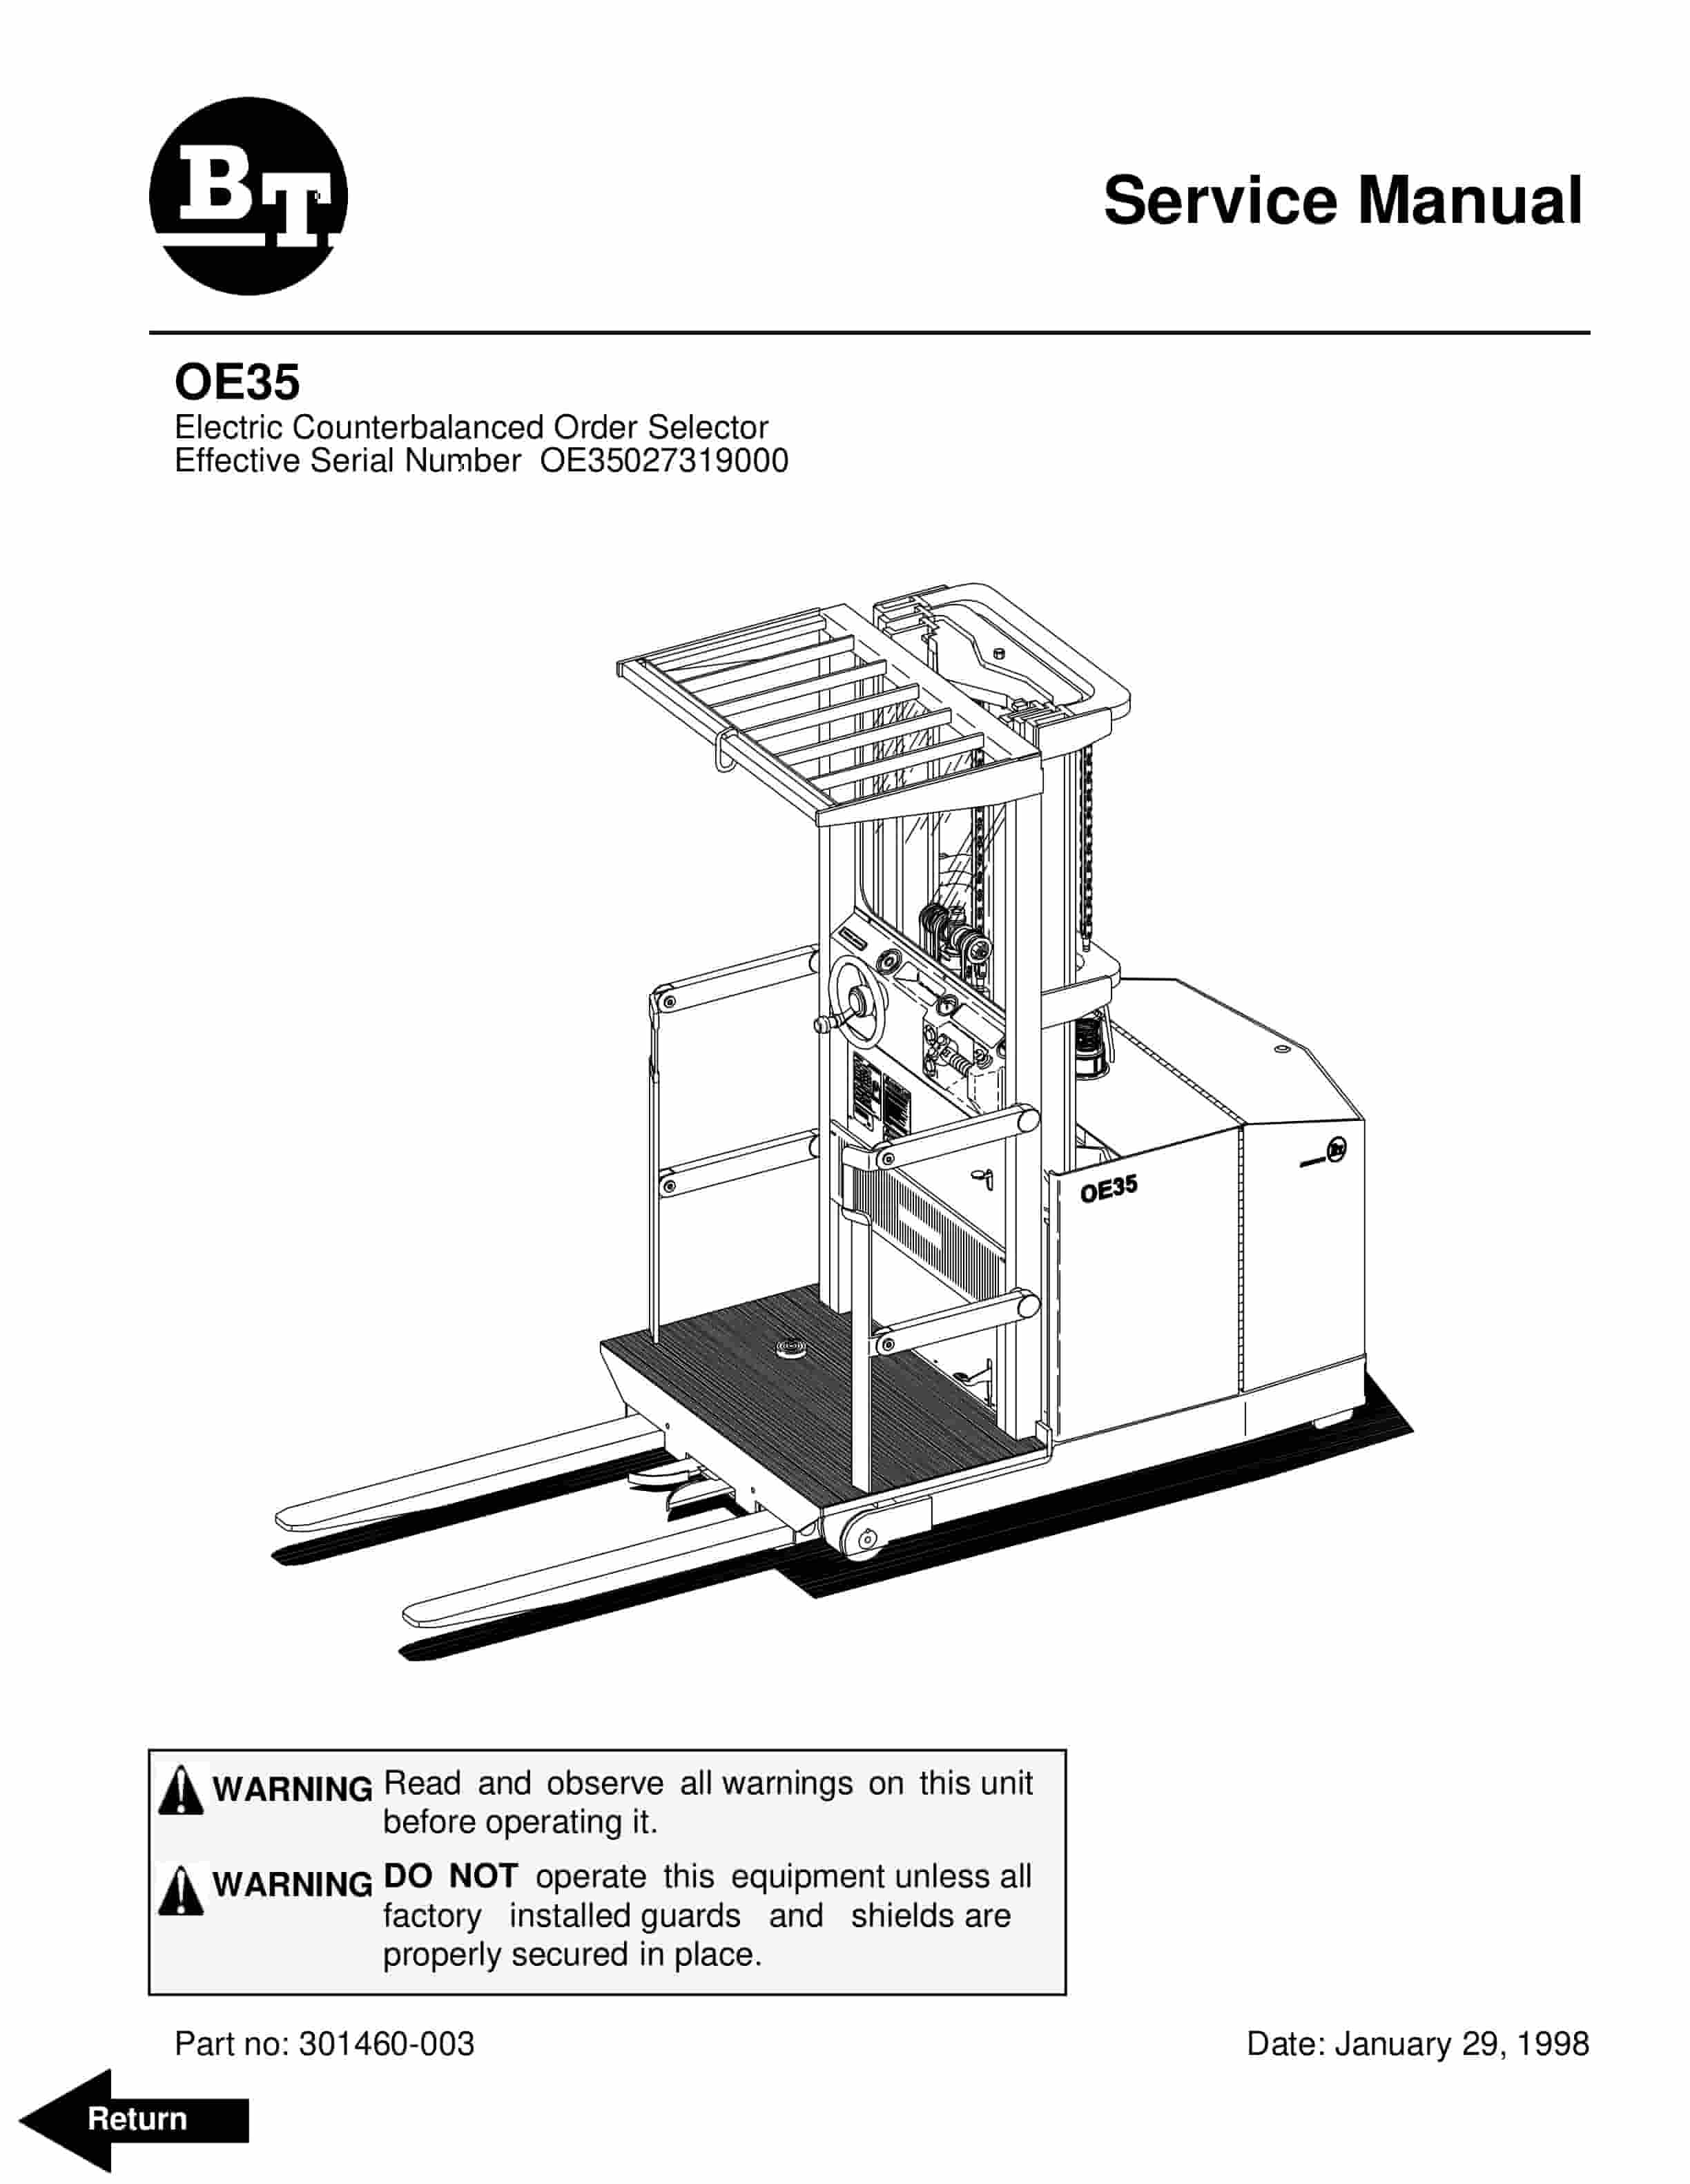
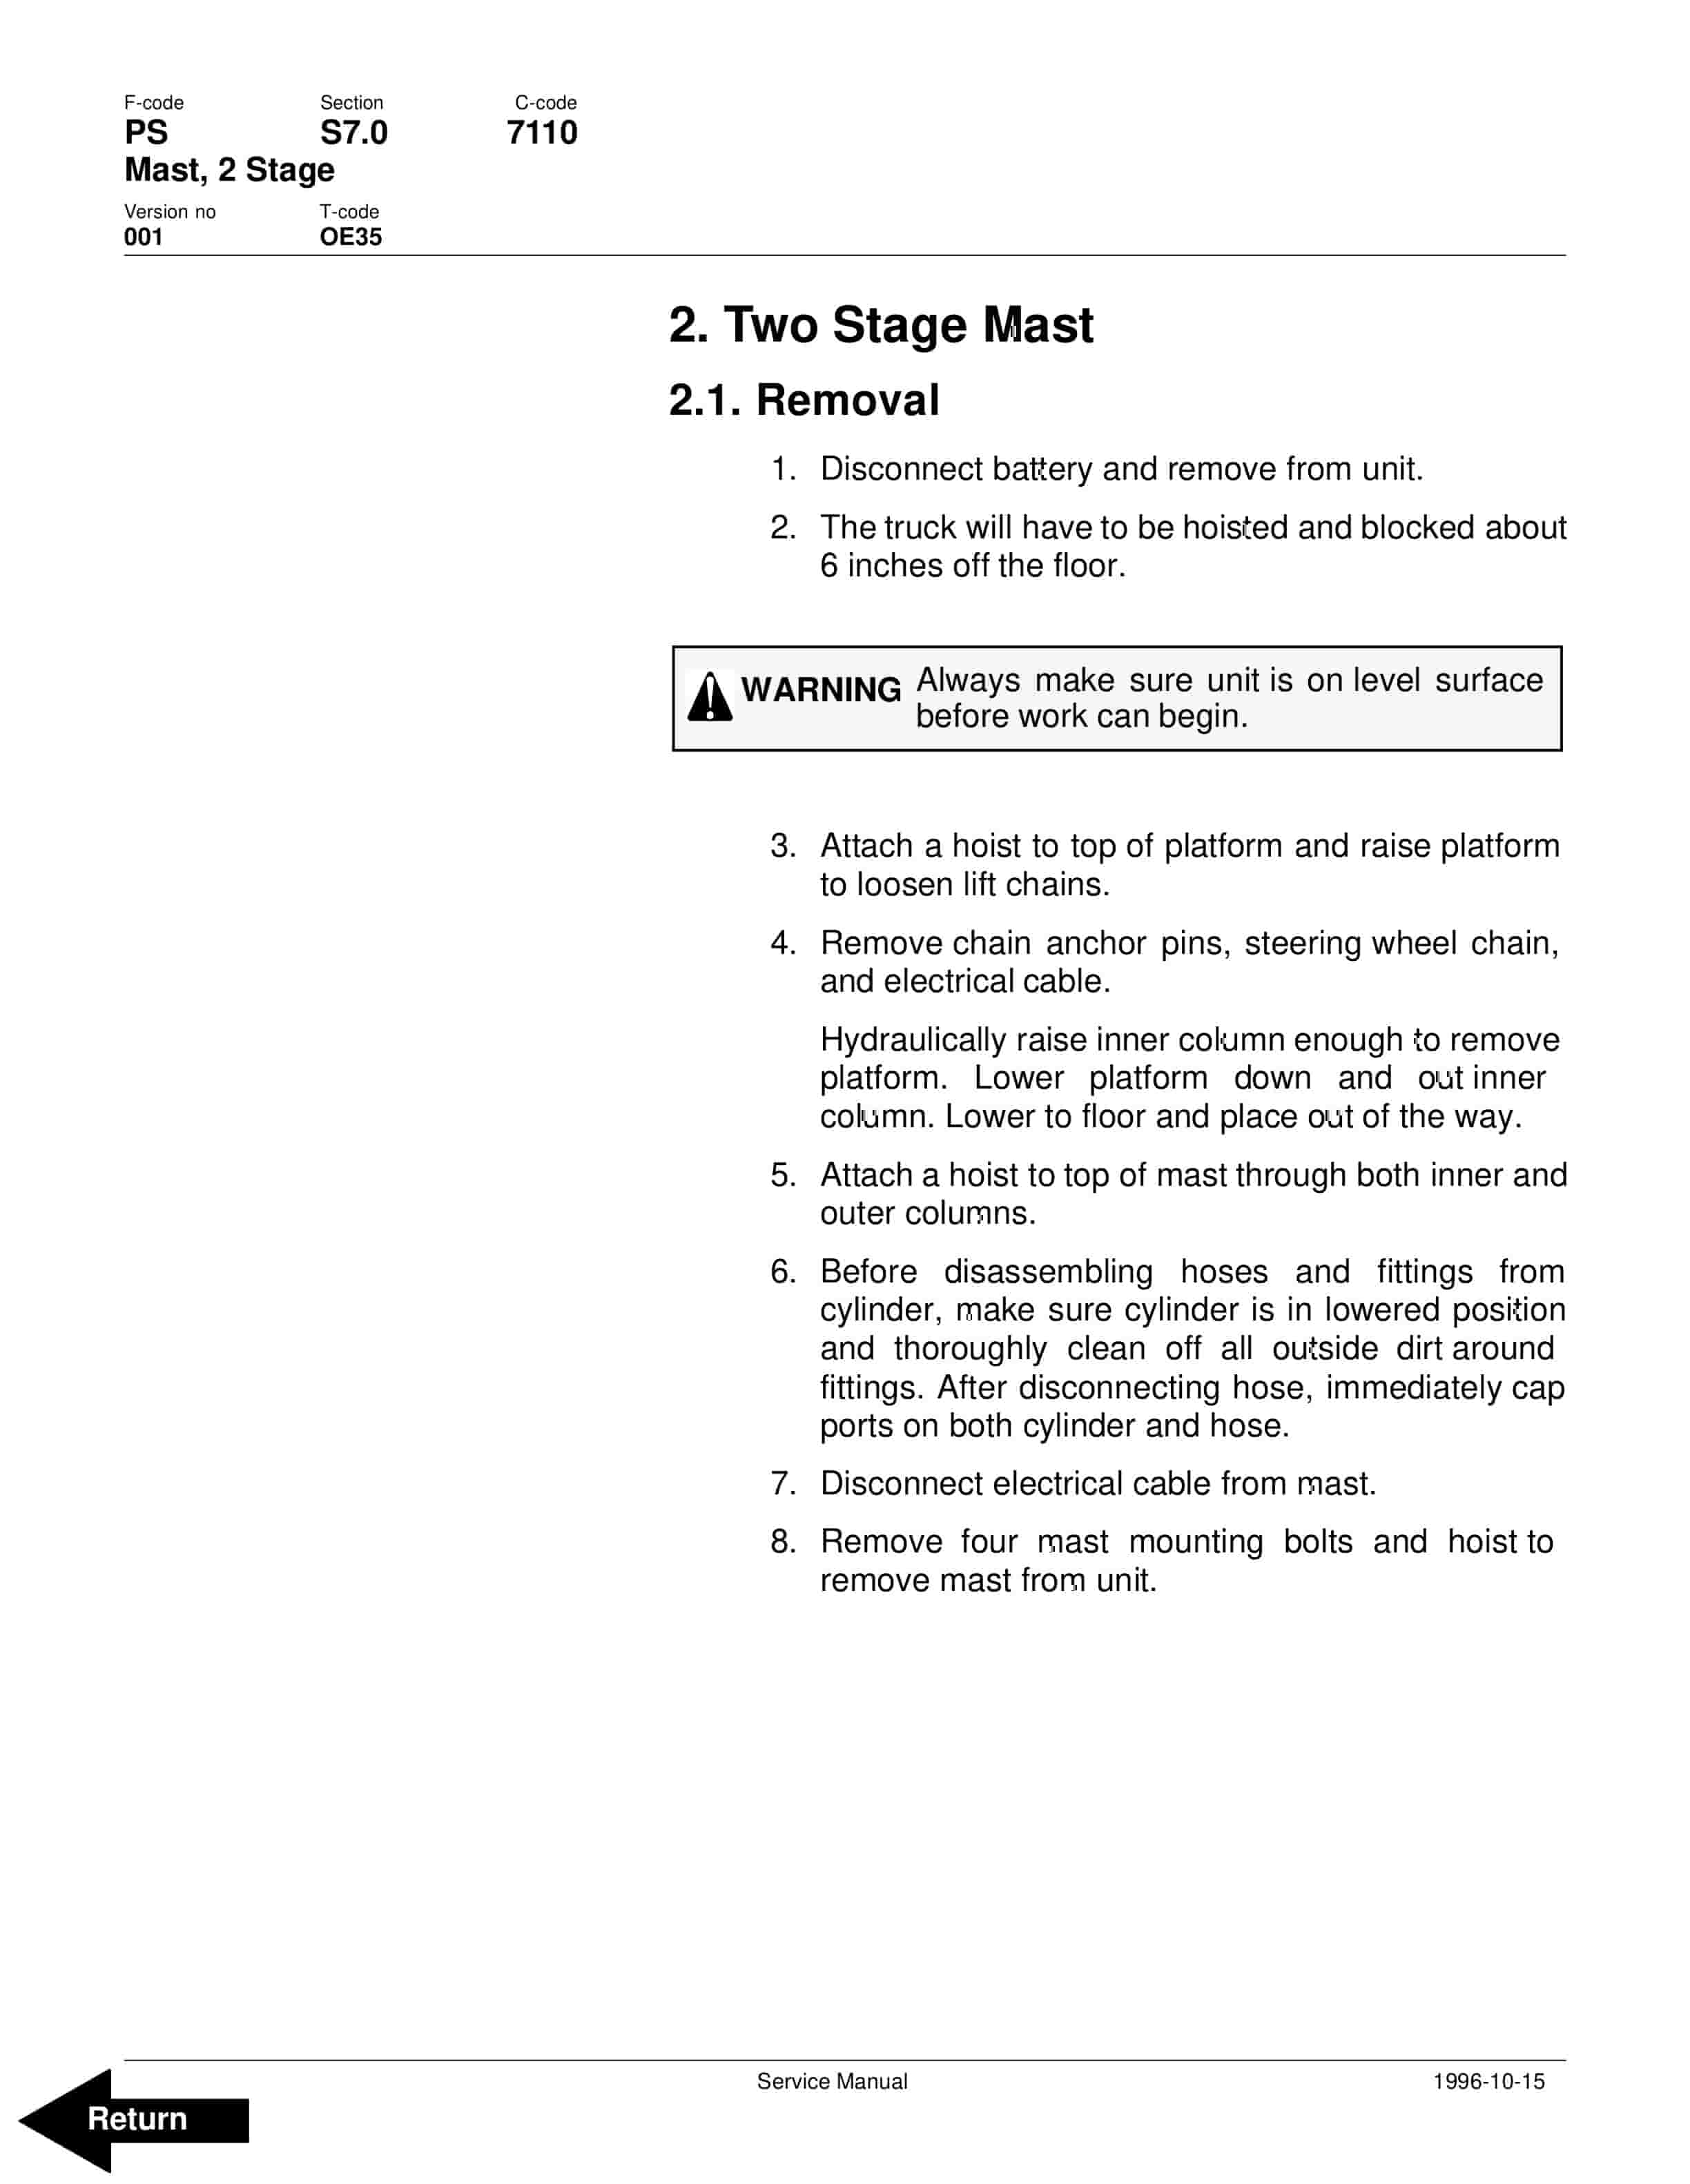
BT OE-35 Electric Counterbalanced Order Selector Service Manual 301460-003
$30.00
- Type Of Manual: Service Manual
- Manual ID: 301460-003
- : Service Manual PDF
- Number of Pages: 332
- Size: 4.0MB
- Format: PDF
Product details
-
Model List:
- OE-35 Electric Counterbalanced Order Selector
- 1. Front Cover
- 2. BT Standard Codes
- 3. Warning Symbols
- 3.1. Warning Levels
- 4. Prohibitory Symbols
- 4.1. Ordinance Symbols
- 5. Introduction, Service Manual
- 6. Contents, Section M
- 6.1. Machine Information
- 7. General Product Information
- 7.1. Presentation of the OE35
- 7.1.1. Intended Application of the Trucks
- 7.1.2. Forbidden Application of the Truck
- 7.1.3. Truck Data
- 7.1.4. OE35 Dimensions
- 7.1.5. Data Plate
- 7.1.6. Construction Type
- 7.2. Main Components
- 8. Inch (SAE) and Metric Fasteners
- 8.1. Introduction
- 8.2. Nomenclature, Threads
- 8.3. Strength Identification
- 8.4. Conversion of Metric and English Units
- 9. Technical Service Data
- 10. Ordering Spare Parts
- 11. Introduction, Maintenance
- 11.1. Safe Jacking Procedure
- 12. Service Schedule
- 12.1. Planned Maintenance Schedule
- 13. Planned Maintenance Procedures
- 13.1. Services to be performed daily or at each 8 hour operating shift
- 13.1.1. Battery Discharge Indicator with slow down
- 13.1.2. Dash Display
- 13.1.3. Hydraulic System
- 13.1.4. Frame/Sheet Metal
- 13.1.5. Wheels/Tires
- 13.1.6. Functions/Operations
- 13.2. Services to be performed monthly or every 250 operating hours
- 13.2.1. Inspection
- 13.2.2. Transmission
- 13.2.3. Brakes
- 13.2.4. Battery
- 13.2.5. Electrical Connections
- 13.2.6. Contactor Tips (NOT Sealed)
- 13.2.7. Motor Brushes
- 13.2.8. Drive Motor
- 13.2.9. Hydraulic Reservoir
- 13.2.10. Frame Lube
- 13.2.11. Pivot Points
- 13.3. Services to be performed annually or every 1200 operating hours
- 13.3.1. Inspection
- 13.3.2. Transmission
- 13.3.3. Battery
- 13.3.4. Hydraulic System
- 13.3.5. Brakes
- 14. Lubrication Chart
- 15. Oil and Grease Specifications
- 15.1. Approved Oils and Grease
- 16. Contents, Section S
- 16.1. Service Instructions
- 17. Inspection Covers
- 17.1. Removal Of Plastic Dash Panel
- 18. Drive Motor
- 18.1. General Information
- 18.2. Operating Conditions
- 18.3. Troubleshooting
- 19. Drive Motor 24 Volt
- 19.1. Component Repair
- 19.2. Inspection and Troubleshooting
- 19.2.1. Drive End Head
- 19.2.2. Commutator End Head
- 19.2.3. Bearings
- 19.2.4. Brush and Commutator
- 19.2.5. Armature
- 19.2.6. Frame and Field Assembly
- 19.2.7. Assembly
- 19.3. When changing brushes
- 20. Drive Motor 36 Volt
- 20.1. Component Repair
- 20.1.1. Disassembly
- 20.2. Inspection and Troubleshooting
- 20.2.1. Drive End Head
- 20.2.2. Commutator End Head
- 20.2.3. Bearings
- 20.2.4. Brush and Commutator
- 20.2.5. Armature
- 20.2.6. Frame and Field Assembly
- 20.2.7. Assembly
- 20.3. When Changing Brushes
- 21. Transmission
- 21.1. System description
- 21.2. Troubleshooting
- 21.3. Removal
- 22. Transmission Disassembly / Assembly
- 22.1. Disassembly
- 22.2. Installation
- 23. Drive Wheel
- 23.1. Removal
- 23.2. Installation
- 24. Load Wheels
- 25. Stabilizing Caster Spring Loaded
- 25.1. Removal
- 25.2. Inspection
- 25.3. Disassembly
- 25.3.1. Installation
- 26. Torque Generator
- 26.1. Disassembly
- 26.2. Assembly
- 27. Steering System Pump
- 27.1. General Information
- 27.2. Removal
- 27.3. Installation
- 27.4. Disassembly
- 27.5. Inspection
- 27.6. Assembly
- 28. Steering System
- 28.1. General Information
- 29. Electrical System with TX and TT Card
- 29.1. Electrical Schematic Part 1
- 29.2. Electrical Schematic Part 2
- 29.3. Basics Of Circuit Operation
- 29.4. Control Features
- 29.4.1. Oscillator
- 29.4.2. Current Limit
- 29.4.3. Plugging
- 29.4.4. Pedal Position Plug
- 29.4.5. Ramp Start
- 29.4.6. Full Power Transition
- 29.4.7. Control Acceleration and 1A Time
- 29.4.8. Current Drop Out
- 29.4.9. Static Return to OFF
- 29.4.10. Accelerator Volts Hold-OFF
- 29.4.11. Coil Driver Modules
- 29.4.12. Thermal Hold-OFF
- 29.4.13. Must Pulse to Time
- 29.4.14. Pulse Monitor Trip (PMT)
- 29.4.15. Thermal Protector – (TP)
- 29.4.16. Low Voltage
- 29.4.17. Top Speed (Motor volts) Limit
- 29.4.18. Steer Pump Contactor Time Delay
- 29.4.19. Constant Current Coil Drivers and Internal Coil Suppression
- 29.4.20. Hourmeter Readings
- 29.4.21. Internal Resistance Compensation
- 29.4.22. Stored Status Code
- 29.4.23. On-board Diagnostics
- 29.4.24. Battery Discharge Indication
- 29.4.25. Handset
- 29.5. General Maintenance Instructions
- 29.6. Trouble-shooting Instructions
- 30. Battery Controller / Hourmeter / Lift Interrupt
- 30.1. General Information
- 30.2. Electrical
- 30.2.1. Voltage
- 30.3. Battery Controller (BC)
- 30.3.1. General Information
- 30.3.2. Reset
- 30.3.3. Key Switch
- 30.3.4. Hourmeter
- 30.4. Troubleshooting
- 30.4.1. Battery Discharge Indicator (BDI)
- 30.4.2. Hourmeter
- 31. Dash Display
- 31.1. General Information
- 31.2. Location
- 31.3. Operational Checks
- 31.3.1. Checking Hourmeter
- 31.3.2. Checking Battery Condition (BDI).
- 31.3.3. Checking Status Code (wrench).
- 31.4. Status Codes
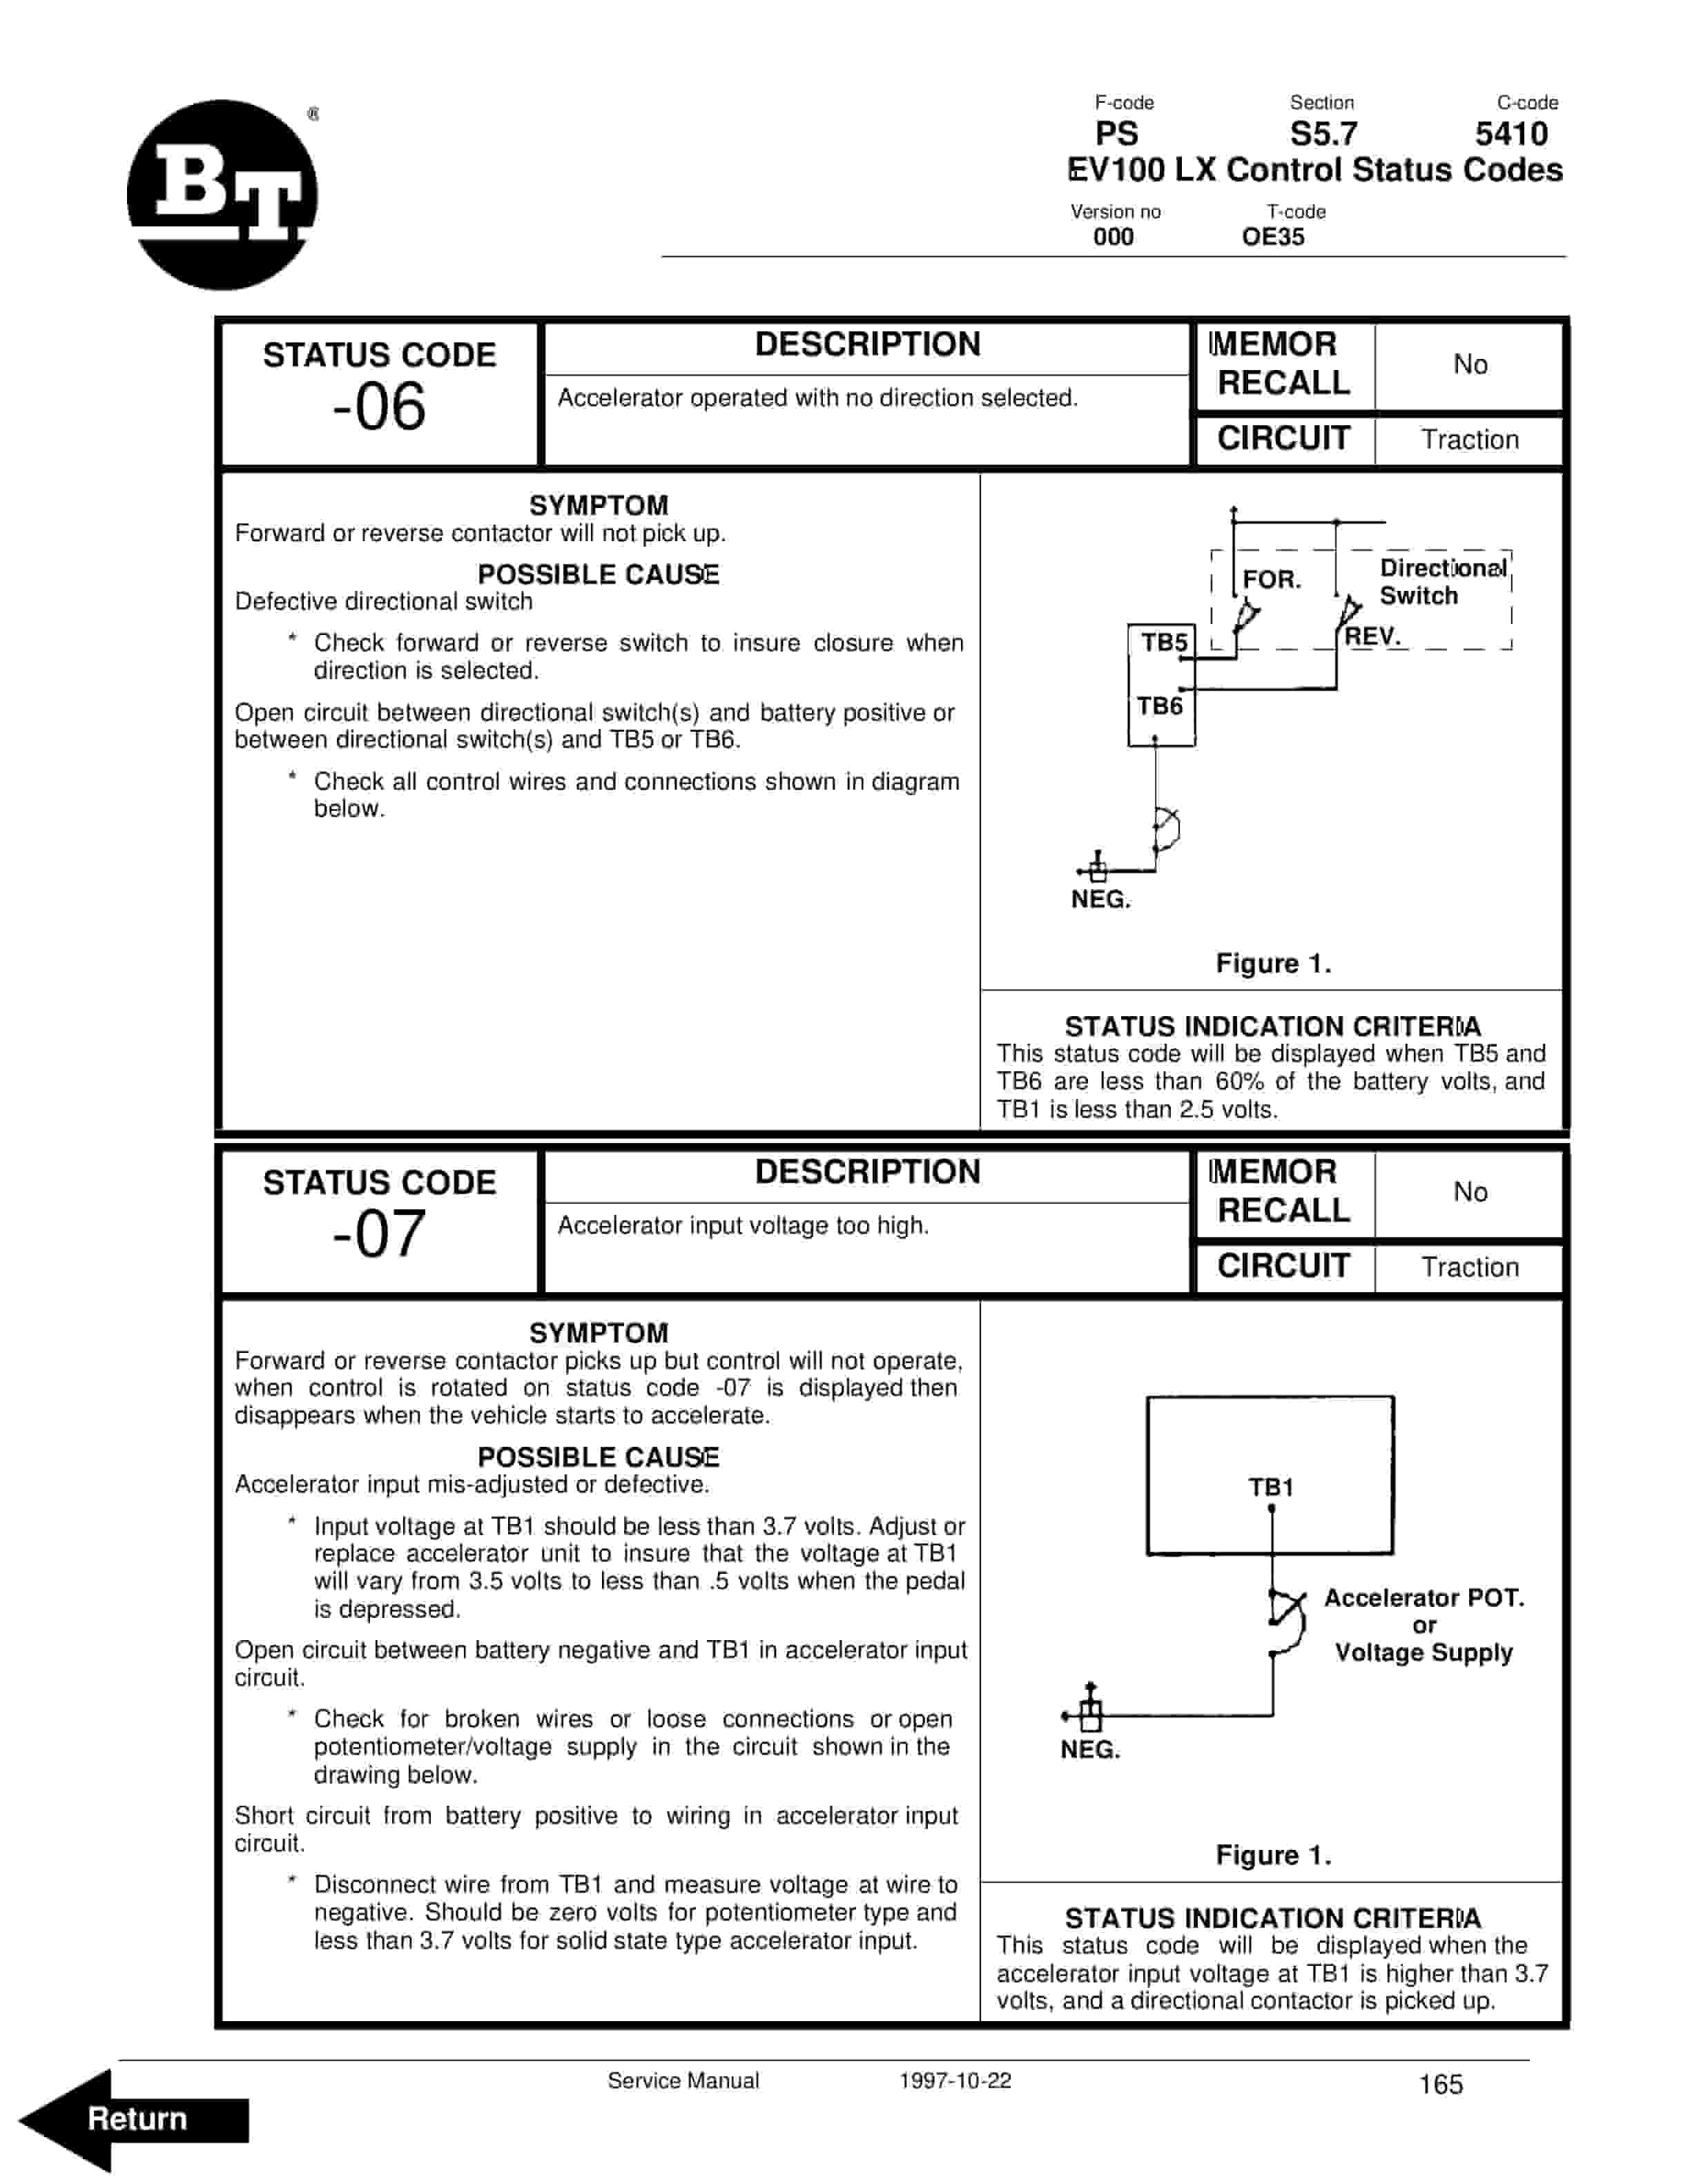
- 32. EV100 LX Control Status Codes
- 33. SCR Component Checks
- 33.1. Main Logic Card
- 33.1.1. Instructions for Removal of Control Card.
- 33.2. Capacitor 1C
- 33.3. Contactors Forward, Rearward, 1A, Power Steering, and Pump
- 33.4. Potentiometer in Accelerator
- 33.5. SCRs (1REC, 2REC, 5REC)
- 33.6. Rectifiers (3REC, 4REC, Diode Blocks)
- 33.7. Thermal Protector (TP)
- 33.8. Filter Block (23FIL, etc.)
- 33.9. Filter Block (23FIL, etc.)
- 33.10. Choke and Reactor T3-T4
- 33.11. Replacement of EV100 Components
- 33.11.1. EC, 2REC or 5REC
- 33.11.2. Capacitor
- 33.11.3. EC, 23REC and 25REC
- 33.12. Instructions – EV100 Plugs
- 33.12.1. General
- 33.12.2. Procedures
- 33.12.3. Reference
- 34. Direction Contactor
- 34.1. General Information
- 34.2. Remove / replace contact tips
- 35. Speed Contactor
- 35.1. General Information
- 35.2. Disassembly
- 35.3. Assembly
- 36. Electrical System Troubleshooting
- 36.1. Control Circuits and Power Circuits
- 37. Electrical System Troubleshooting Charts
- 38. Pump Contactor
- 38.1. General Information
- 38.2. Disassembly
- 38.3. Assembly
- 39. Steering Pump Contactor
- 39.1. General Information
- 39.2. Disassembly
- 39.3. Assembly
- 40. EV100 Handset Operation
- 40.1. General Information
- 40.2. Purpose
- 40.3. Operation
- 40.4. Function Set-Up Procedures
- 40.5. Description and Location
- 40.6. Function Numbers for Controllers
- 40.6.1. Function 1
- 40.6.2. Function 2
- 40.6.3. Function 3
- 40.6.4. Function 4
- 40.6.5. Function 5
- 40.6.6. Function 6
- 40.6.7. Function 11
- 40.6.8. Function 12
- 40.6.9. Function 13
- 40.6.10. Function 14
- 40.6.11. Function 15
- 40.6.12. Function 16
- 40.6.13. Function 17
- 40.6.14. Function 18
- 41. Hydraulic System
- 41.1. Hydraulic Schematic
- 41.2. General Information
- 41.2.1. Lift/lower
- 41.2.2. Power Steering
- 41.2.3. Brake Release
- 41.3. Maintenance
- 41.4. Adjustments
- 42. Hydraulic Troubleshooting
- 42.1. Troubleshooting Chart
- 43. Lift Pump Assembly
- 43.1. Removal
- 43.2. Disassembly
- 43.3. Inspection
- 43.4. Assembly
- 44. Mast, 2 Stage
- 44.1. Shimming Mast on Truck.
- 44.1.1. Shimming the Platform.
- 44.1.2. Shimming the Rails
- 44.2. Two Stage Mast
- 44.2.1. Removal
- 44.2.2. Installation
- 44.2.3. Disassembly
- 44.2.4. Assembly
- 45. Mast, 3 Stage
- 45.1. Shimming Mast on Truck.
- 45.1.1. Shimming the Platform.
- 45.1.2. Shimming the Rails.
- 45.2. Three Stage Mast
- 45.2.1. Removal
- 45.2.2. Installation
- 45.2.3. Disassembly
- 45.2.4. Assembly
- 46. Lift Cylinder, 2 Stage
- 46.1. Cylinder Repair
- 46.1.1. Removal
- 46.1.2. Disassembly
- 46.1.3. Assembly
- 46.1.4. Installation
- 47. Freelift Cylinder, 3 Stage
- 47.1. Freelift Cylinder Repair
- 47.1.1. Removal
- 47.1.2. Disassembly
- 47.1.3. Assembly
- 47.1.4. Installation
- 48. Staging Cylinder, 3 Stage
- 48.1. Removal
- 48.2. Disassembly
- 48.3. Assembly
- 48.4. Installation
- 49. Micro 70 Wire Guidance Important Information
- 49.1. Powering Up
- 49.2. Powering Down
- 50. Micro 70 Wire Guidance
- 50.1. Electrical Schematic Part 1
- 50.2. Electrical Schematic Part 2
- 50.3. Electrical Schematic Part 3
- 50.4. Electrical Schematic Part 4
- 50.5. Cautions and Warnings
- 50.6. Operation Information
- 50.6.1. Modes of operation.
- 50.6.2. Acquiring the guide wire.
- 50.6.3. Daily operational checks
- 50.7. Component Function and Relationship
- 50.8. Truck Set Up On Site
- 50.9. Troubleshooting Information
- 50.10. Troubleshooting Charts
- 51. Back Cover
Related products
-
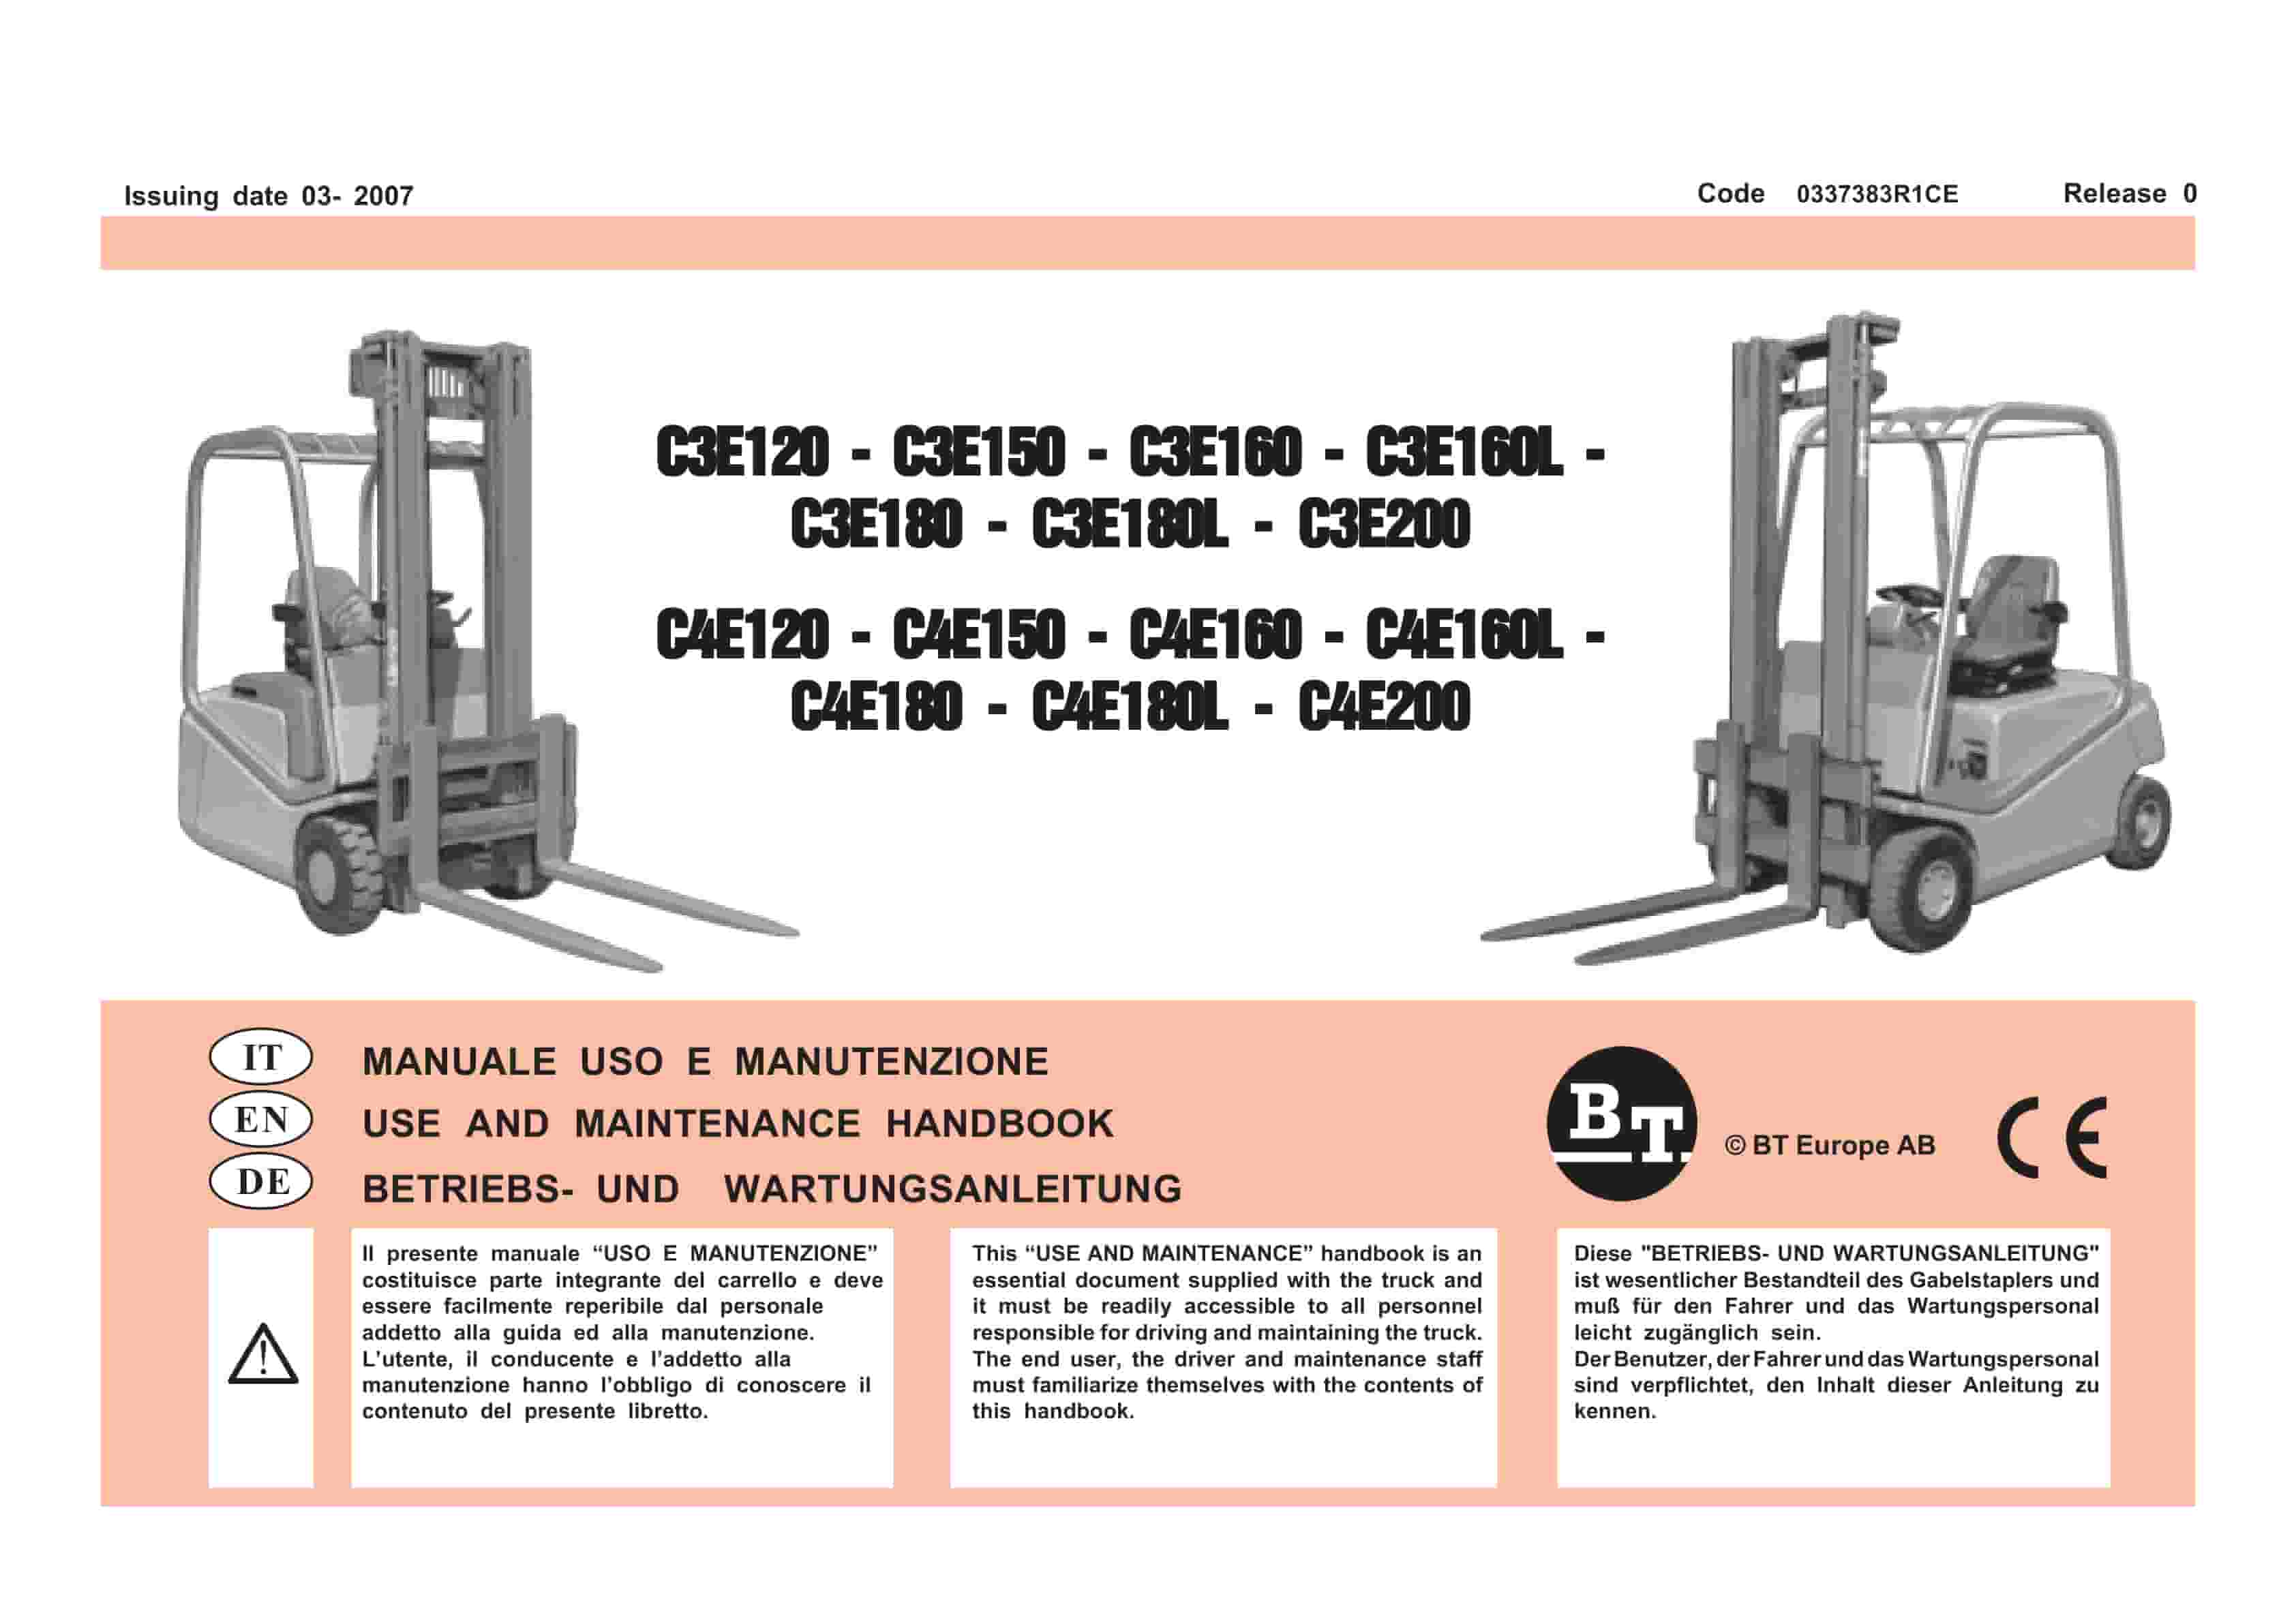
BT C3E120 to C4E200 Use And Maintenance Handbook 0337383R1CE
$30.00 Add to cart -
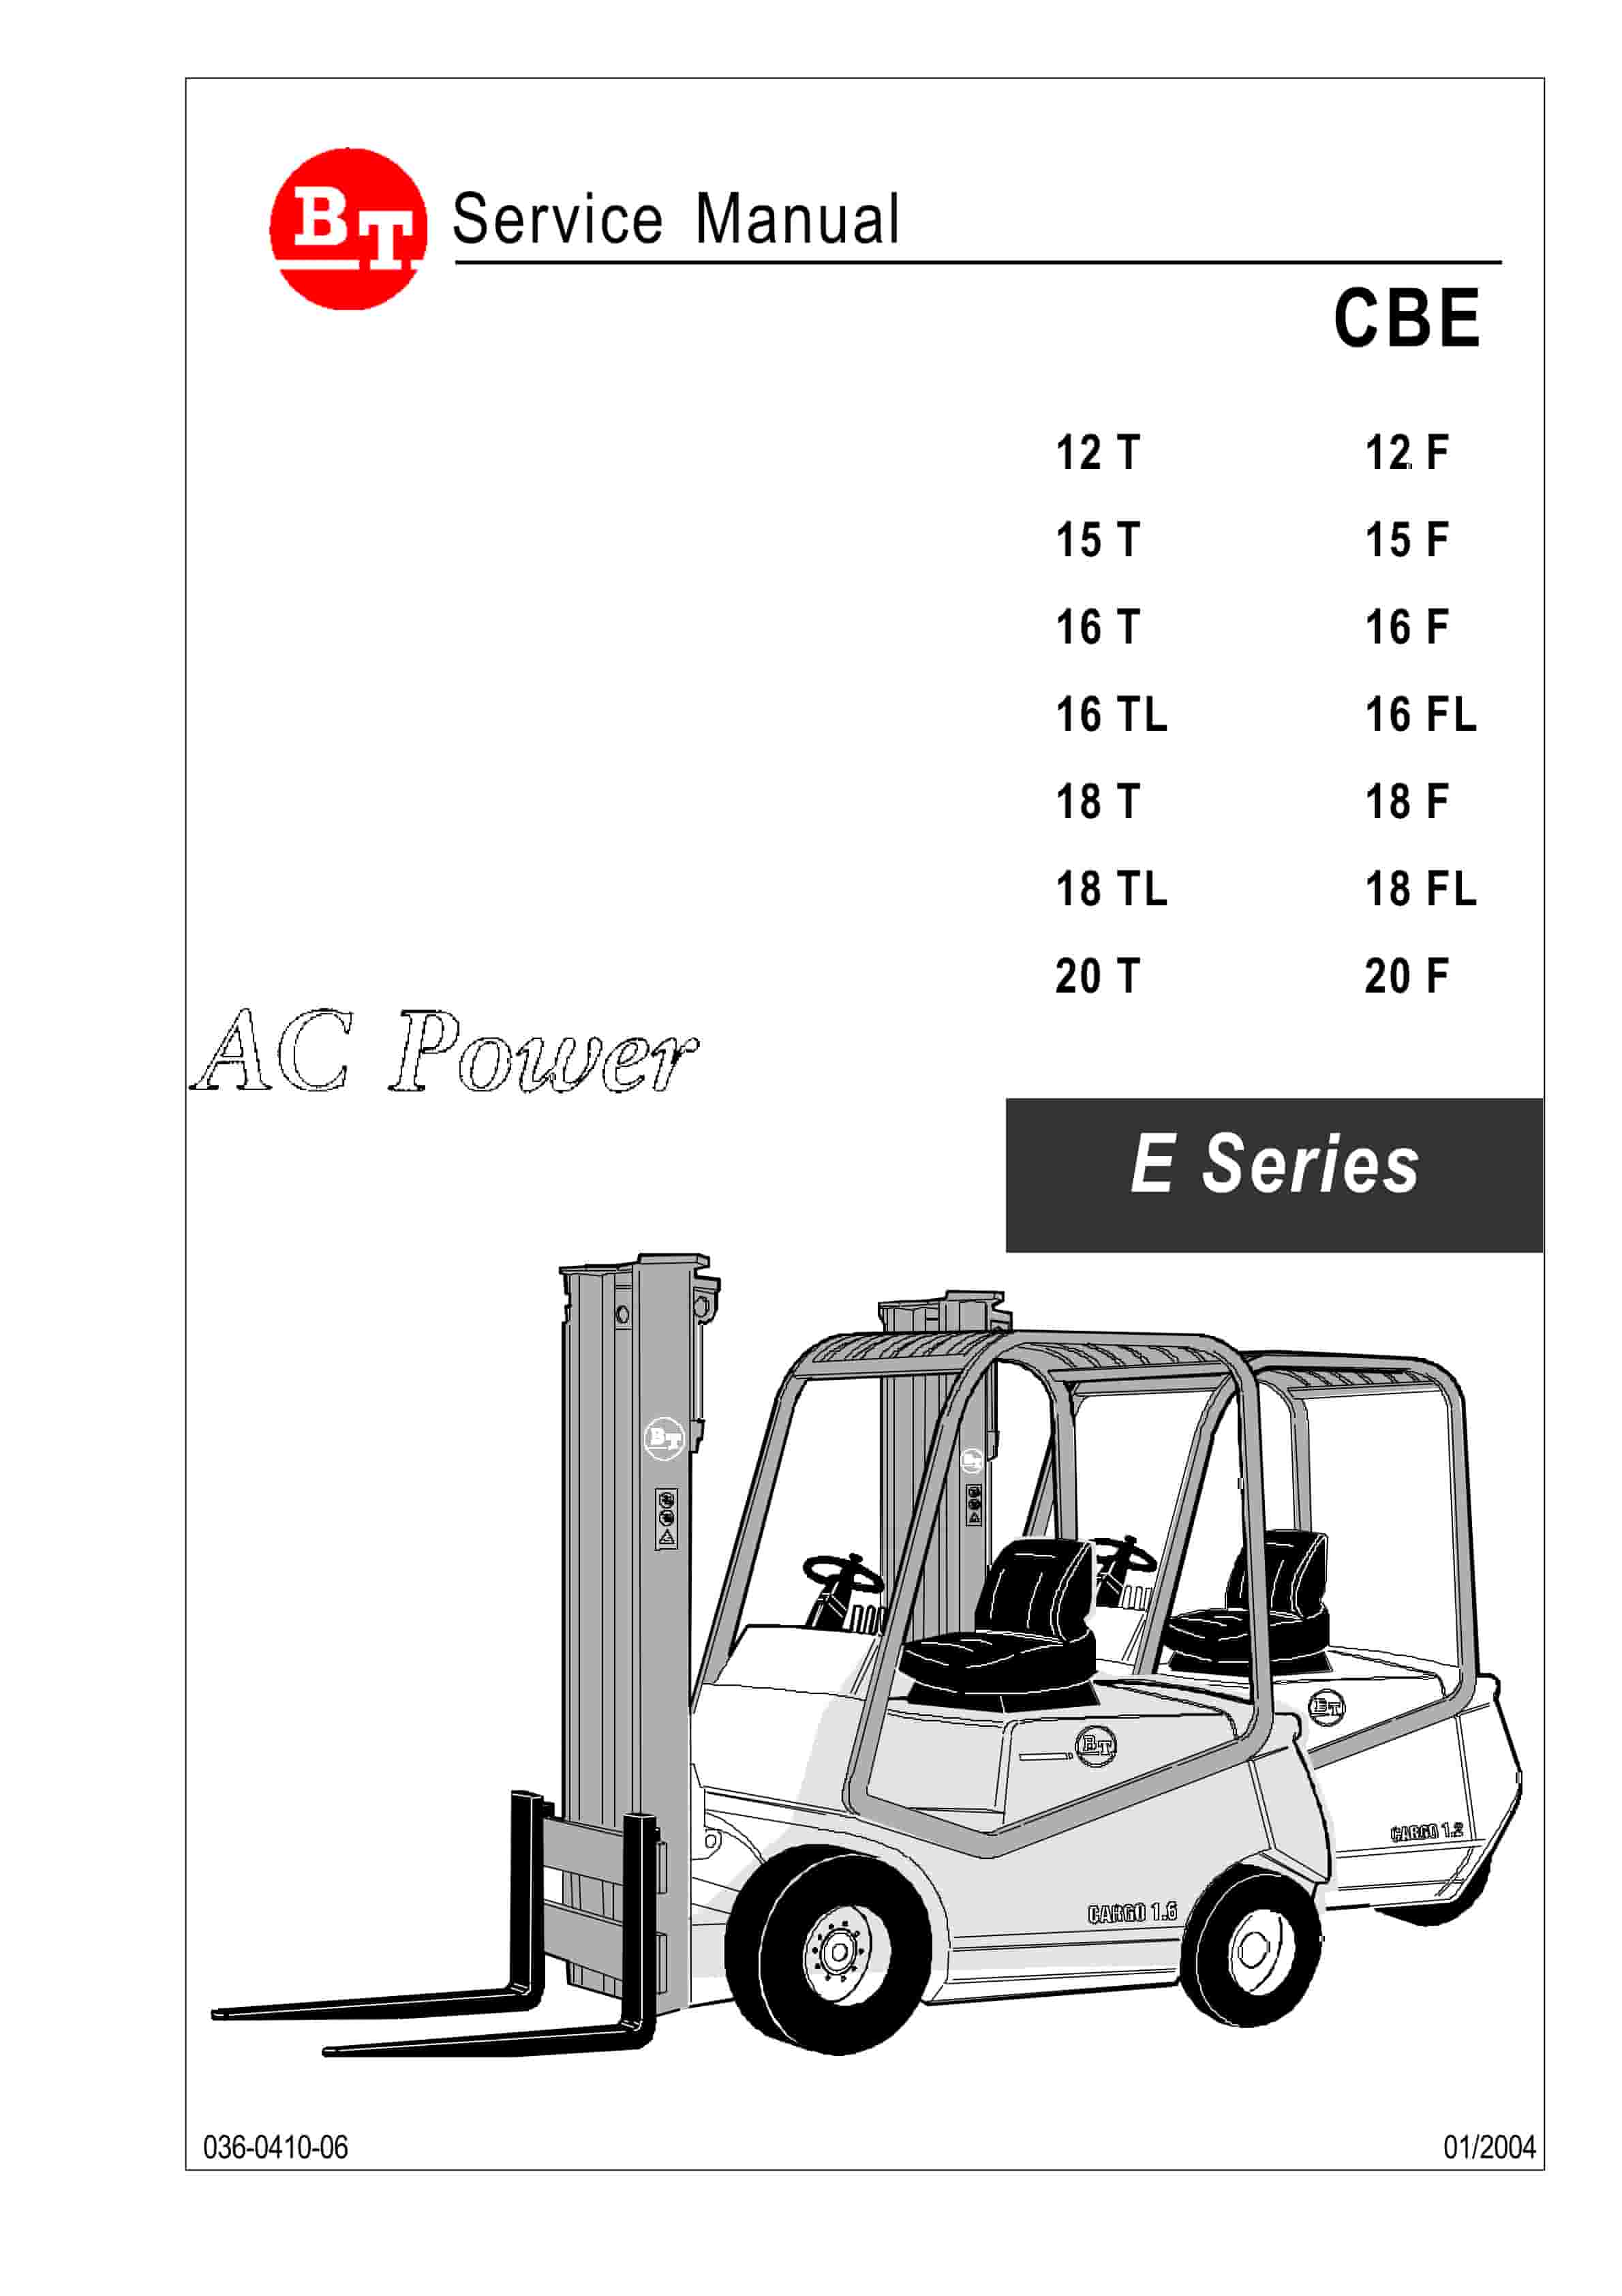
BT CBE 12T to CBE 20F Service Manual 036-0410-03
$30.00 Add to cart -
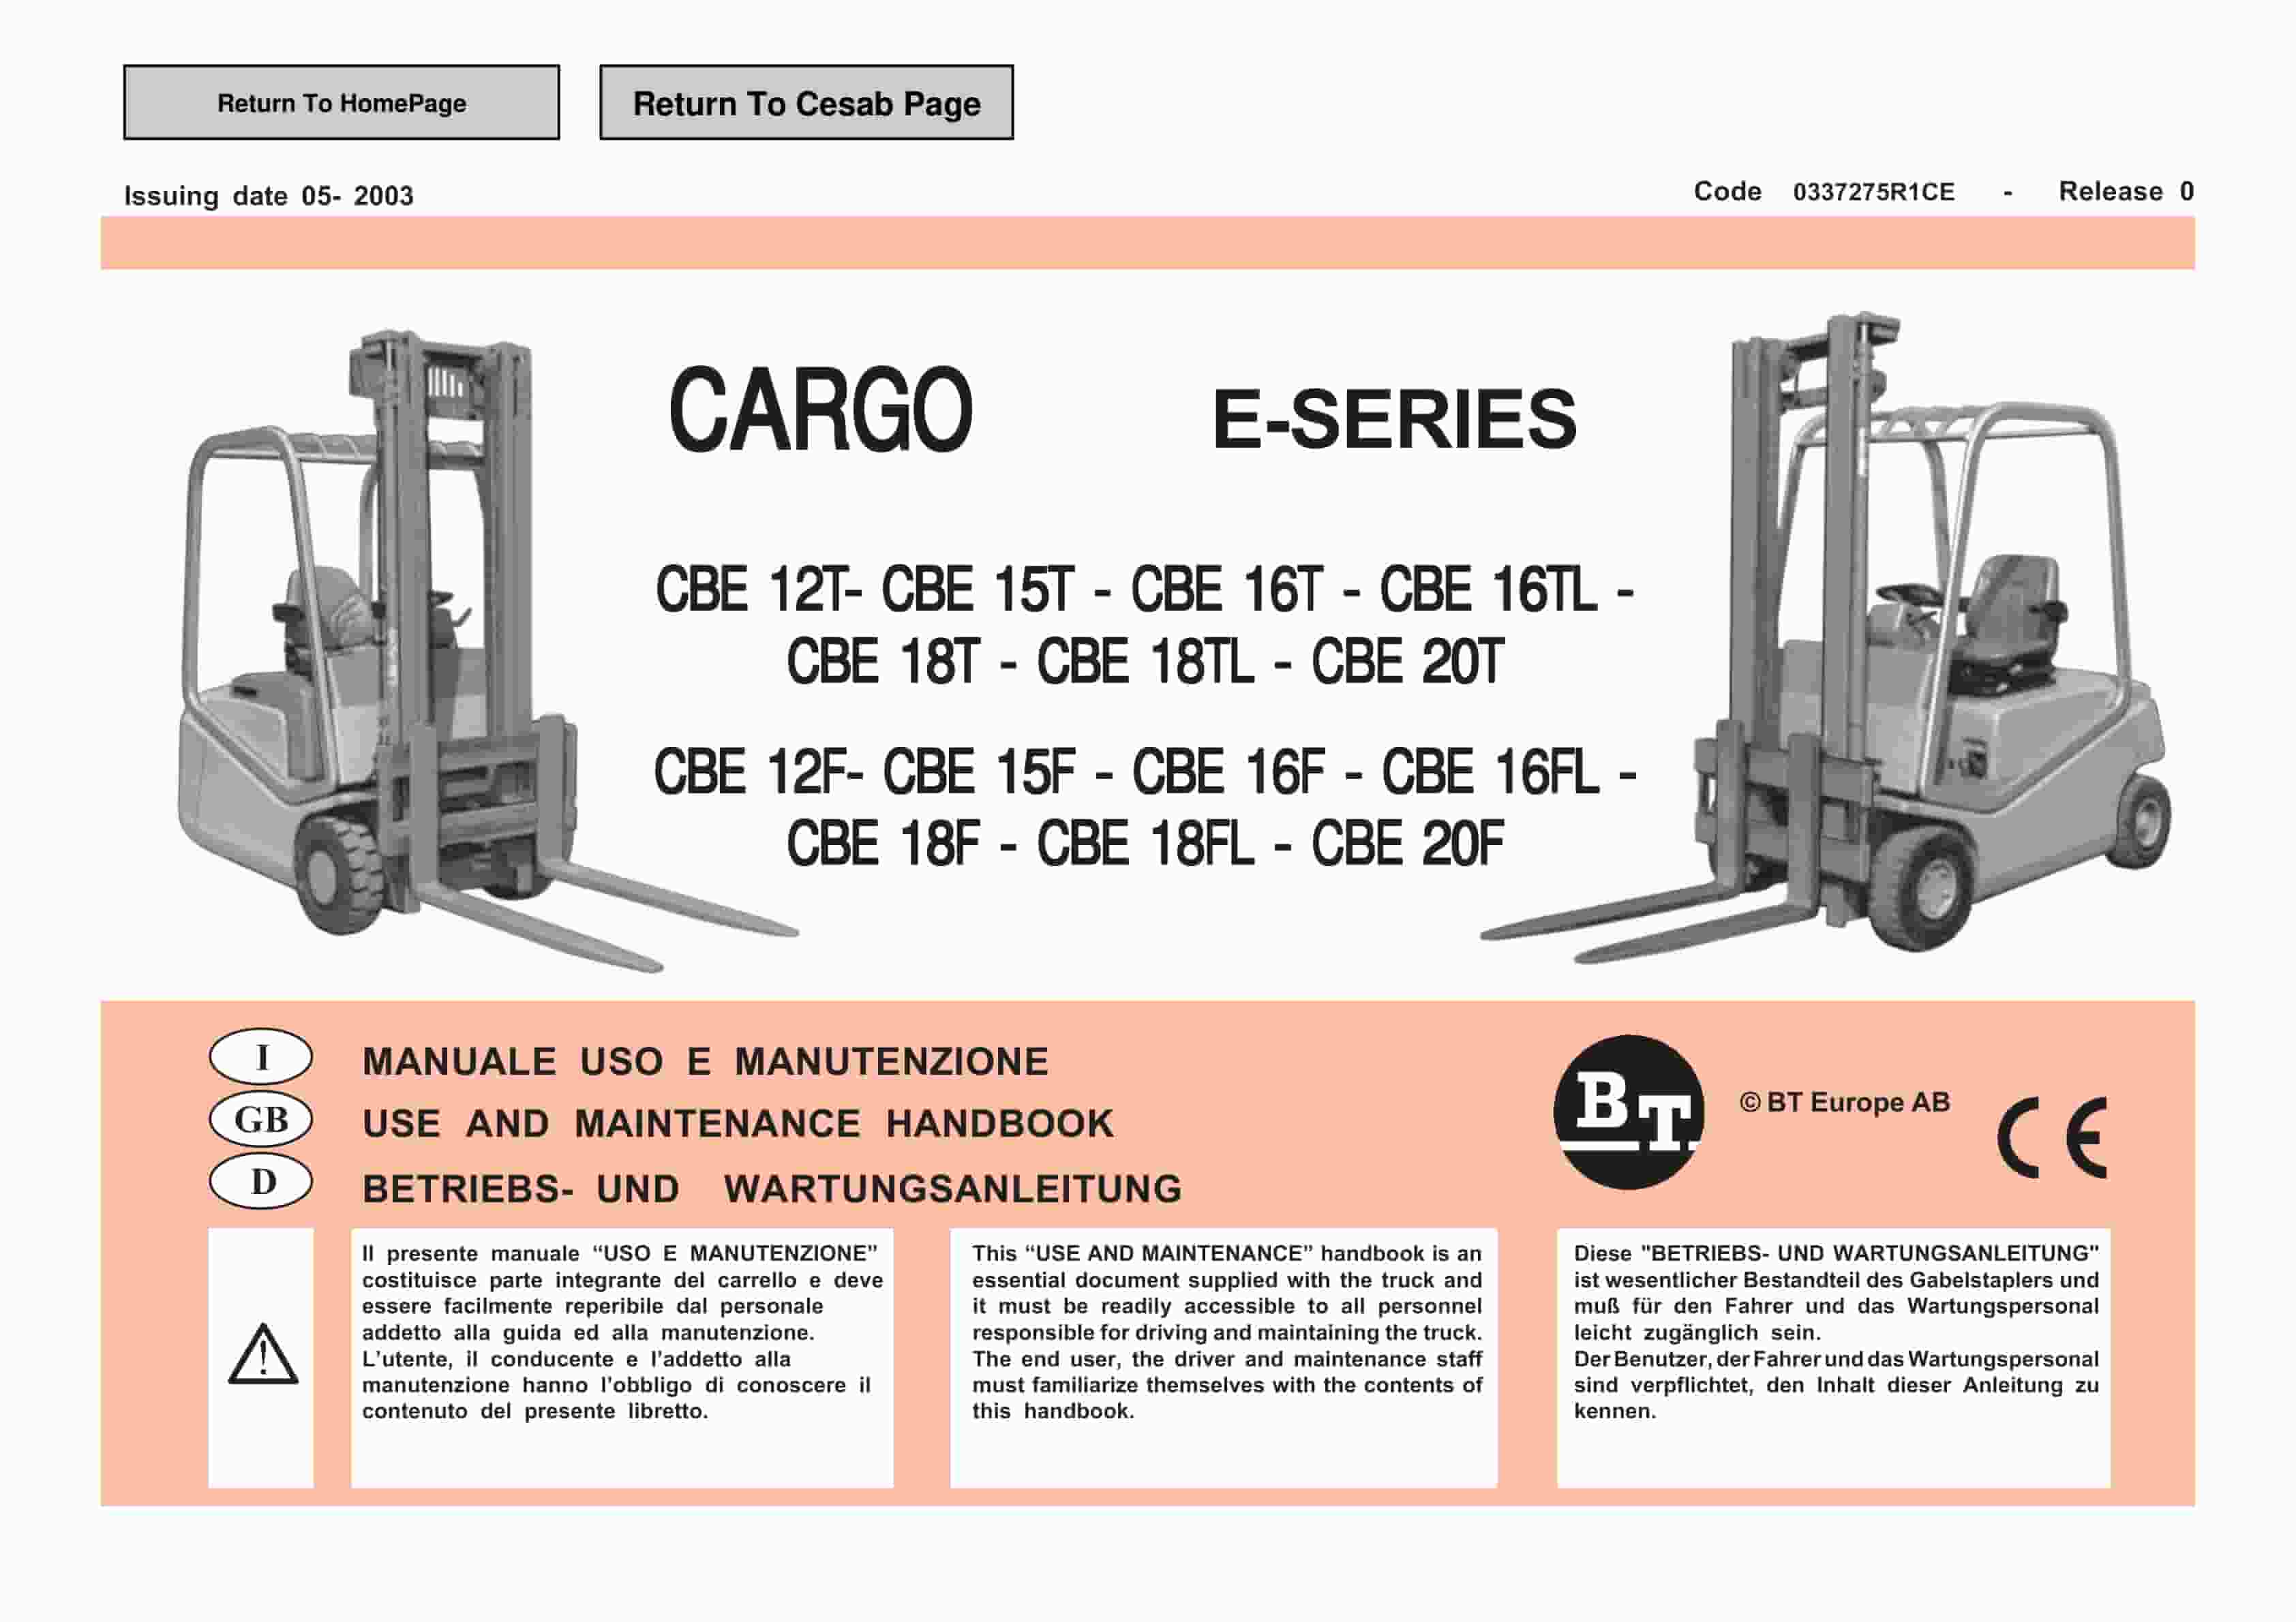
BT CARGE E-Series CBE 12T-20T, CBE 12F-20F Use And Maintenance Handbook 0337275R1CE
$30.00 Add to cart -
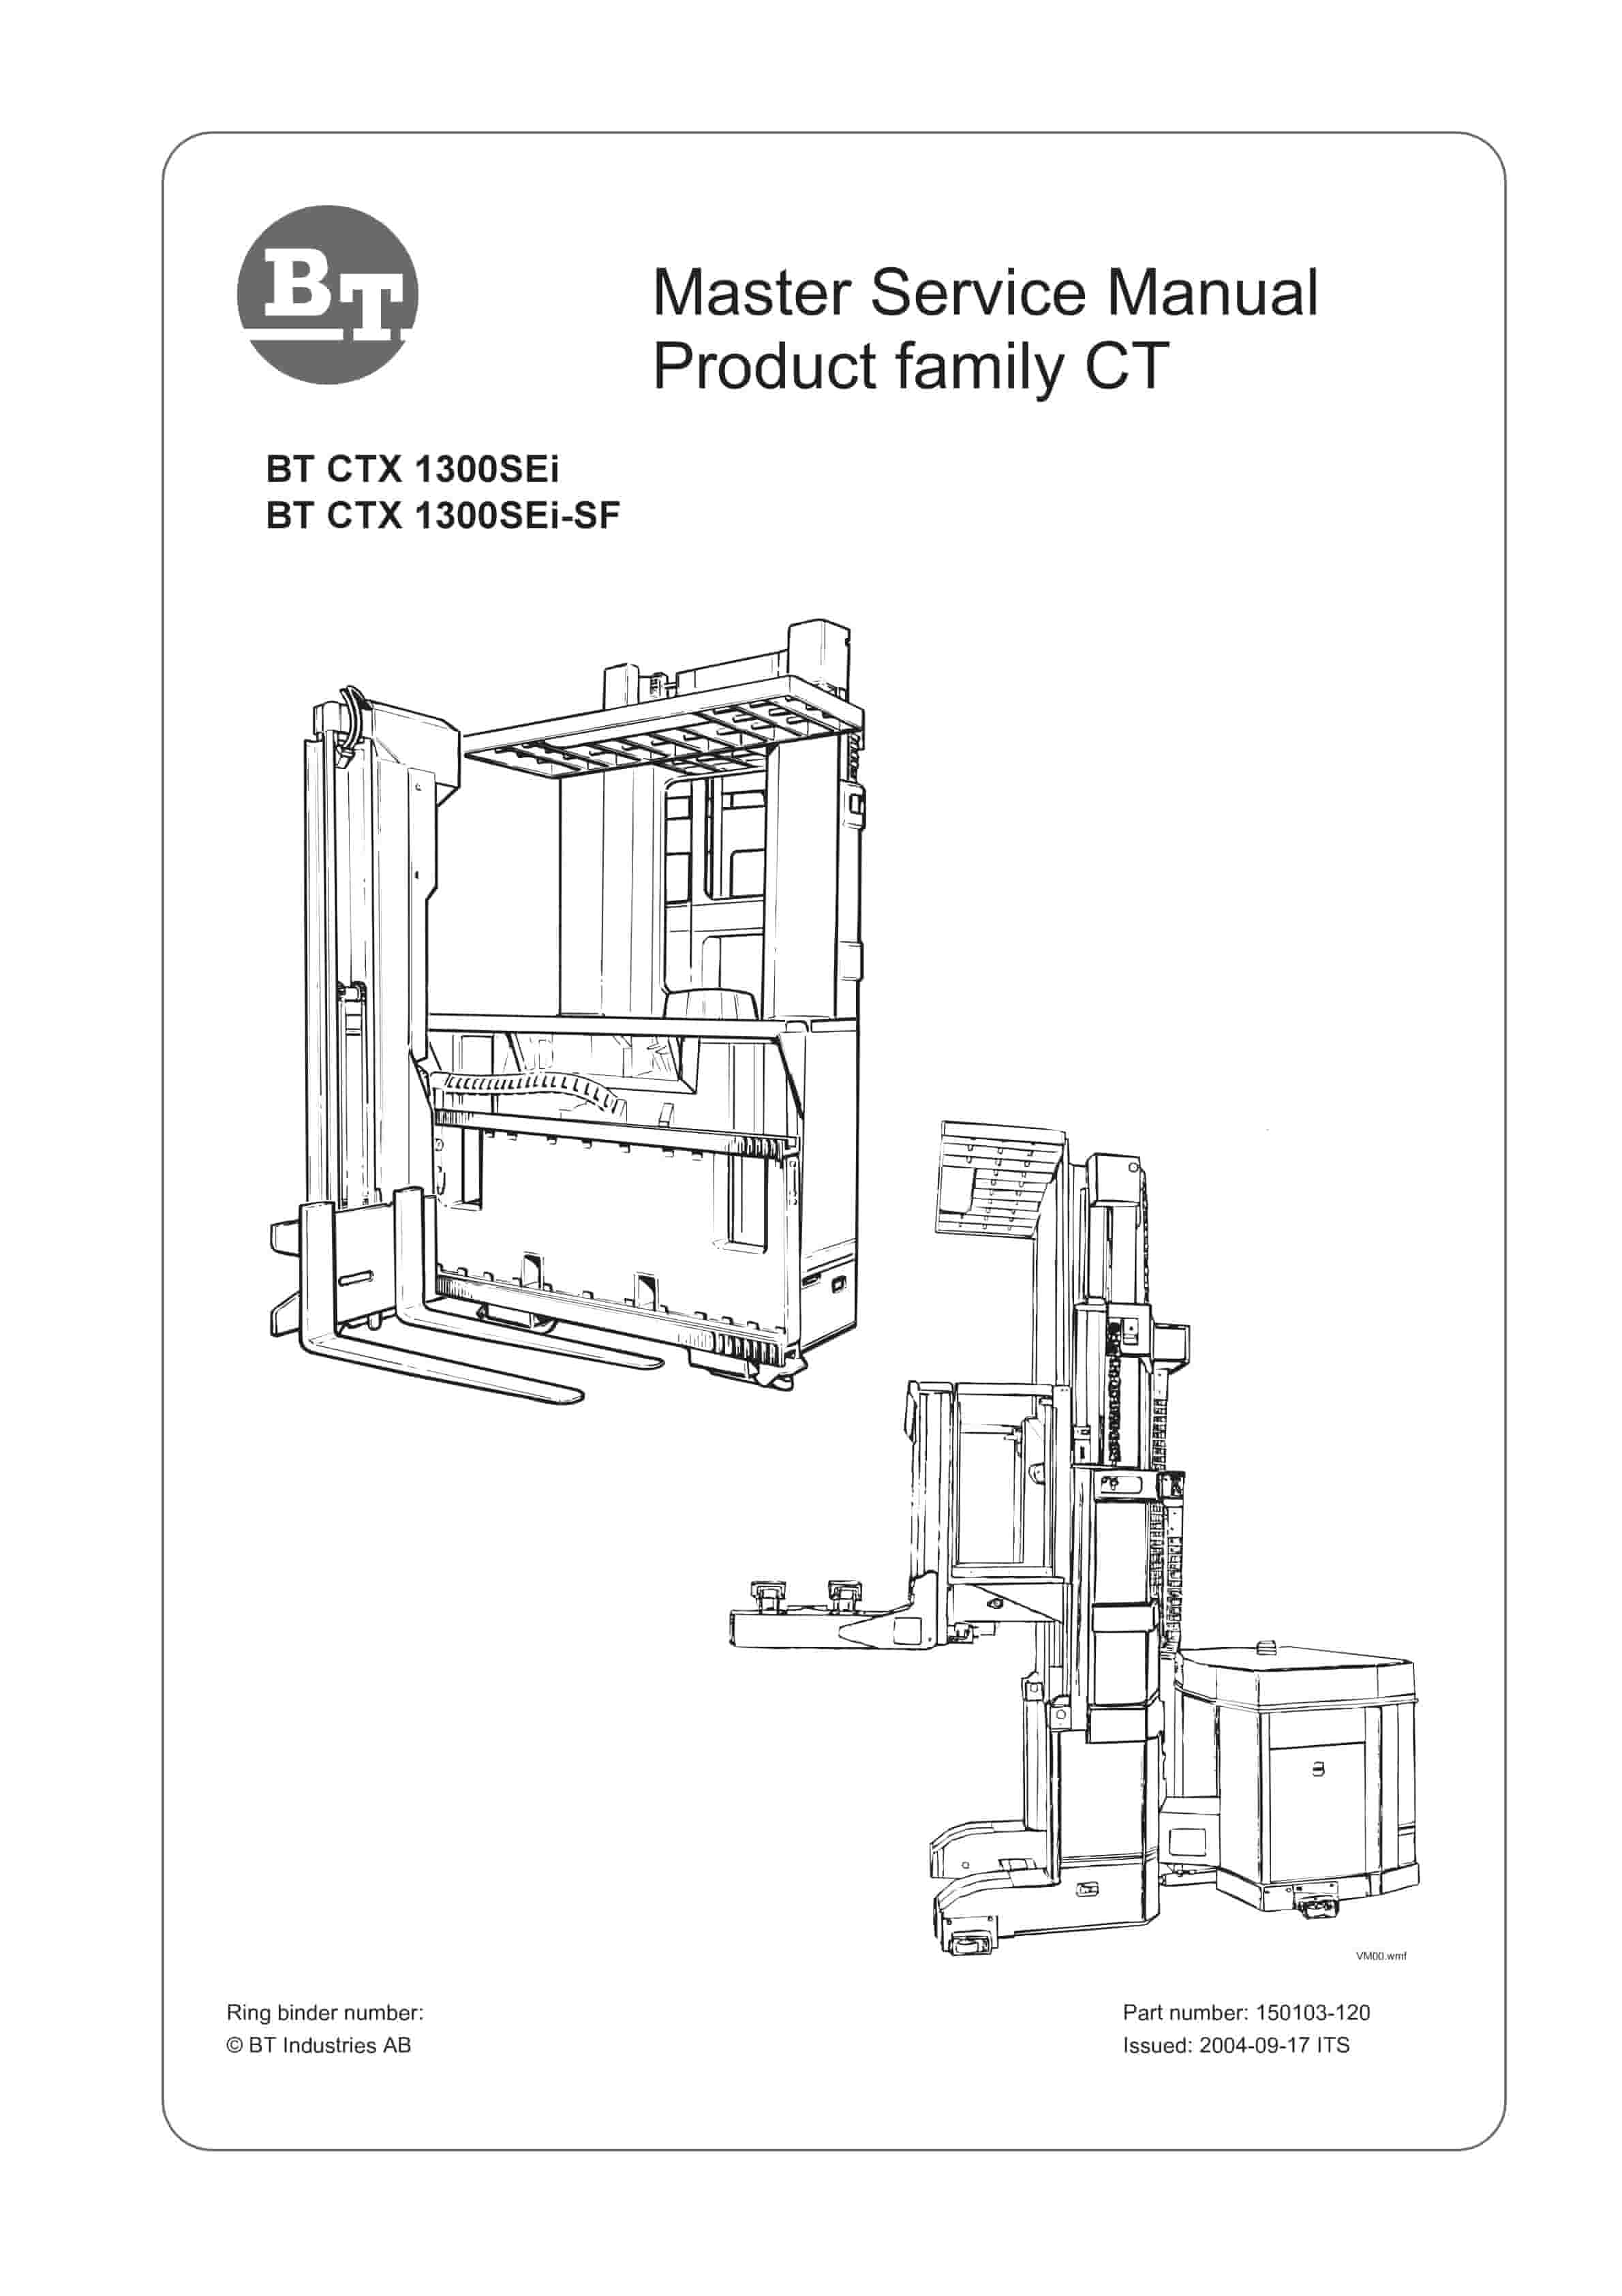
BT CTX 1300SEi, CTX 1300SEi SF Service Manual 150103-120
$30.00 Add to cart -
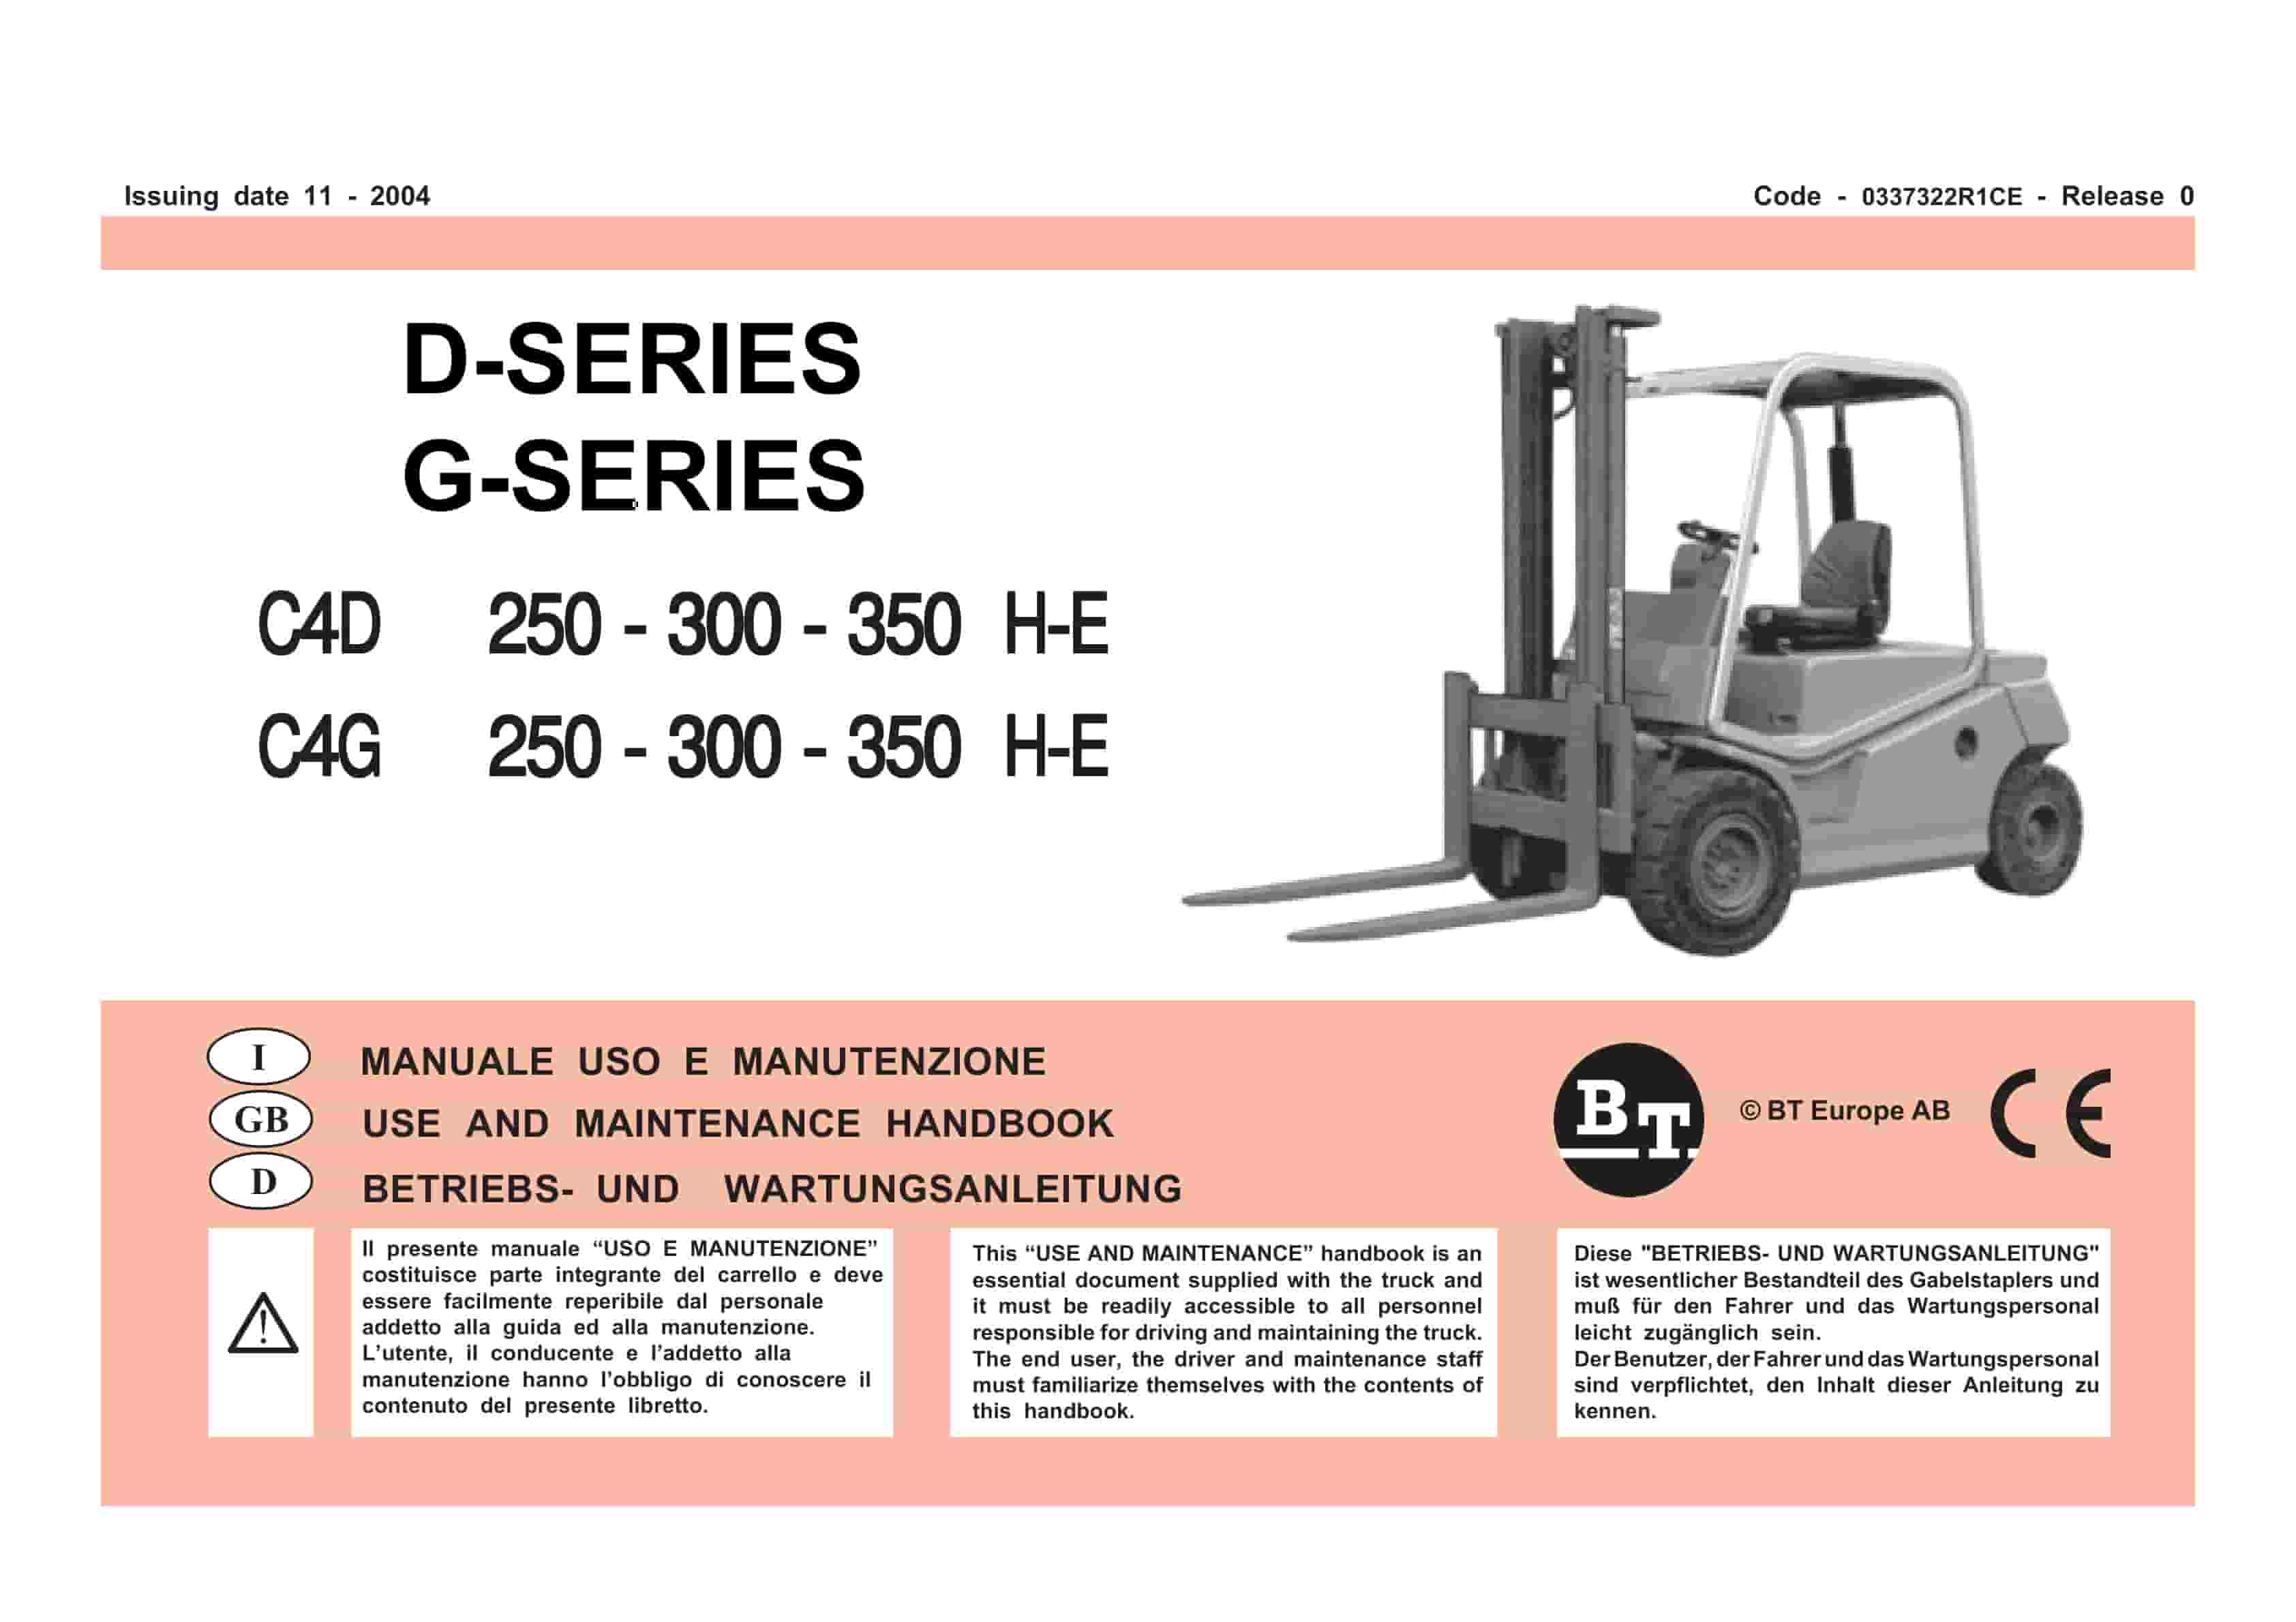
BT D-G-Series C4D250H-E, C4D300H-E, C4D350H-E, C4G250H-E, C4G300H-E, C4G350H-E Use And Maintenance Handbook 0337322R1CE
$30.00 Add to cart


