

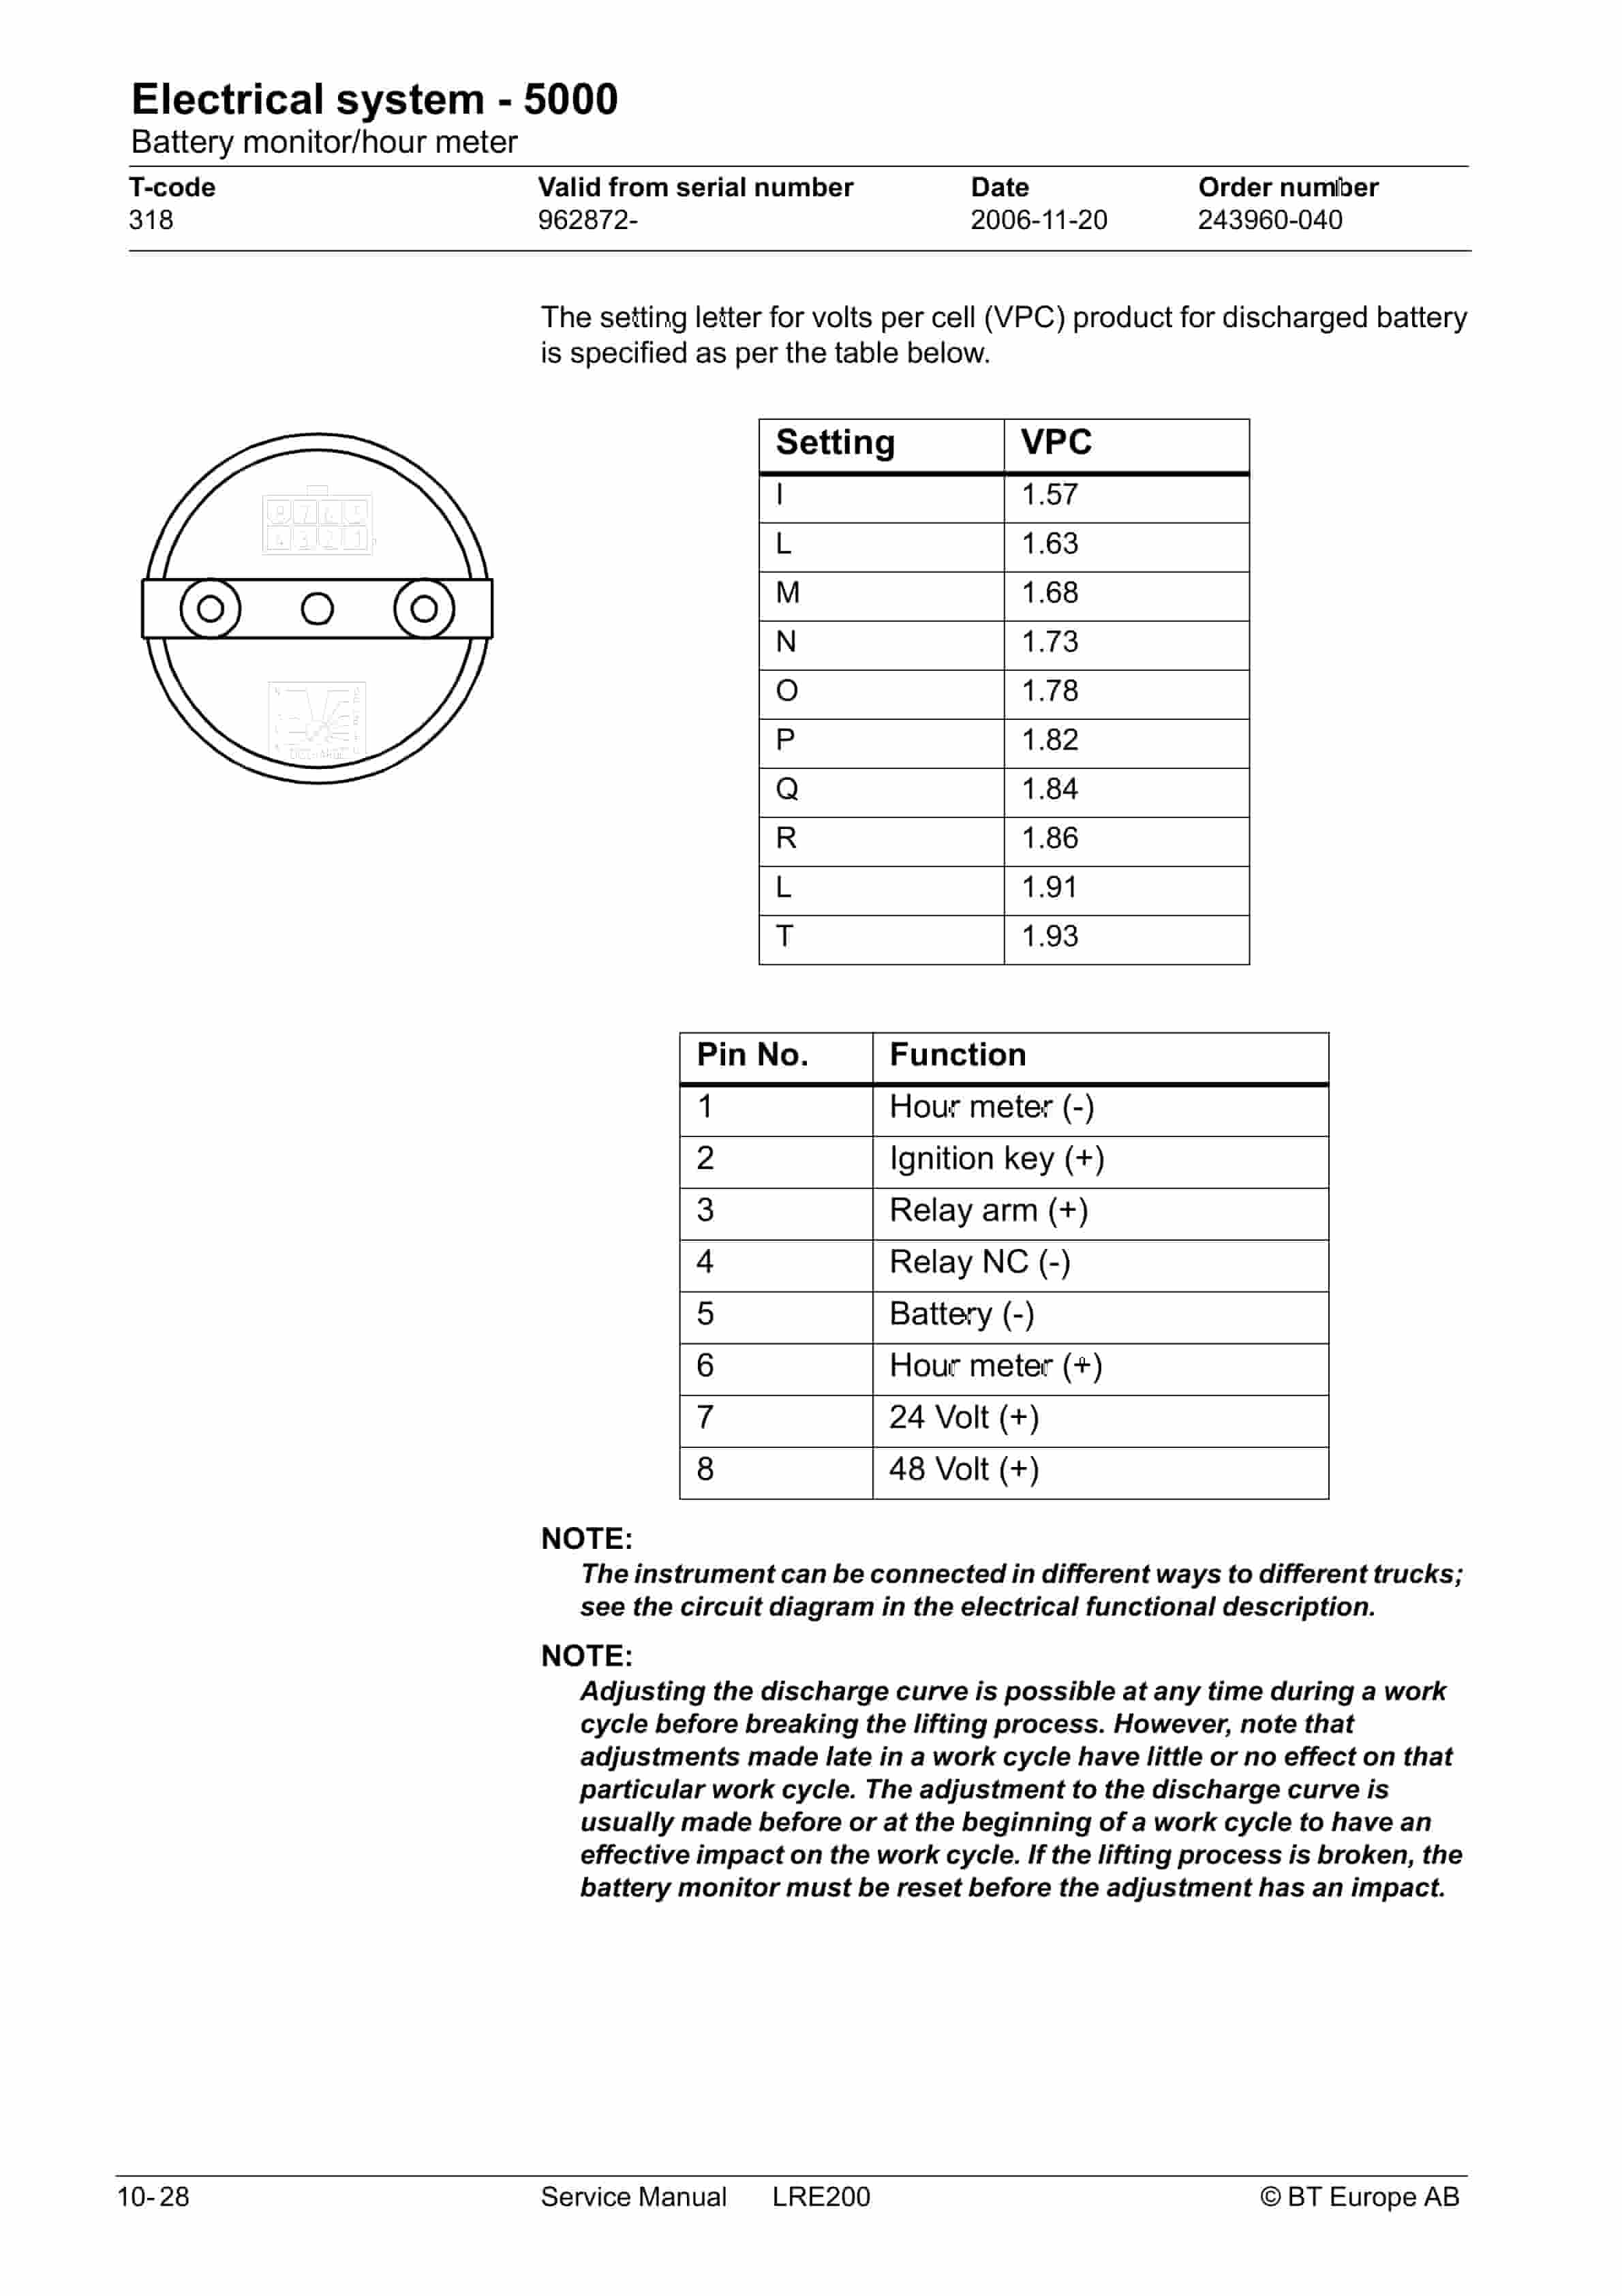
BT LRE200 Service Manual 243960-040
$30.00
- Type Of Manual: Service Manual
- Manual ID: 243960-040
- : Service Manual PDF
- Number of Pages: 112
- Size: 5.0MB
- Format: PDF
Product details
-
Model List:
- LRE200
- 1. Table of contents
- 2. General truck information
- 2.1. Technical data
- 2.2. General tightening torques
- 2.2.1. Galvanised, non-oiled bolts
- 2.2.2. Untreated, oiled bolts
- 3. Maintenance
- 3.1. General
- 3.2. Safety regulations for maintenance work
- 3.3. Cleaning and washing
- 3.3.1. Cleaning the exterior
- 3.3.2. Cleaning the motor compartment
- 3.3.3. Electrical components
- 3.4. Safe lifting
- 3.5. Maintenance Schedule
- 3.6. Lubrication chart
- 3.7. Oil and grease specification
- 4. Tools
- 4.1. Super Seal connector
- 4.2. AMP connectors
- 4.3. AMP microtimer
- 4.4. Other tools
- 5. Drive transmission – 2550
- 5.1. General
- 5.2. Technical data
- 5.3. Transmission components
- 5.4. Dismantled transmission
- 5.5. Removal/refitting
- 5.5.1. Dismantling the drive assembly from the truck
- 5.5.2. Refitting the drive assembly in the truck
- 5.6. Oil check and oil change
- 5.6.1. Checking and refilling the oil
- 5.6.2. Changing the Oil
- 5.7. Replacing the drive shaft gasket
- 5.7.1. Removal
- 5.7.2. Assembly
- 5.8. Leakage from the upper cover
- 5.9. Leakage from the lower cover
- 5.10. Replacing wheel bolts
- 6. Brake – 3100
- 6.1. General
- 6.2. Brake hydraulic diagram
- 6.3. Main brake cylinder
- 6.4. Removal
- 6.5. Replacement of piston rod seal and spring in main brake cylinder
- 6.6. Assembly
- 6.7. Bleeding the brake system
- 6.8. Drum brake
- 6.9. Removal
- 6.10. Assembly
- 6.11. Bleeding the brake system
- 7. Drive wheel – 3530
- 7.1. General
- 7.2. Dismantling the drive wheel
- 7.3. Assembling the drive wheel
- 8. Castor wheel – 3540
- 8.1. General
- 8.2. Castor wheel main components
- 8.3. Replacing castor wheels
- 8.3.1. Removing the castor wheel assembly
- 8.3.2. Fitting the castor wheel assembly
- 8.4. Replacing wheels
- 8.4.1. Removal
- 8.4.2. Assembly
- 8.5. Replacing wheel bearings
- 9. Electric Wheel Steering – 4300
- 9.1. General
- 9.2. Regulator A3
- 9.2.1. Short connections
- 9.2.1.1. Connection K1
- 9.2.1.2. Connection K2
- 9.2.2. LED indications and diagnostics
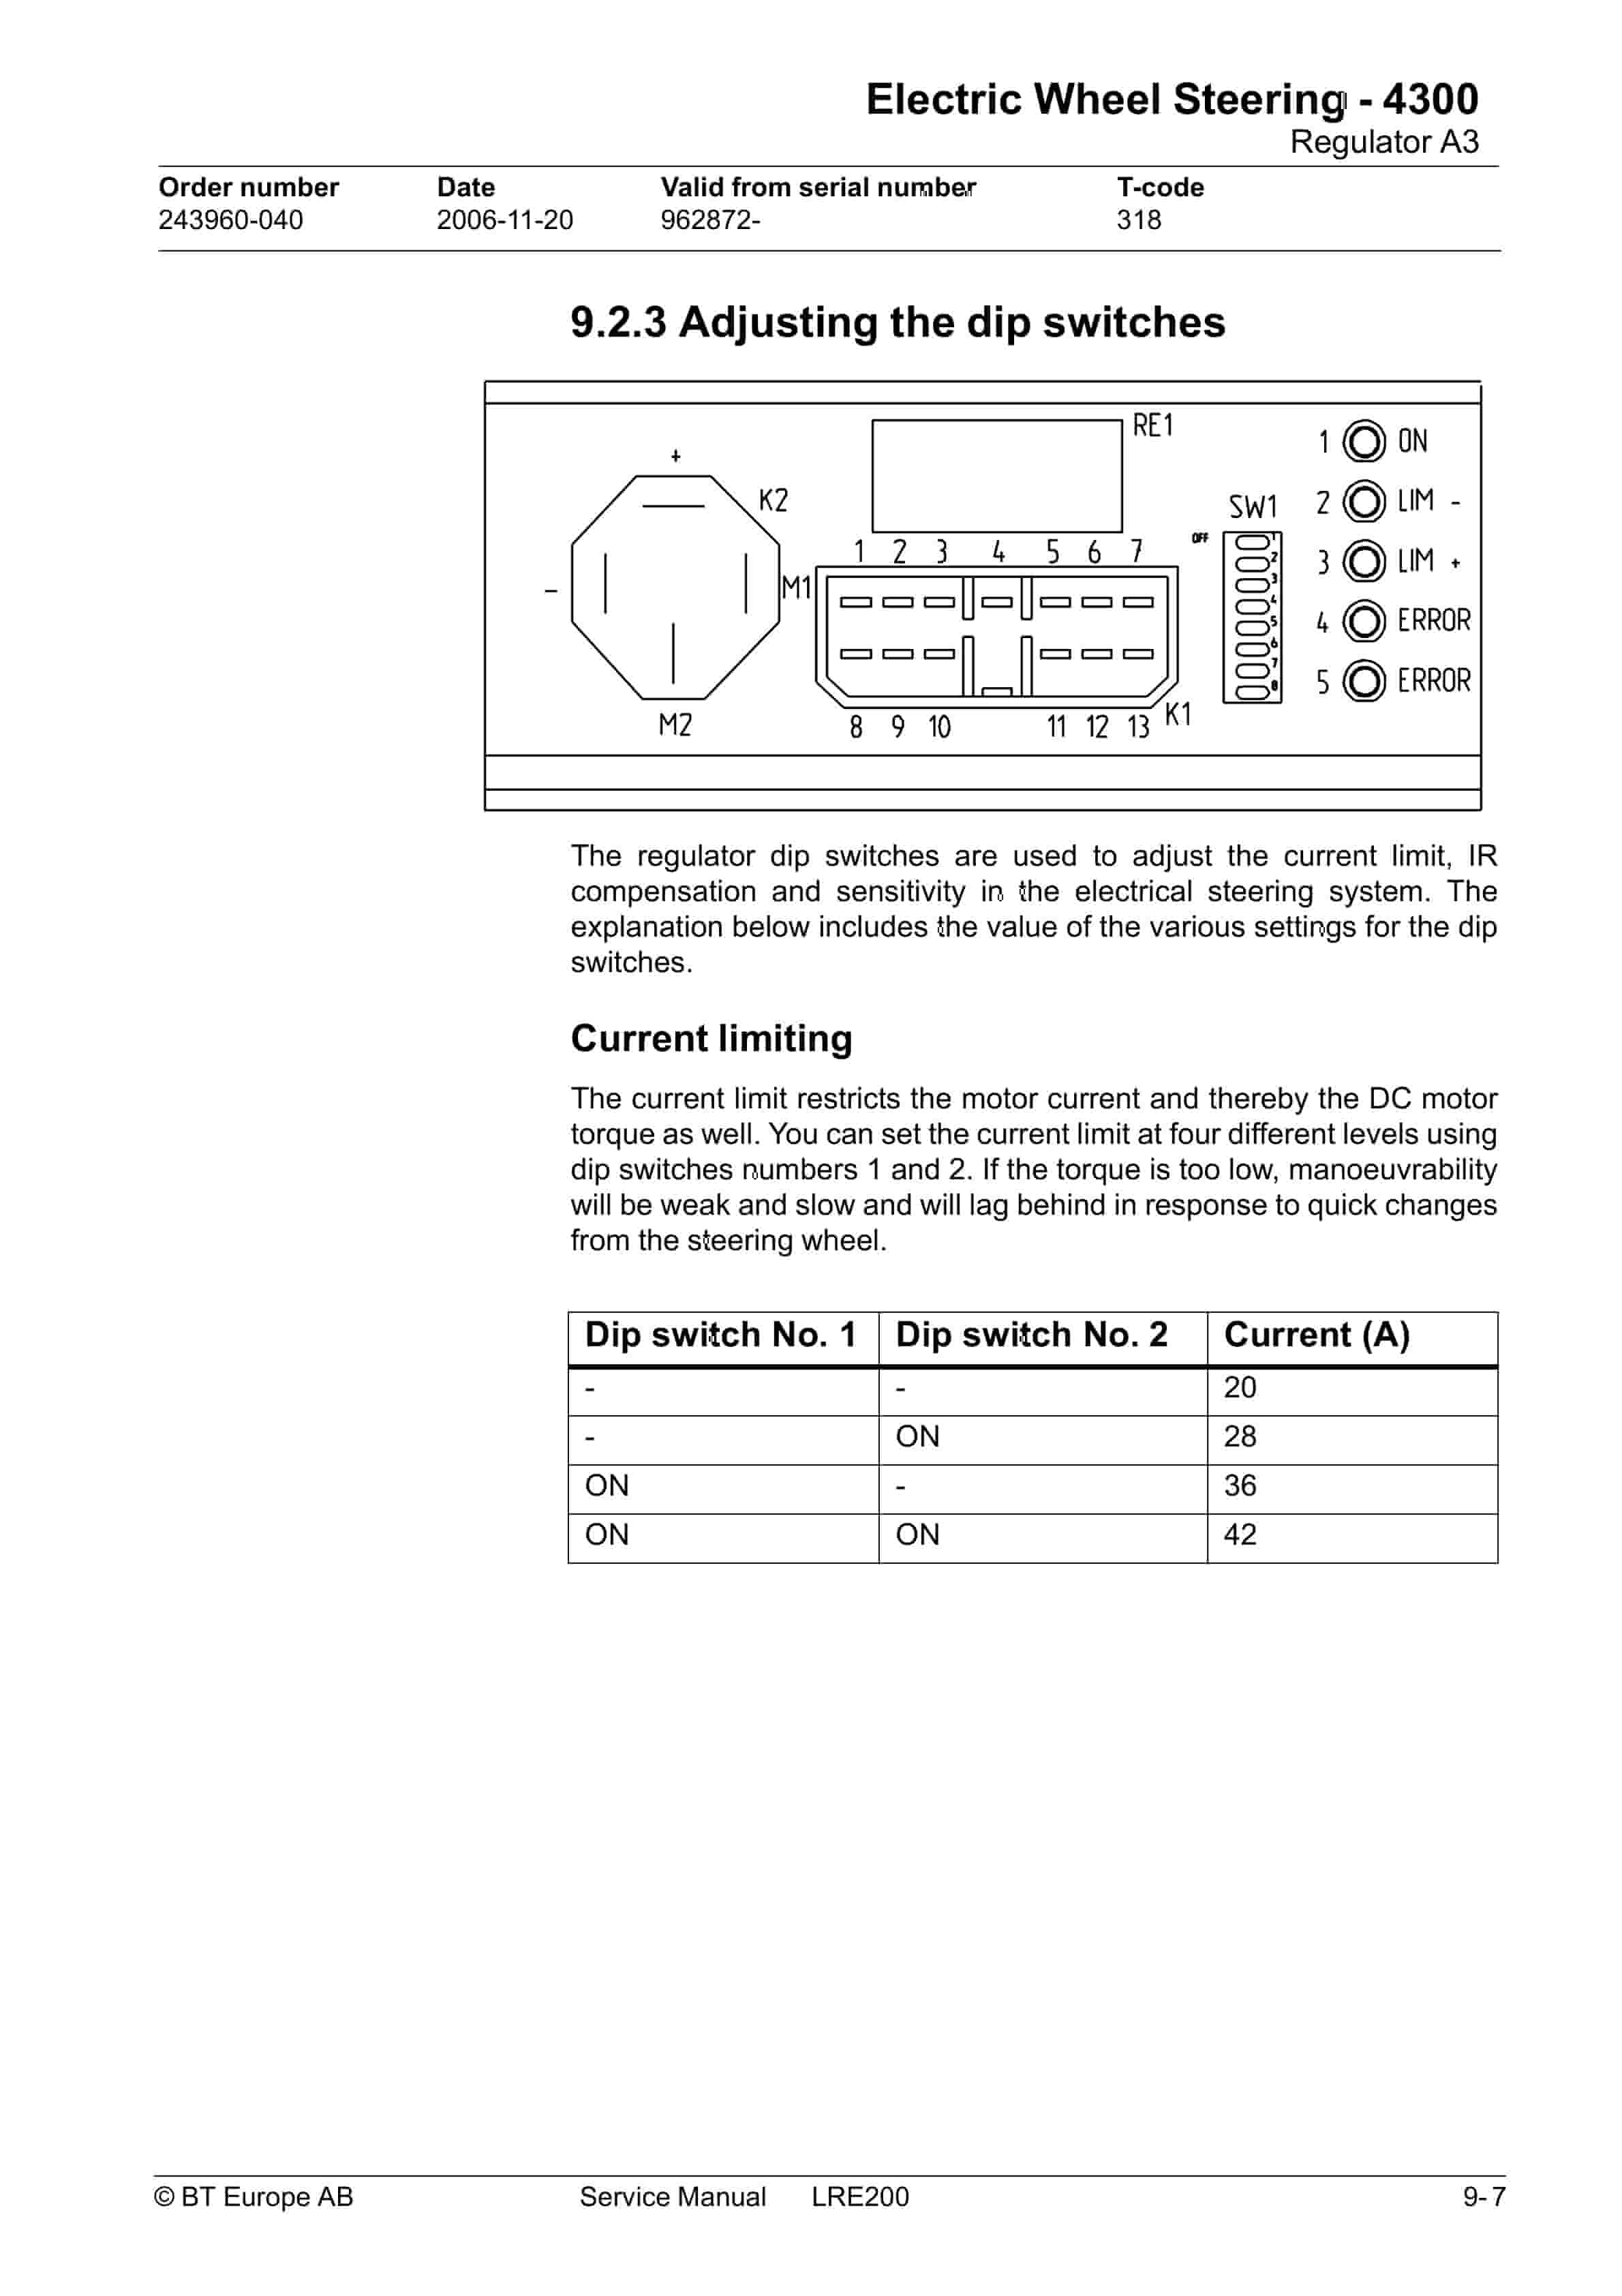
- 9.2.3. Adjusting the dip switches
- 9.2.3.1. Current limiting
- 9.2.3.2. IR compensation
- 9.2.3.3. Sensitivity
- 9.3. Adjusting the steering chain
- 9.4. Removing/fitting the steering motor
- 9.4.1. Removal
- 9.4.2. Assembly
- 9.5. Replacing the steering generator
- 9.5.1. Removal
- 9.5.2. Assembly
- 10. Electrical system – 5000
- 10.1. Symbols
- 10.2. Components
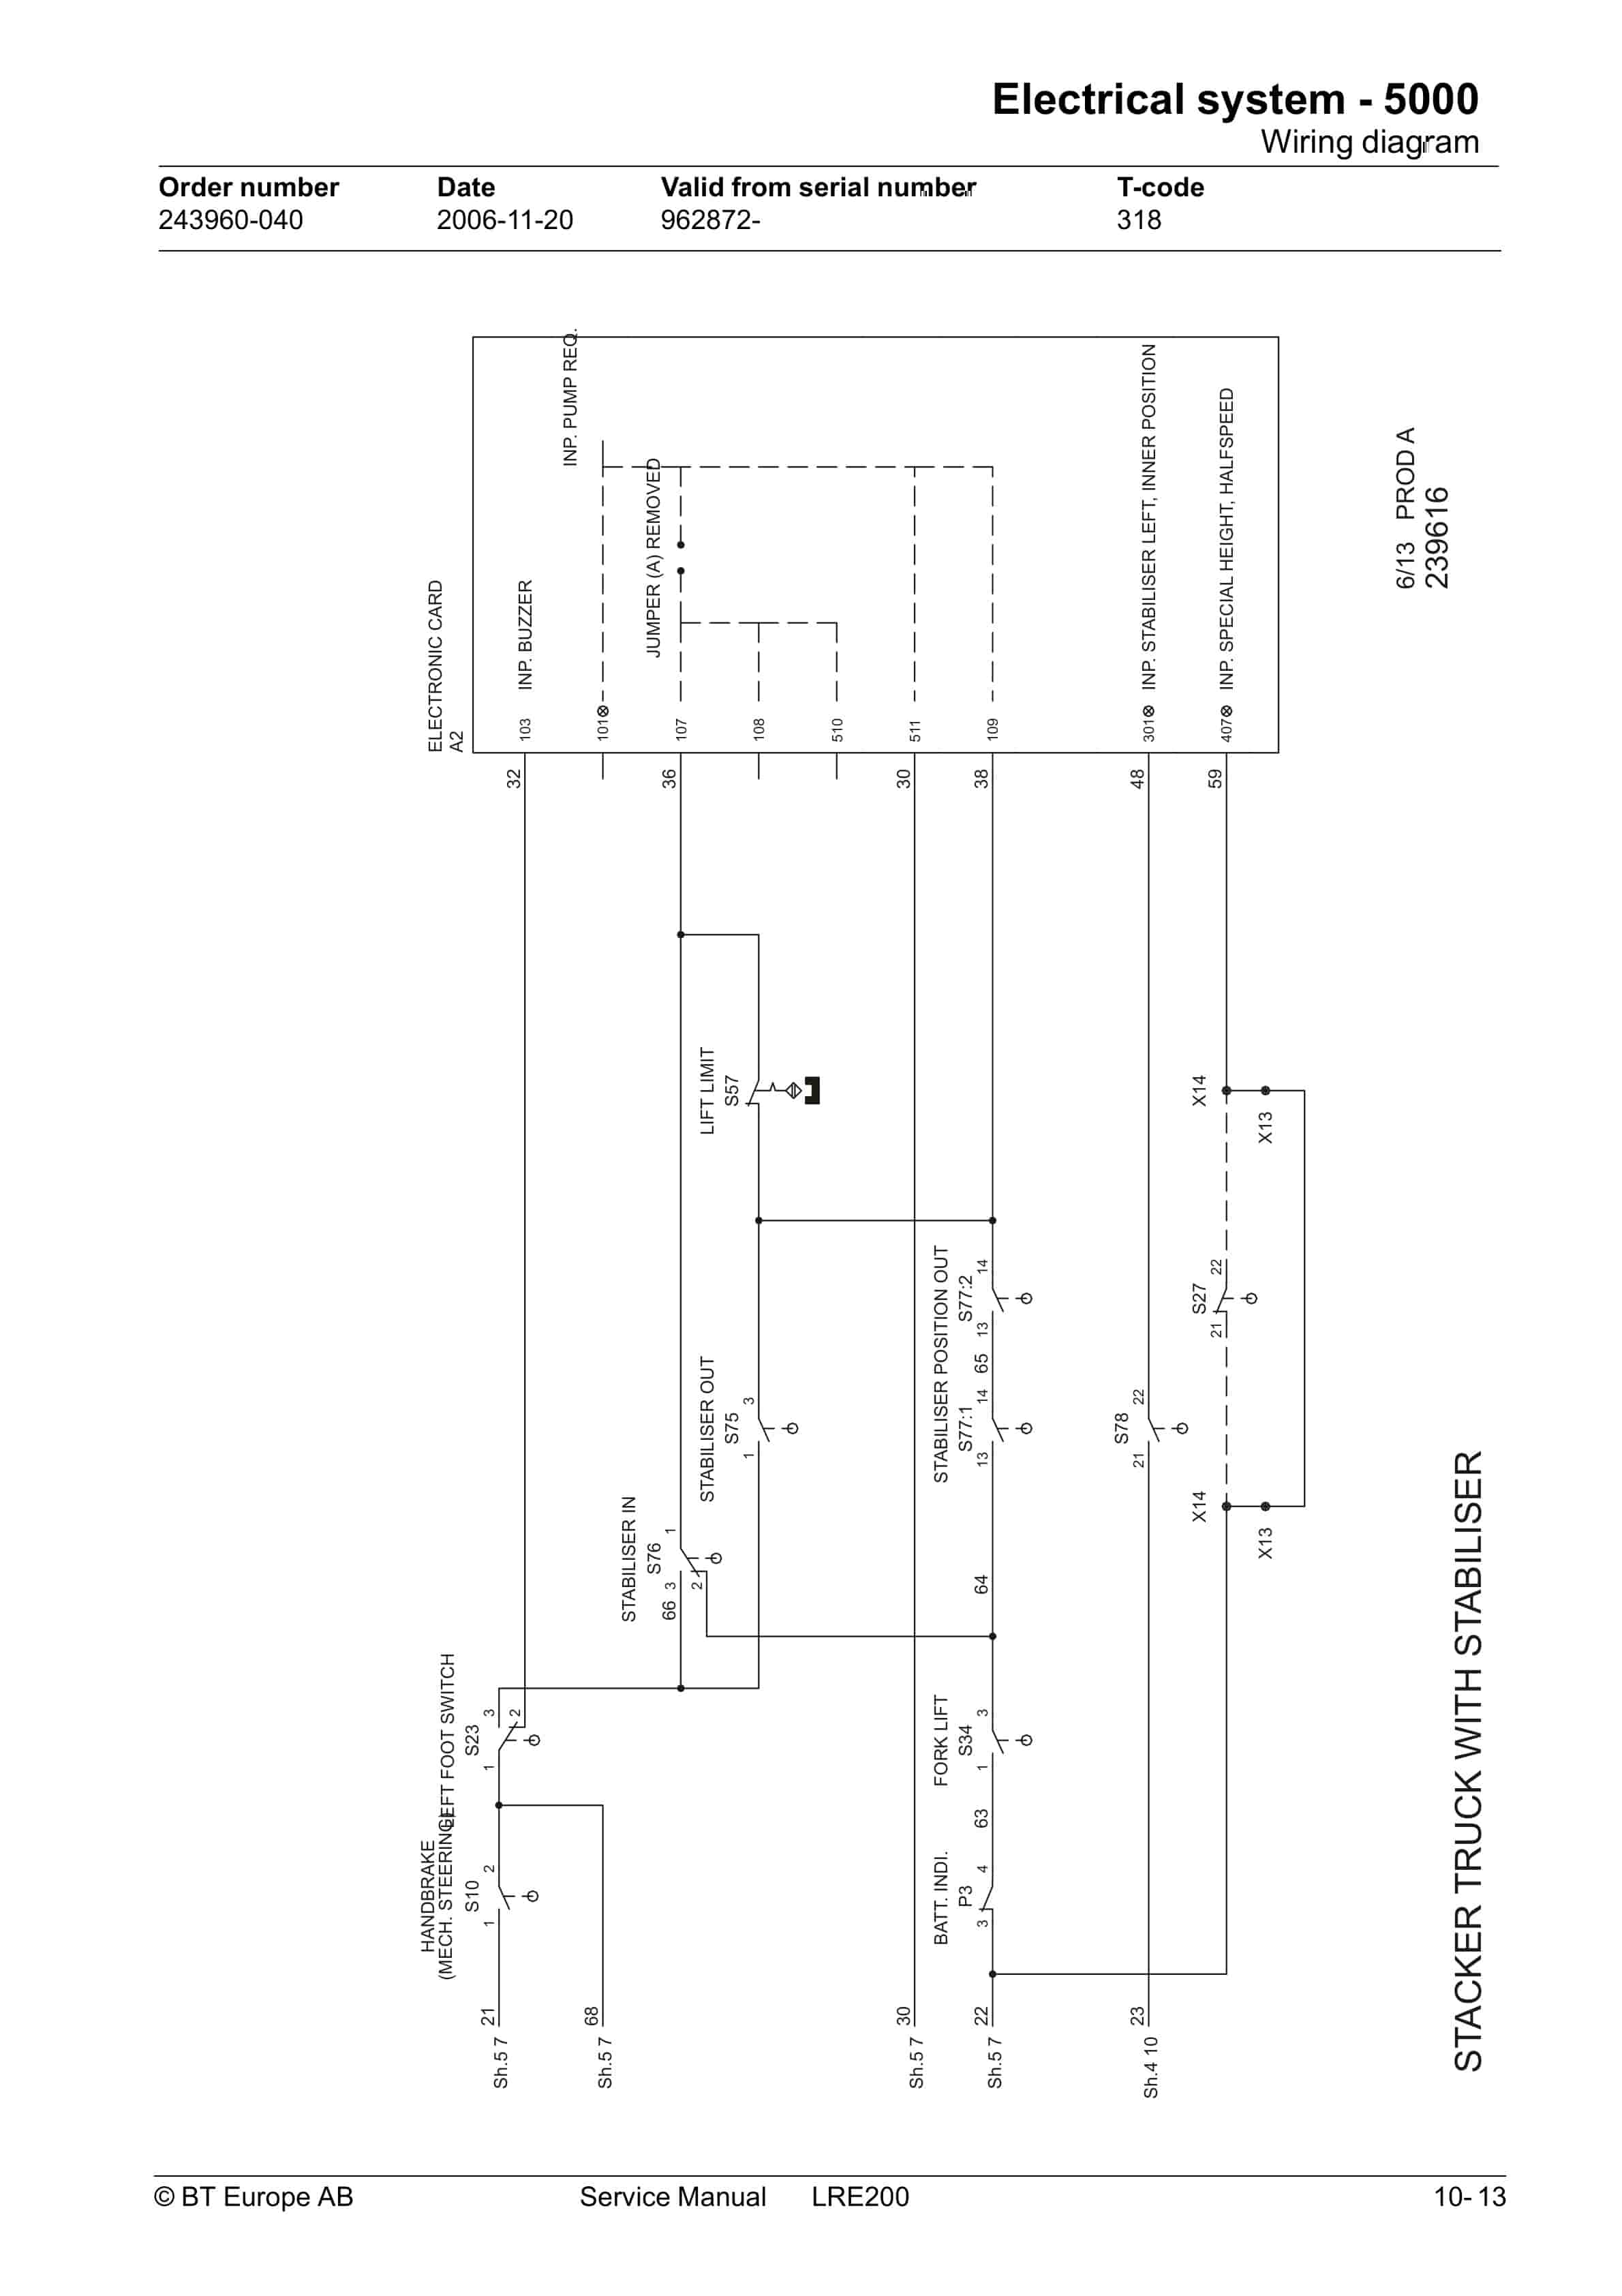
- 10.3. Wiring diagram
- 10.4. Functional description
- 10.4.1. Key in Position 0
- 10.4.2. Starting
- 10.4.3. Parking brake
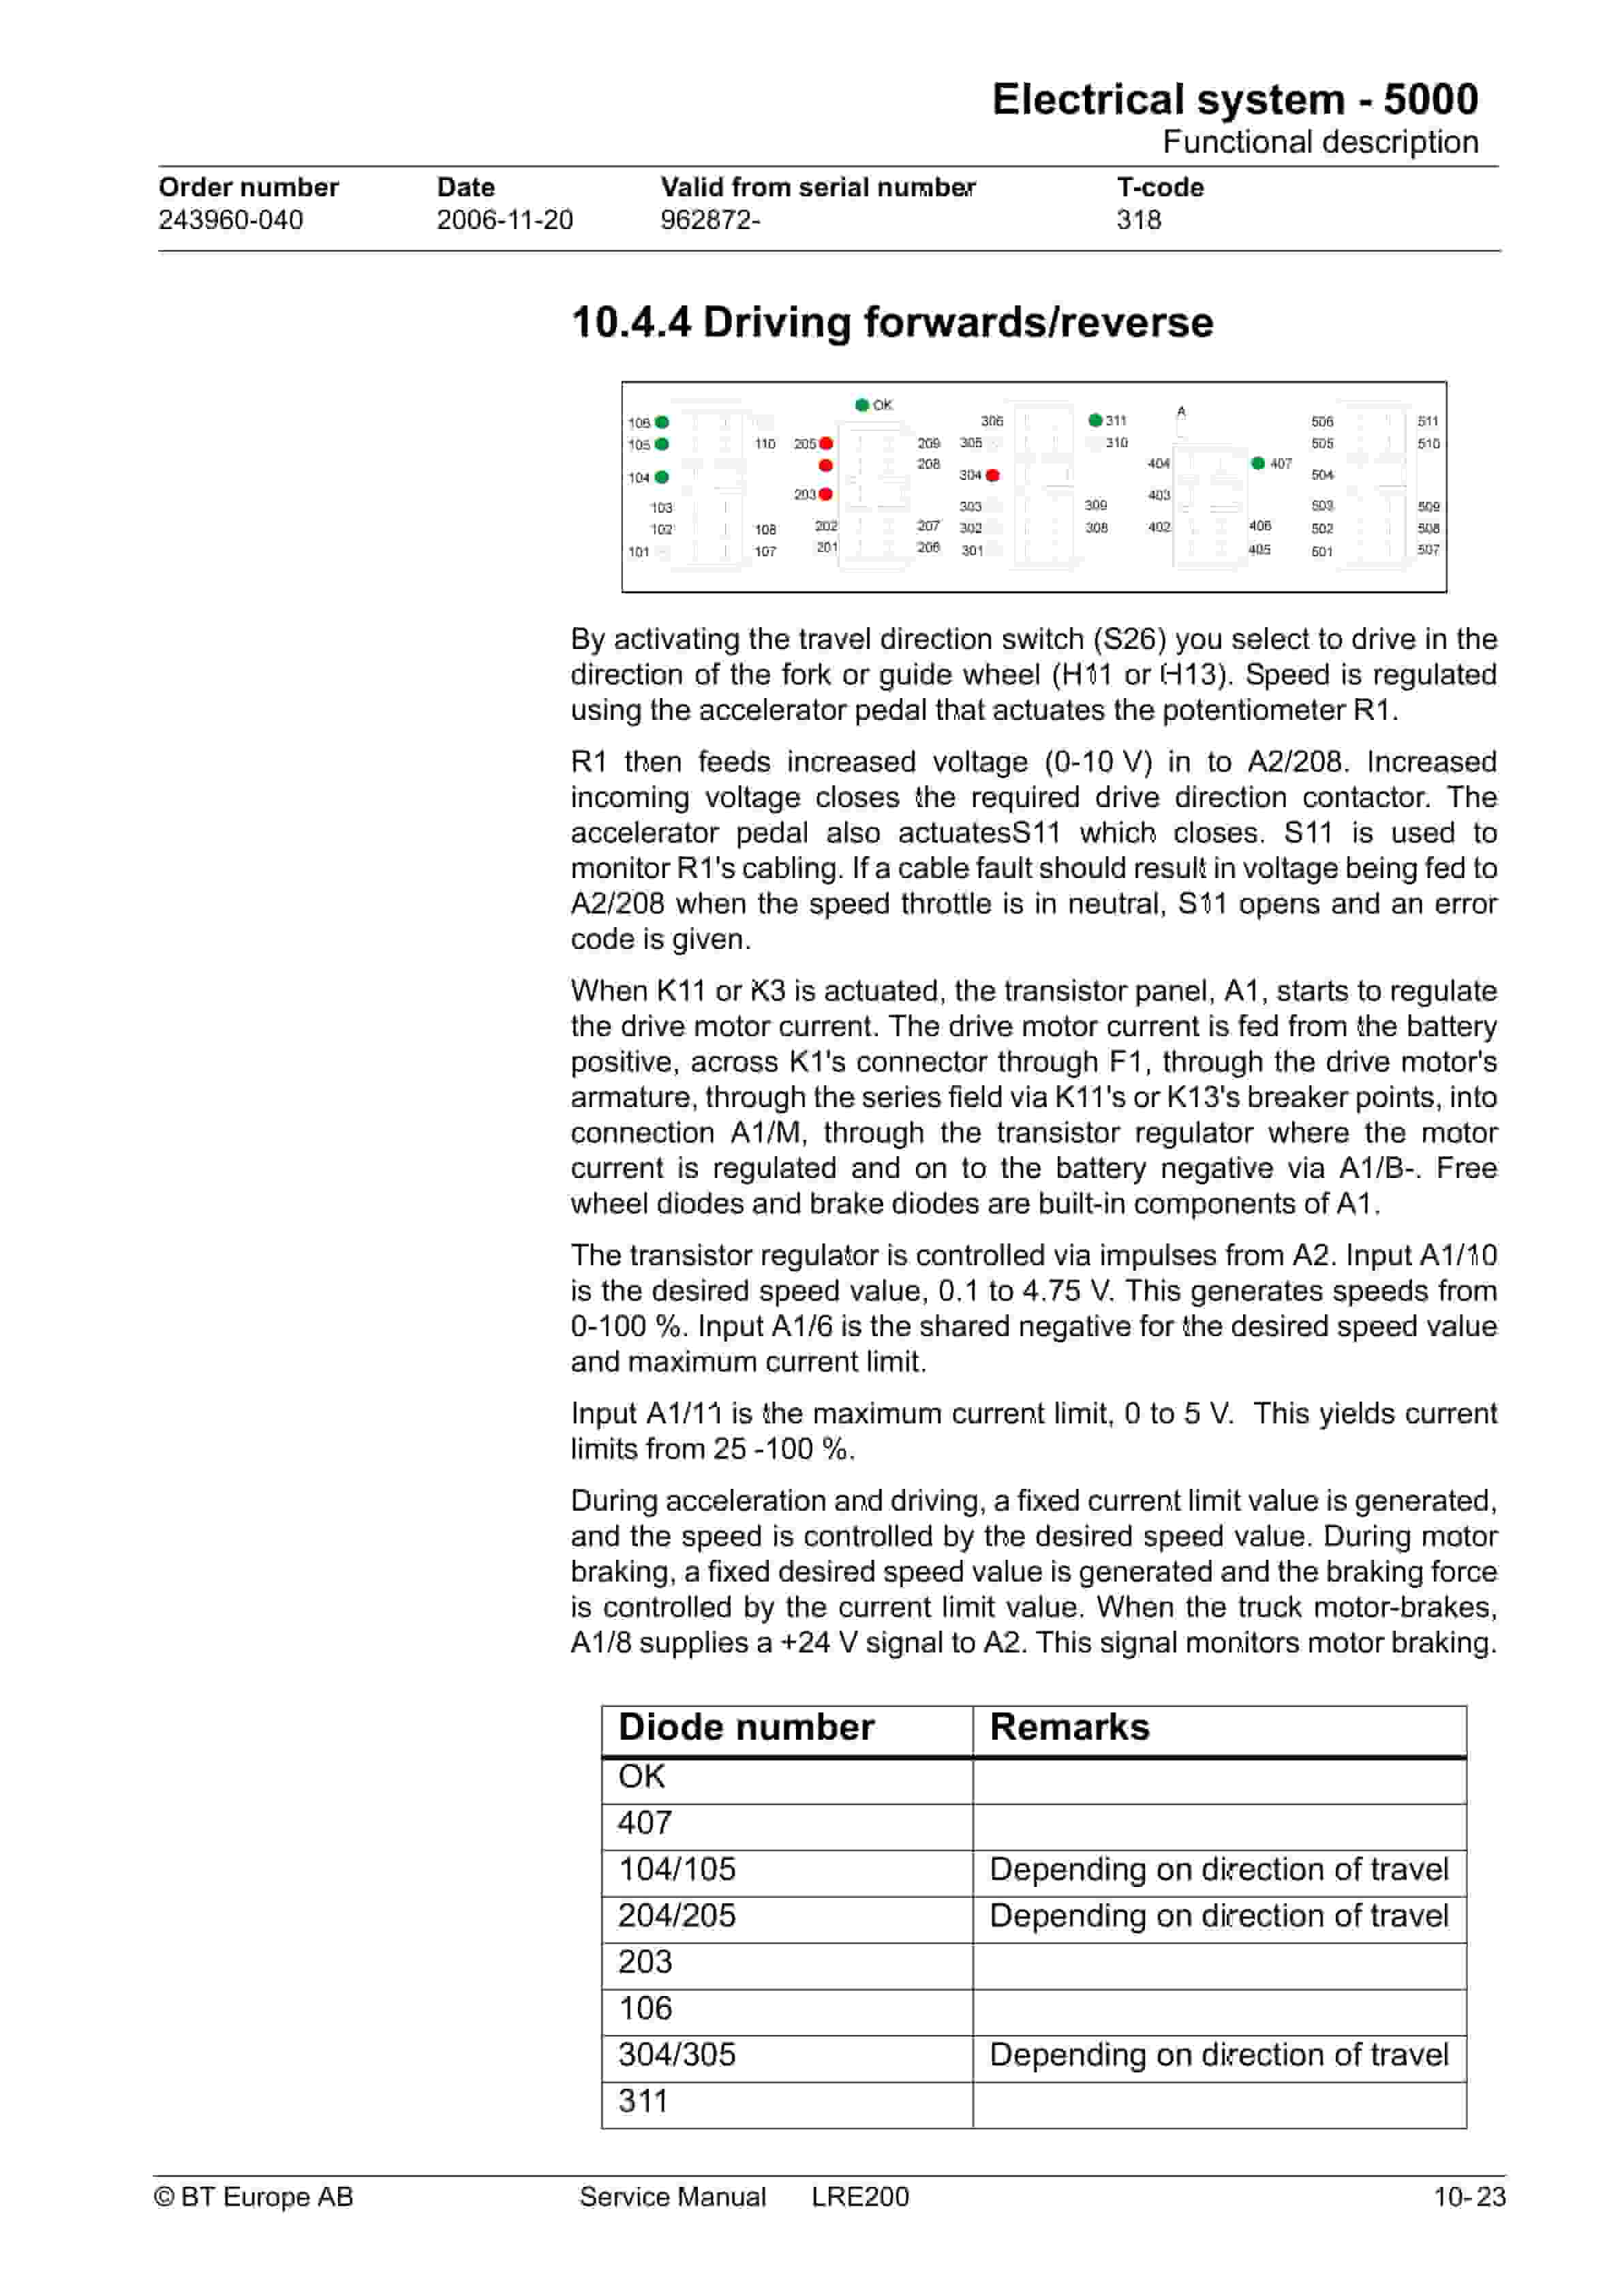
- 10.4.4. Driving forwards/reverse
- 10.4.5. Running Speed
- 10.4.6. Steering
- 10.4.7. Fork lift
- 10.4.8. Fork lowering
- 10.4.9. Battery monitor/hour meter
- 10.5. Battery monitor/hour meter
- 10.5.1. Voltage
- 10.5.1.1. Connector rated voltage and rated current
- 10.5.1.2. Memory retention
- 10.5.2. Battery monitor
- 10.5.3. Adjusting the discharge
- 10.5.4. Resetting
- 10.5.5. Ignition key
- 10.5.6. Hour meter
- 10.6. Troubleshooting, battery monitor
- 10.6.1. No resetting of instruments
- 10.6.2. Always reset after power failure
- 10.6.3. No discharge – the instruments reading does not drop
- 10.6.4. No breaking to the lift
- 10.6.5. No lift
- 10.6.6. Premature breaking of the lift
- 10.6.7. LEDs do not light
- 10.7. Troubleshooting, hour meter
- 10.7.1. No display
- 10.7.2. Hour glass not flashing
- 10.7.3. Hour glass flashing continuously
- 10.8. Transistor regulator PUB24350 CD1
- 10.8.1. Motor circuits
- 10.8.2. Control circuits
- 10.8.3. Technical data
- 10.8.4. LED indicators
- 10.8.5. Maintenance
- 10.8.6. Safety
- 10.8.7. Cleaning
- 10.8.8. Testing the transistor units safety circuit
- 10.8.8.1. Test method
- 10.9. Time relay
- 10.9.1. Wiring diagram and list of symbols
- 10.9.2. Functional description
- 10.9.3. Basic settings
- 10.10. Electronic card
- 11. Hydraulic System – 6000
- 11.1. General
- 11.2. Hydraulics diagram
- 11.2.1. List of symbols
- 11.3. Main components
Related products
-
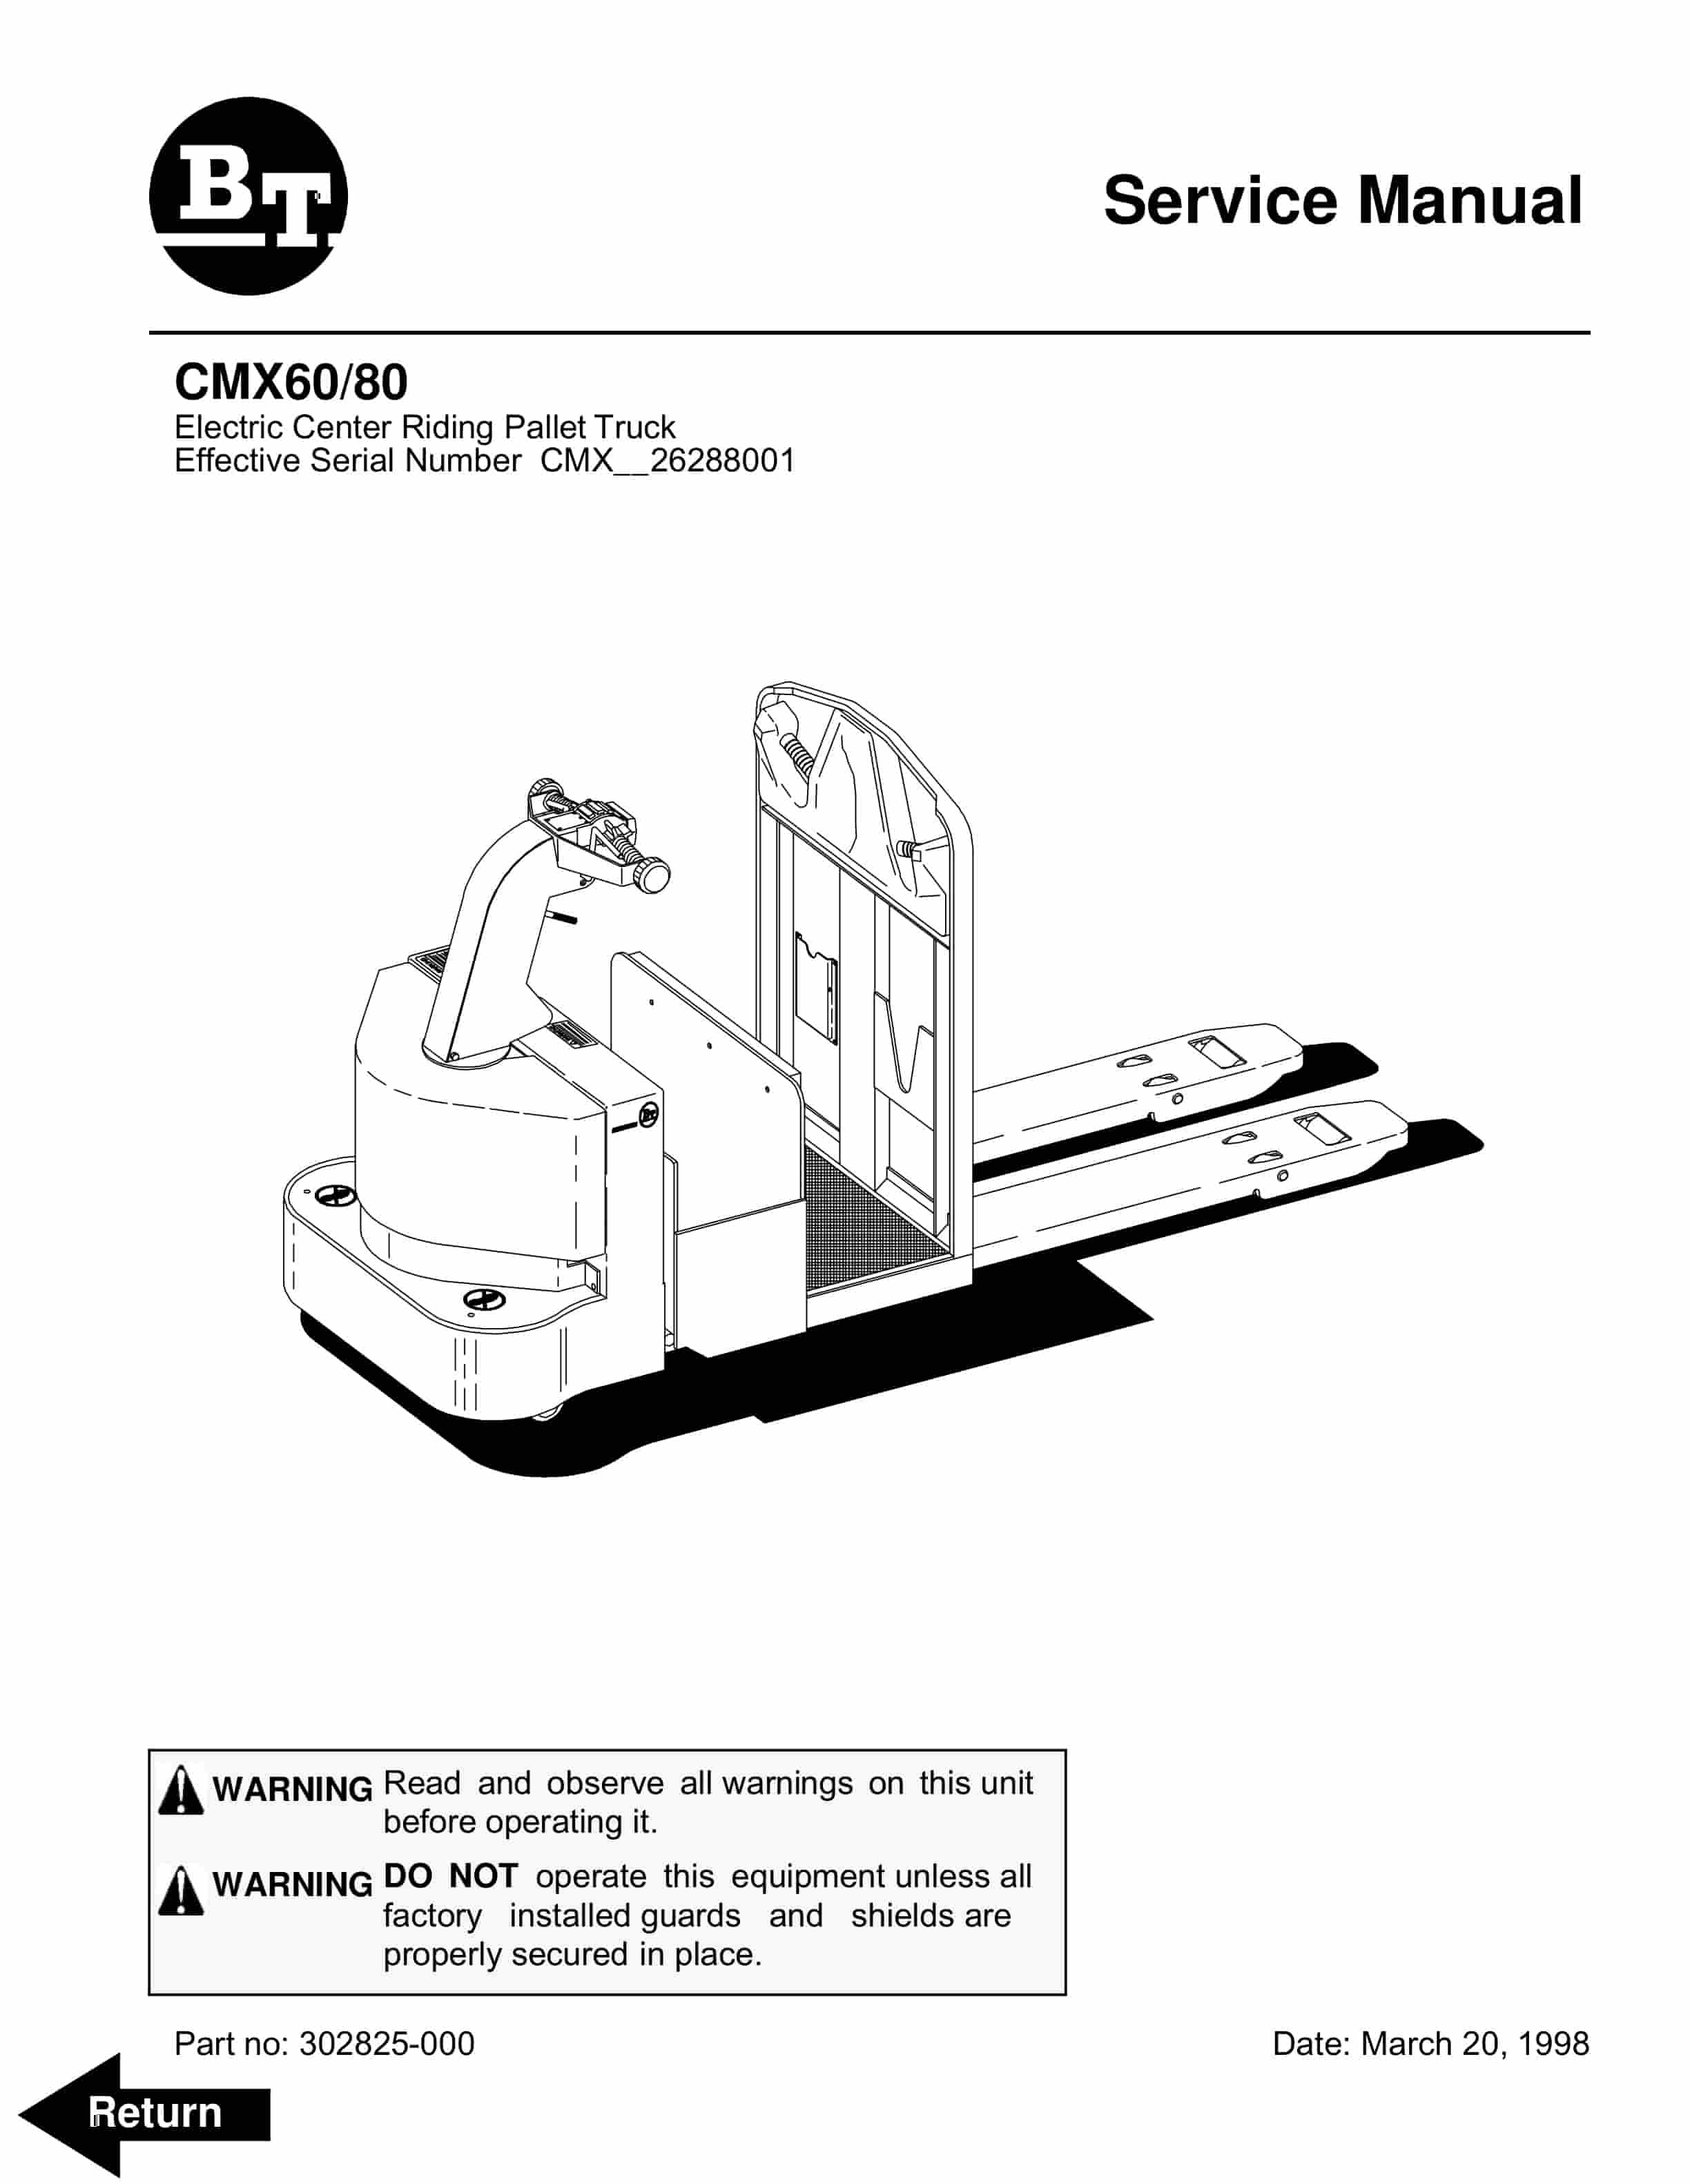
BT CMX60, CMX80 Electric Center Riding Pallet Truck Service Manual 302825-000
$30.00 Add to cart -
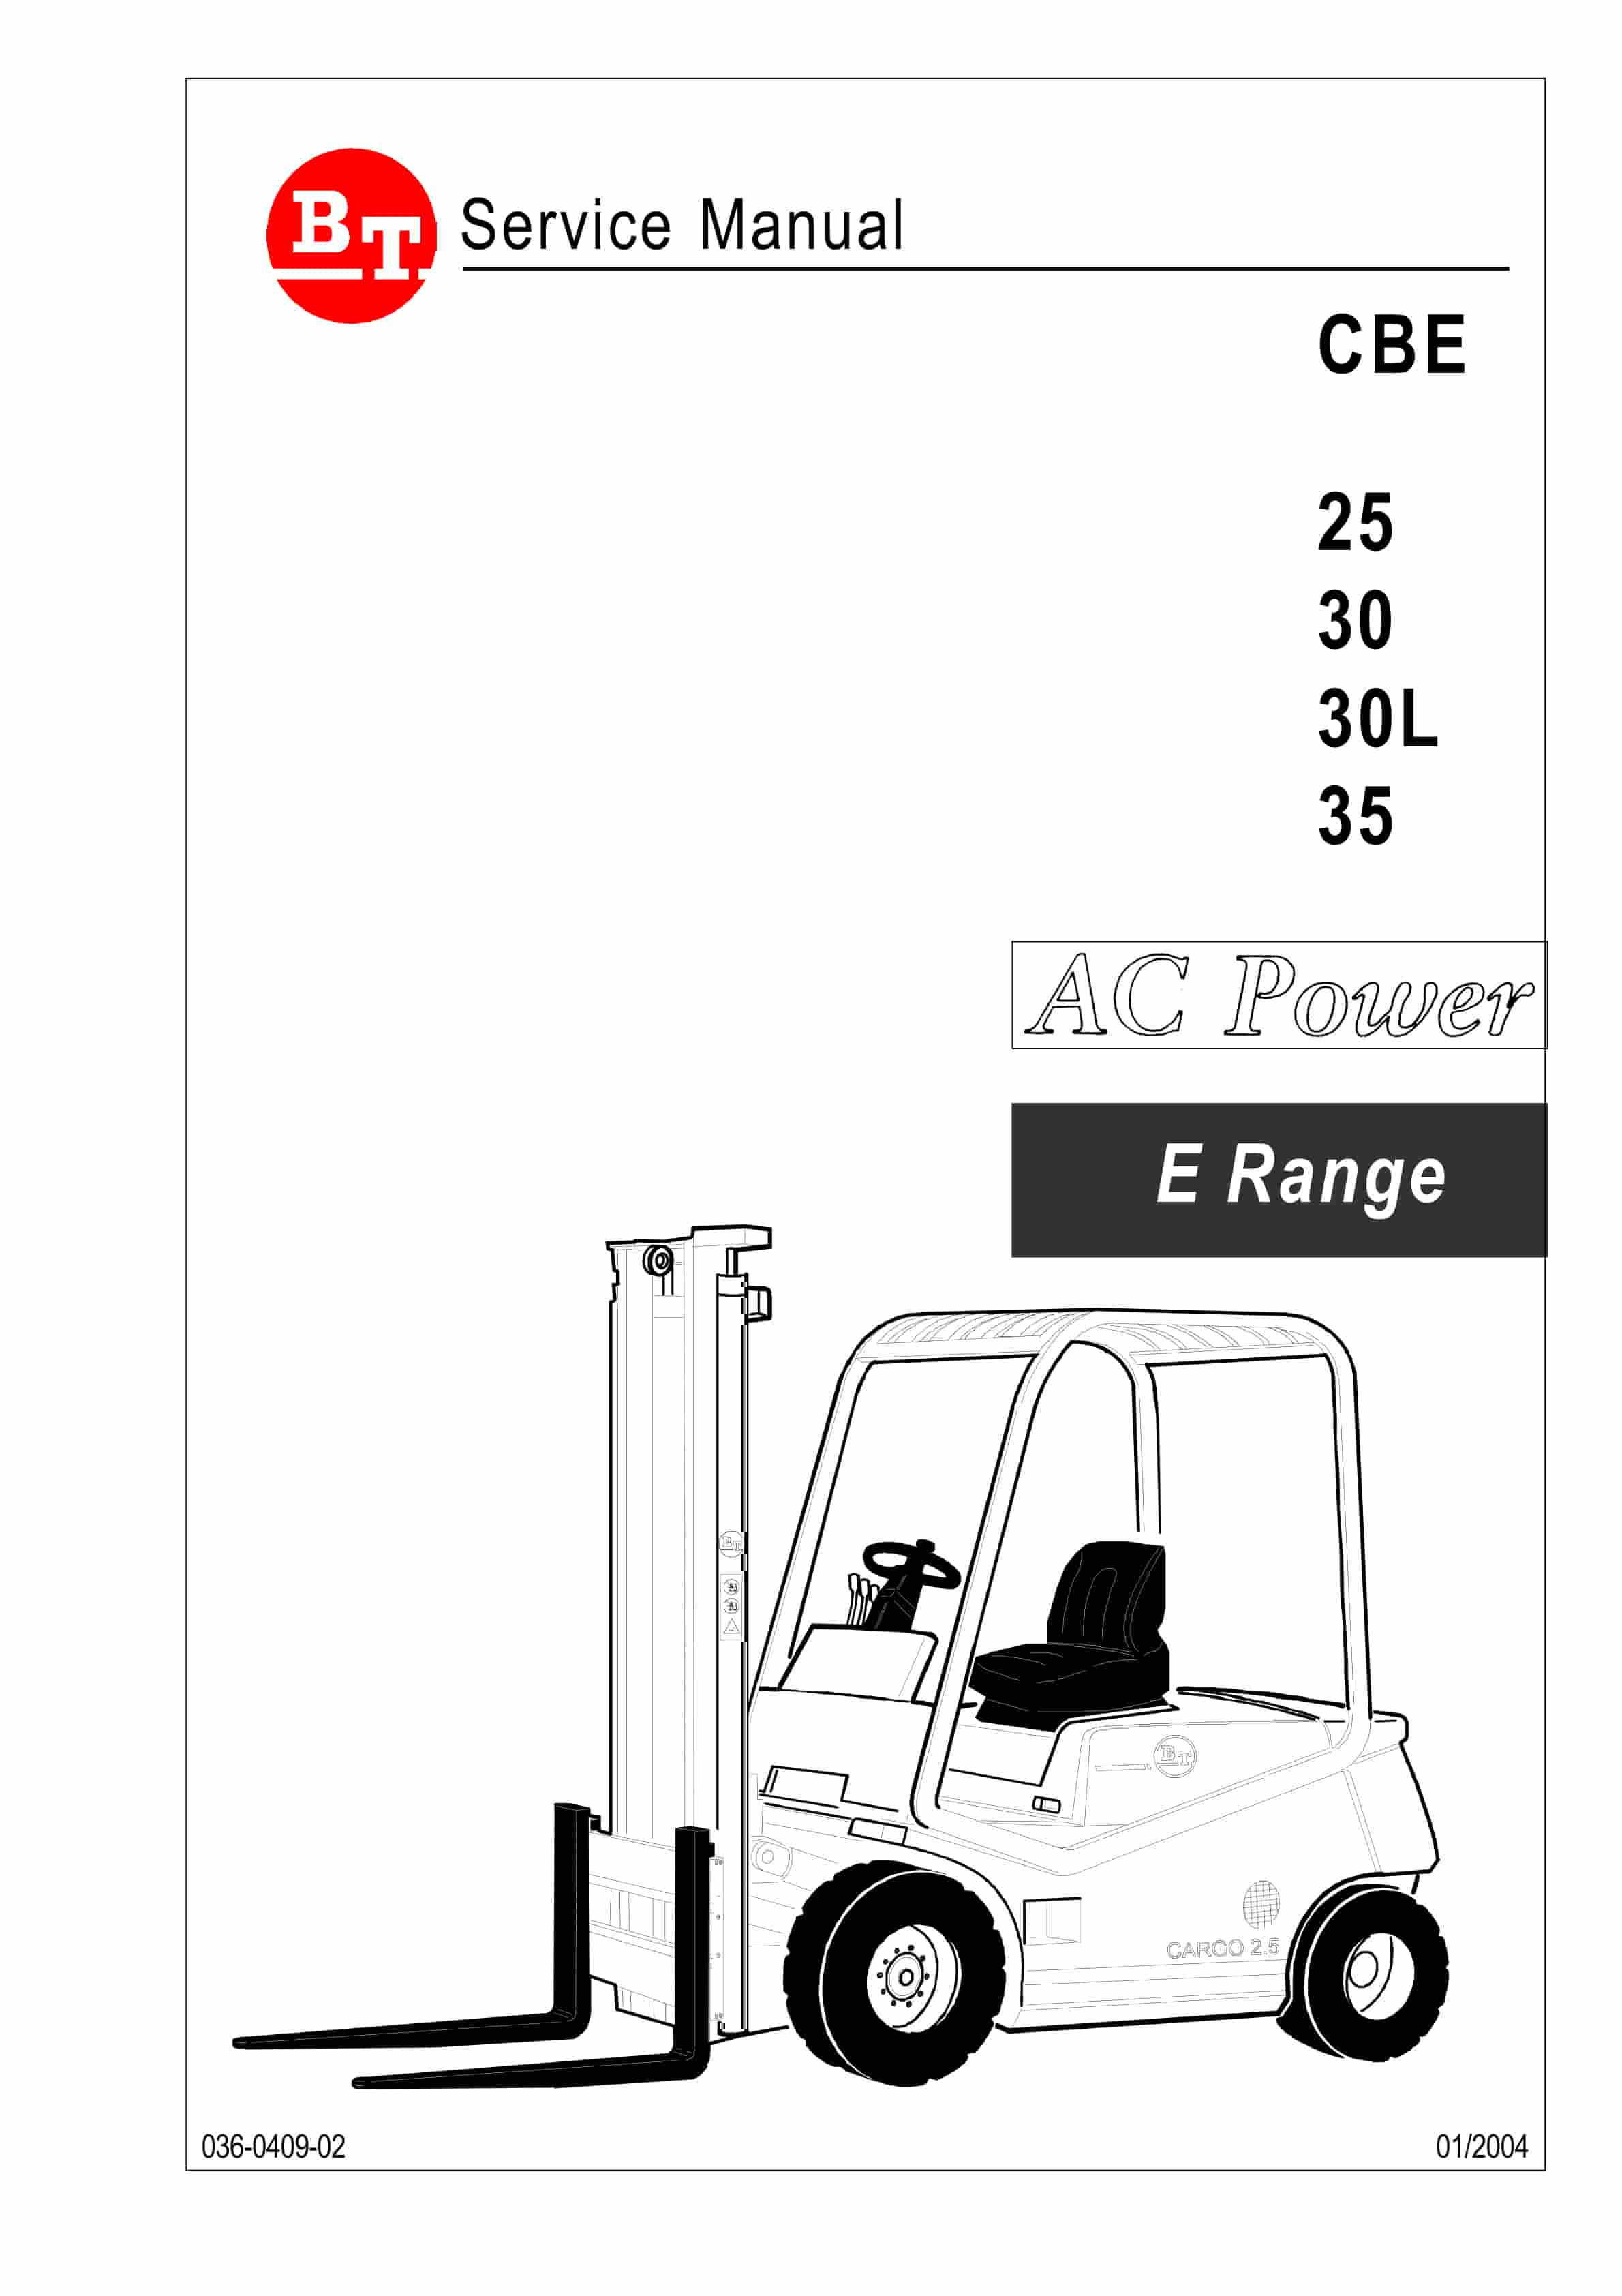
BT CBE 25, CBE 30, CBE 30L, CBE 35 Service Manual 036-0409-02
$30.00 Add to cart -
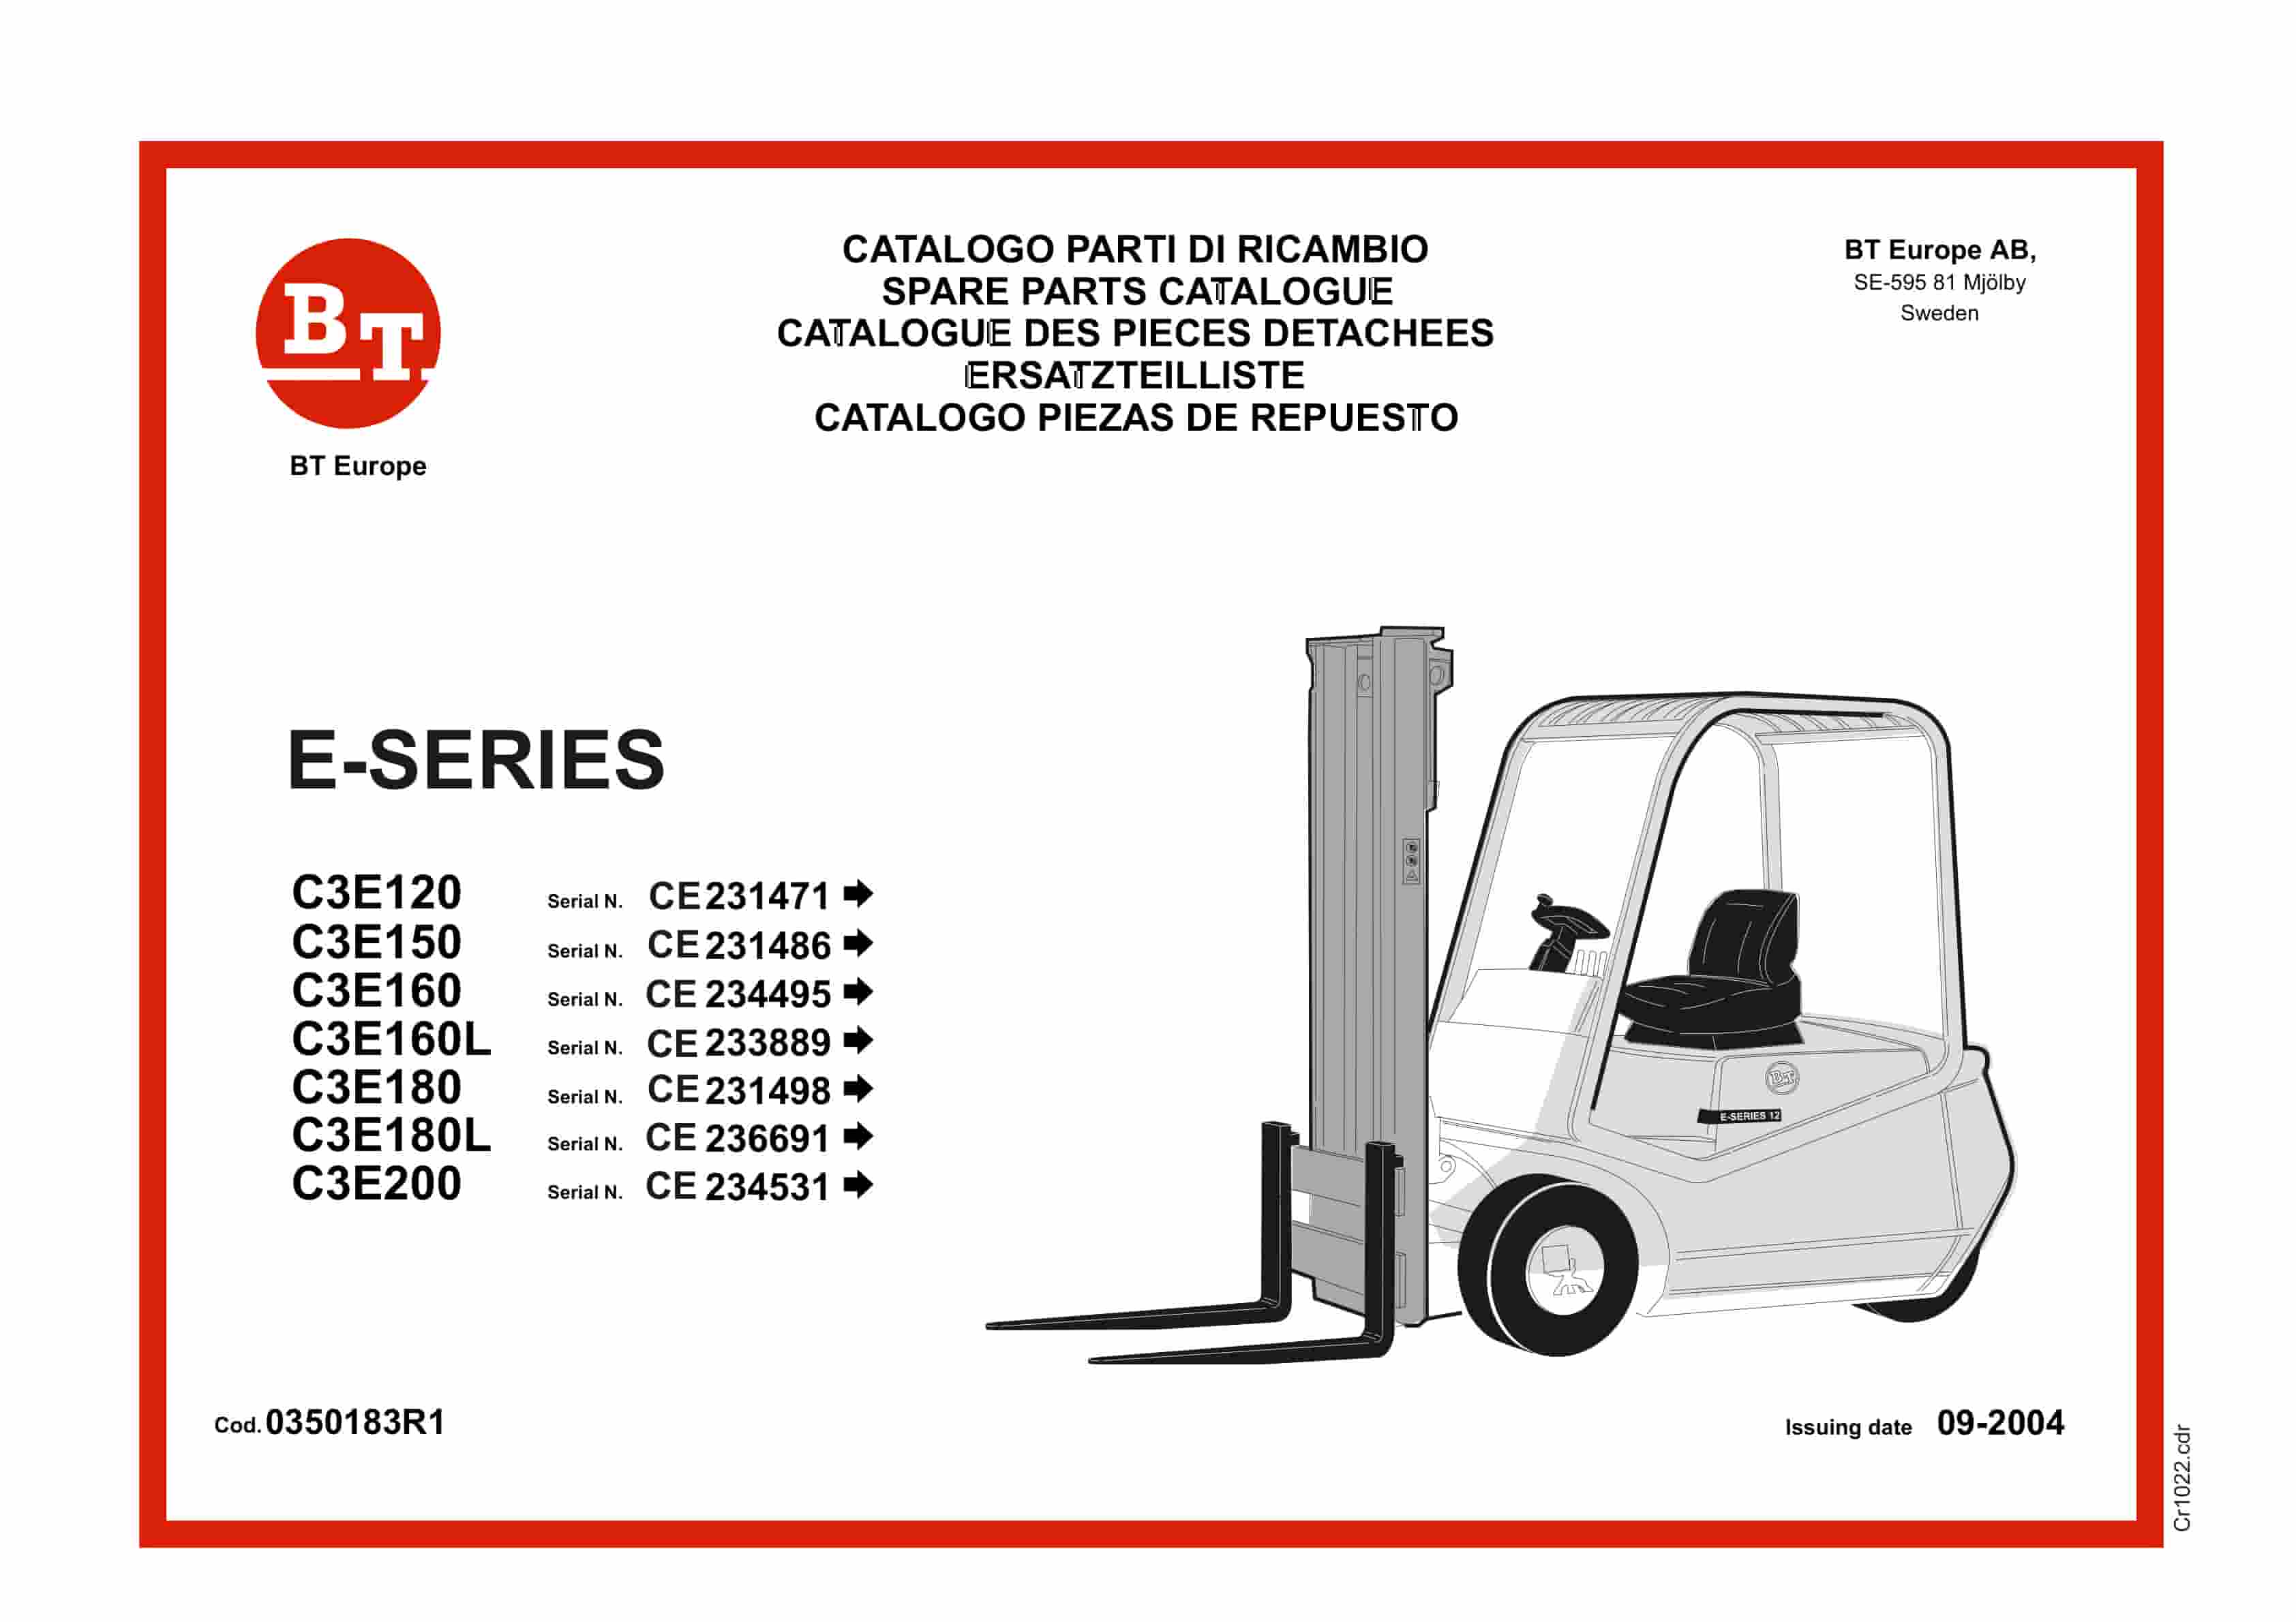
BT E-Series C3E120 to C3E200 Service Manual 0350183R1
$30.00 Add to cart -
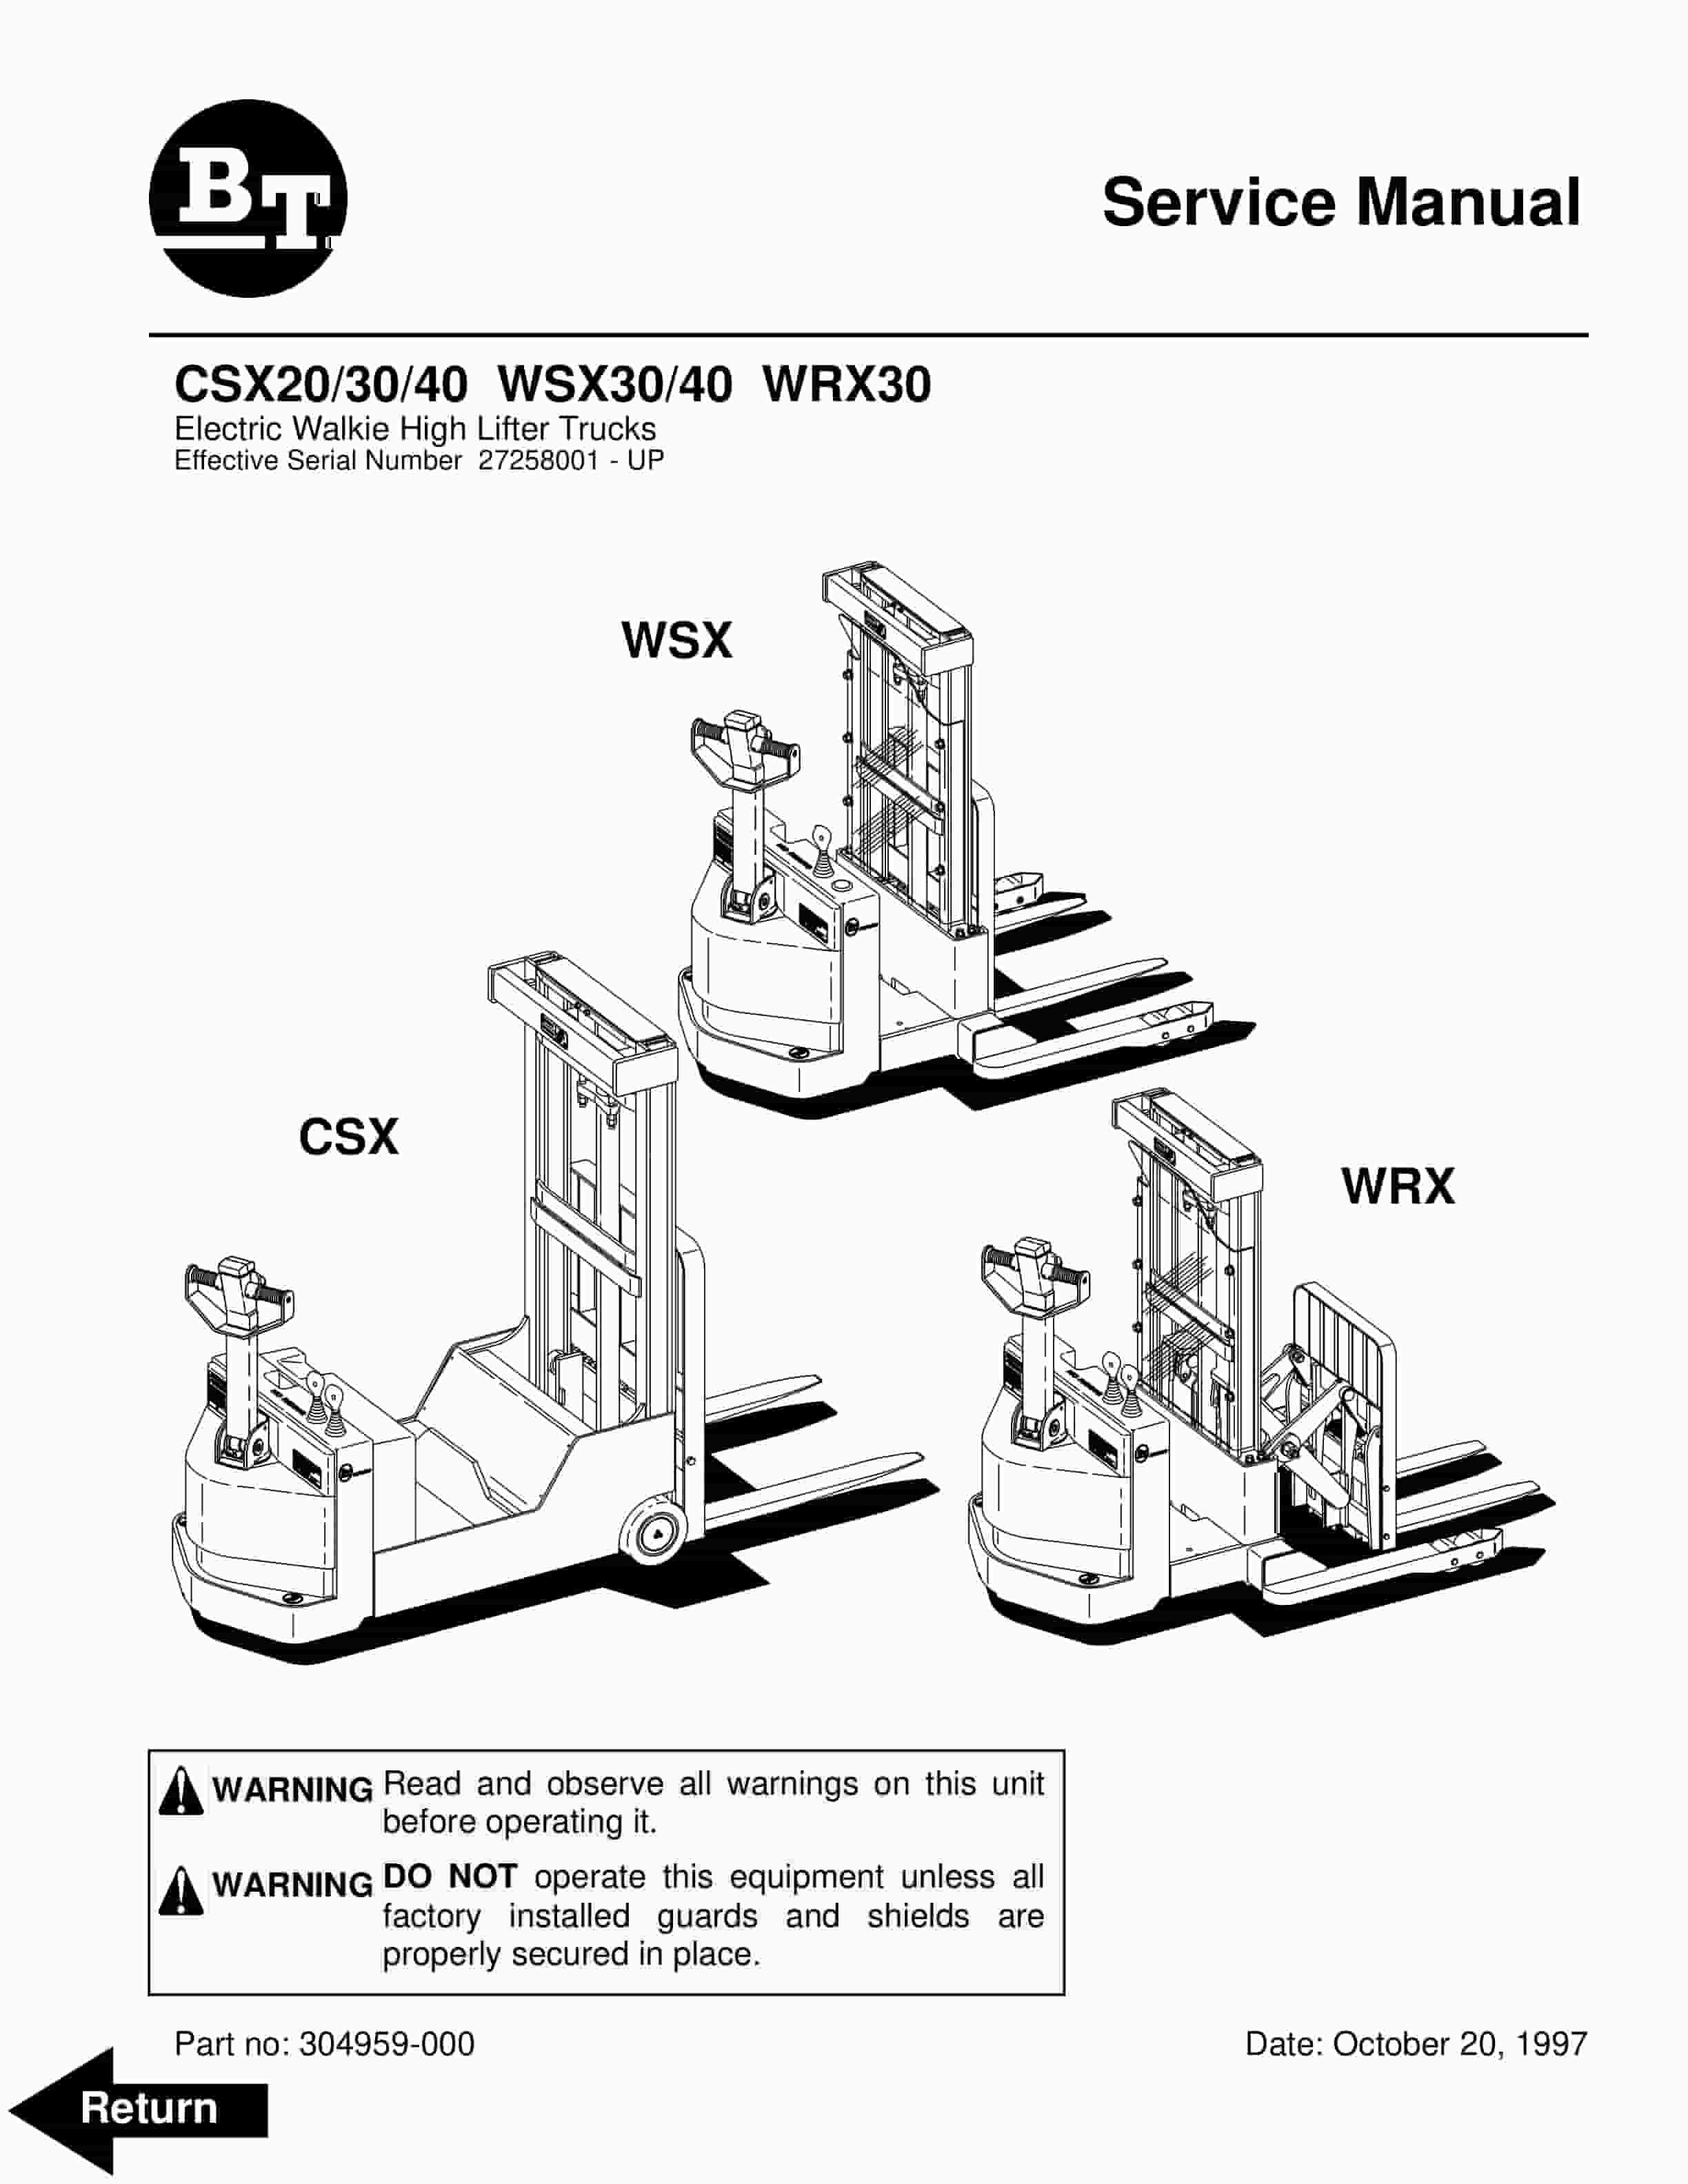
BT CSX20, CSX30, CSX40, WSX30, WSX40, WRX30 Electric Walkie High Lifter Truck Service Manual 304959-000
$30.00 Add to cart -
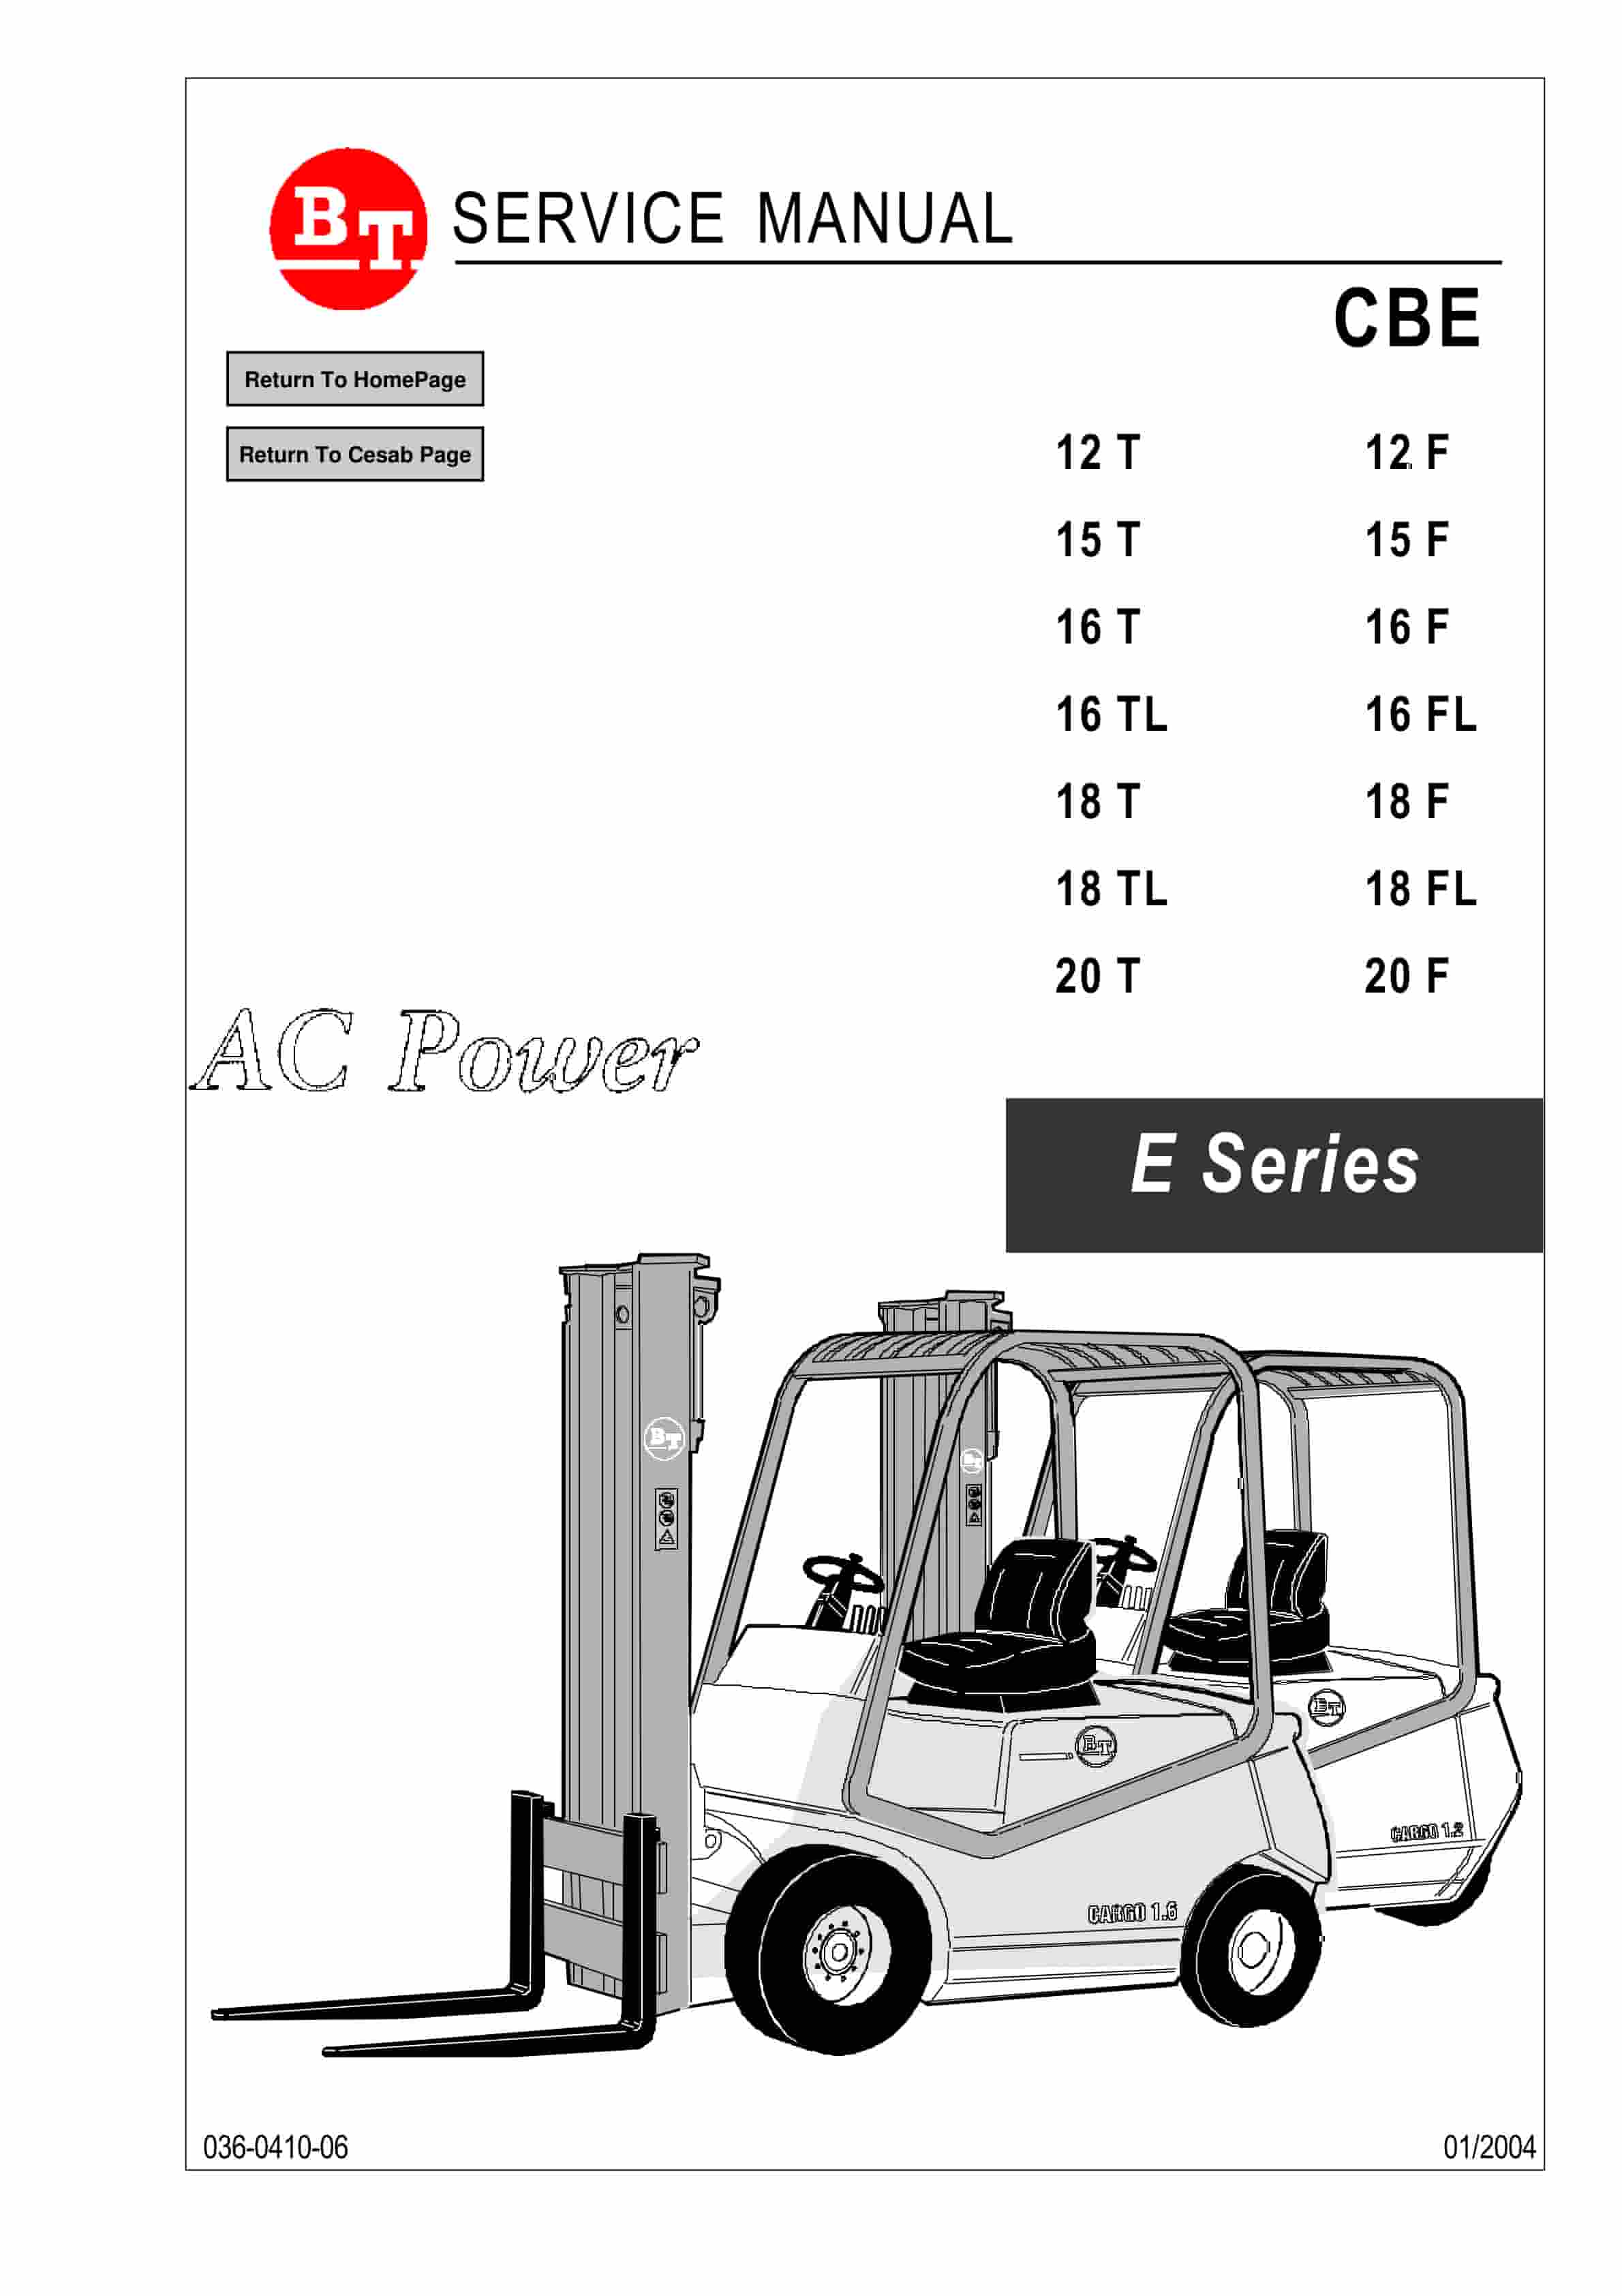
BT CBE 12T to CBE 20F Service Manual 036-0410-06
$30.00 Add to cart


