

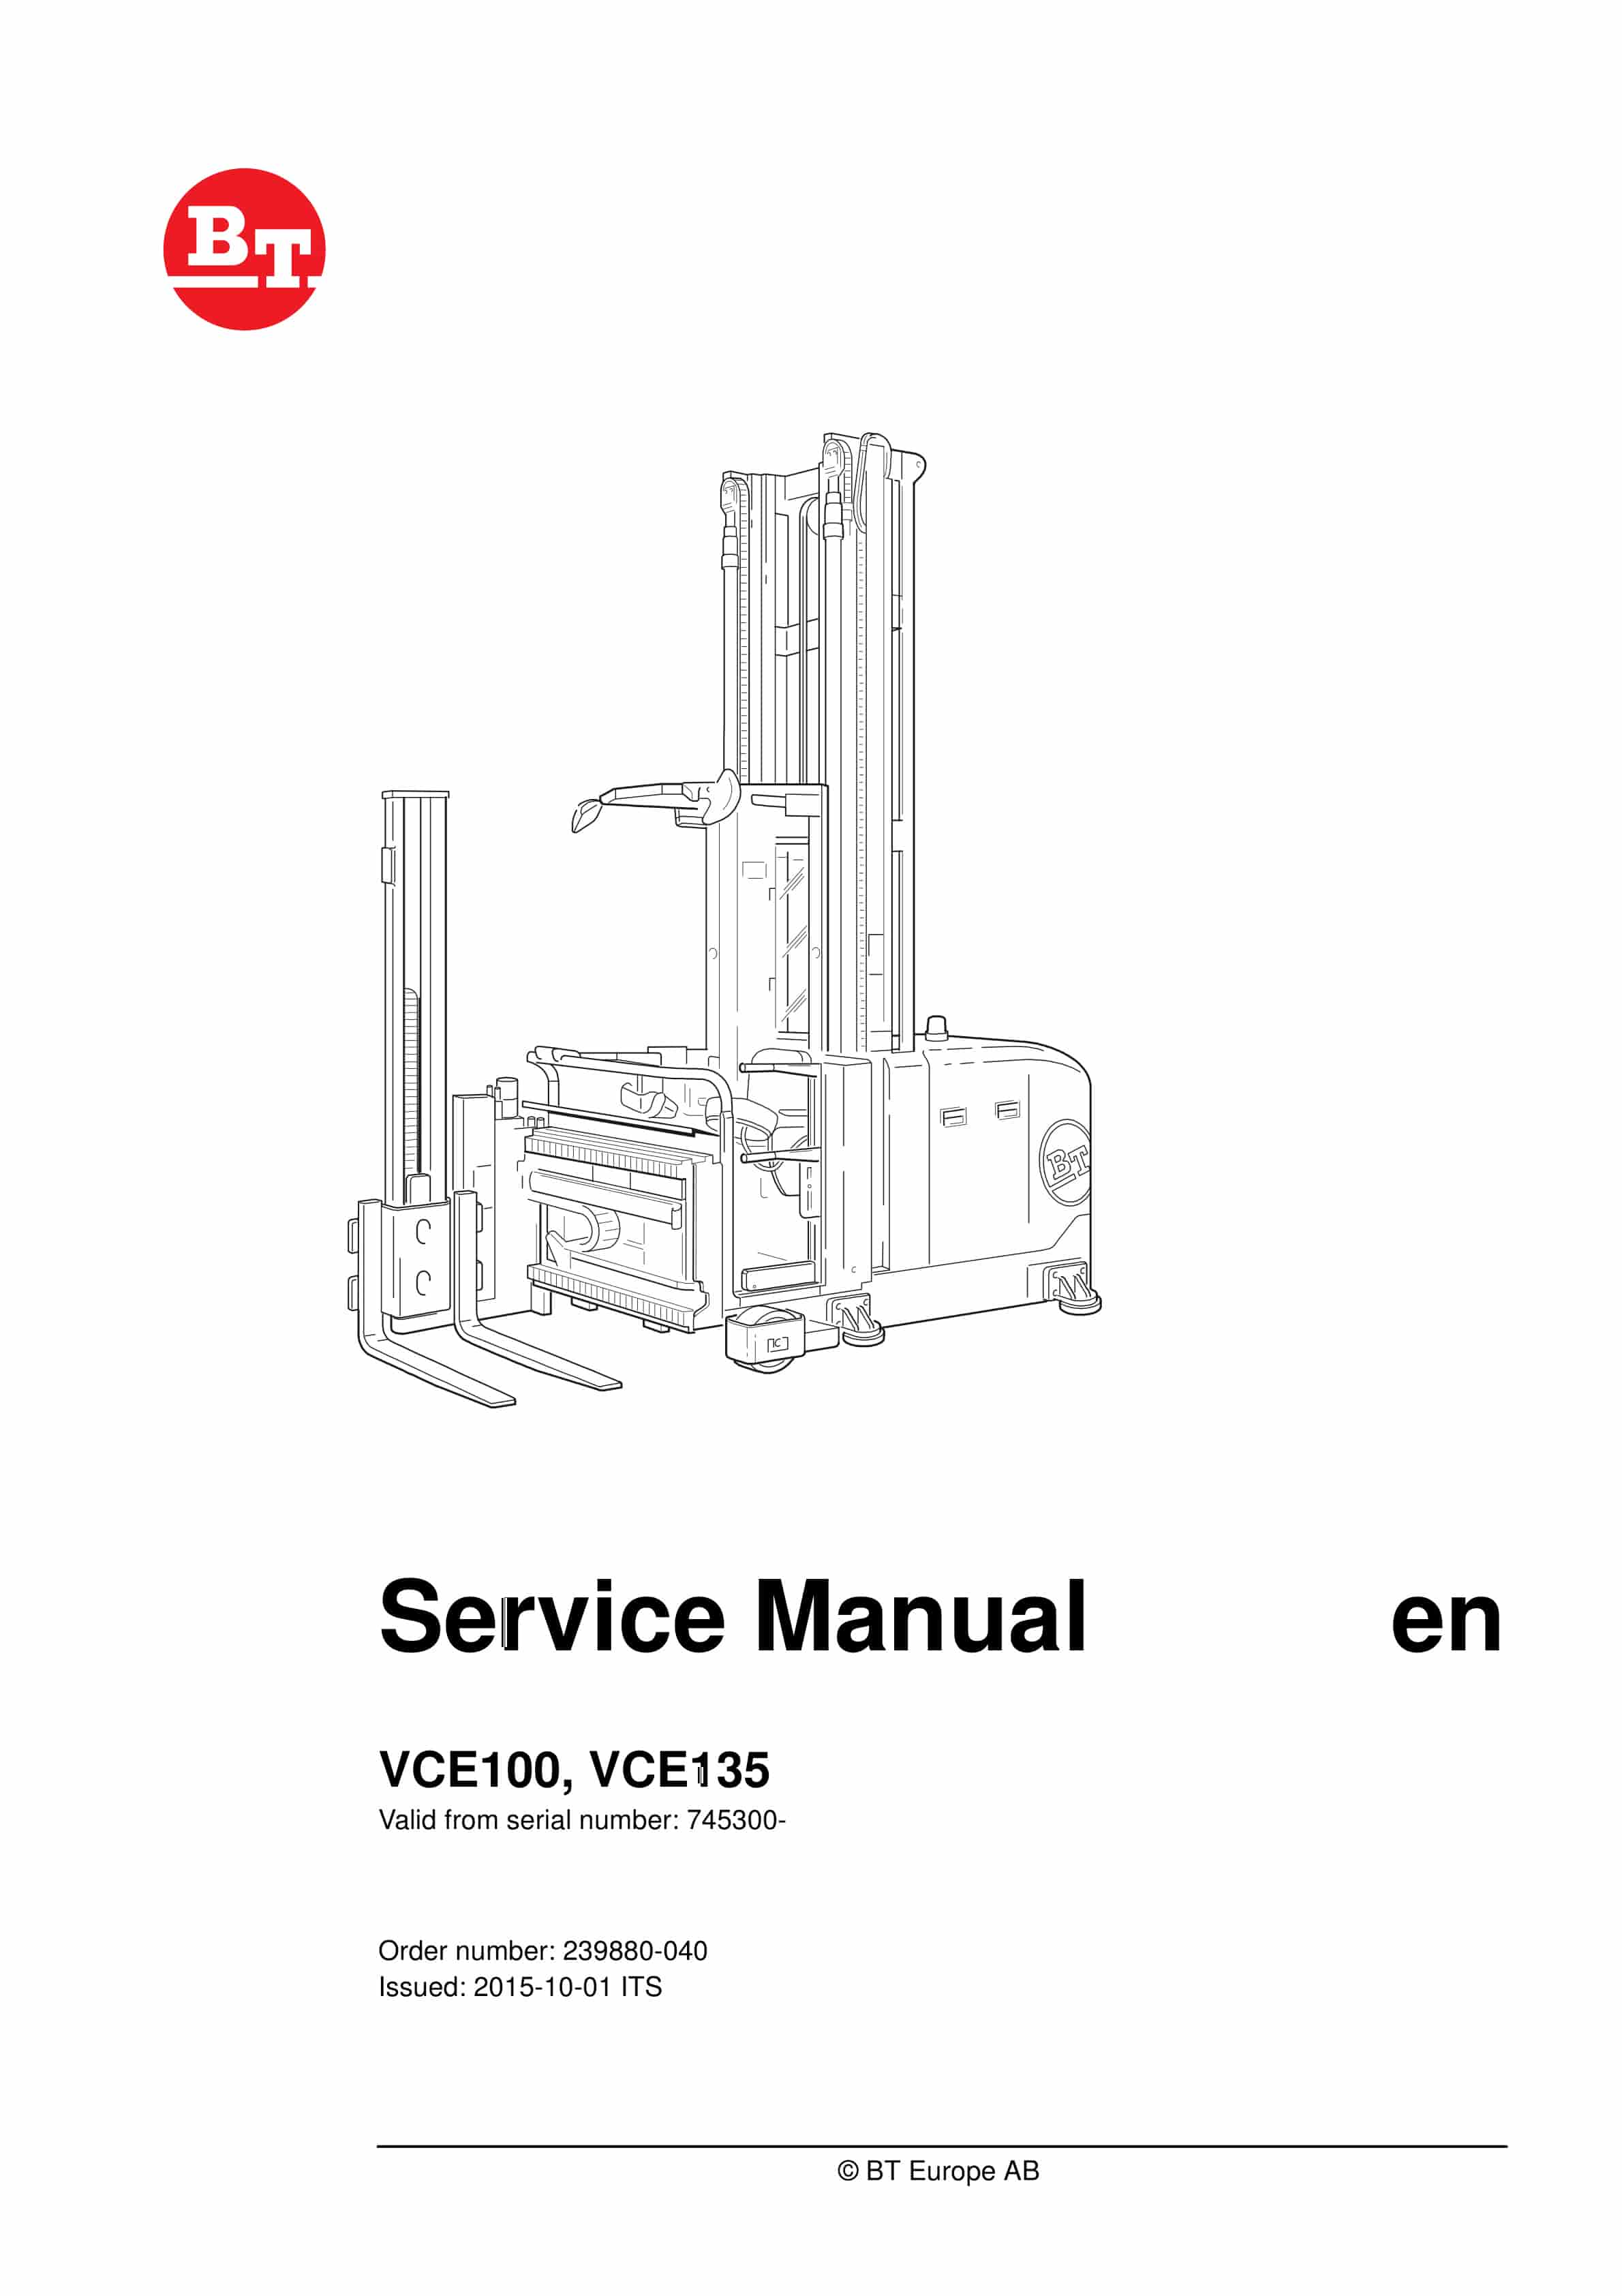
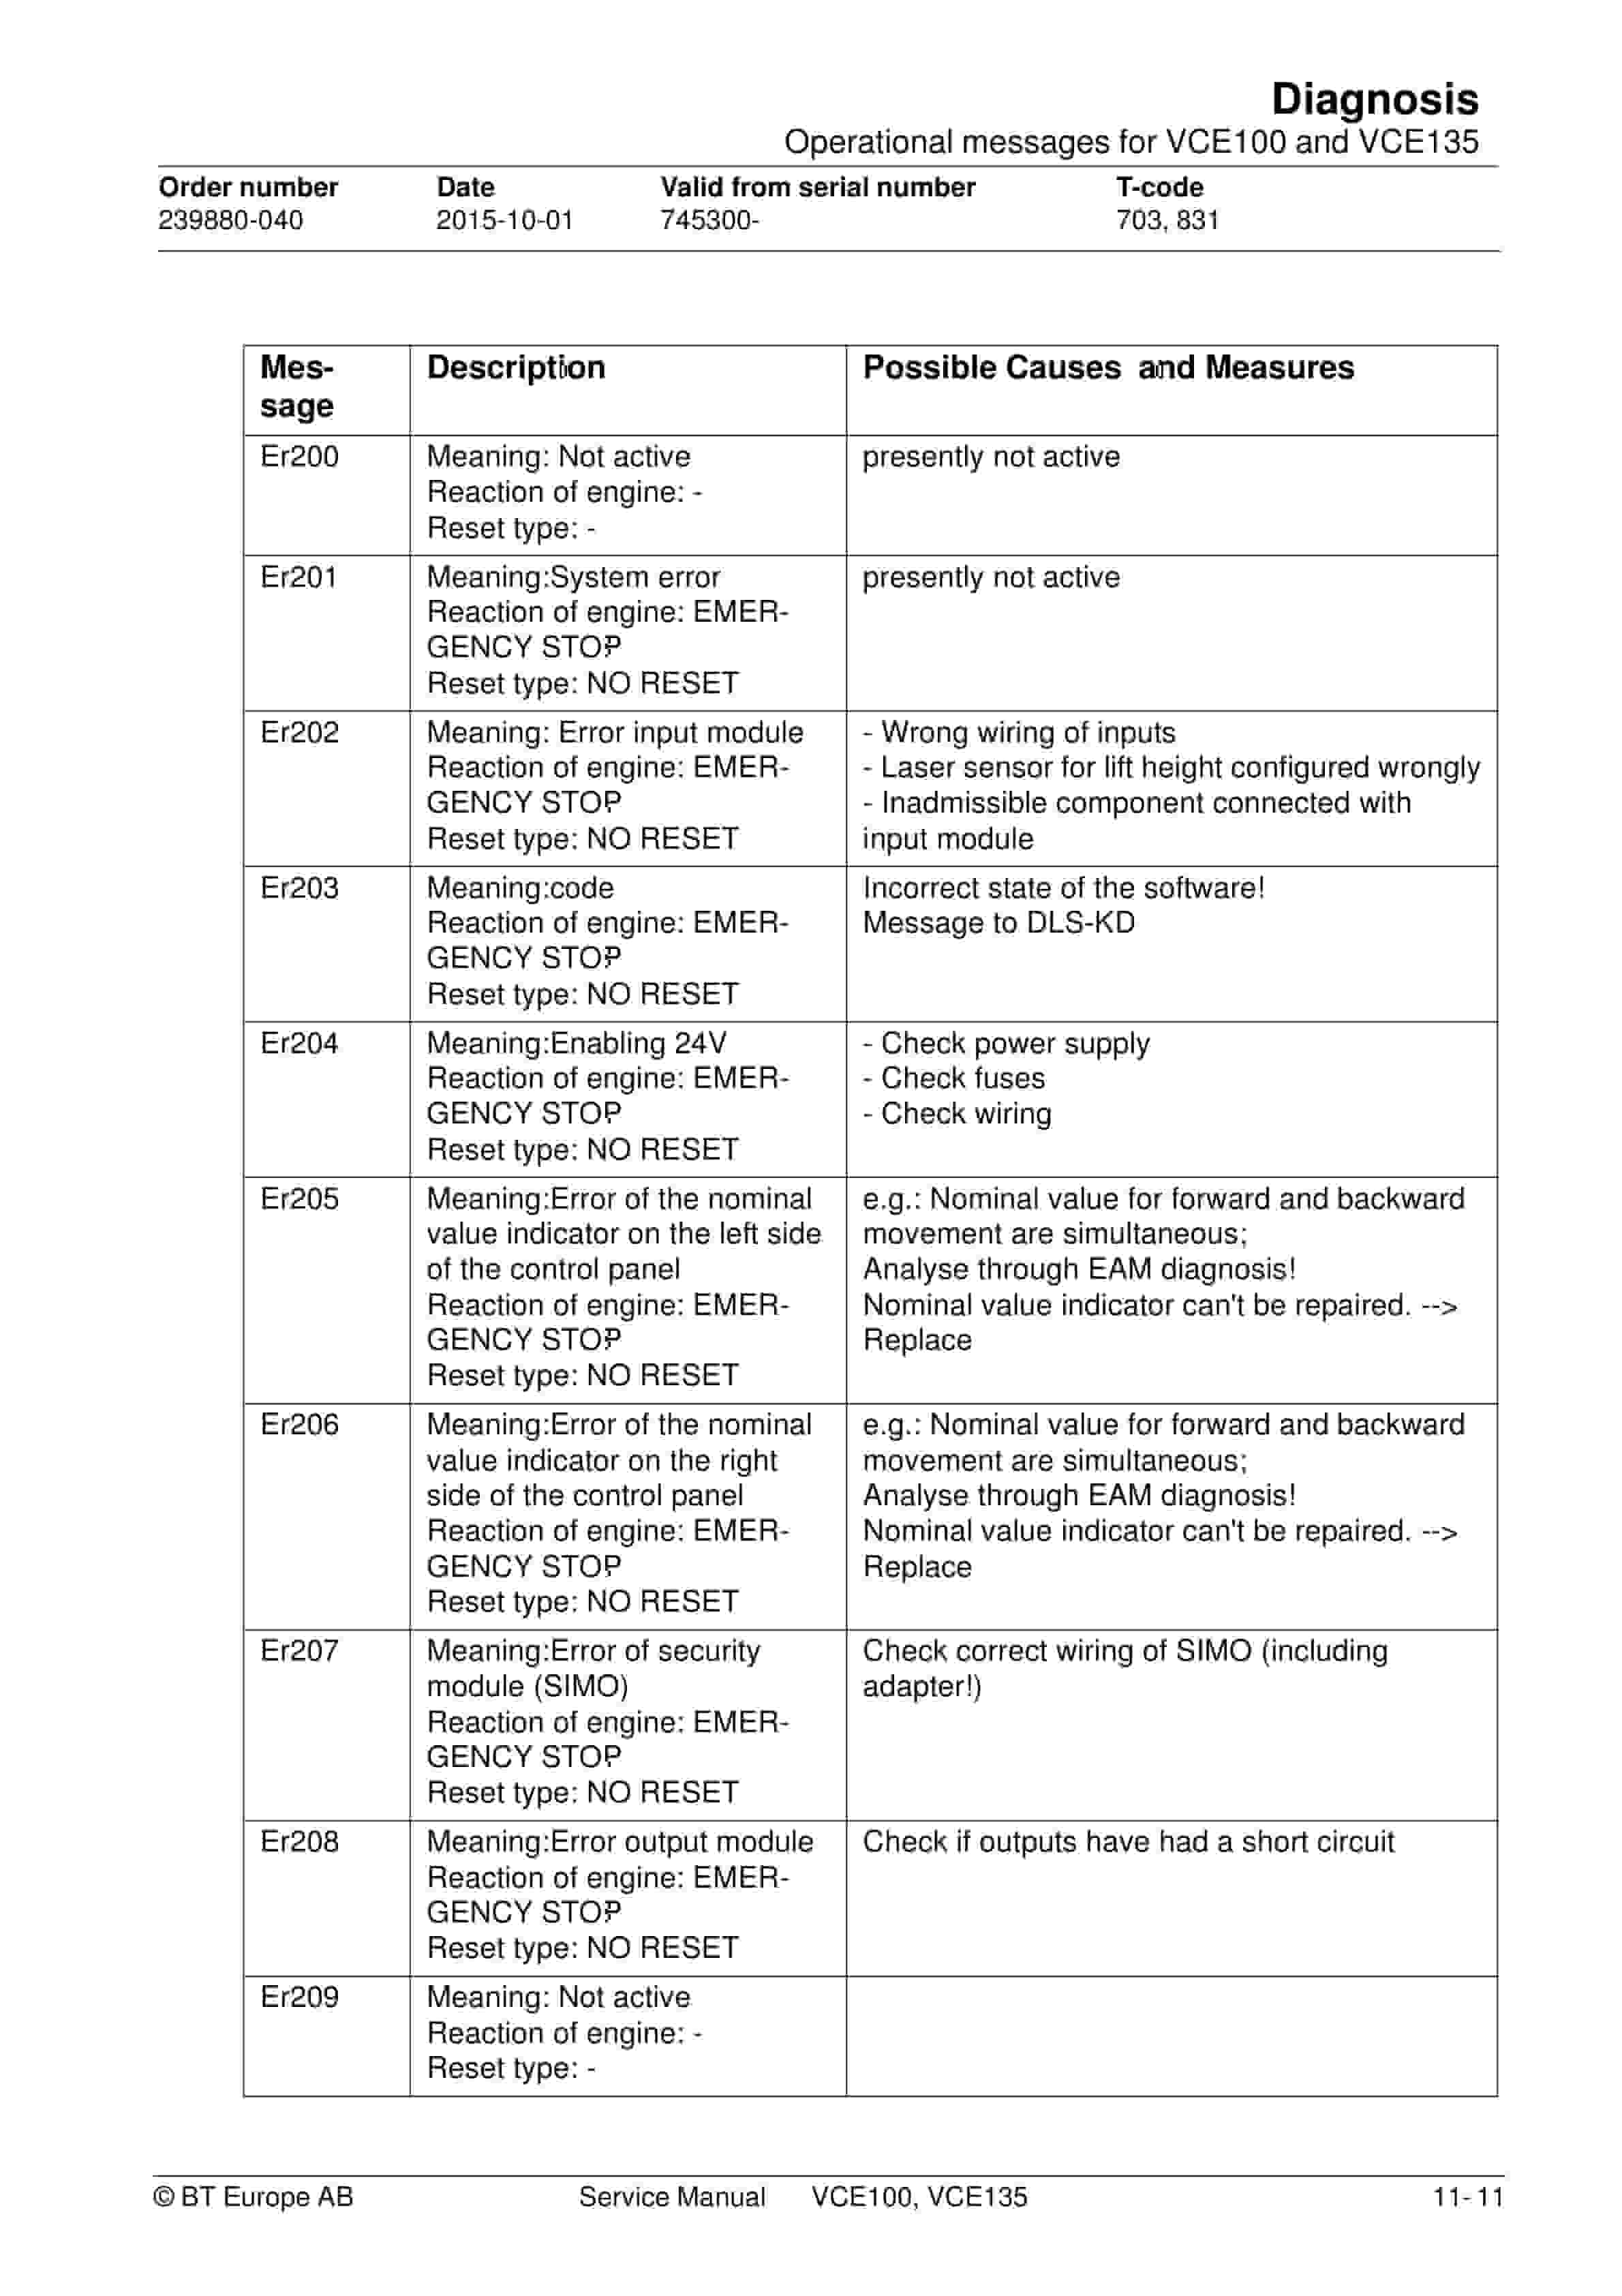
BT VCE100, VCE135 Service Manual 239880-040
$30.00
- Type Of Manual: Service Manual
- Manual ID: 239880-040
- : Service Manual PDF
- Number of Pages: 536
- Size: 27.3MB
- Format: PDF
Product details
-
Model List:
- VCE100, VCE135
- 1. Table of contents
- 2. Preventative maintenance
- 2.1. General maintenance instructions
- 2.2. After the first 100 and 500 operating hours
- 2.2.1. After 100 operating hours
- 2.2.2. After 500 operating hours
- 2.3. Daily maintenance before driving
- 2.4. Maintenance and lubrication intervals
- 2.4.1. General maintenance plan
- 2.4.2. Maintenance plan swivel/travese fork
- 2.4.3. Maintenance plan swivel/traverse fork
- 2.4.4. Maintenance plan telescopic fork
- 2.5. Lubrication equipment
- 2.5.1. Consumption-type materials
- 2.5.2. Reference values oils
- 2.5.3. Reference values lubricants
- 2.5.4. General lubrication schedule
- 2.5.5. Lubrication schedule swivel/traverse fork
- 2.5.6. Lubrication schedule telescopic fork
- 2.5.7. Lift chains
- 2.5.8. Toothed belt lift sensor (if present)
- 2.5.9. Hydraulic hoses
- 2.5.10. Required special tools
- 3. Safety
- 3.1. General safety instructions
- 3.2. Electrical system
- 3.3. Safe lifting
- 3.4. Truck modifications
- 3.5. Maintenance instructions
- 3.5.1. General safety instructions, maintenance and repair
- 3.5.2. Parking the truck
- 3.5.3. Before performing work on the truck
- 3.5.4. Putting the truck in motion
- 3.5.5. Warning and instruction signs on the truck
- 3.5.6. Conditions for use
- 3.5.7. Safety regulations for work
- 3.5.8. Personnel requirements
- 3.6. Load capacity
- 3.6.1. Application
- 3.6.2. Regulations
- 3.6.3. Truck geometry
- 3.6.4. Load capacity tables acc. to Truck geometry on page 3-12
- 3.6.5. Extra lift height h9
- 3.6.6. Truck geometrys effect on load capacity
- 3.7. Electrostatic hazards
- 3.7.1. Work instructions for handling components or assemblies sensitive to electrostatic discharge (EDSD)
- 3.8. Inspections
- 3.8.1. For the operators
- 4. Product description
- 4.1. Assembly arrangement
- 4.1.1. Components of the electrical system
- 4.2. Components in the drive compartment (rear view)
- 4.3. Swivel/traverse fork
- 4.3.1. Functional description
- 4.4. Telescopic fork
- 4.4.1. Functional description
- 4.5. Technical data
- 4.5.1. Technical vehicle data
- 4.5.2. Adjusting and test values
- 4.5.3. Type structure
- 4.5.4. Fuses
- 5. Lifecycle
- 5.1. Safety
- 5.2. Moving loads, unloading and reloading
- 5.3. Qualification
- 5.3.1. Securing the freight and truck
- 5.4. Disassembly work
- 5.4.1. Removing the battery
- 5.4.2. Shutting down the hydraulic system
- 5.5. Overview transport options
- 5.5.1. Transport types
- 5.6. Standing transport
- 5.7. Lying transport
- 5.7.1. Establishing the transport state
- 5.7.2. Safely load the VCE100, VCE135
- 5.7.3. Unloading
- 5.8. Container loading
- 5.8.1. Prerequisites
- 5.8.2. Required tools
- 5.8.3. Weight overview approx. values
- 5.8.4. Size determination for container shipping
- 5.8.5. Corrosion protection
- 5.8.6. Preparation and pole disassembly
- 5.8.7. Loading and securing of boxes
- 5.8.8. Loading and securing of chassis
- 5.8.9. Loading and securing pole with cab
- 5.8.10. Loading and securing disassembled attachment
- 5.8.11. Unloading the components, pole assembly and commissioning
- 5.8.12. Depreserving
- 5.9. Assembly work on-site
- 5.9.1. Assembling the hydraulic system
- 5.9.2. Prepare the brakes for commissioning
- 5.9.3. Battery installation
- 6. Initial commissioning
- 6.1. Individual components
- 6.2. Basic unit
- 6.2.1. After setting up the vehicle
- 6.3. Lift frame
- 6.3.1. For delivery with disassembled lift frame
- 6.4. Load lifting device (LLD)
- 6.4.1. For delivery with disassembled load lifting device (LLD)
- 6.5. Battery equipment
- 6.6. Hydraulics
- 6.6.1. Pump aggregate
- 6.6.2. Hydraulic system
- 6.7. Inspections
- 6.8. Supplied documentation
- 6.8.1. Documentation behind drivers seat in storage box (plastic cover)
- 7. Mechanical parts
- 7.1. Safety instructions
- 7.1.1. Working under lifted frame
- 7.1.2. Activating the hoist frame lock device
- 7.1.3. Working at dangerous heights
- 7.1.4. Gas-pressure springs
- 7.2. Torque values for screwed connections
- 7.3. Ground requirements
- 7.3.1. Specification
- 7.3.2. Measurement tolerances
- 7.4. Evenness
- 7.4.1. Basics
- 7.4.2. Checking floor evenness
- 7.5. Vehicle guidance
- 7.5.1. Rail guidance
- 7.5.2. Overview of guide rail variants
- 7.5.3. Lateral floor rail forces of VCE
- 7.5.4. Induction guidance
- 7.5.5. Aisle detection
- 7.5.6. Aisle end stop
- 7.5.7. Placement of floor magnets
- 7.5.8. Routing the guide wire
- 7.5.9. Guide wire routing and wire design
- 7.5.10. Safety regulations and tolerances for narrow aisle
- 7.6. Lift frame and cabin
- 7.6.1. Chassis and lift frame
- 7.6.2. Backward tilting of the mast
- 7.6.3. Guide rollers pole / cabin and auxiliary lift / load carriage
- 7.7. Chassis
- 7.7.1. Lateral guidance (RG-rail guided vehicles)
- 7.7.2. Perform crack detection at chassis
- 7.8. Load axles and load wheels
- 7.8.1. Load axle<and multiple disc brake
- 7.9. Load wheel
- 7.9.1. Testing of brake effectiveness of the load wheel brake system
- 7.9.2. Dismounting of the brake
- 7.9.3. Checking the release play and the lining thickness
- 7.9.4. Exchanging the brake plates
- 7.9.5. Visual check of the load wheel brake
- 7.10. Mechanically released spring- loaded brake (magnet brake)
- 7.10.1. Components of the magnetic brake
- 7.10.2. Adjustment of the air gap
- 7.10.3. Minimum brake lining thickness
- 7.10.4. Adjusting the brake action
- 7.10.5. Brake test
- 7.11. Traction drive
- 7.11.1. Removal and installation of the drive aggregate
- 7.12. Swivel/traverse fork
- 7.12.1. Adjustment of the tooth backlash
- 7.12.2. Adjustment of the swivel chains
- 7.13. Telescopic fork
- 7.13.1. Standard telescopic fork (TF)
- 7.13.2. Flat telescopic fork (FTF)
- 7.13.3. Auxiliary lift pole
- 7.13.4. Mechanical design of the telescope
- 7.14. Fork test
- 7.14.1. Inspection protocol for fork tine test
- 7.15. Lift chains
- 7.15.1. INSPECTION
- 7.15.2. LIFT CHAIN LUBRICATION
- 7.15.3. LIFT CHAIN REPLACEMENT
- 7.16. Slack chain switches
- 7.17. Master Speed Plus testing instruction
- 7.17.1. Setting and test of the Master Speed Plus control with vmax/2.5 reversing curve
- 7.17.2. Adjustment test
- 7.17.3. Load capacity label
- 7.17.4. Reversing height level vmax/v2.5
- 7.17.5. Forward
- 7.17.6. Reversing height level vmax/v2.5
- 7.17.7. Backward
- 8. Hydraulics
- 8.1. General information
- 8.1.1. Preparation, assembly and putting into operation of the FFZ hydraulics
- 8.2. Torques
- 8.3. Description of the hydraulic system
- 8.3.1. General features
- 8.3.2. Pump aggregate
- 8.3.3. VCE135 Hydraulic system diagrams
- 8.3.4. VCE100 Hydraulic system diagrams
- 8.3.5. VCE135 Hydraulic installation in the bogie
- 8.3.6. VCE135 Hydraulic installation in the rear of the vehicle
- 8.3.7. VCE100 Hydraulic installation in the bogie
- 8.3.8. VCE100 Hydraulic installation in the rear of the vehicle
- 8.3.9. Tank
- 8.3.10. Filler and breather
- 8.3.11. Return flow filter
- 8.3.12. Pump
- 8.3.13. Lift module block
- 8.3.14. Main lift/Auxiliary lift
- 8.3.15. Auxiliary lift movement
- 8.3.16. Return flow pressure control valve
- 8.3.17. Lift module block H3
- 8.4. Lift cylinders (main and auxiliary lift)
- 8.4.1. Design of the cylinders
- 8.4.2. Deairing the cylinder
- 8.4.3. Replacing the sealing
- 8.4.4. Removing and installing the main lift cylinder
- 8.4.5. Replacing the lower cylinder rod guide
- 8.4.6. Pipe-break protection / Load-lowering valve
- 8.5. Hydraulic installation of the traverse fork (RFZ)
- 8.5.1. Side view
- 8.5.2. Front view
- 8.5.3. Setting the shock valves (sideshift)
- 8.5.4. Setting the load stabilizer valve (swiveling)
- 8.5.5. Swivel cylinder
- 8.5.6. Replacing the sealing
- 9. Electrical equipment
- 9.1. Block diagram of the control concept
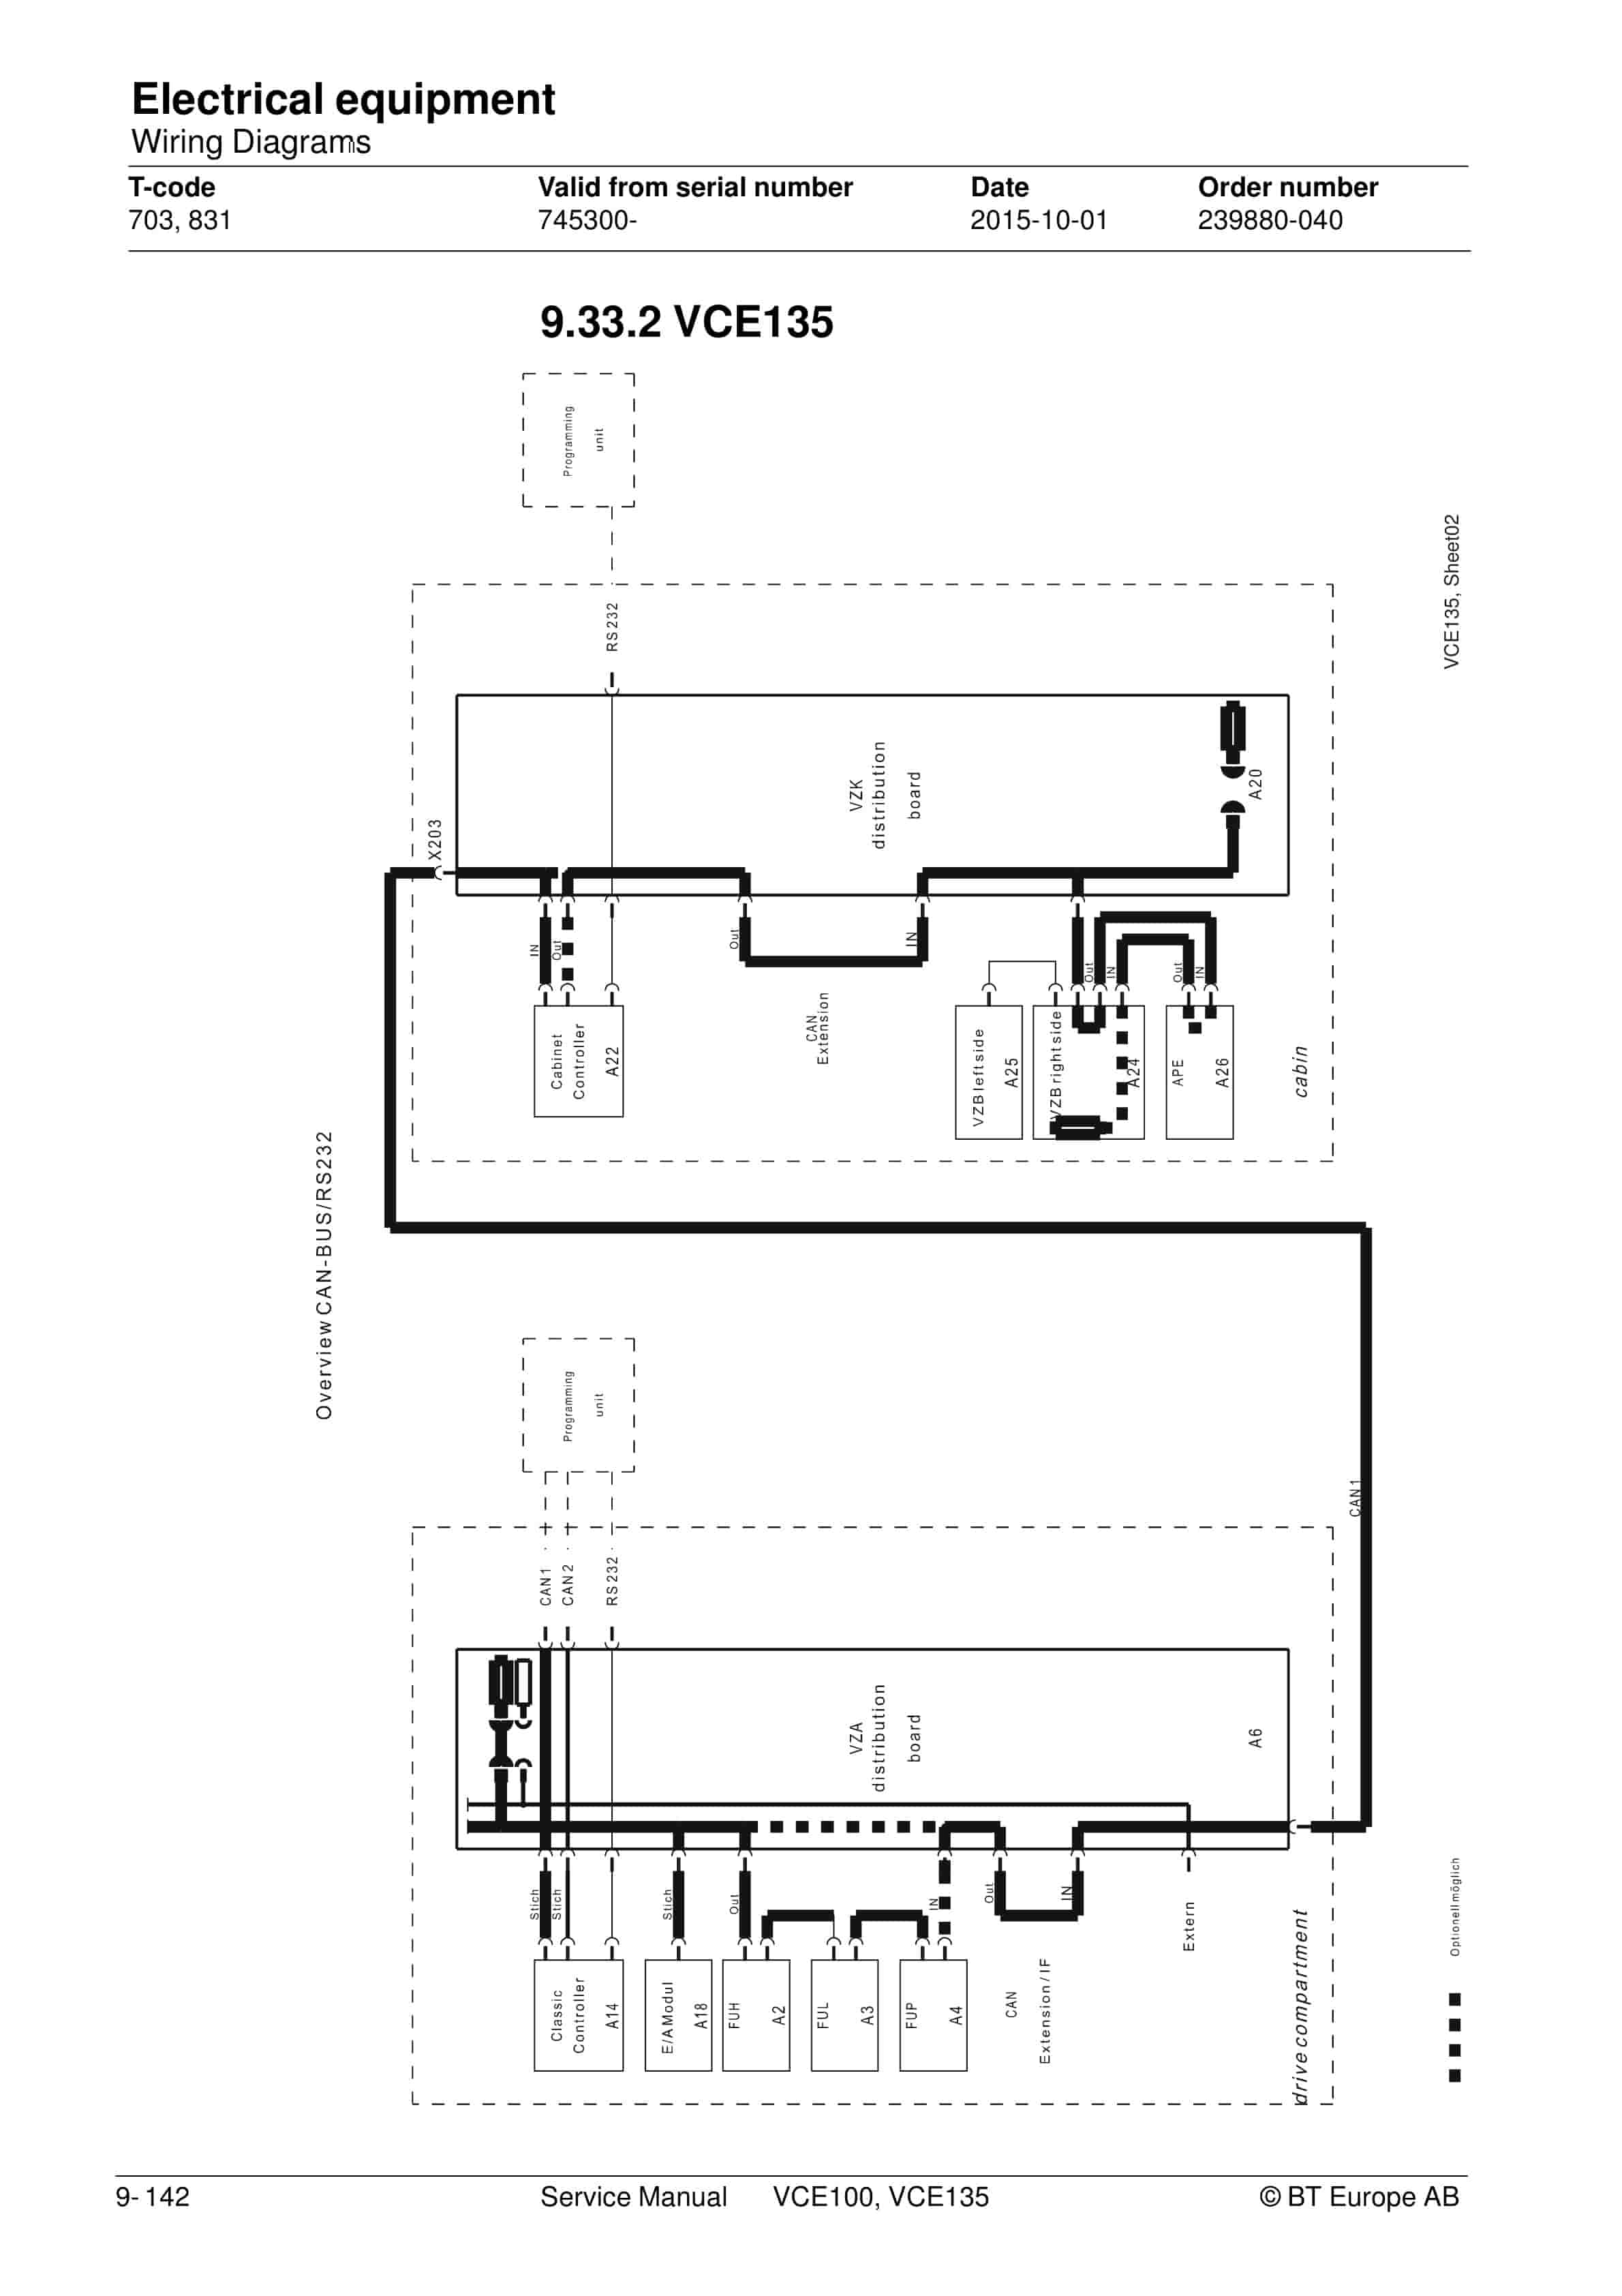
- 9.2. CAN bus description
- 9.2.1. CAN bus features
- 9.3. Components of the control systems
- 9.3.1. General information concerning the components
- 9.3.2. Drive compartment processing unit A14 / A18 with signal collector and distribution card
- 9.3.3. Cabin processing unit with signal collector and distribution card
- 9.3.4. Plug arrangement distributor board drive compartment
- 9.3.5. Plug arrangement distributor board cabin
- 9.4. Control panel
- 9.4.1. Design of the Right Control Panel (UDR)
- 9.5. Design of the left control panel (UDL)
- 9.5.1. Bottom cover of UDL
- 9.5.2. Removal of UDL
- 9.5.3. Removal of the 2-keys board
- 9.5.4. Removal of UDL main board
- 9.5.5. Structure of the APE
- 9.6. Operation of the APE
- 9.6.1. Displays and menus on the APE
- 9.6.2. Basic display
- 9.6.3. Key functions in editable menus
- 9.6.4. Information display
- 9.6.5. Control panel test page
- 9.6.6. Service menu
- 9.7. Brakes
- 9.7.1. Braking system description
- 9.7.2. Spring-loaded brake system
- 9.7.3. Load brake system
- 9.7.4. Actuation of the load wheel brake
- 9.7.5. Setting of the load wheel brake
- 9.7.6. Electrical braking system
- 9.7.7. General emergency stop
- 9.7.8. Functional emergency stop
- 9.8. Driving
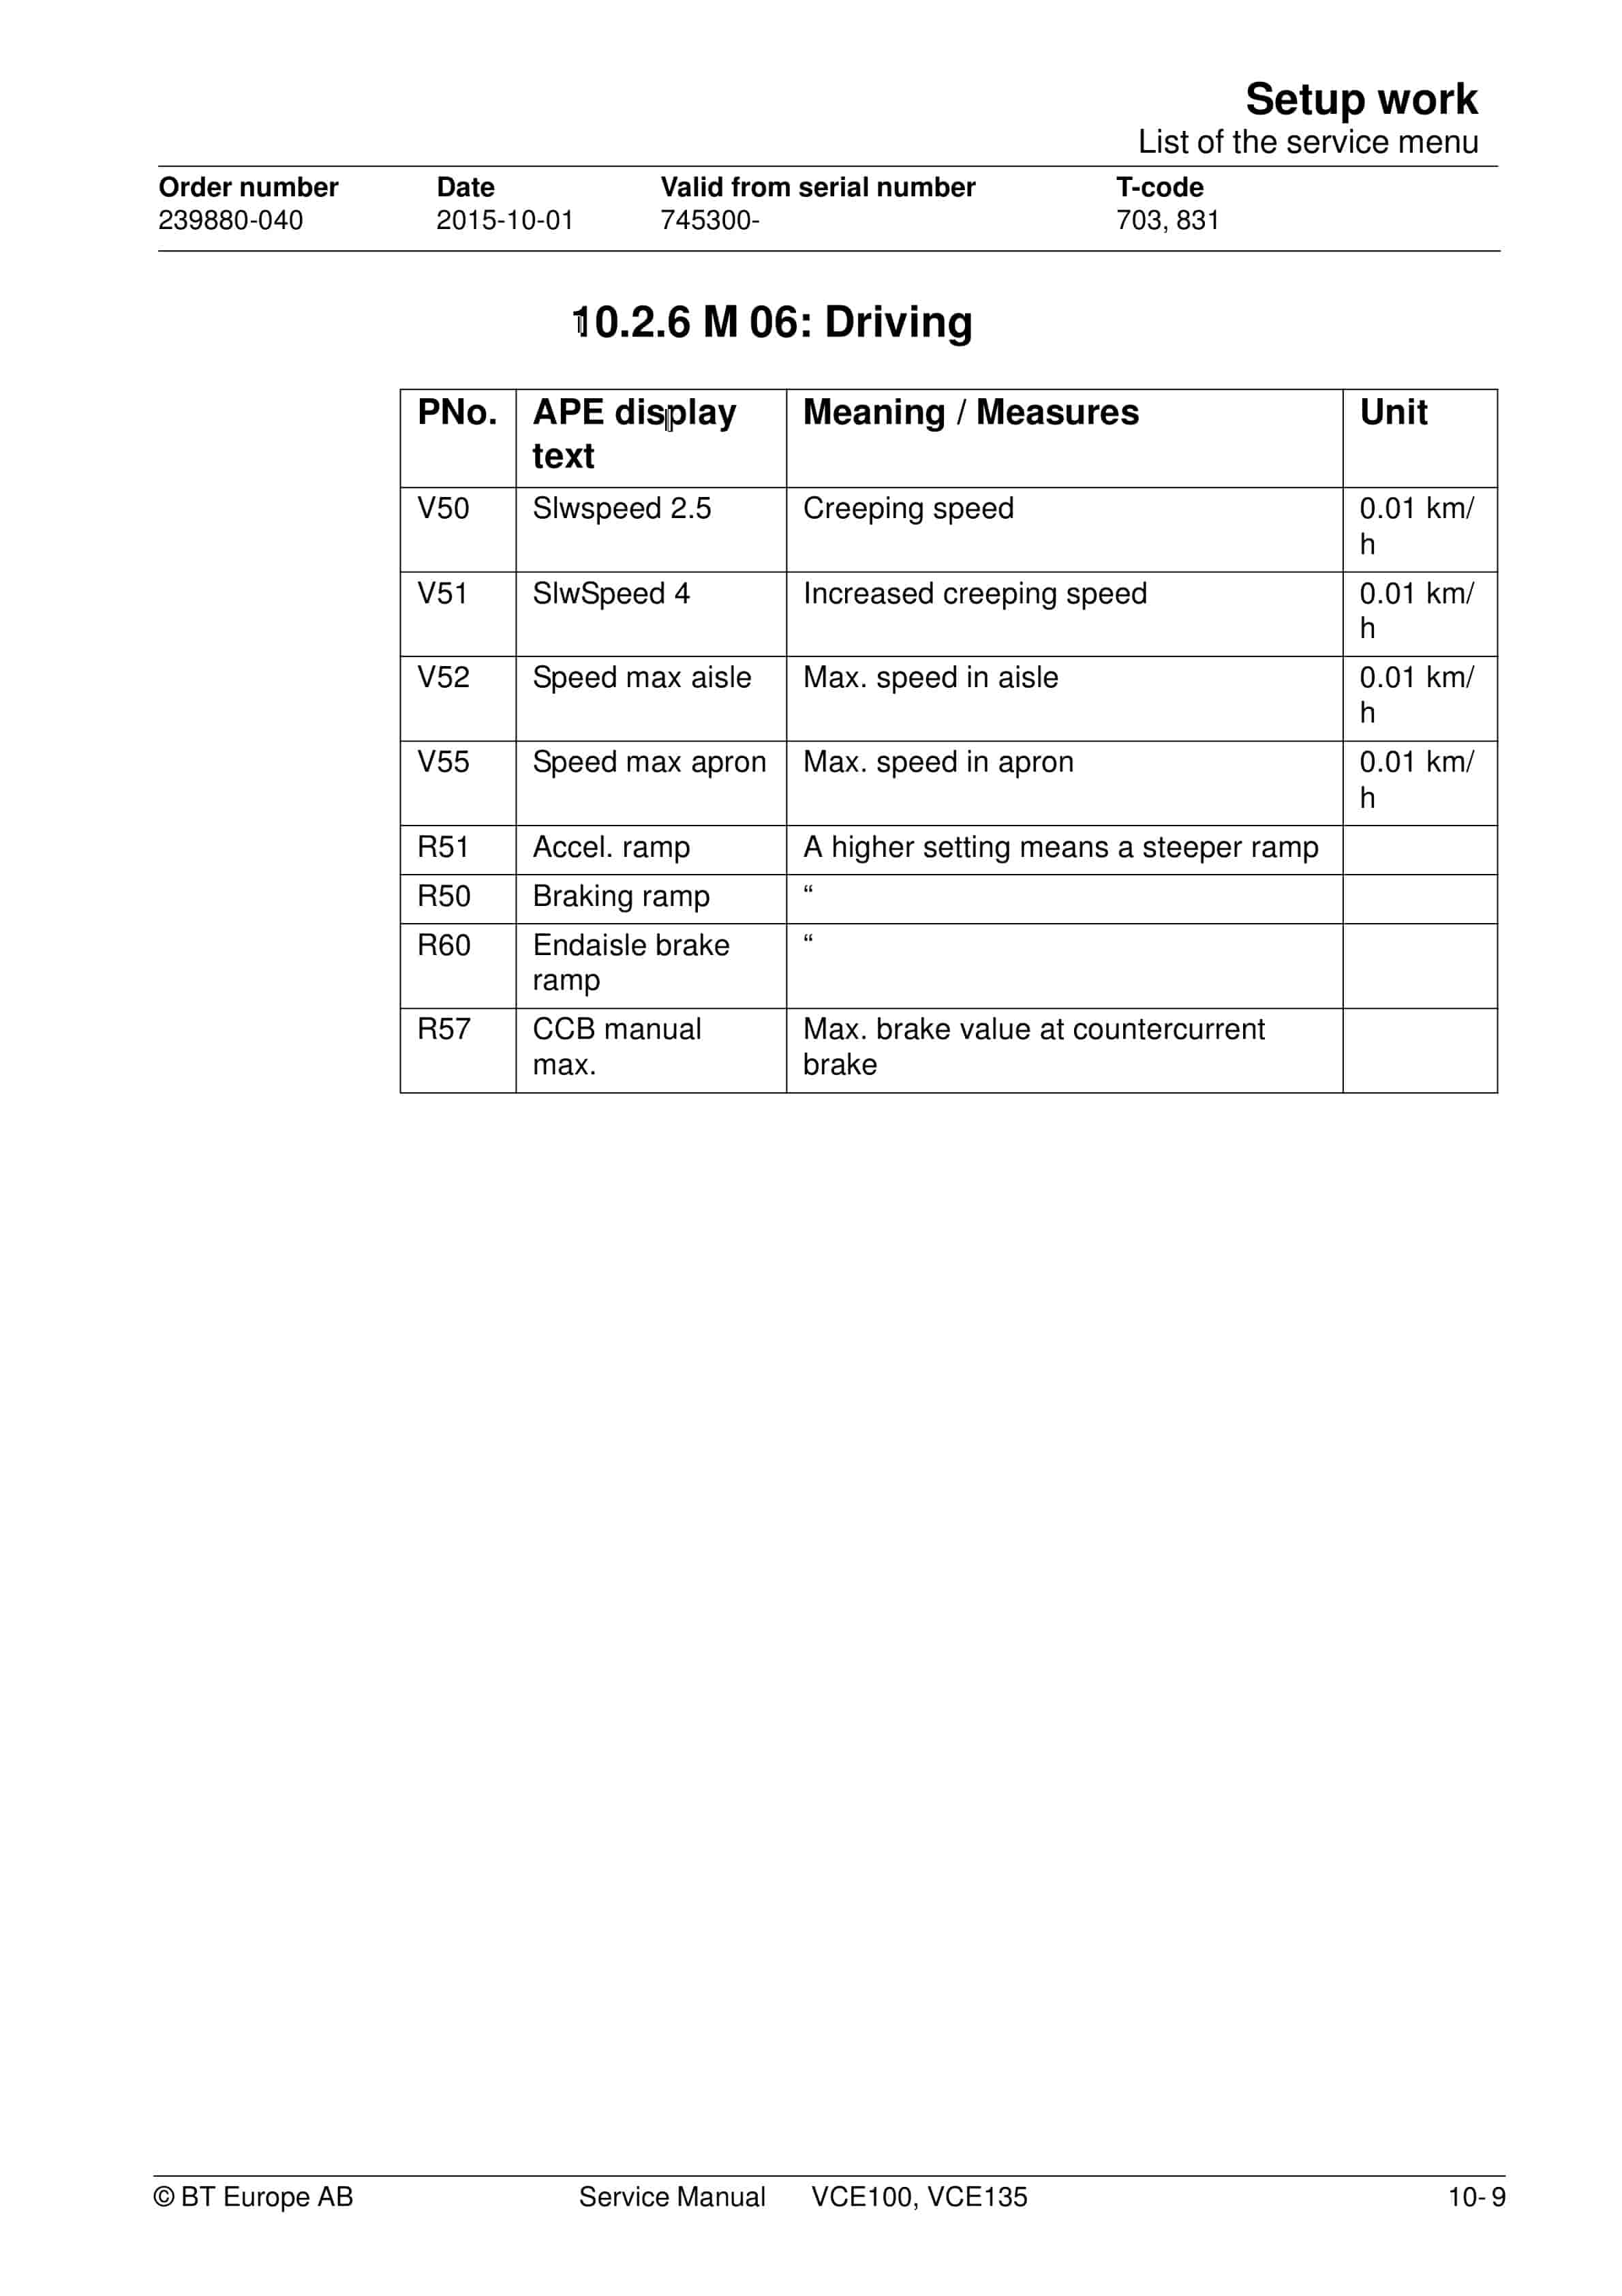
- 9.8.1. Drive speeds
- 9.8.2. Adjustment of driving motion and electrical brake
- 9.9. Steering
- 9.9.1. Adjustment of the steering
- 9.9.2. Interface for the steering AC-controller
- 9.10. Triggering of the hydraulic system
- 9.10.1. Triggering of the pump unit
- 9.10.2. Proportional valve
- 9.11. Functional relations
- 9.11.1. Driving
- 9.11.2. Manual steering
- 9.11.3. Lifting / lowering the main lift
- 9.11.4. Lifting/lowering the auxiliary lift
- 9.11.5. Sideshift right / left
- 9.11.6. Swiveling right / left
- 9.11.7. Automatic synchronous swiveling right / left
- 9.12. Aisle detection and storage zones
- 9.12.1. Aisle detection (standard and optional)
- 9.12.2. Wire guidance with aisle detection (IGwoA)
- 9.13. Release of options via code numbers
- 9.14. Aisle end stop (option)
- 9.15. Functional description
- 9.15.1. GESI with manual reset (code 0 activated)
- 9.15.2. GESI with auto-reset (code 8 activated)
- 9.15.3. GESI with positioning set-up (distance measurement)
- 9.16. IG (induction guidance)
- 9.16.1. System overview IG (induction guidance)
- 9.16.2. Tasks of the IG
- 9.16.3. Operation of the IG
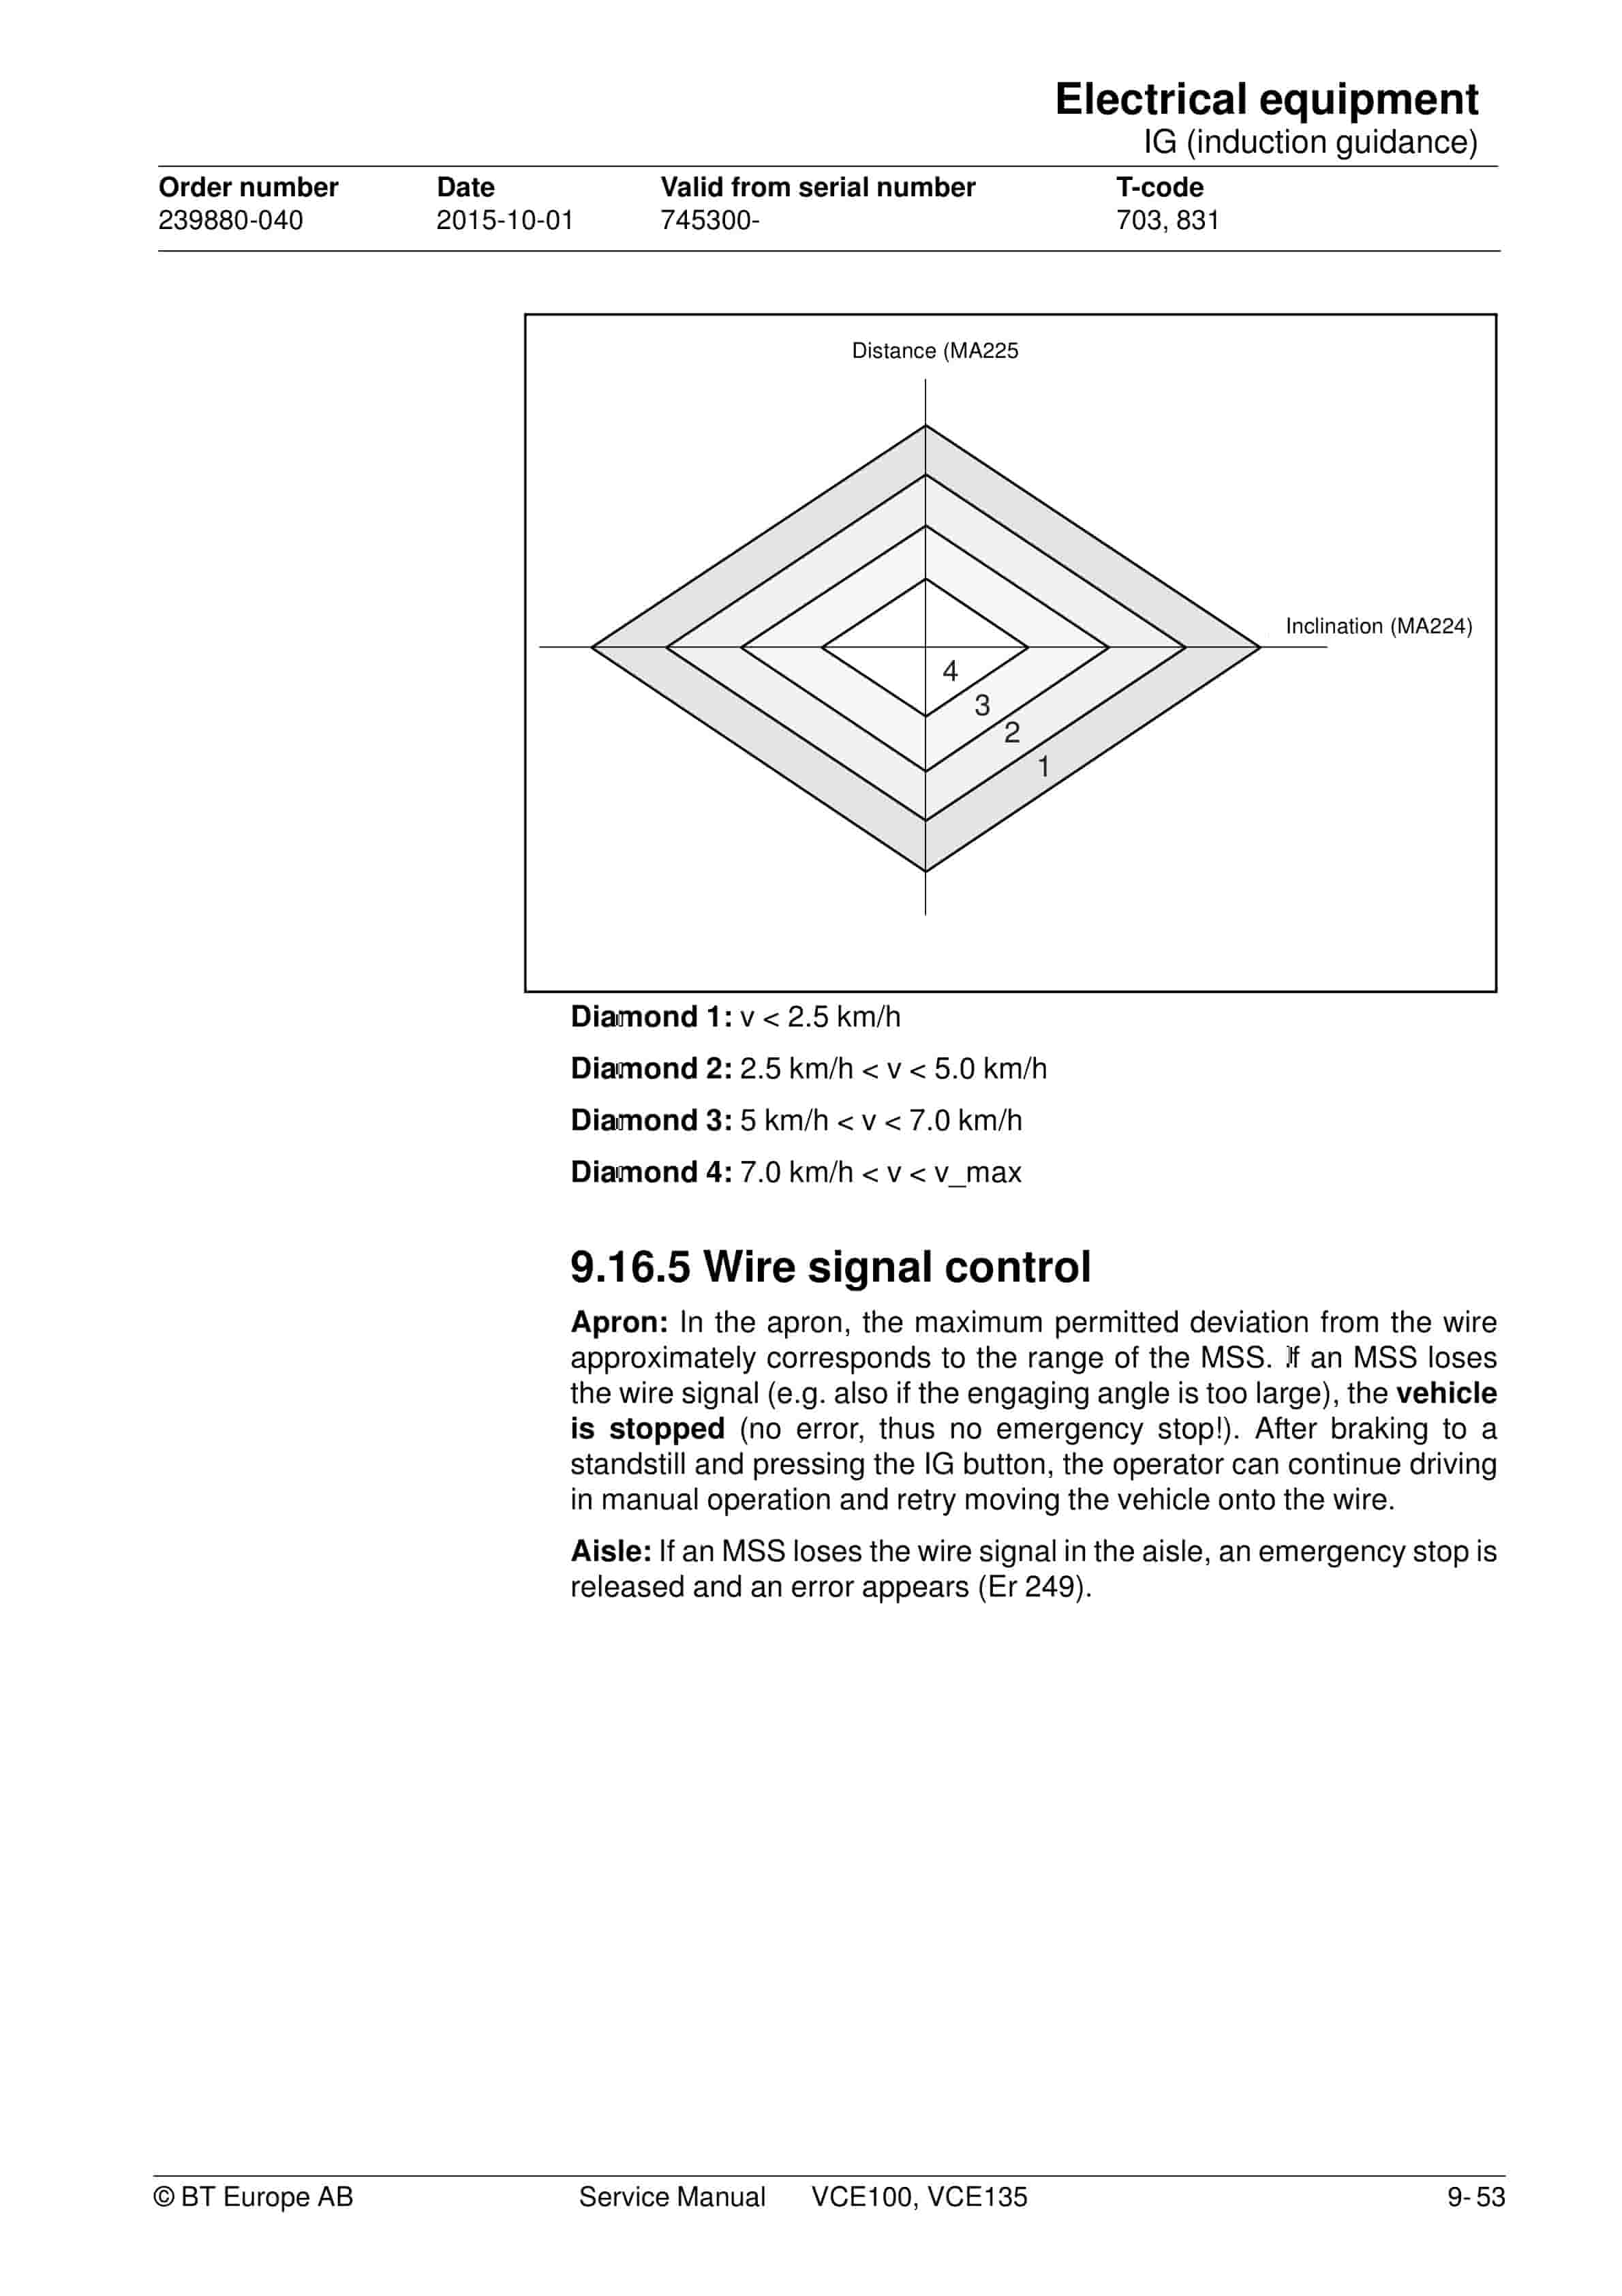
- 9.16.4. Safety concept of the emergency stop diamond
- 9.16.5. Wire signal control
- 9.16.6. Steering angle control
- 9.16.7. Mechanical lock device (claw, if available)
- 9.16.8. Actual driving speed control
- 9.16.9. Full speed release
- 9.16.10. Overview of emergency stop conditions
- 9.16.11. Diagnosis
- 9.16.12. Setting the IG
- 9.17. Interface to PPS connection (personnel protection system)
- 9.17.1. General information
- 9.17.2. High-rise stacker with control system SECAN 2
- 9.18. Setup of Sideshift and Swivel
- 9.18.1. Sideshift
- 9.18.2. Svivelling
- 9.19. Automatic swiveling / sideshift synchronization
- 9.19.1. Geometric adjustment
- 9.19.2. Hydraulic adjustment (for VCE135)
- 9.19.3. Hydraulic adjustment (for VCE100)
- 9.20. Battery discharge monitor
- 9.20.1. Calibration
- 9.21. Hour meters
- 9.22. Cut-outs
- 9.22.1. Lifting cut-offs and lowering cut-outs (optional)
- 9.22.2. Sideshift cut-out (second stacking depth)
- 9.22.3. Driving cut-outs
- 9.23. Sensor units main lift
- 9.23.1. Laser odometer
- 9.23.2. Reference switch 0,3 m
- 9.23.3. Startup and check of the main lift sensor units
- 9.24. Sensor units actual value steering
- 9.24.1. Overview of sensor elements
- 9.24.2. Adjustment of the steering sensor unit
- 9.25. Sensor bearing drive- and steering motor (control system)
- 9.25.1. Sensor bearing on the drive motor
- 9.25.2. Sensor bearing of the steering motor
- 9.26. Temperature sensor drive and pump motor
- 9.26.1. Drive motor
- 9.26.2. Pump motor
- 9.27. Sensor unit auxiliary lift (version B)
- 9.27.1. Sensor element
- 9.27.2. Assembly and mechanical adjustment
- 9.27.3. Calibration (Teach- In)
- 9.27.4. Checking the settings
- 9.28. Sensor unit sideshift
- 9.28.1. Sensor element
- 9.28.2. Assembly and mechanical adjustment
- 9.28.3. Measuring of the potentiometer-setting
- 9.28.4. Calibration (Teach- In)
- 9.28.5. Checking the settings
- 9.29. Sensor unit swiveling
- 9.29.1. Sensor element
- 9.29.2. Assembly and mechanical adjustment
- 9.29.3. Measuring of the potentiometer-setting
- 9.29.4. Calibration (Teach- In)
- 9.29.5. Checking the settings
- 9.30. Controlling the hydraulic system
- 9.30.1. Introduction
- 9.30.2. Overview Control of hydraulic functions by software modules
- 9.30.3. Fault analysis hydraulic functions
- 9.31. Control of the hydraulic system (1200-1400)
- 9.31.1. Valve overview
- 9.31.2. Overview usage of the valves for individual movements
- 9.31.3. VCE135 Cyclograms (from the hydraulic point of view)
- 9.32. Control of the hydraulic system VCE100
Related products
-
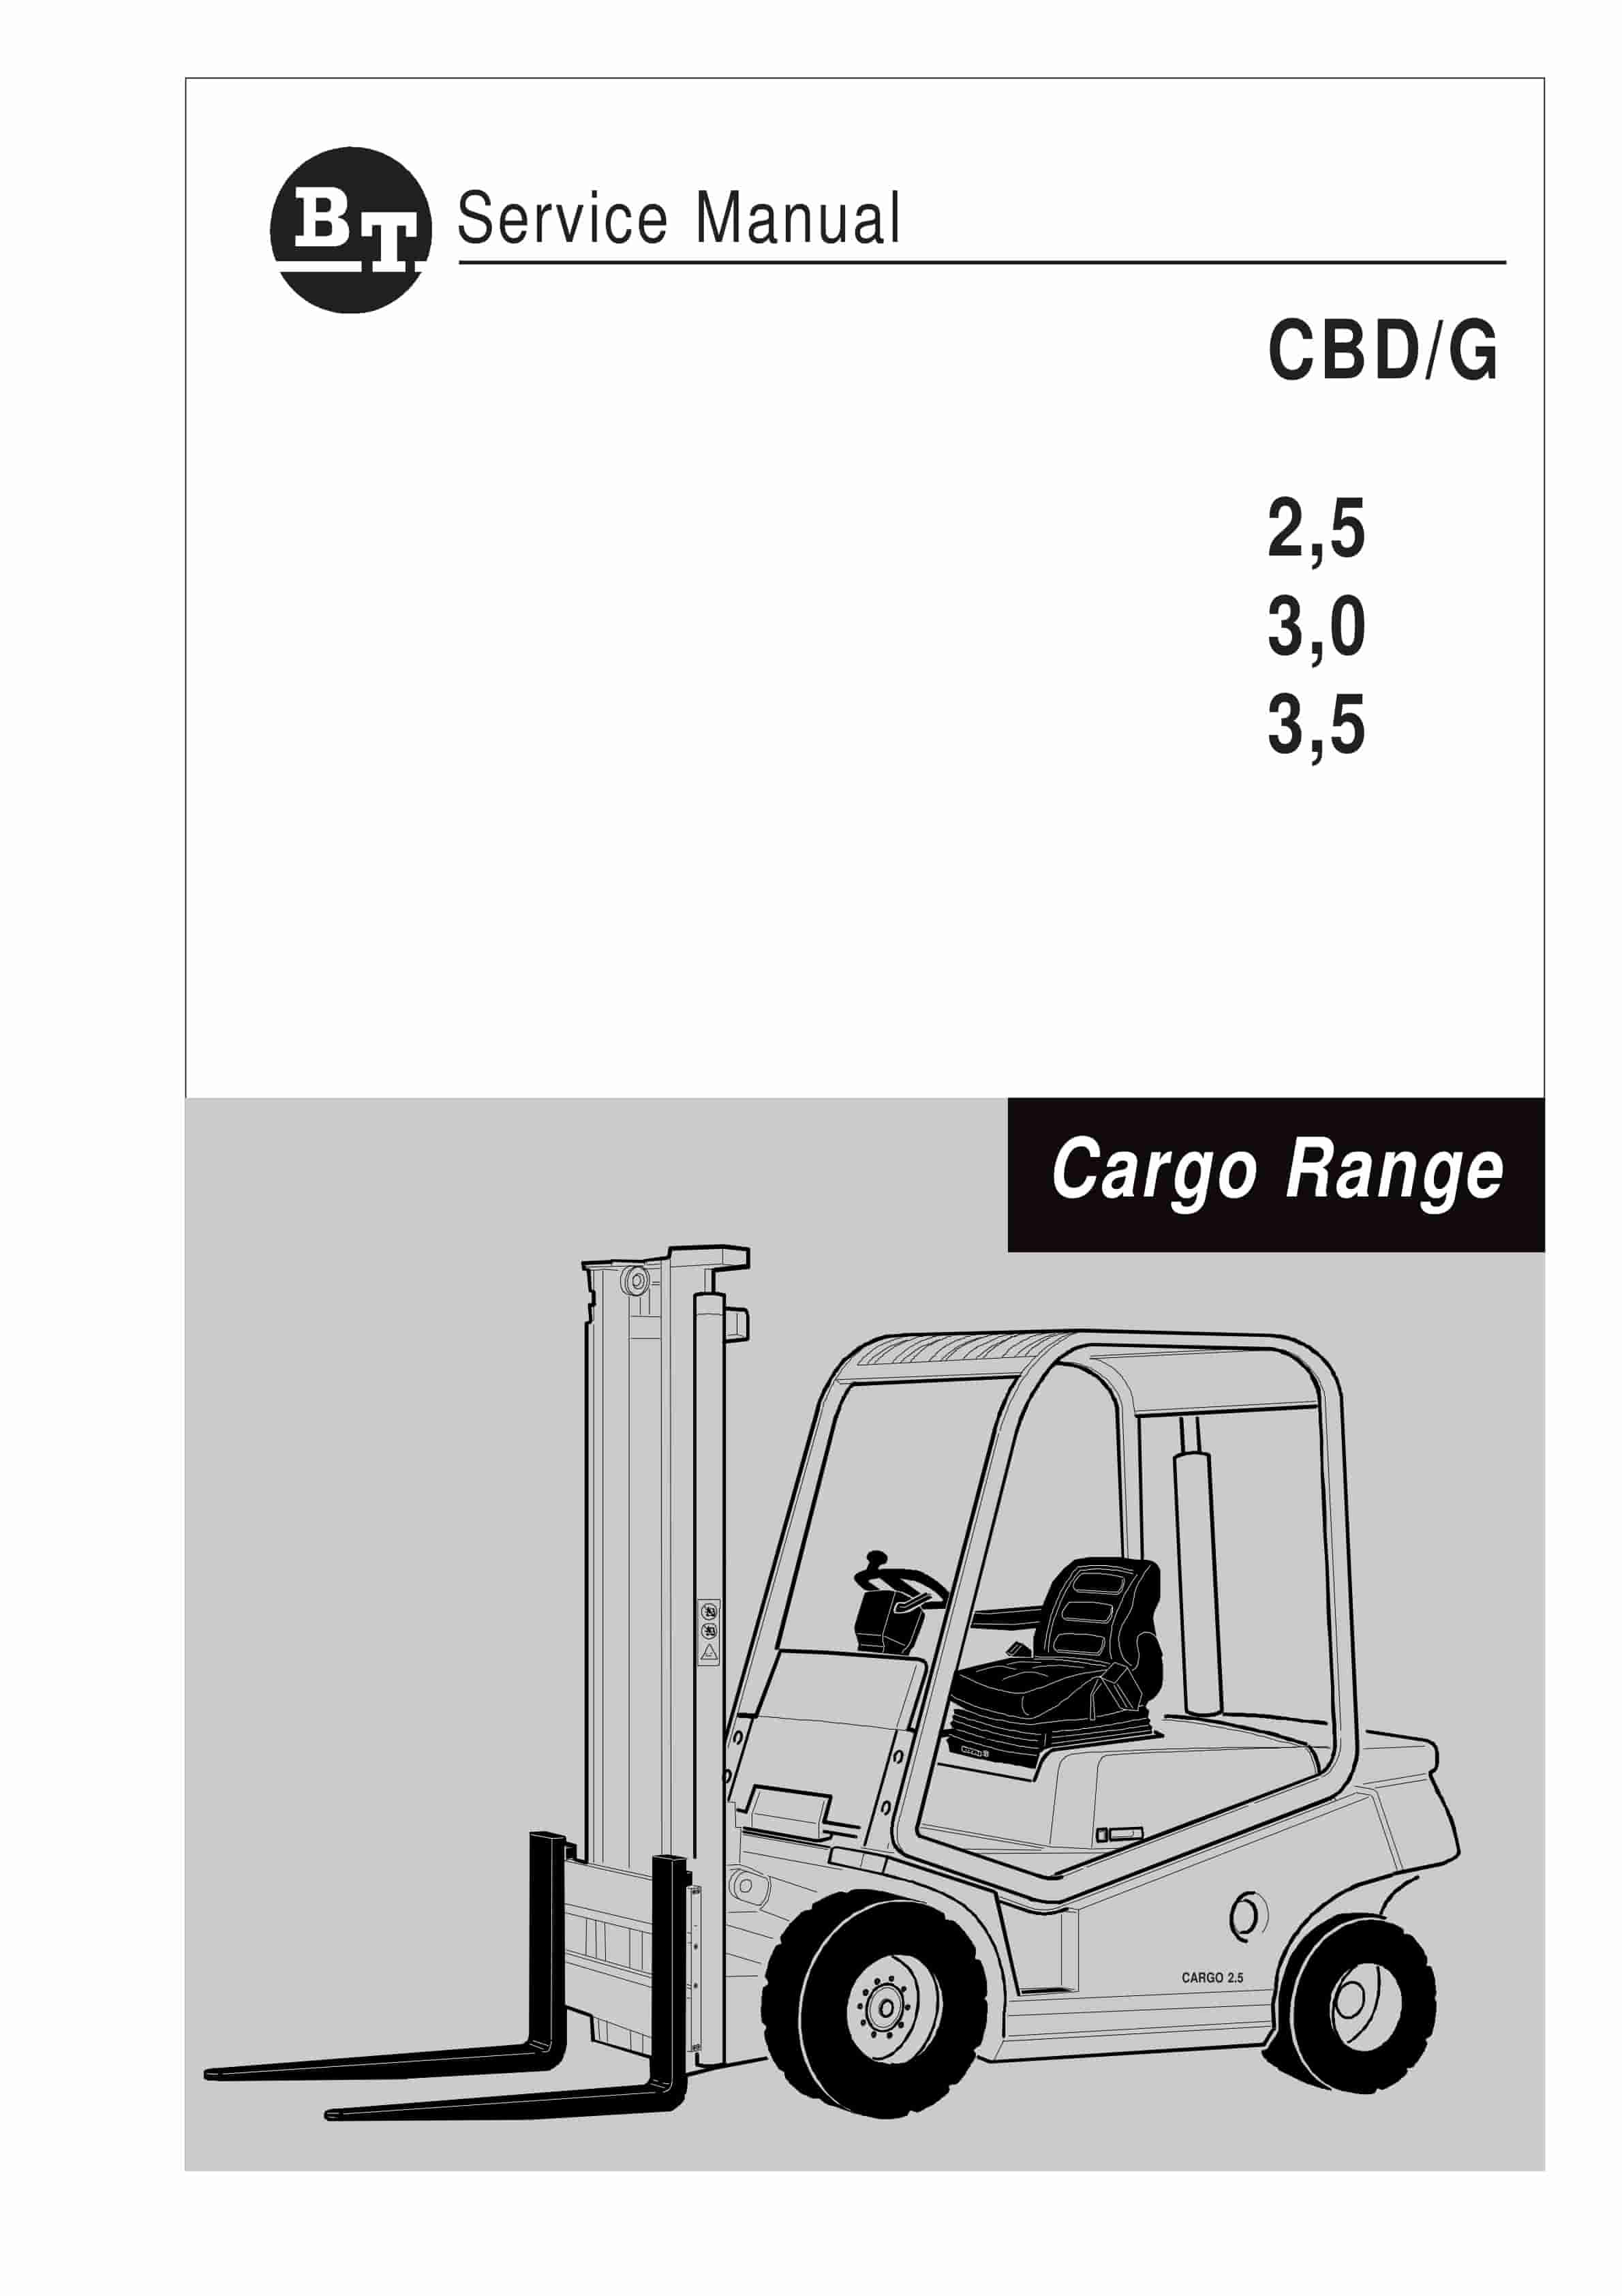
BT CBD-G 2.5, 3.0, 3.5 Service Manual 036-0405-01
$30.00 Add to cart -
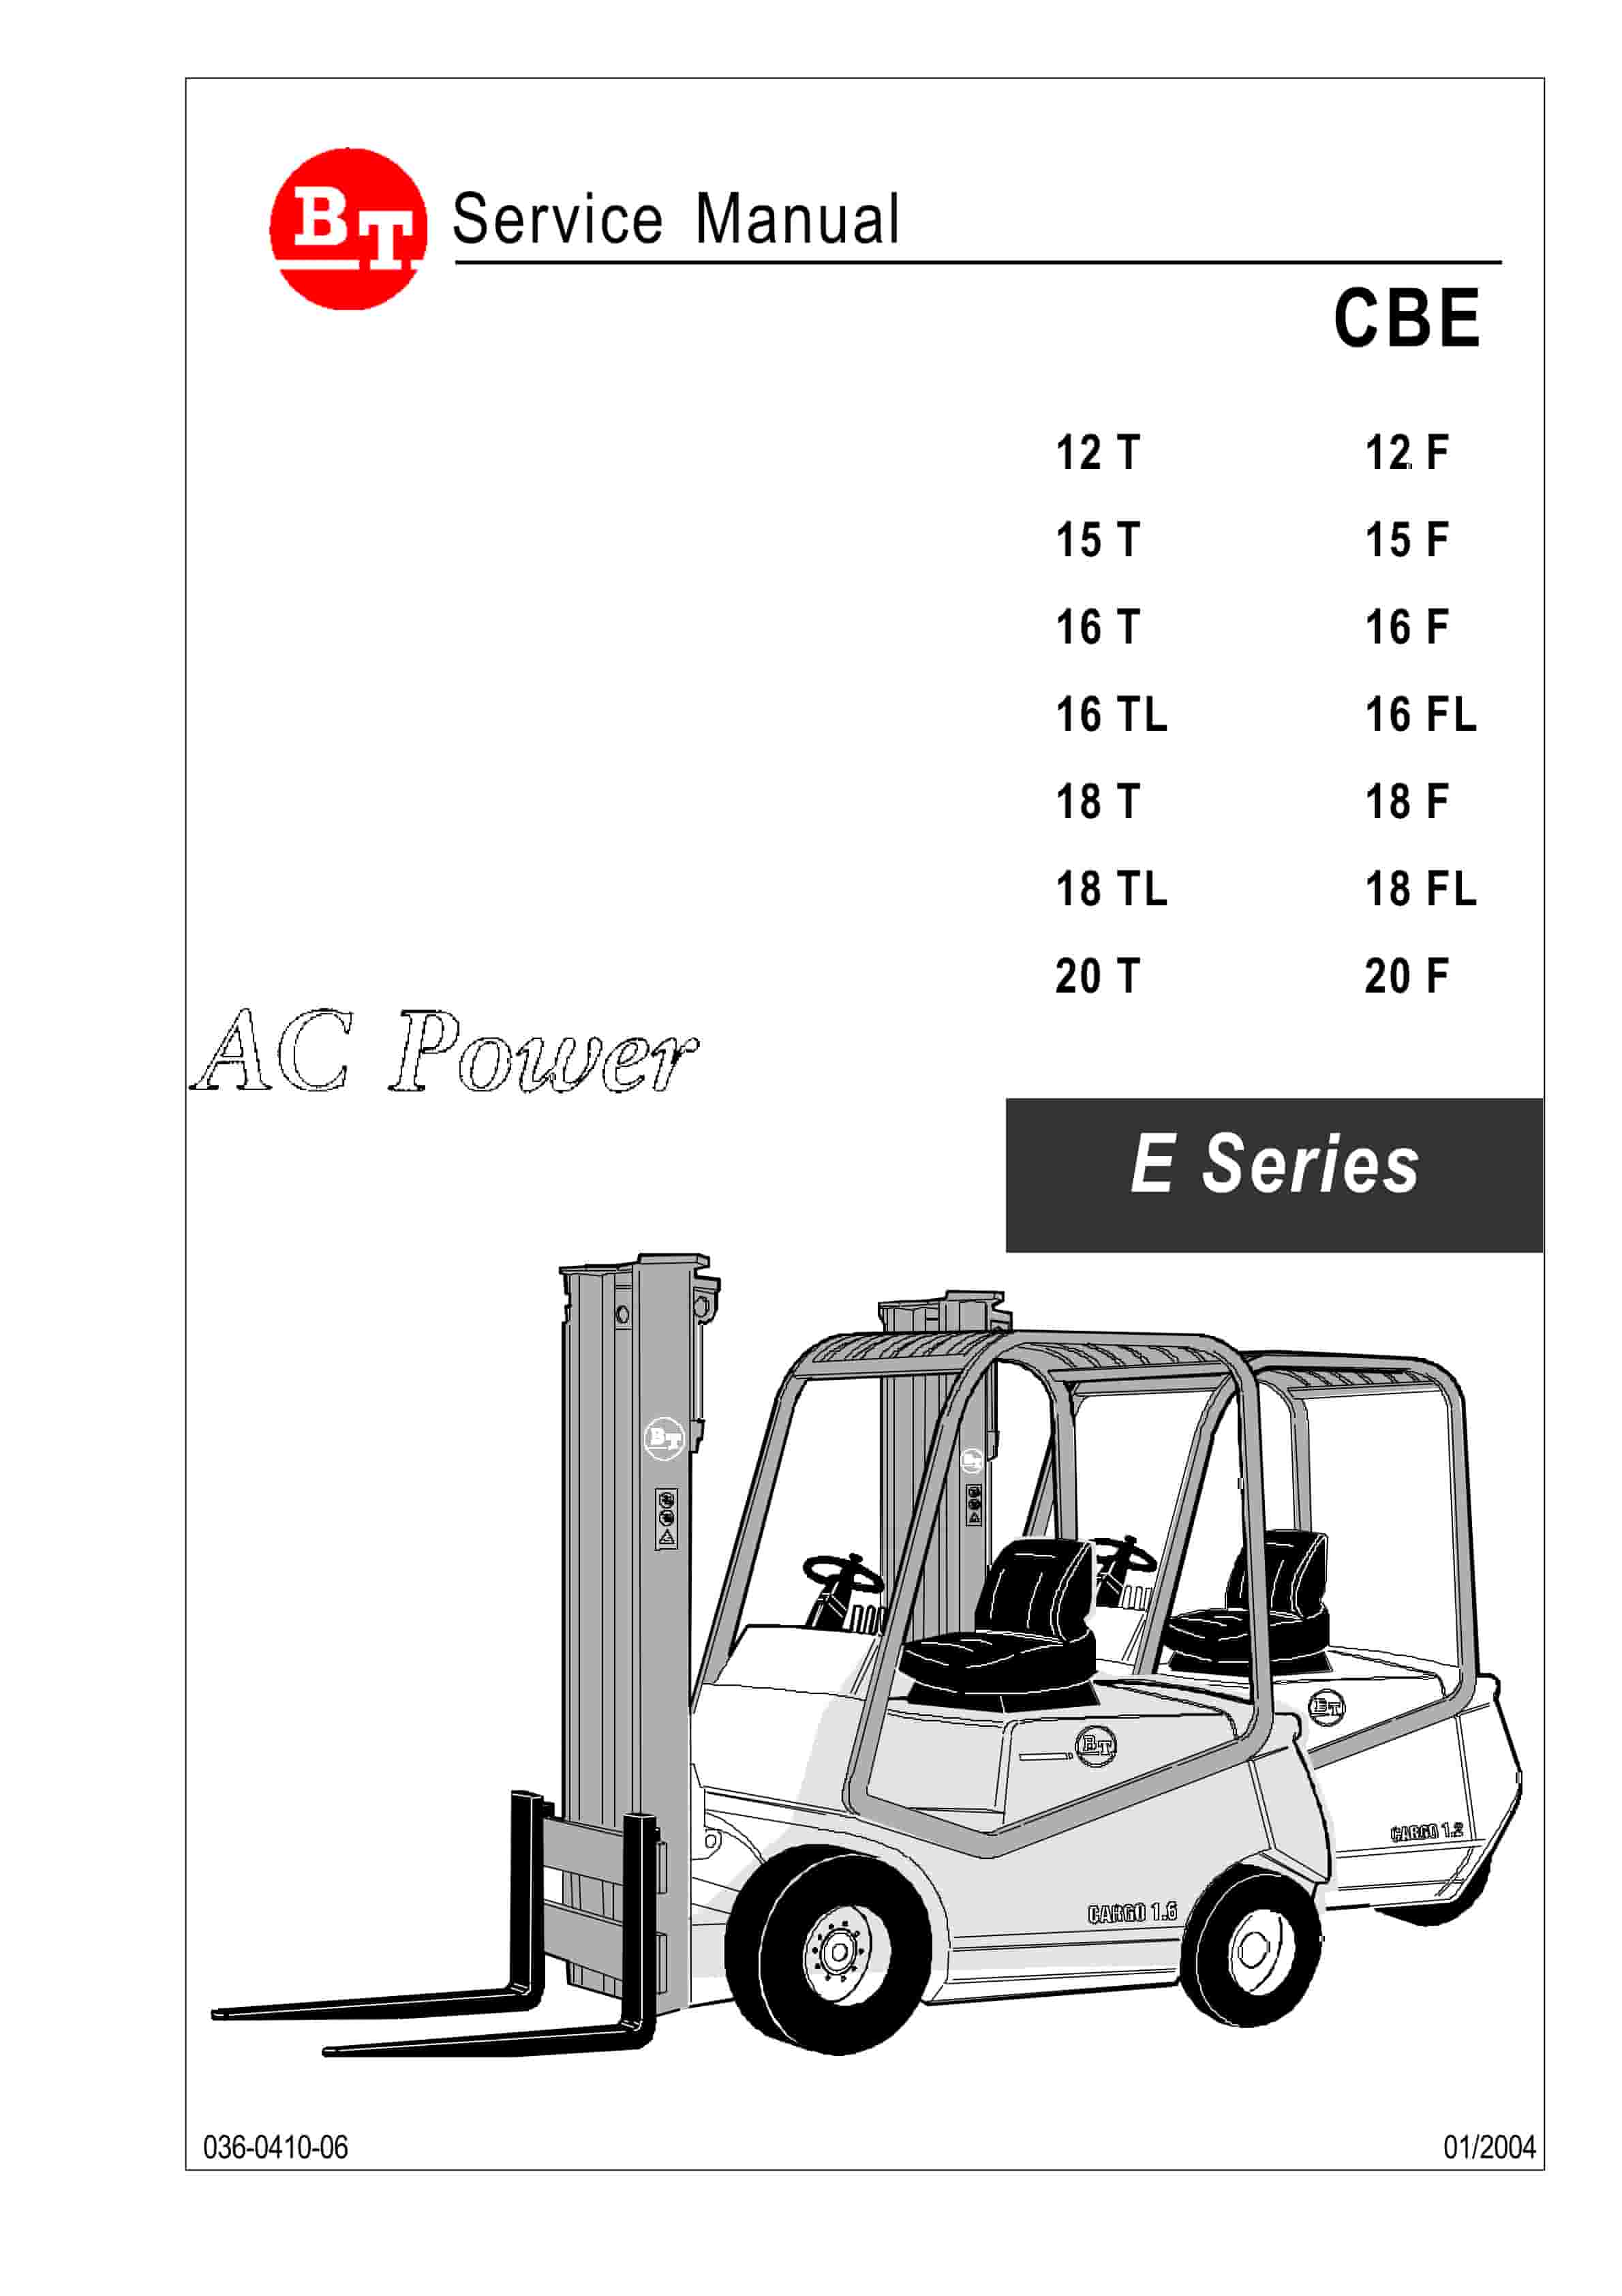
BT CBE 12T to CBE 20F Service Manual 036-0410-03
$30.00 Add to cart -
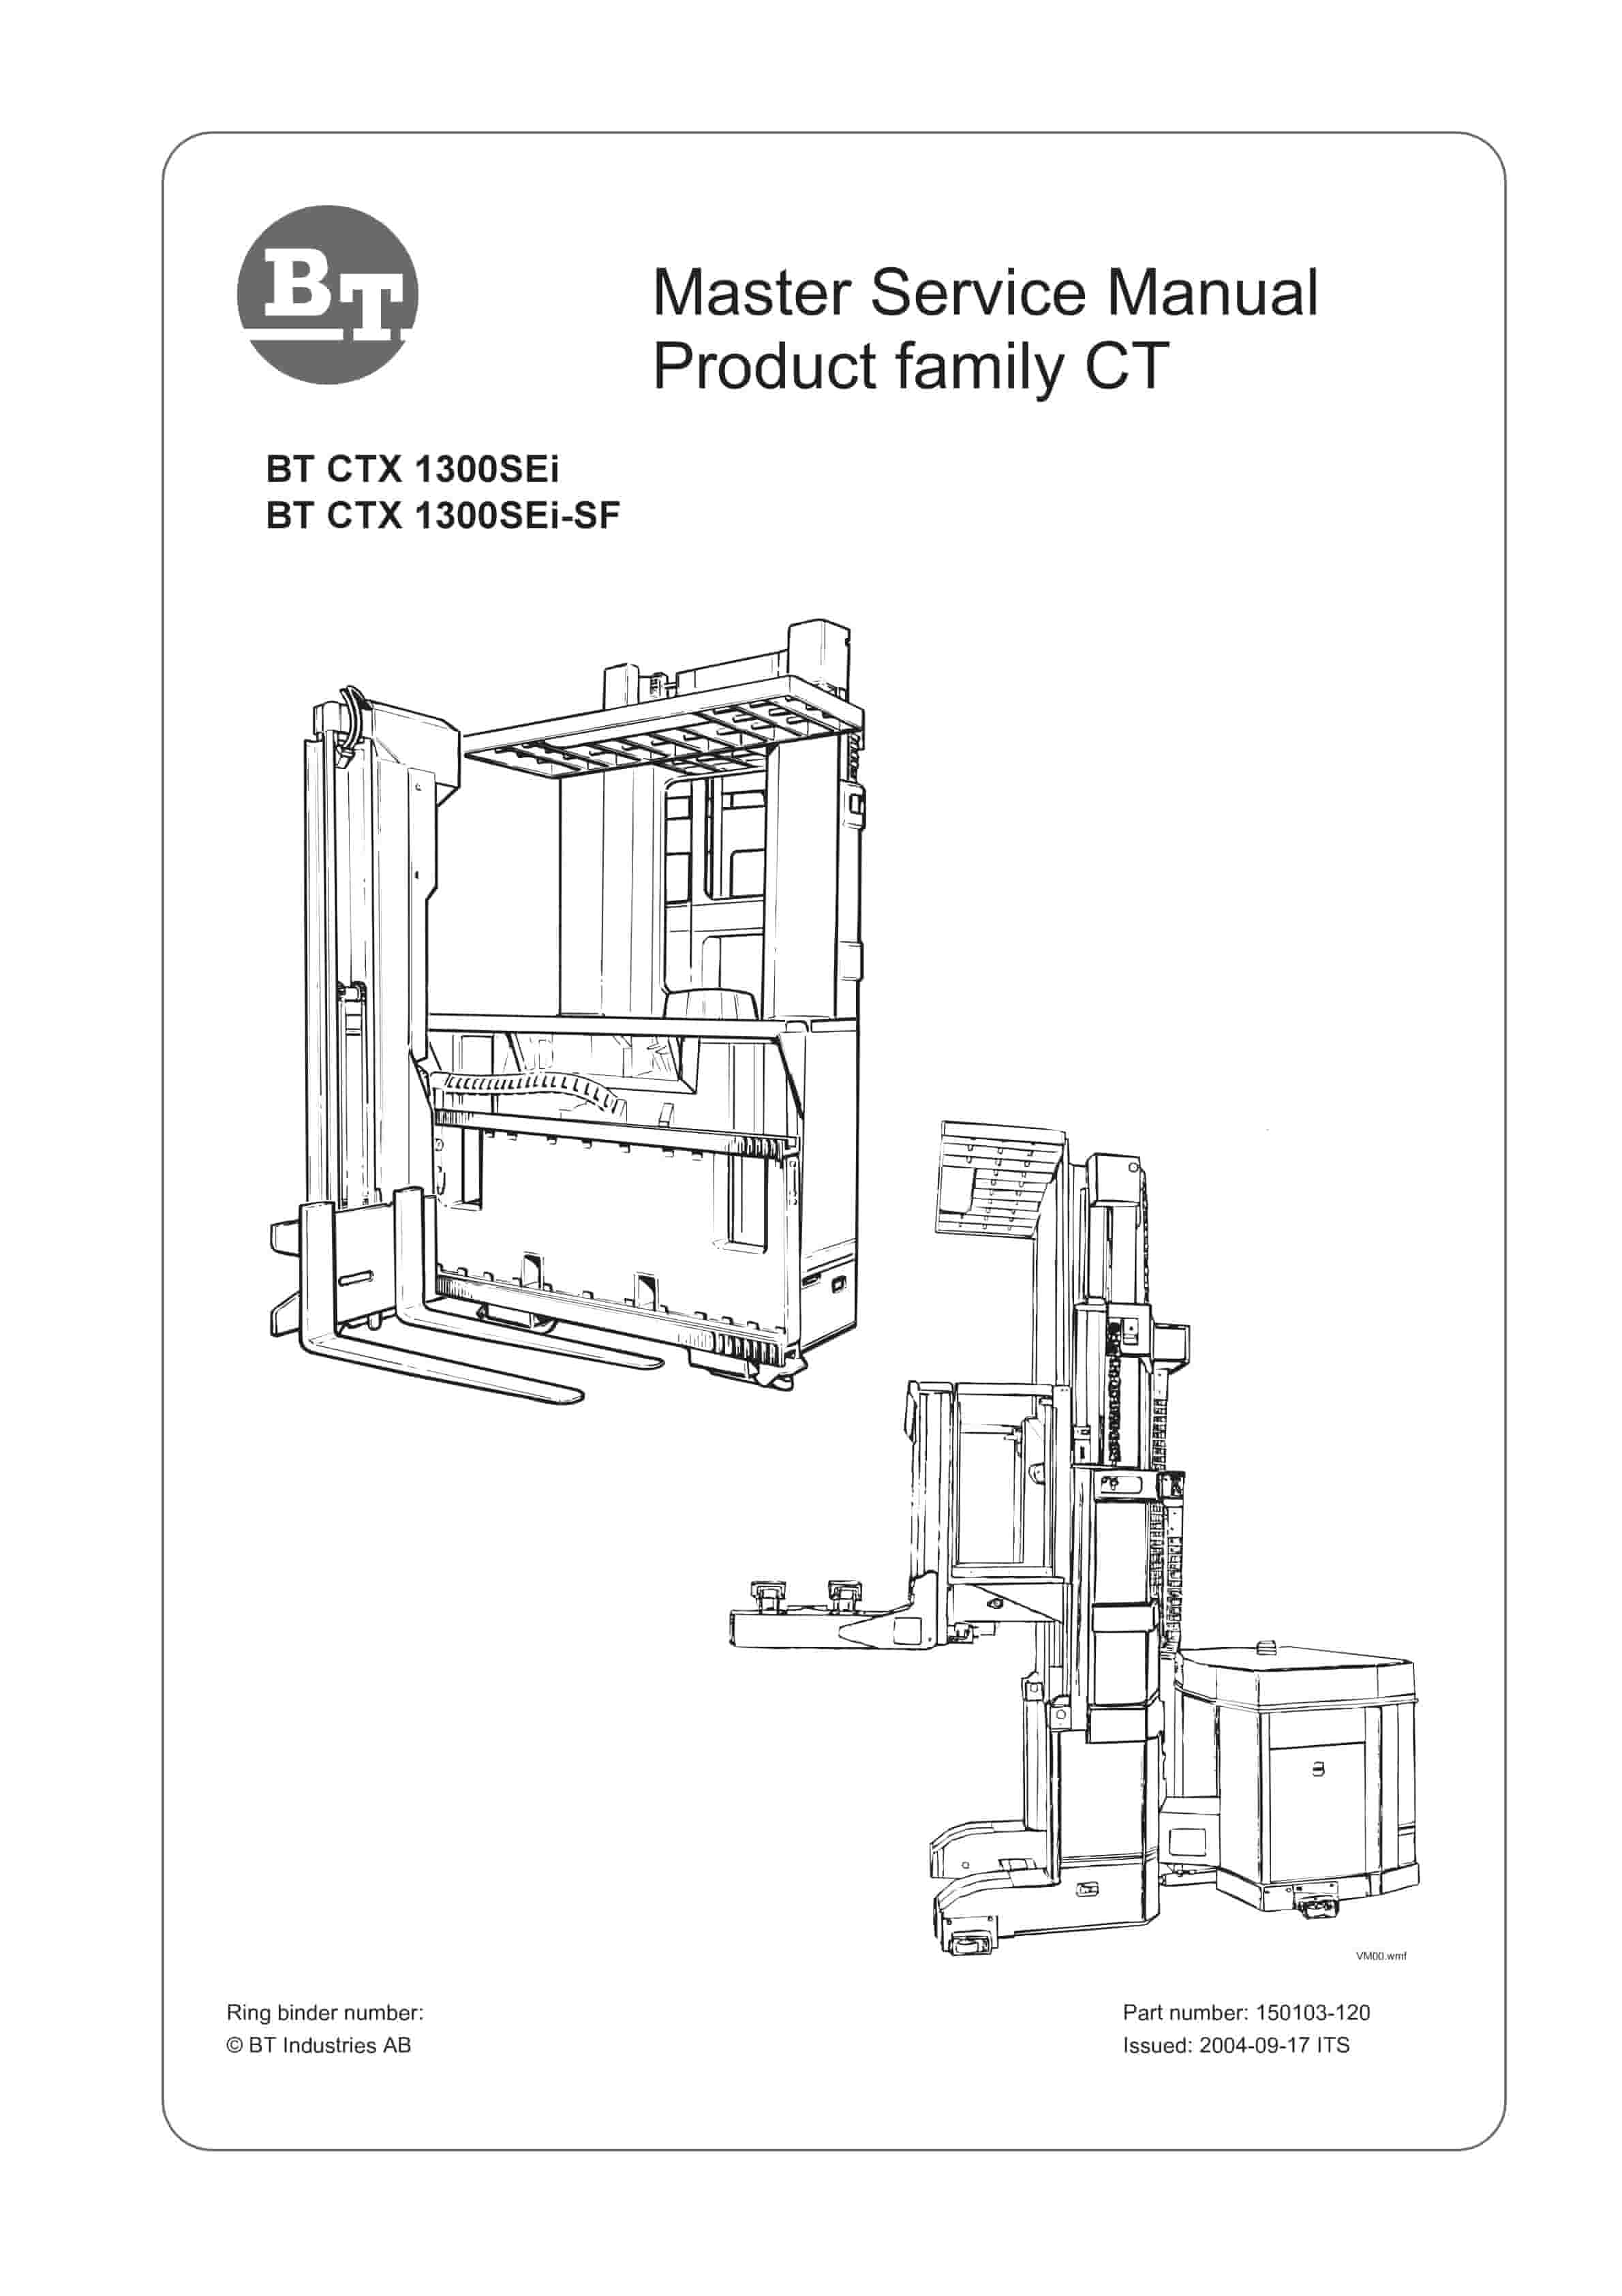
BT CTX 1300SEi, CTX 1300SEi SF Service Manual 150103-120
$30.00 Add to cart -
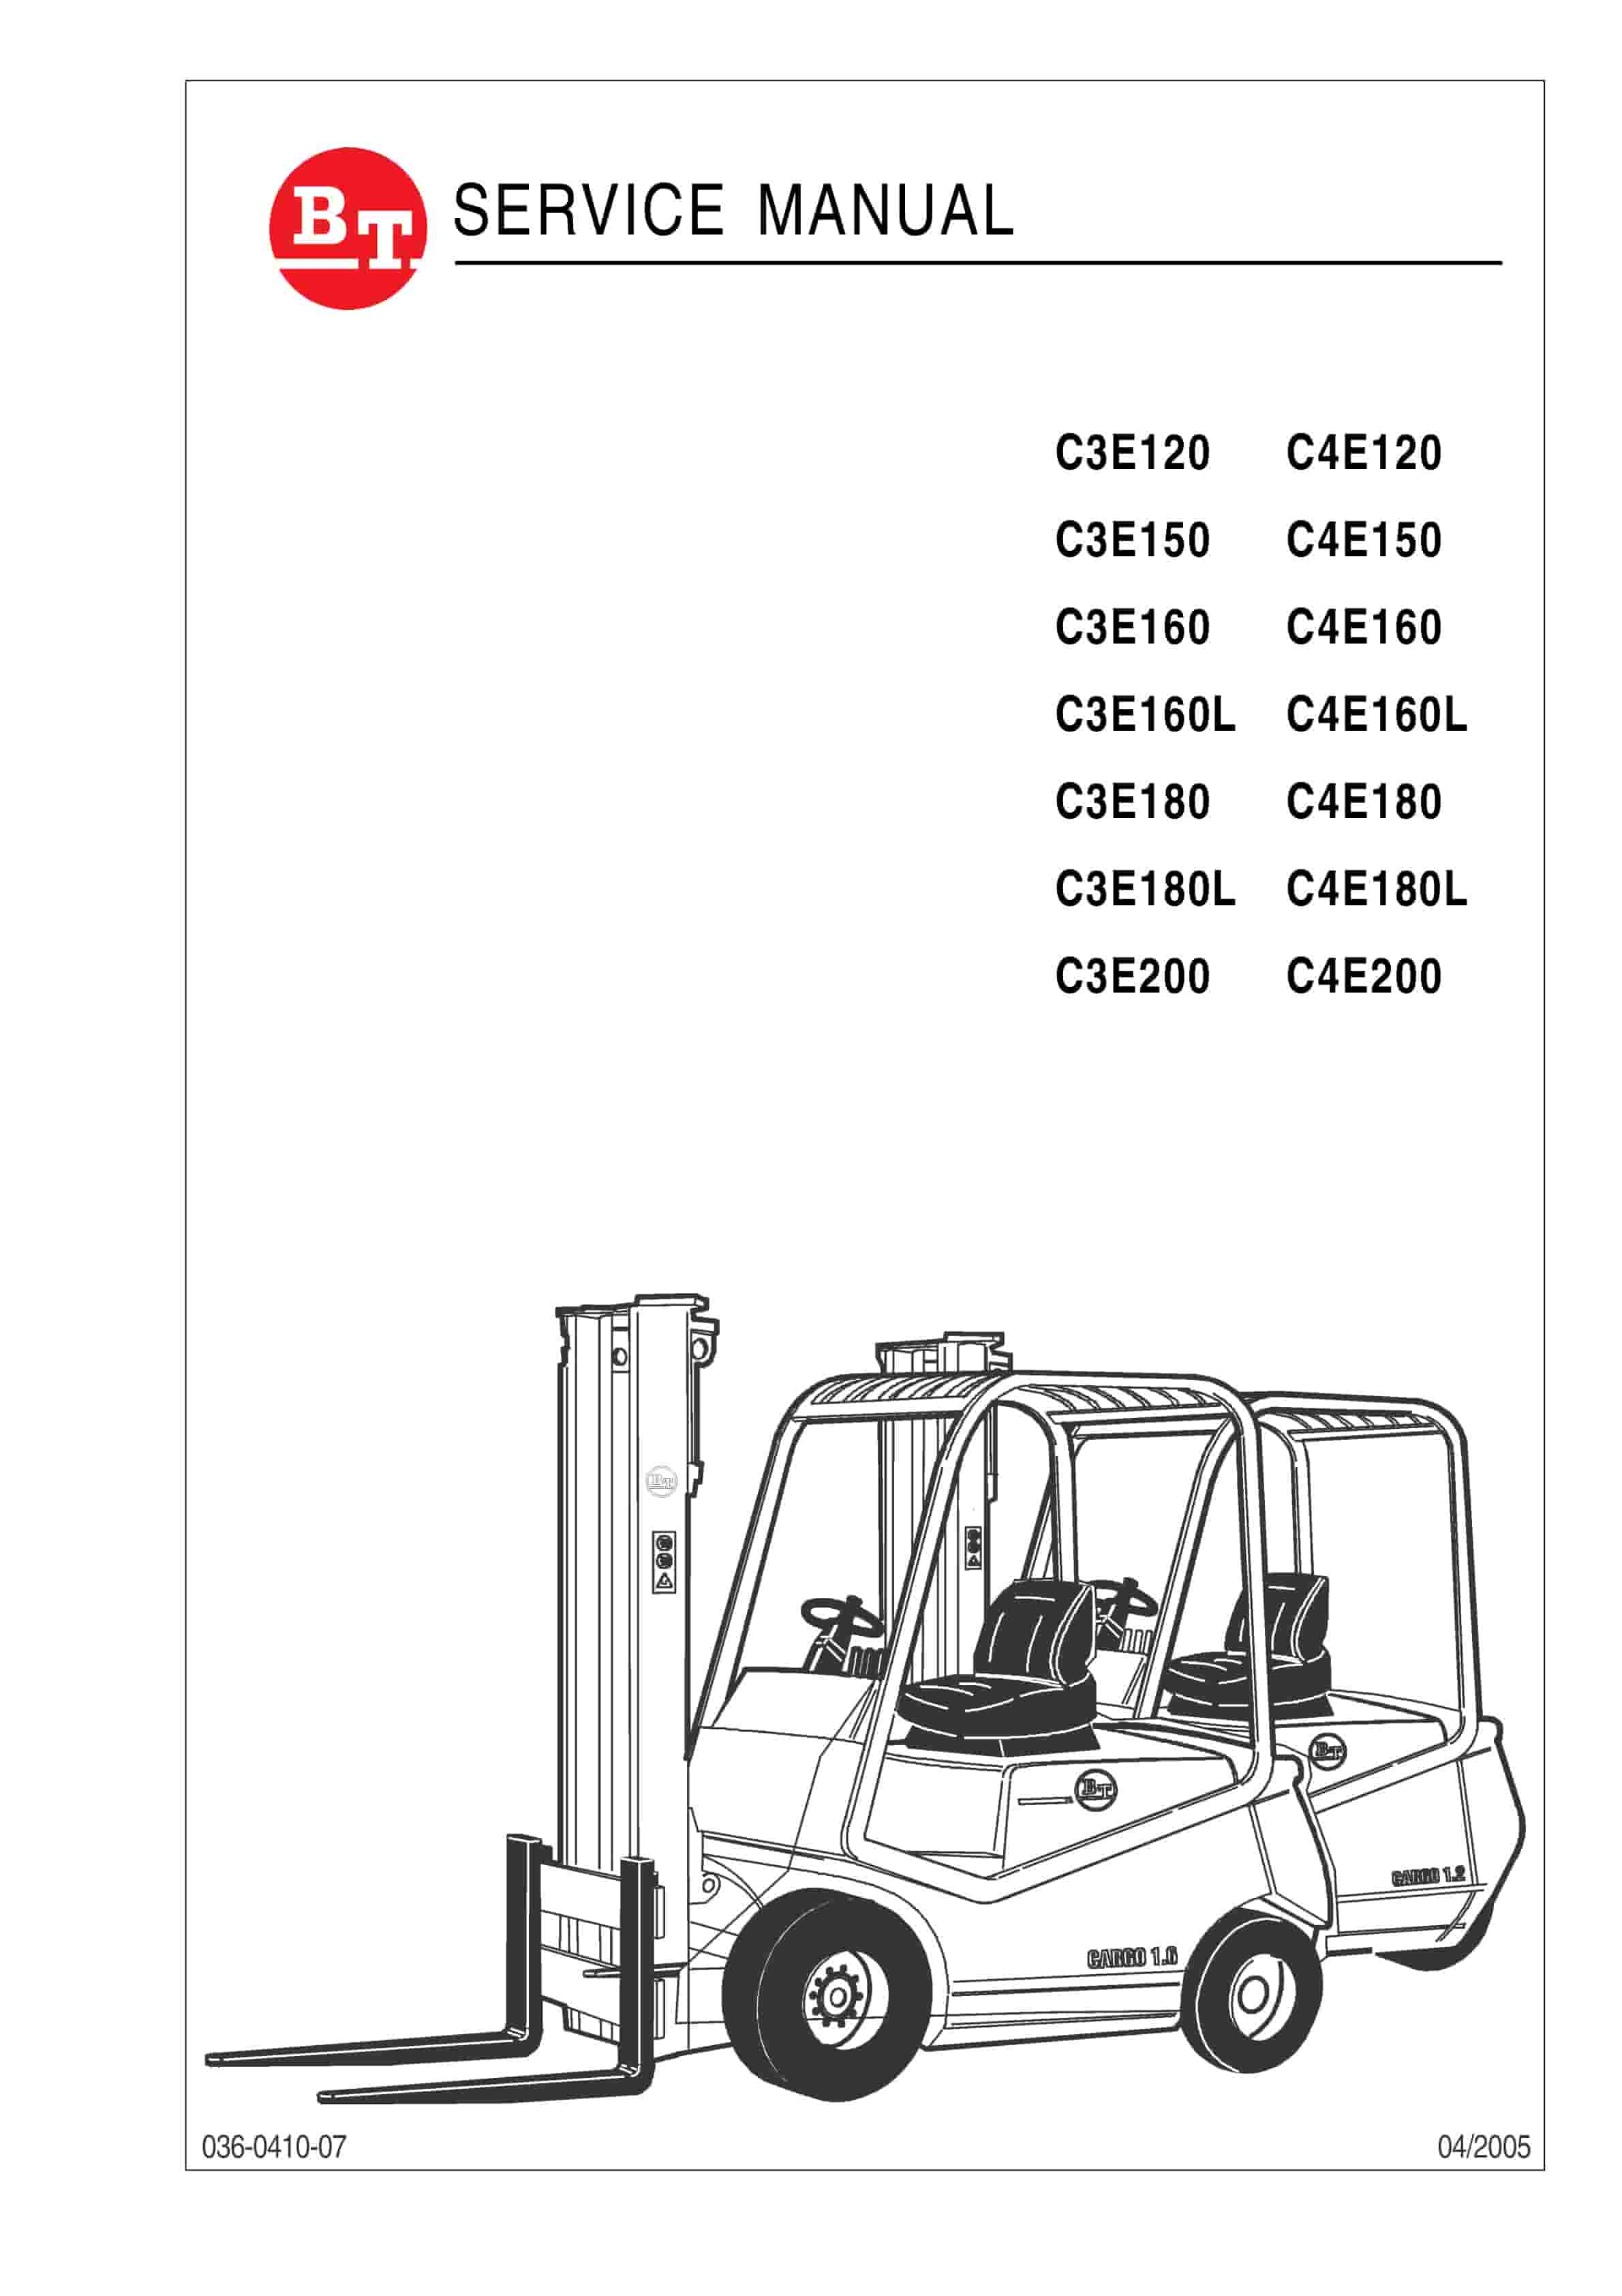
BT C3E120 to C4E200 Service Manual 036-0410-07
$30.00 Add to cart -
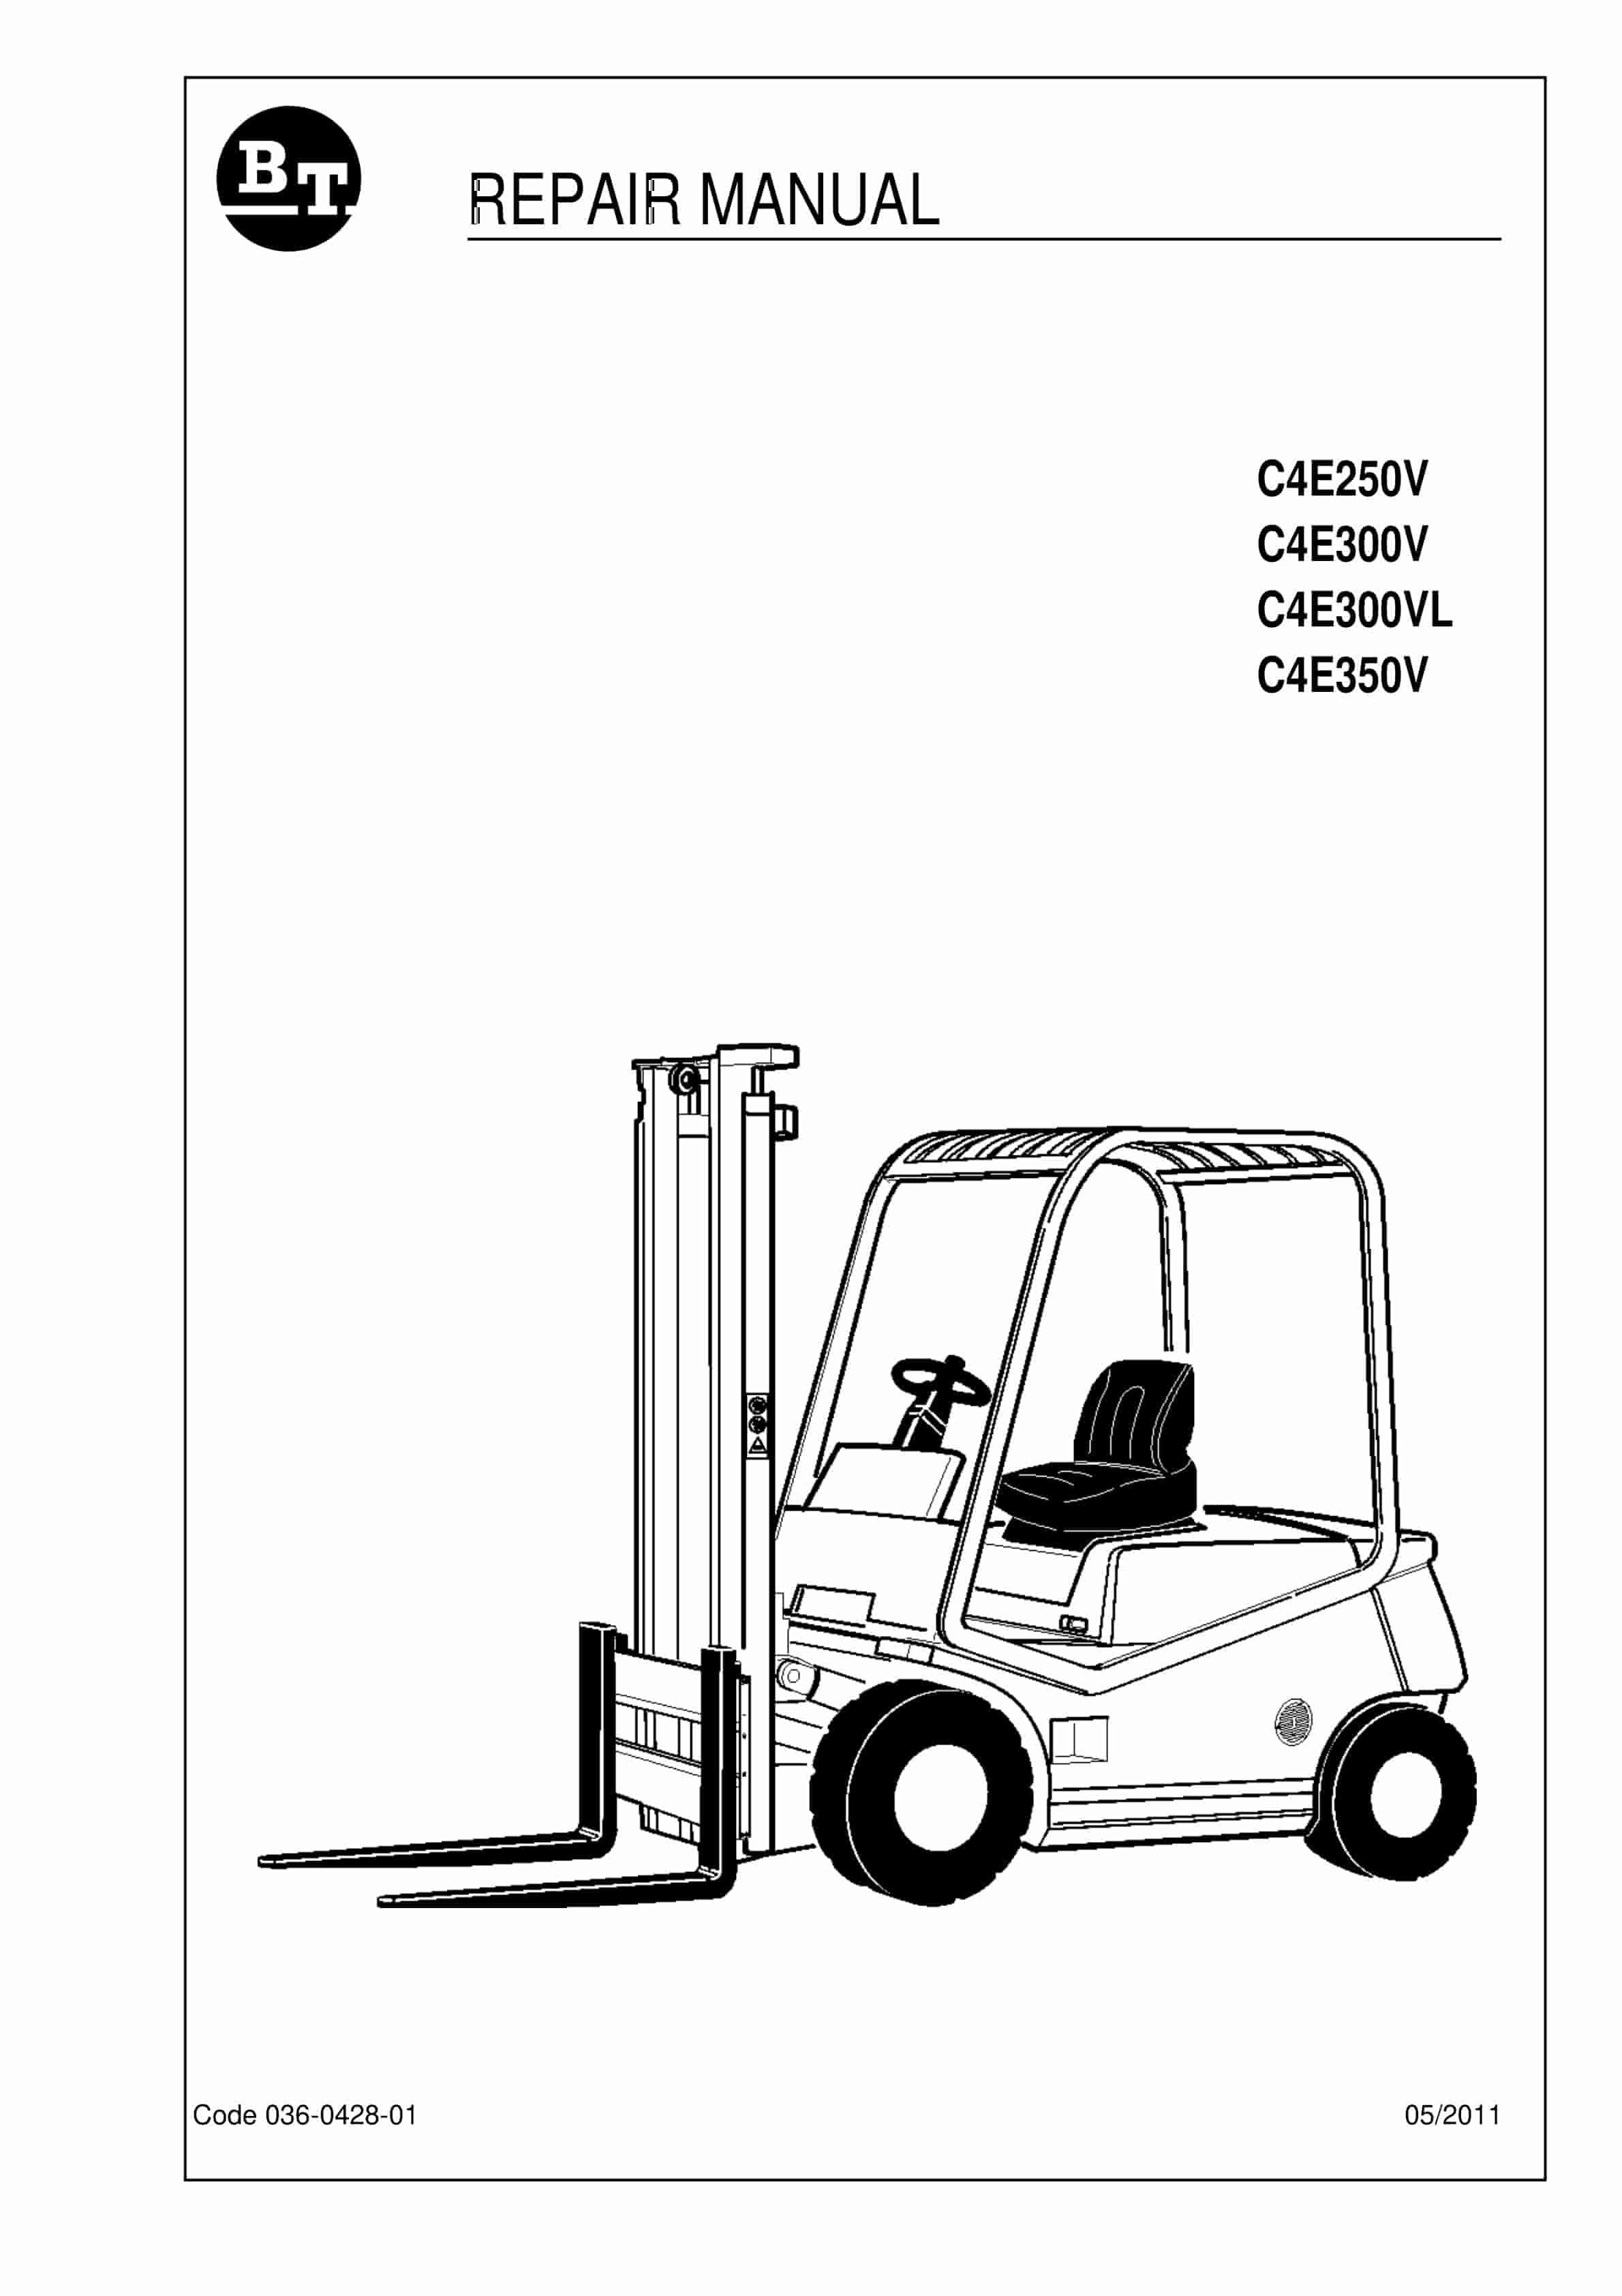
BT C4E250V, C4E300V, C4E300VL, C4E350V Repair Manual 036-0428-01
$30.00 Add to cart


